Nokia Go User manual

I'm having issues installing my device. What should I do?
This article will help you if you encounter any of the following issues:
- The screen of your Nokia Go doesn't turn on
- The setup process fails
Before proceeding with troubleshooting, please make sure that your mobile device is compatible
with the Nokia Go.
The screen of your Nokia Go doesn't turn on
If the screen of your Nokia Go doesn't turn on, try to replace the battery.
If you still encounter issues, reach out to Customer Service by clicking the Contact us button at
the bottom of the page.
The setup process fails
If the setup process fails, perform the following steps:
1. Make sure you have access to the internet on your mobile device.
2. Make sure that you keep the app open during the installation process.
3. Make sure that the screen of your mobile device stays on during the installation process.
4. Keep your Nokia Go close to your mobile device during the installation process.
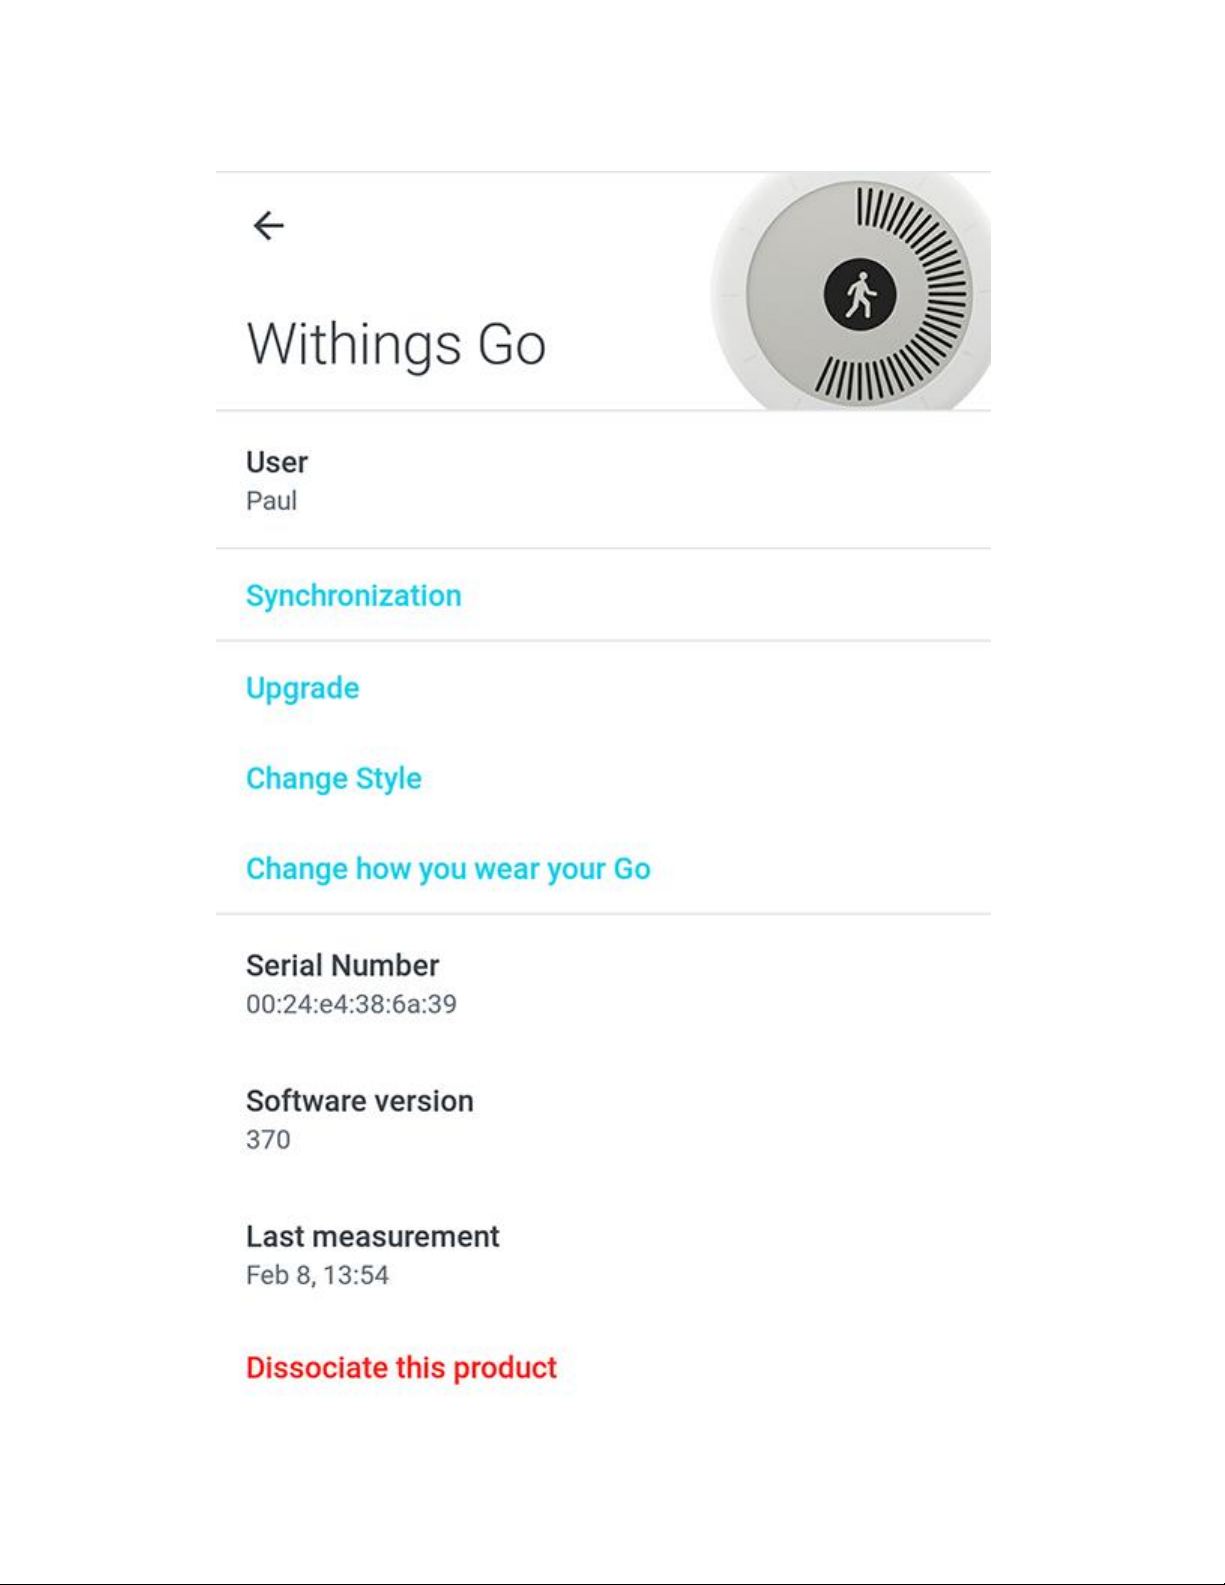
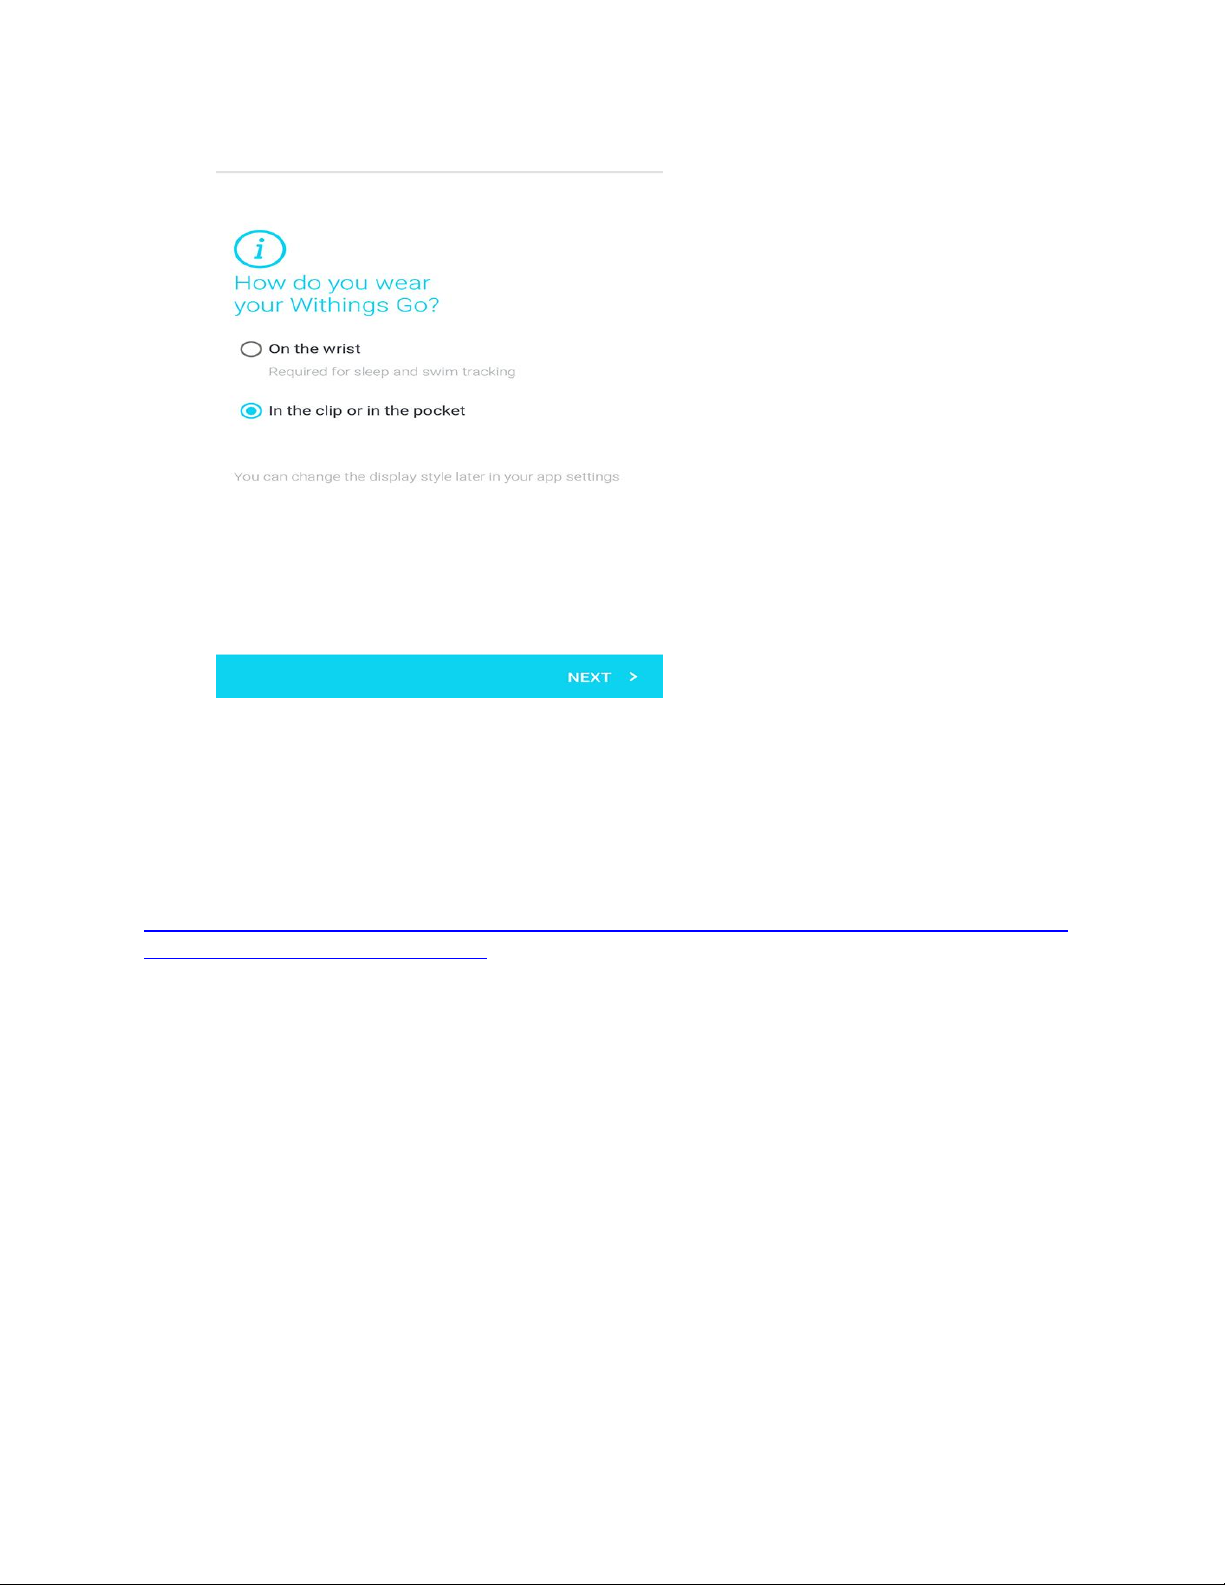
5. Make sure your Nokia Go isn't already installed.
The screen should look like one of the following pictures if it can be installed.

To perform a factory reset of the Nokia Go, perform the following steps:
1. Long press the screen of your Nokia Go for 25 seconds until the following screen is
displayed.
2. Short-press the screen of your Nokia Go five times until the following sequence of screen
is displayed.
3. The following screen will be displayed after a few seconds:
I'm having syncing issues. What should I do?
If your Nokia Go doesn't sync with the Nokia Health Mate® app, perform the following steps:
1. Make sure that your Nokia Go appears in My devices in the Nokia Health Mate® app.
If not, you need to install it.
2. If necessary, try to turn off Bluetooth on your mobile device and then turn it back on.
3. If your Nokia Go is not installed on the main user profile of your account, log out from
the app and then log back in with the correct user profile.

Android 6 users may have to change the permissions of the app to be able to connect via BLE. To
do so, go to Settings > Apps > Nokia > Permissions and enable Location.
My Nokia Go doesn't detect sleep when I'm sleeping. What
should I do?
If your Nokia Go doesn't detect sleep when you're sleeping, it's probably because you haven't
specified in the app that you're wearing your Nokia Go at the wrist. If that's the case, your Nokia
Go won't be able to track your sleep. To update this, perform the following steps:
1. Open the Nokia Health Mate® app.
2. Tap My devices.
If your Nokia Go doesn't appear in My devices, you need to install it.
3. Tap Nokia Go.
4. Tap Change how you wear your Go.
5. Select the appropriate option and validate.
Tracking my sleep - Android procedure

Your Nokia Go lets you track your sleep without requiring any action on your part. All you have
to do is wear your Nokia Go around your wrist when you go to sleep: it will do the rest on its
own.
Do make sure that you’ve specified in the app that you’re wearing your Nokia Go at the wrist or
the sleep detection will be disabled.
Retrieving your Sleep Data
You can retrieve the sleep data collected by your Nokia Go in your Timeline or on
your Dashboard in the Nokia Health Mate® app.
(1) Breakdown of your night:
- Time spent awake (orange)
- Duration of light sleep cycle
(light blue)
- Duration of deep sleep cycle
(dark blue)
(2) Time spent lying
(3) Total time spent sleeping
(4) Percentage of the sleep goal
(of 8 hours)
(5) Time it took you to fall
asleep
(6) Number of wake-ups

The Nokia Health Mate® app keeps your entire history, allowing you to easily track
how your sleep data evolves over time.
Changing the way I wear my Nokia Go in the app
It is required to specify how you wear your Nokia Go in the app. The reason for that is that sleep
and swim detection are only enabled when the app knows you’re wearing
your Nokia Go at the wrist. To update this, perform the following steps:
1. Open the Nokia Health Mate® app.
2. Tap My devices.
3. Tap Nokia Go.

4. Tap Change how you wear your Go.

5. Select the appropriate option and tap Next.
Tracking my sleep - iOS procedure
Your Nokia Go lets you track your sleep without requiring any action on your part. All you have
to do is wear your Nokia Go around your wrist when you go to sleep: it will do the rest on its
own.
Do make sure that you’ve specified in the app that you’re wearing your Nokia Go at the wrist or
the sleep detection will be disabled.
Retrieving your Sleep Data
You can retrieve the sleep data collected by your Nokia Go in your Timeline or on
your Dashboard in the Nokia Health Mate® app.

(1) Breakdown of your night:
- Time spent awake (orange)
- Duration of light sleep cycle
(light blue)
- Duration of deep sleep cycle
(dark blue)
(2) Time spent lying in bed
(3) Total time spent sleeping
(4) Percentage of the sleep goal
(of 8 hours)
(5) Time it took you to fall
asleep
(6) Number of wake-ups
The Nokia Health Mate® app keeps your entire history, allowing you to easily track
how your sleep data evolves over time.
Changing the way I wear my Nokia Go in the app
It is required to specify how you wear your Nokia Go in the app. The reason for that is that sleep
and swim detection are only enabled when the app knows you’re wearing
your Nokia Go at the wrist. To update this, perform the following steps:
1. Open the Nokia Health Mate® app.

2. Tap My devices.
3. Tap Nokia Go.
4. Tap Change how you wear your Go.

5. Select the appropriate option and tap OK.
The time displayed on my Nokia Go is not correct. What
should I do?
If the time displayed in your Nokia Go is not correct, perform the following steps:
1. Open the Nokia Health Mate® to sync your Nokia Go.
You may have to refresh your Timeline by sliding your finger from top to bottom to
trigger the synchronization.
2. If the screen of your Nokia Go keeps rebooting for no apparent reason, try replacing the
battery.
Syncing my data
Automatic syncing
Manual syncing
Please note that you can only sync data with the main user of the account. If you use several
trackers, you'll have to log out from the app and then log back in with the correct user profile
every time you want to use a different tracker.

Automatic syncing
Background synchronizations allow you to automatically sync your data as long as your
Bluetooth is enabled. They occur when:
You have taken more than 1,000 steps since the last sync
You have reached your daily steps objective
More than 6 hours have passed since the last sync took place
Manual syncing
All you have to do to sync your data is open the Nokia Health Mate® app. When you do, your
Nokia Go automatically syncs your data with the app. Make sure your Nokia Go is close enough
to your iOS or Android device and that Bluetooth is enabled on your device or you will not be
able to synchronize your data.
You may have to refresh your Timeline by sliding your finger from top to bottom to trigger the
synchronization.
Note that the Nokia Go has a limited memory (around 10 days). As such, we recommend that
you sync your data regularly. Syncing your data once a week or so would also prevent the
syncing process from taking too long.
Cleaning my Nokia Go
We recommend that you regularly wash the wristband, whether you wear it all day and all night
long, or just when you sleep. To do so, perform the following steps:
1. Remove your Nokia Go from the wristband.
2. Run the wristband under water and rub it with hypoallergenic soap to clean it.
3. Rinse the wristband with water.
4. Dry the wristband with a soft cloth.
5. Allow the wristband to dry completely before wearing it again.
Failure to clean the wristband regularly may cause skin irritations.
If you have to clean the Nokia Go itself, use a lint-free cloth moistened with water to clean the
casing.
Replacing the battery of my Nokia Go

Your Nokia Go has an autonomy of up to 8 months using a CR2032 battery. If you need to
replace the battery, perform the following steps:
1. Turn it over so that you can see the back case cover.
2. Place the tool provided with the Nokia Go in the groove of the back case and turn
counterclockwise so that the marking at the top of the back case is in line with the dot.
Alternatively, you can use a coin to do so. If you do so, be careful not to damage the groove.
3. Replace the battery.
4. Make sure the O-ring is still in place as it is what allows your Nokia Go to be waterproof.
5. Put the cover back in place.
6. Use the tool to lock the cover in place by turning clockwise.

Other manuals for Go
7
This manual suits for next models
1
Other Nokia Fitness Tracker manuals