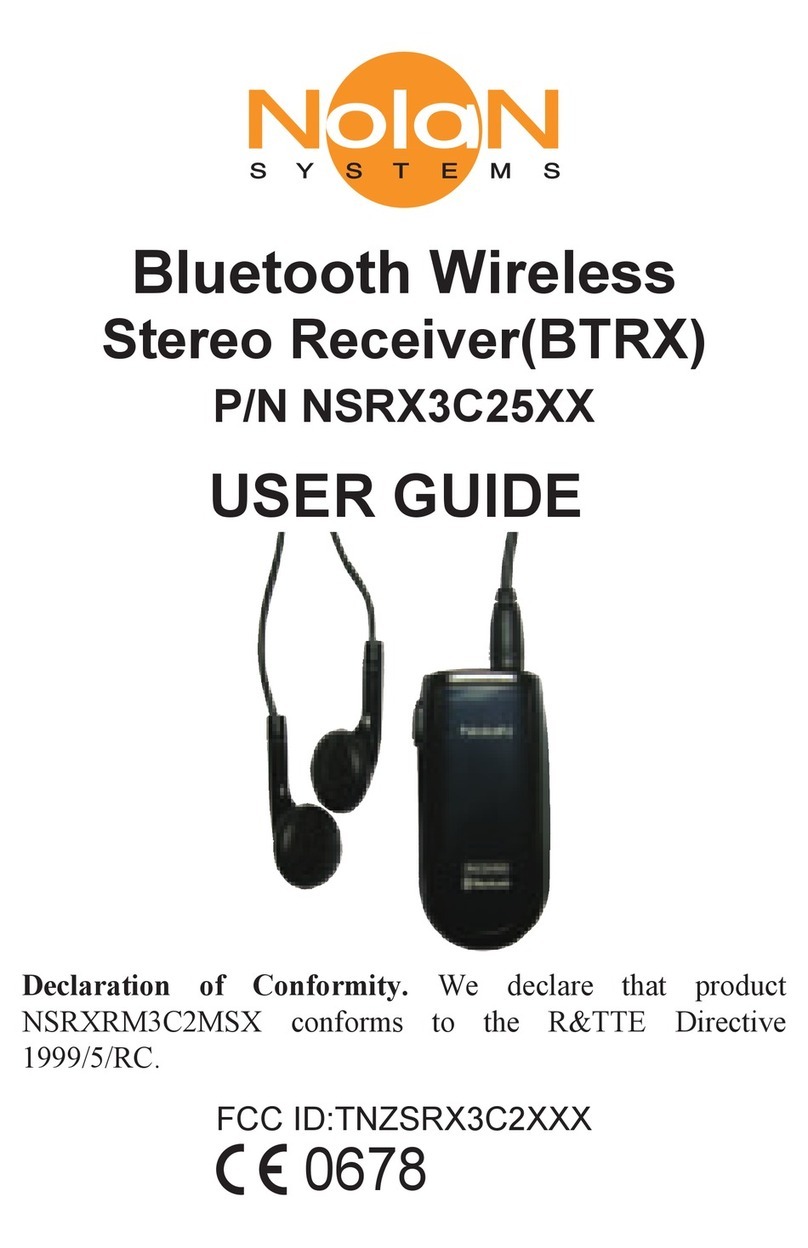
Nolan NSRXRM3C2HRS User manual

Wireless Remote Voice/Audio
Transmitter and Receiver Set
P/N NSRXRM3C2HRS
USER GUIDE
HearLinkSet
.
FCC ID:TNZNSRXRM3C2XXX
0678
Declaration of Conformity. We declare that product
NSRXRM3C2HRS conforms to the R&TTE Directive 1999/5/EC.
T
R L

Getting Started
Remove all components from the package. Items in
the pack included:
Introduction
Nolan Wireless HearLinkSet with remote
voice/audio transmitter (Remhearlinks) and
receiver (Hearlinks) together. It is a completed total
solution to improve hearing impairments to
understand more speech over a distance.
USB charging cable X2
HearLinks
earphoneLanyard X2
Power adapter
QSG
USER GUIDE
External
microphone
RemHearlinks
3.5mm
stereo cable
Analog stereo
audio cable

Please check the contents carefully and contact
your local dealer immediately if anything is missing
or damaged.
Getting to Know Your HearLinks and RemHearLinks
See image below. Please note some models will
differ slightly in style, colour and the functionality
may vary according to their specifications.
T
R L
Omni Mic
USB Charging Connector
LED
MFB/On/Off
Toggle ll
Left >
< Right
Earphone Jack
Volume Up
Volume Down
T-coil
Receiver
Wireless /PA
mode Switch
HearLinks

Charging Your HearLinks and RemHearLinks
Plug the USB charging cable into the mini USB
connector. Plug the other side of the USB charging
cable into a powered USB connector.
When charging, the amber LED will be lighted.
When charging is completed, the amber LED will be
turn off.
Omni Mic
Internal Mic
Gain Up
USB Charging Connector
LED
On/Off
Omni /Uni Switch
Uni Mic
Line in and
External Mic Jack
Internal Mic Line in/
External Mic Selection
Line in
Volume Up
Line in
Volume Down
/Mute
Internal Mic
Gain Down
/Mute
RemHearLinks

or
Wear Your HearLinks or RemHearLinks
Wear with
lanyard to loop
around on neck
or clip on collar
for conveniently
using.
Lanyard
hole
Clip

You need to pair both HearLinks and RemHear-
Links when both first time to use together.
1. On HearLinks, slide the
Wireless/PA switch to select
the Wireless mode.
2. Press and hold the MFB
button for 2 seconds until
blue and amber LED
fast flashing alternatively.
Turn on and pairing HearLinks and RemHearLinks
3. On RemHearLinks, Press
and hold the ON/OFF button
for about 2 seconds until blue
LED blinking fast.
Start using HearLinks and RemHearLinks Set
Wireless mode

Press and hold the ON/OFF button of each device
for about 2 seconds, the amber light will stay on for
about 1 second before turn off. Release the
ON/OFF button.
After paired, HearLinks and RemHearLinks will
connect to each other automatically on later using.
The blue light will change slow flash after
connected.
Turn off HearLinks and RemHearLinks
4. Both HearLinks and
RemHearLinks will pair and
connect each other automati-
cally. The blue LED of both
devices will change to flash
slowly (approx once every
two seconds) after completed
paring and connecting.

1. For remote voice links with embedded
microphone transmit capturing and delivering the
remote source of voice to listener wirelessly
Using for remote voice and commuicaiton
voice
“Listener”
HearLinks
“speaker”
RemHearLinks
Using for remote audio/music streaming
1. Connect to audio output of your TV, MP3 or
music player to listen and enjoy TV or music
wirelessly.

“Transmitter” “Receiver”
audio or voice
RemHearLinks HearLinks
BD/DVD player/
S
et-top box
Ext. MIC
HiFi
MP3
Tablet
PC
TV

Operation on RemHearLinks Unit:
The RemHearLinks supports internal and
external microphone to capture the sound. When
using microphone, put RemHearLinks to close the
sound source within 8 inch to capture the best
sound quality,
How to use internal Uni and Omni directional
microphone
Slide the microphone selection switch to choose
the corresponding internal microphone.
Both unidirectional and omnidirectional
microphones have their advantages and disadvan-
tages. The important thing is to know the applica-
tion of the microphone in use to know which would
be better for the given situation around.
Unidirectional
Omnidirectional

Unidirectional (Cardioid) microphone is
used that the target sound source pick up directly
in front of the microphone, and all other sounds
from sides are largely rejected.
Omnidirectional microphones will pick up
sound from all directions or sides around the
microphone. Users can speak into any side of the
microphone.
Good
Good Good
Good
Weak
Weak
Good

How to use external audio source input:
external microphone or external audio devices
Short press the
input selection
button, RemHear-
Links will toggle the
audio input source
between internal
microphone and
externalllla
microphone/audio
device.
When you using internal microphone, the blue LED
will flash up.
When you using external microphone/audio device,
the green LED will flash up instead of blue LED.

TV or other audio devices audio input
Connect the TV or other audio devices 3.5mm to
RemHearLinks via audio cable, and then select the
external microphone/audio device.
Using 3.5mm audio cable or RCA audio cable
converter to connect AUX or RCA audio output for
TV sound output.
Plug the external microphone
into the RemHearLinks audio
jack, and then select the
external microphone/audio
device.
RemHearLinks external microphone
3.5’
TV
or
AUX
AUDIO
OUTPUT
L R

Adjust microphone gain, input audio volume or
mute
The four volume buttons, Mic Gain Up/Down and
external audio Volume Up/Down, provide the
flexible volume tuning functions.
G+ and G- : Single press to increase and
decrease the internal microphone gain.
G-: Press and hold about a second to mute
the internal microphone, the amber LED will flash
slowly. Then press G+ to un-mute
V+ and V- : Single press to increase and
decrease the external microphone or audio sound
volume.
V-: Press and hold about a second to mute
the microphone, the amber LED will flash slowly.
Then press V+ un-mute.
Internal Mic
Gain Up
Internal Mic Line in/
External Mic Selection
Line in
Volume Up
Line in
Volume Down
/Mute
Internal Mic
Gain Down
/Mute

HearLinks earphone
volume can be
adjusted to your
desired hearing
needs.
select audio/sound
enhancement profile to
meet your personal
preference needs.
The two buttons, “+” and “-”, allow you to adjust the
earphone volume. User will hear a tone when
reach max/min volume.
To mute the earphone, long press “-” and short
press “+” to un-mute.
Adjust earphone volume
HearLinks earphone volume can be adjusted to
your desired hearing needs at both wireless and
personal sound amplifier mode.
Operation on HearLinks Unit:
Plug the earphone into the HearLinks audio jack,the
audio or voice will be steamed to HearLinks and
listen from earphone. HearLinks provides the
customized hearing preferences settings. You can
adjust the audio balance of left/right channel or

HearLinks provides the customized hearing
preferences settings. You can adjust the audio
balance of left/right channel or select audio/sound
enhancement profile to meet your personal
preference needs.
Hearing preferences settings
Enter the hearing preferences settings mode:
Press and hold the MFB and L> (or <R) button
simultaneously for 1 second till blue and green LED
light up at the same time.
R L
R L
or
Hearing preferences settings

Balance between the left and right ear to compen-
sate for a more volume in one ear
Short press L>:
Left channel enhance
for 1 step, total 5 steps,
user will hear a tone
when reach max.
Short press <R:
Right channel enhance
for 1 step, total 5 steps,
user will hear a tone
when reach max.
Short press “II”:
Restore left and right
channel to default
equal balance.
Balance for L/R audio channel:
R L
R L
R L

There are 5 different hearing preference profiles
1- Pass through by default
2- Low frequency noise reduction
3 -Speech high frequency enhancement
4- Middle and high frequency enhancement
5- Wider middle and high frequency enhancement
6- More middle and high frequency enhancement
The sequence of profile is circulated. Users will
hear a tone when profile circulated back to
1st/default profile.
Short press + :
Next preferences
profile.
Short press
- :
Previous preference
profile.
Hearing preference profiles setting:
R L
R L

R L
After set to desired balance and hearing profile, you
can single press the MFB button to exit. The blue
and green LED will be turn off and remain to the
normally LED indication.
All the currently volume,
balance and hearing
profile settings will be
memorized by the
HearLinks after power off.
All of the settings will be
kept when you turn on
HearLinks next time.
Hint: The earphone is
a binaural design. You can
cut one of earbud to
become a monaural as
needs for conveniently
using
Exit the hearing preferences settings mode:
※

Pairing HearLinks with your Bluetooth mobile
phone
Using HearLinks with Bluetooth mobile phone
Select the wireless mode, then press and hold the
MFB button for 2 seconds. HearLinks will be turn on
and enter pairing mode with blue and amber LED
fast flashing alternatively.
On other Bluetooth device, search and find the
device named “HearLinks”, and then select
“HearLinks” to pair. In some Bluetooth devices, it will
find the HearLinks and pair/connect with it automati-
cally.
Table of contents
Other Nolan Receiver manuals

