a) Grasp plug and remove from the receptacle or other outlet device. Do not unplug by pulling on cord.
Replace the fuse.
User-Servicing Instructions
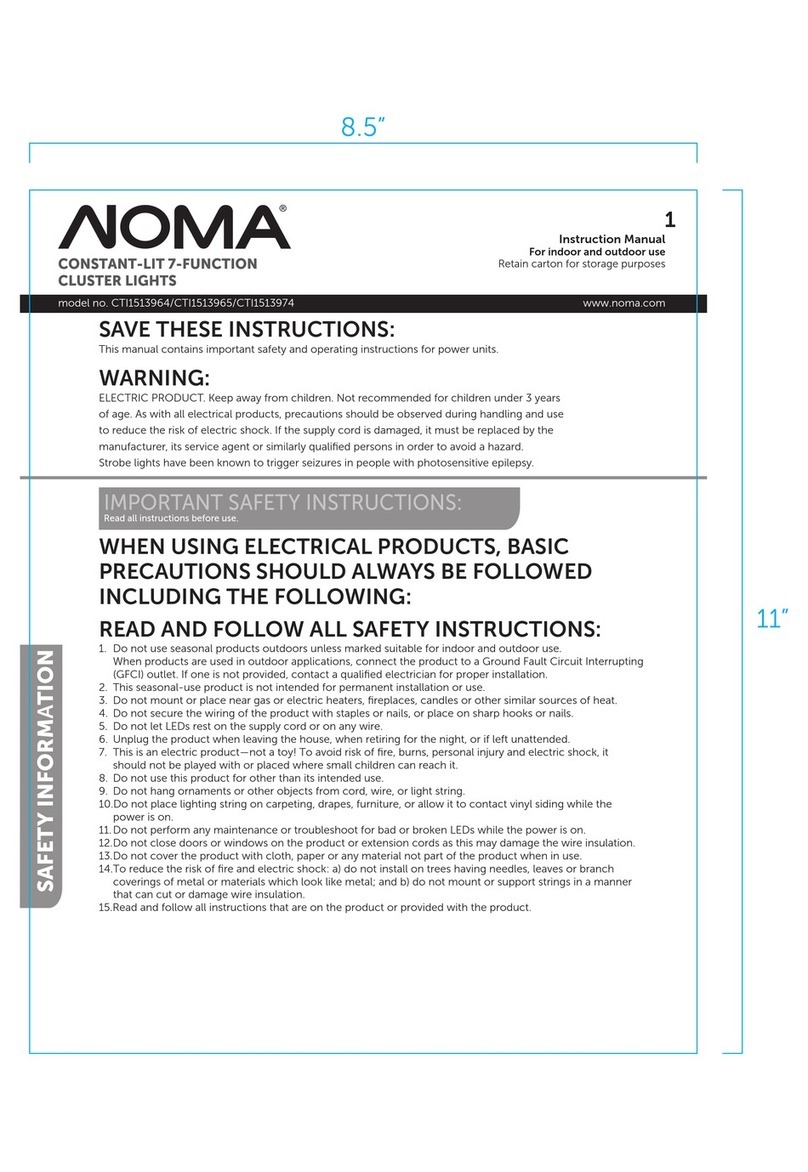
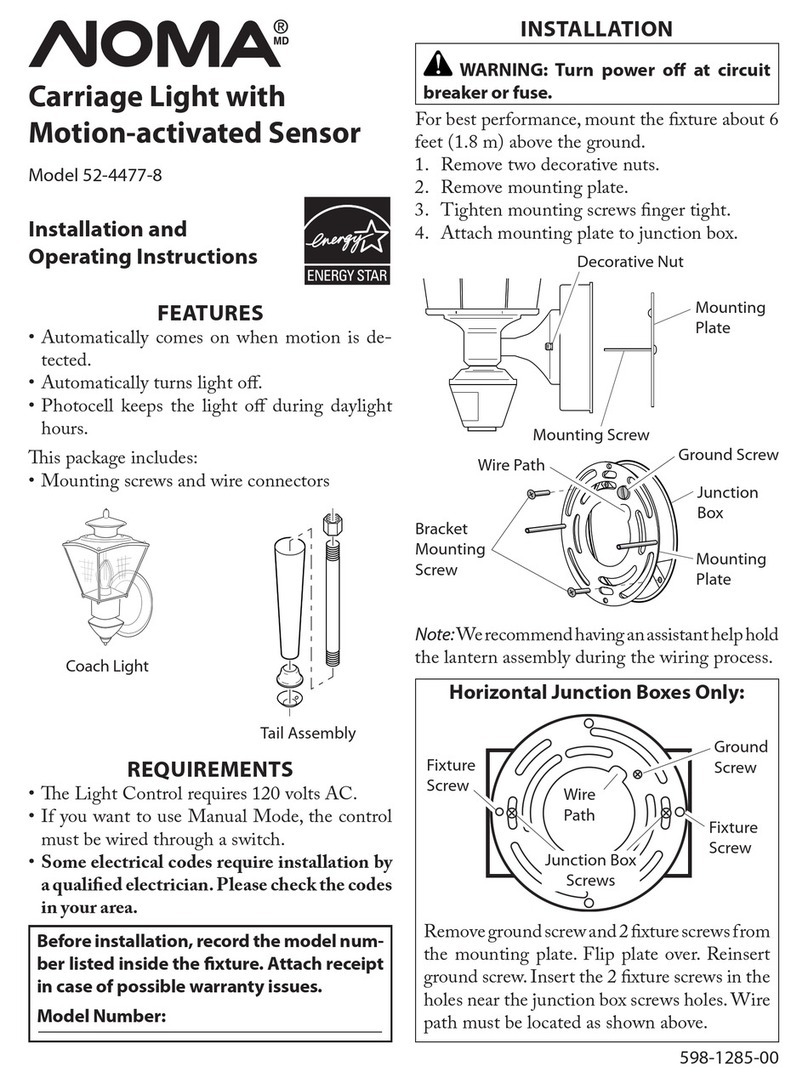
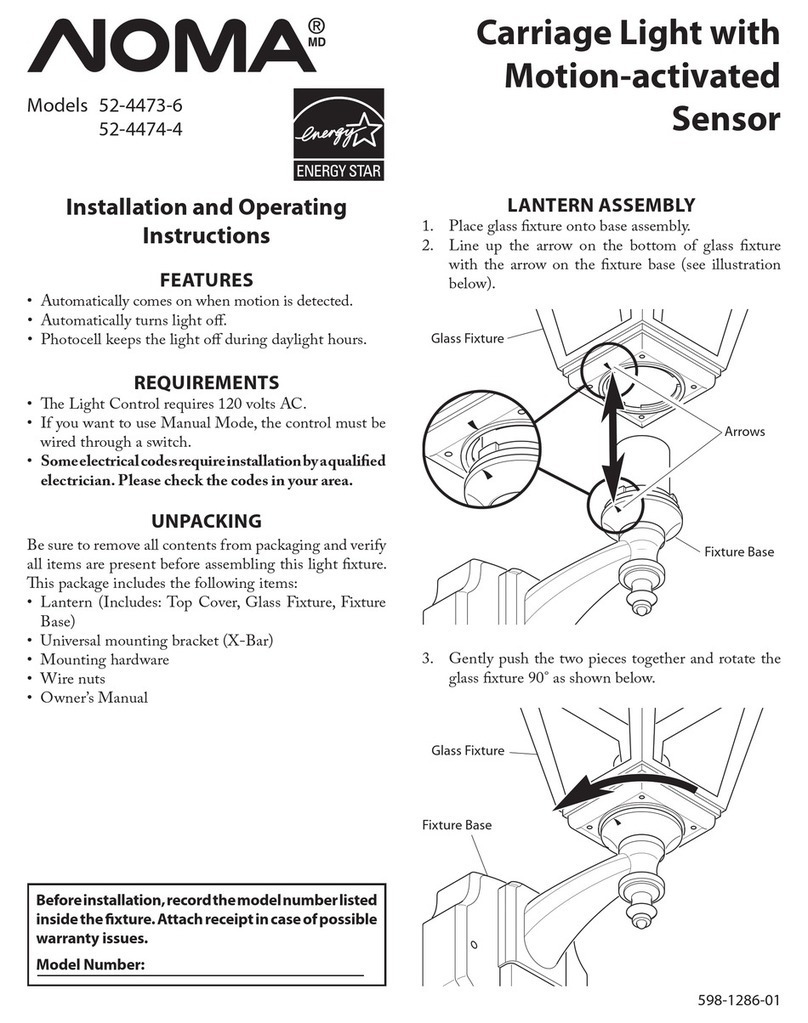
IMPORTANT SAFETY INSTRUCTIONS
When using electrical products, basic precautions should always be followed including the following:
READ AND FOLLOW ALL SAFETY INSTRUCTIONS
a) Do not use seasonal products outdoors unless marked suitable for indoor and outdoor use. When products
are used in outdoor applications, connect the product to a Ground Fault Circuit Interrupting (GFCI) outlet.
If one is not provided, contact a qualified electrician for proper installation.
b) This seasonal-use product is not intended for permanent installation or use.
c) Do not mount or place near gas or electric heaters, fireplace, candles or other similar sources of heat.
d) Do not secure the wiring of the product with staples or nails, or place on sharp hooks or nails.
e) Do not let lamps rest on the supply cord or on any wire.
f) Unplug the product when leaving the house, when retiring for the night, or if left unattended.
g) ! To avoid risk of fire, burns, personal injury and electric shock, it
This is an electric product—not a toy
should not be played with or placed where small children can reach it.
h) Do not use this product for other than its intended use.
i) Do not hang ornaments or other objects from cord, wire, or light string.
j) Do not close doors or windows on the product or extension cords as this may damage the wire insulation.
k) Do not cover the product with cloth, paper or any material not part of the product when in use.
l) This product is equipped with push-in type lamps. Do not twist lamps.
m) This product employs overload protection (fuse). A blown fuse indicates an overload or short-circuit
situation. If the fuse blows, unplug the product from the outlet. Also unplug any additional strings or
products that may be attached to the product. Replace the fuse as per the user servicing instructions
(follow product marking for proper fuse rating) and check the product. If the replacement fuse blows,
n) Read and follow all instructions that are on the product or provided with the product.
SAVE THESE INSTRUCTIONS
a short-circuit may be present and the product should be discarded.
c) Before using or reusing, inspect product carefully. Discard any products that have cut, damaged, or frayed wire
insulation or cords, cracks in the lampholders or enclosures, loose connections, or exposed copper wire.
d) When storing the product, carefully remove the product from wherever it is placed, including tree, branches,
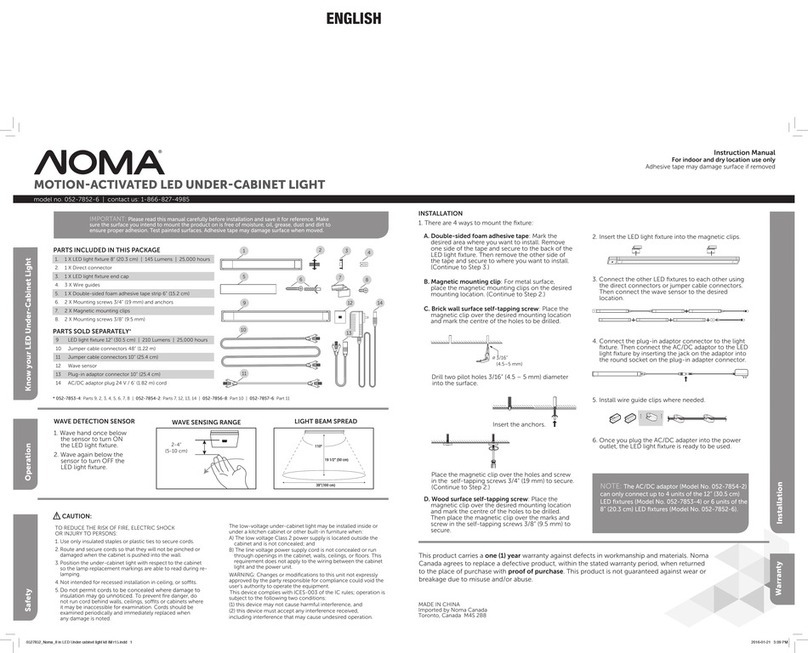
Use and Care Instructions
a) When the product is placed on a live tree, the tree should be well maintained and fresh. Do not place on live
trees in which the needles are brown or break off easily. Keep the tree holder filled with water.
b) If the product is placed on a tree, the tree should be well secured and stable.
or bushes, to avoid any undue strain or stress on the product conductors, connections, and wires.
e) When not in use, store neatly in a cool, dry location protected from sunlight.
IMPORTANT SAFETY INSTRUCTIONS
Replace the lamp.
1. Grasp plug and remove from the receptacle or other outlet device. Do not unplug by pulling on cord.
2. Unlock the burned-out LED lamp by lifting the hook.
4. Replace lamp with only 4.0/3.0 V, 0.08/0.06 Watt, type lamp (provided with product).LED
5. Lock the hook of lamp base by pushing lock down into the tab.
3. Pull lamp and plastic base straight out of lampholder.
Always match the hook to the tab.
b) Open fuse cover. Slide open fuse access cover on top of attachment plug towards blades.
c) Remove fuse carefully.
d) Risk of fire. Replace fuse only with 3 amp, 125 volt fuse (provided with product).
e) Close fuse cover. Slide closed the fuse access cover on top of attachment plug.
f) Risk of fire. Do not replace attachment plug. Contains a safety device (fuse) that
should not be removed. Discard product if the attachment plug is damaged.
Unlock Lock
Hook
Tab
Caution
To reduce the risk of overheating, replace burned-out lamps promptly. Use 4.0/3.0 volt, 20 mA
LED lamps only.
CAUTION:


