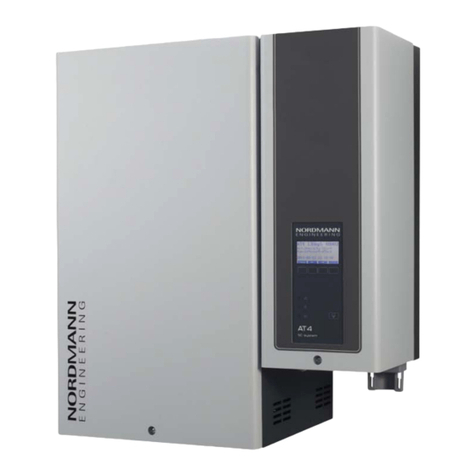
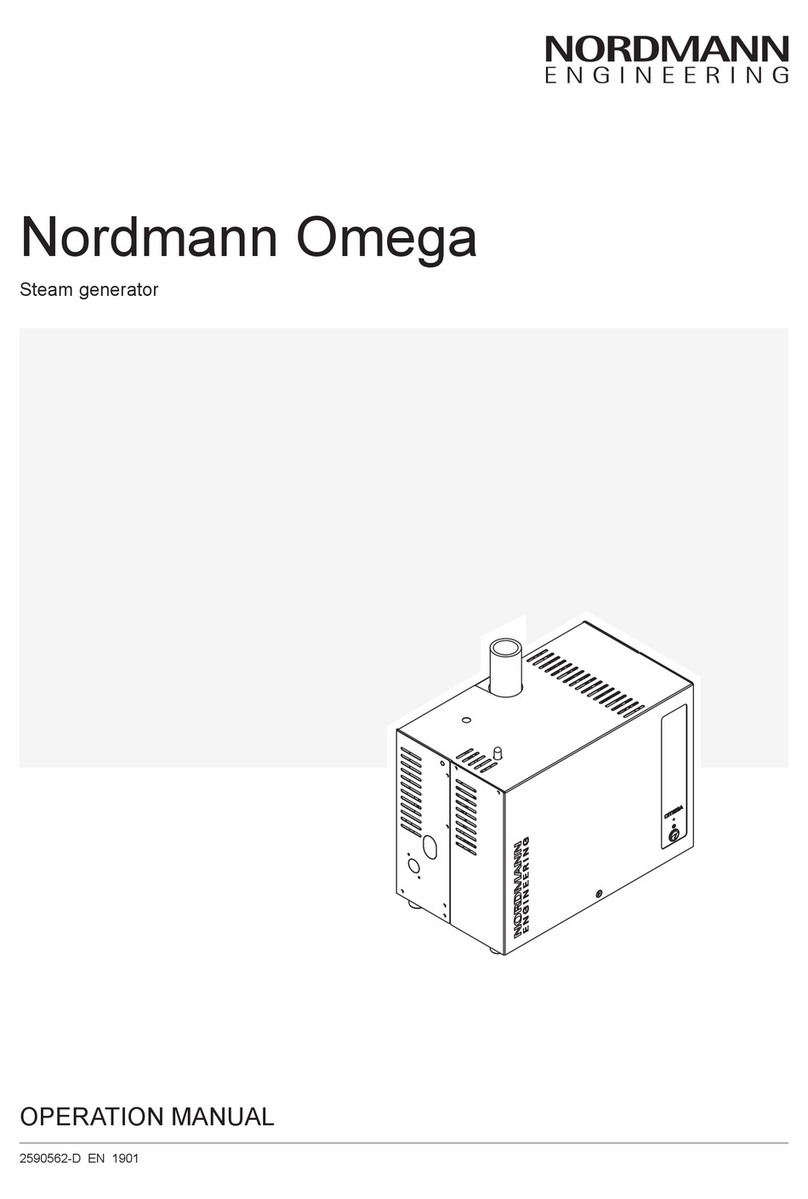
Nordmann Engineering Omega User manual

INSTALLATION MANUAL
Steam generator
Nordmann Omega
2590564 EN 1710

Thank you for choosing Nordmann
Installation date (MM/DD/YYYY):
Commissioning date (MM/DD/YYYY):
Site:
Model:
Serial number:
Proprietary Notice
This document and the information disclosed herein are proprietary data of Nordmann Engineering AG. Neither
this document, nor the information contained herein shall be reproduced, used, or disclosed to others without the
written authorisation of Nordmann Engineering AG, except to the extent required for installation or maintenance
of recipient's equipment.
Liability Notice
Nordmann Engineering AG does not accept any liability due to incorrect installation or operation of the equipment
or due to the use of parts/components/equipment that are not authorised by Nordmann Engineering AG.
Copyright Notice
© Nordmann Engineering AG, All rights reserved.
Technical modications reserved.

3
Contents
1 Introduction 5
1.1 To the very beginning 5
1.2 Notes on the installation manual 5
2 For your safety 7
3 Product Overview 9
3.1 Models overview 9
3.2 Identicationoftheunit 10
3.3 Options 11
3.4 Accessories 11
4 Inspecting the delivery / Storage and Transportation 12
4.1 Delivery 12
4.1.1 Standard delivery 12
4.2 Inspectingthedelivery 12
4.3 Storage and Transportation 13
5 Notes for the planning engineer 14
5.1 Selectingtheunitversion 14
5.1.1 Determinationoftherequiredsteamcapacity 14
5.1.2 Selectingtheunit 14
5.2 Selectingtheoptionsanaccessories 14
6 Mounting and installation work 15
6.1 Safetynotesonmountingandinstallationwork 15
6.2 Installation overview 16
6.3 Mounting the unit 17
6.3.1 Notesonlocatingtheunit 17
6.3.2 Mounting the steam generator 19
6.3.3 Inspectingtheinstalledunit 21
6.4 Steam installation 22
6.4.1 Overview steam installation 22
6.4.2 Positioning/mounting the steam distributor 23
6.4.3 Installingthesteamandcondensatelines 24
6.4.4 Commonsteamandcondensatelineerrors 28
6.4.5 Inspectingthesteaminstallation 29
6.5 Waterinstallation 30
6.5.1 Overviewwaterinstallation 30
6.5.2 Notes on water installation 31
6.5.3 Inspectingthewaterinstallation 32
6.6 Electricinstallation 33
6.6.1 Notesonelectricalinstallation 33
6.6.2 Wiring diagram Nordmann Omega 34

4
6.6.3 Installationworkexternalconnections 35
6.6.3.1 Connectingthecontrolwiring 35
6.6.3.2 ConnectinganexternalOn/Offpushbutton 36
6.6.3.3 Connectingtheexternalsafetychain 36
6.6.3.4 Connectingtheinternal(option)orexternal(accessory)touchdisplay(s) 36
6.6.3.5 Connectingthevoltagesupply 37
6.6.4 Performancedata/Fuses"F3"voltagesupply 38
6.6.5 Inspectingtheelectricalinstallation 38
7 Appendix 39
7.1 Unit dimensions 39
7.1.1 Unitdimensionsunit"Small"(OmegaPro4...8) 39
7.1.2 Unitdimensionsunit"Medium"(Omega Pro 12...20) 40

5
1.1 To the very beginning
We thank you for having purchased the Nordmann Omega steam generator.
The Nordmann Omega steam generator incorporates the latest technical advances and meets all rec-
ognized safety standards. Nevertheless, improper use of the Nordmann Omega steam generator may
result in danger to the user or third parties and/or damage to property.
To ensure a safe, proper, and economical operation of the Nordmann Omega steam generator, please
observe and comply with all information and safety instructions contained in the present documentation
as well as in the separate documentations of the components installed in the humidication system.
If you have questions after reading this documentation, please contact your Nordmann representative.
They will be glad to assist you.
1.2 Notes on the installation manual
Limitation
The subject of this installation manual is the Nordmann Omega steam generator in its different
versions. The various options and accessories are only described insofar as is necessary for proper
operation of the equipment. Further information on options and accessories can be obtained in their
respective instructions.
This installation manual is restricted to the installation of the Nordmann Omega steam generator and
is meant for well trained specialists being sufciently qualied for their respective work.
This installation manual is supplemented by various separate items of documentation (operation manual,
spare parts list, etc.), which are included in the delivery as well. Where necessary, appropriate cross-
references are made to these publications in the installation manual.
1 Introduction

6
Symbols used in this manual
CAUTION!
The catchword "CAUTION" used in conjunction with the caution symbol in the circle designates notes
in this installation manual that, if neglected, may cause damage and/or malfunction of the unit or
damage to property.
WARNING!
The catchword "WARNING" used in conjunction with the general caution symbol designates safety
and danger notes in this installation manual that, if neglected, may cause injury to persons.
DANGER!
The catchword "DANGER" used in conjunction with the general caution symbol designates safety and
danger notes in this installation manual that, if neglected, may lead to severe injury or even death
of persons.
Safekeeping
Please safeguard this installation manual in a safe place, where it can be immediately accessed. If the
equipment changes hands, the documentation must be passed on to the new operator.
If the documentation gets misplaced, please contact your Nordmann representative.
Language versions
This installation manual is available in other languages. Please contact your Nordmann representative
for information.

7
General
Every person, who is in charge of the installation work on the Nordmann Omega must have read and
understood this installation manual and the Nordmann Omega operation manual before carrying out
any work.
Knowing and understanding the contents of the installation manual and the operation manual is a basic
requirement for protecting personnel against any kind of danger, to prevent faulty operation, and to
operate the unit safely and correctly.
All icons, signs and markings applied to the Nordmann Omega must be observed and kept in readable
state.
Qualication of personnel
All installation work described in this installation manual may only be carried out by specialists who
are well trained and adequately qualied and are authorised by the customer.
For safety and warranty reasons any action beyond the scope of this manual must be carried out only
by qualied personnel authorised by Nordmann.
It is assumed that all persons working with the Nordmann Omega are familiar and comply with the ap-
propriate regulations on work safety and the prevention of accidents.
Intended use
The Nordmann Omega steam generator is intended exclusively for generation of steam for a
steam bath or steam shower within the specied operating conditions.Any other type of application,
without the written consent of Nordmann, is considered as not conforming with the intended purpose
and may lead to the Nordmann Omega becoming dangerous and will void any warranty.
Operation of the equipment in the intended manner requires that all the information contained in this
installation and operation manual are observed (in particular the safety instructions).
2 For your safety

8
Danger that may arise from the Nordmann Omega
DANGER!
Danger of electric shock!
The Nordmann Omega is mains powered. Live parts may be exposed when the unit is open.
Touching live parts may cause severe injury or danger to life.
Prevention: The Nordmann Omega must be connected to the mains only after all mounting and in-
stallation work has been completed, all installations have been checked for correct workmanship and
the unit is closed and properly locked.
Preventing unsafe operation
All persons working with the Nordmann Omega are obliged to report any alterations to the unit that
may affect safety to the owner without delay and to secure the Nordmann Omega against accidental
power-up.
Prohibited modications to the unit
No modications must be undertaken on the Nordmann Omega without the express written consent
of Nordmann.
For the replacement of defective components use exclusively original accessories and spare parts
available from your Nordmann representative.

9
3.1 Models overview
Steam generators Nordmann Omega are available in two unit sizes with different heating voltages
and steam capacities ranging from 4 kg/h up to a maximum of 20 kg/h.
Model
Nordmann Omega
Unit size Max. steam capacity
in kg/h
PNmax.
in kW
Heating voltage
Small Medium
4 x 4 3.5 230 V/1~/50...60 Hz
8 x 8 6.5
400 V/3~/50...60 Hz
12 x 12 9.5
16 x 16 12.5
20 x 20 15.5
Key model designation
Example:
Nordmann Omega 8
Product designation
Max. steam capacity in kg/h
3 Product Overview

10
3.2 Identication of the unit
The identication of the unit is found on the rating plate:
Nordmann Engineering AG, Talstrasse 35-37, 8808 Pfäfkon SZ, Switzerland
Type: Nordmann Omega 20 Ser.No: XXXXXXX 02.17
Heating voltage: 400V / 3~ / 50...60Hz Power: 15 kW
Steam capacity: 20.0 kg/h
Water pressure: 1...10 bar
Engineered in Switzerland, Made in Germany
Type designation Serial number (7 digits) Month/Year
Heating voltage
Maximum steam capacity per unit
Admissible water supply pressure
Power consumption
Field with certication symbols
Fig.1: Locationofthespecicationlabel

11
3.3 Options
Nordmann Omega
4 8 12 16 20
Touch-Display internal 1x
3.4 Accessories
Nordmann Omega
4 8 12 16 20
Filter valve 1x Z261
Filter cartridge 1x Filter cartridge
Size S
1x Filter cartridge
Size L
Mounting station 1x
Touch-Display external on-wall 1x
Touch-Display external in-wall 1x

12
4.1 Delivery
4.1.1 Standard delivery
The standard delivery includes:
– Steam generator Nordmann Omega including xing set, installation manual (this document) and
operation manual (this document) and spare parts list, packaged in cardboard box.
Unit type Dimensions packaging (L x W x D) Transport weight
Nordmann Omega 4...8 555 mm x 465 mm x 250 mm 11.8 kg
Nordmann Omega 12..20 555 mm x 465 mm x 370 mm 15.8 kg
– Ordered options with operating instructions according chapter3.3, packed separately.
– Ordered accessories with operating instructions according chapter3.4, packed separately.
4.2 Inspecting the delivery
After receiving:
– Inspect shipping boxes for damage.
Any damages of the shipping boxes must be reported to the shipping company without delay.
– Check packing slip to ensure all parts has been delivered.
All material shortages are to be reported to your Nordmann supplier within 48 hours after receipt of
the goods. Nordmann Engineering AG assumes no responsibility for any material shortages beyond
this period.
– Unpack the parts/components and check for any damage.
If parts/components are damaged, notify the shipping company immediately.
– Check whether the components are suitable for installation on your site according to the unit data
stated on the rating plate.
4 Inspecting the delivery / Storage and Transportation

13
4.3 Storage and Transportation
Storing
Until installation store the Nordmann Omega Pro in its original packaging in a protected area meeting
the following requirements:
– Room temperature: 5 ... 40 °C
– Room humidity: 10 ... 75 %rh
Transportation
For optimum protection always transport the unit and components in their original packaging and use
appropriate lifting/transporting devices.
WARNING!
It is the customer's responsibility to ensure that operators are trained in handling heavy goods and that
the operators comply with the appropriate regulations on work safety and the prevention of accidents.
Packaging
Keep the original packaging of the components for later use.
In case you wish to dispose of the packaging, observe the local regulations on waste disposal. Please
recycle packaging where possible.

14
5.1 Selecting the unit version
To select the unit version the following planning steps are required:
1. Determining the required maximum steam capacity according chapter5.1.1.
2. Selecting the unit version from the table in chapter5.1.2.
5.1.1 Determination of the required steam capacity
The steam capacity required for a particular steam bath can be determined with the following table:
Cabin size Required steam capacity
Plastic cabin brick lined cabin
4 m³ 4 kg/h 8 kg/h
8 m³ 8 kg/h 12 kg/h
12 m³ 12 kg/h 16 kg/h
16 m³ 16 kg/h 20 kg/h
Important notes:
– The determined steam capacity based on the above table does not consider any steam loss (e.g.
due to condensation in the steam hoses and the steam distributors), any heat loss of the unit as
well as any absorption or release of humidity of materials located in the steam bath/steam shower
being humidi ed.
In addition, the calculated steam capacity does not consider any losses caused by the draining rate
depending on the water quality.
The total amount of losses depends on the entire system and must be taken into consideration when
determining the required steam capacity. If you have any questions regarding the calculation of the
steam capacity please contact your Nordmann representative.
5.1.2 Selecting the unit
Model
Nordmann Omega
Unit Size Max. steam capacity
in kg/h
Heating voltage
Small Medium
4 x 4 230 V/1~/50...60 Hz
8 x 8
400 V/3~/50...60 Hz
12 x 12
16 x 16
20 x 20
5.2 Selecting the options an accessories
For selecting the options and accessories see chapter3.3 and chapter3.4.
5 Notes for the planning engineer

15
6.1 Safety notes on mounting and installation work
Qualication of personnel
All mounting and installation work must be carried out only by well qualied specialists authorised by
the owner. It is the owner’s responsibility to verify proper qualication of the personnel.
General notes
Strictly observe and comply with all information given in the present installation manual regarding the
mounting of the unit and the installation of water, steam and electricity.
Observe and comply with all local regulations dealing with water, steam and electrical installations.
Safety
Some installation work requires removal of the unit covers. Please note the following:
DANGER!
Danger of electric shock!
The Nordmann Omega is mains powered. Live parts may be exposed when the unit is open.
Touching live parts may cause severe injury or danger to life.
Prevention: The Nordmann Omega must be connected to the mains only after all mounting and in-
stallation work has been completed, all installations have been checked for correct workmanship and
the unit is closed and properly locked.
CAUTION!
The electronic components inside the steam generator are very sensitive to electrostatic dis-
charge.
Prevention: To protect these components against damage caused by electrostatic discharge (ESD
protection) appropriate measures must be taken when the unit is open for installation work.
6 Mounting and installation work

16
6.2 Installation overview
Electric installation
see chapter6.6
Water installation
see chapter6.5
Mounting the unit
see chapter6.3
Steam installation
see chapter6.4
≥ 40 mm
Rmin. 300 mm
Rmin. 300 mm
min. 5 %
–
min. 20 %
+
min. 500 mm
ø 30 mm
G 3/4"
ø14/7 mm
G 3/8"
G 3/8"
1...10 bar
1...40 °C
Z261
G 1/2" / G 3/8"
min. 30 cm
Internal diameter
DS60: 30 mm (Small) / DS80: 45 mm (Medium)
1.2 ... 1.3 m
Fig.2: Installation overview

17
6.3 Mounting the unit
6.3.1 Notes on locating the unit
Fig.3: Distancestobeobserved
Nordmann Omega 5...8
(Small)
12...20
(Medium)
Housing dimensions in mm X 470 470
Y 150 270
Z 350 350
Net weight in kg 10.6 14.4
Operation weight in kg 12.9 19.6
Y
Z
X
min. 100 mm
min. 1000 mm
min. 100 mm
min. 400 mm
min. 280 mm

18
The installation site of the Nordmann Omega depends largely on the location of the steam distributor. To
ensure proper functioning of the steam generator and to obtain an optimal efciency, the following
points must be considered and observed when choosing the location for the steam generator:
– Install the steam generator so that:
– the length of the steam line is kept as short as possible (max. 8 m),
– the minimum bend radius for steam hoses (R= 300 mm) and for solid steam pipes (5 x
internal diameter) and the minimum upslope and downslope (min. 20 %) of the steam lines
is maintained (see chapter6.4.3).
– The Nordmann Omega is designed for wall-mounting in protected interiors. Make sure that the con-
struction (wall, pillar, oor-mounted console, etc.) to which the steam generator is to be mounted,
offers a sufciently high load-bearing capacity (take notice of the weight information found in the
dimensions and weights table after Fig.3), and is suitable for the installation.
– The back panel of the Nordmann Omega retains heat during operation (max. surface temperature of
the metal housing approx. 60 - 70 °C). Make sure, therefore, that the construction (wall, pillar, etc.)
to which the unit is to be mounted, does not consist of heat-sensitive material.
– Install the Nordmann Omega in such a manner that it is freely accessible with sufcient space avail-
able for maintenance purposes. The minimum distances shown in Fig.3 must be maintained.
– The Nordmann Omega is protected according to IP20. Make sure the unit is installed in a drip-proof
location and the admissible ambient conditions are complied with.
– Do not mount the Nordmann Omega to hot or very cold walls or near vibrating components.
– The steam generator Nordmann Omega must only be installed in rooms with a oor drain.
CAUTION!
If for some reason the Nordmann Omega must be installed in a location without oor drain, it is
mandatory to provide a leakage monitoring device to safely interrupt the water supply in case of
leakage.
– Important: The ambient pressure at the place of installation of the Nordmann Omega and the steam
distributor must be equal.
– When mounting the Nordmann Omega use only the mounting materials supplied with the unit.
If mounting with the materials supplied is not possible in your particular case, select a method of
mounting that is of similar stability.
– The Nordmann Omega is designed for installation and operation within buildings (admissible tem-
perature range 5...40 °C). For outdoor operation the Nordmann Omega must be placed in a weather
protective housing. If ambient temperatures near or below the freezing point have to be expected,
the protective housing must equipped with a thermostat controlled heating of sufcient capacity. The
water supply pipe must be equipped with a trace-heating and must be insulated up to the protective
housing. The installation of a normally open valve inside the building envelope that will drain water
in case of power failure is highly recommended.

19
Fig.4: Mounting the steam generator
A
A
A
B
B
B
C
C
C
ab
c
d
e
transport securing device
Dimension Omega 5..8
(Small)
Omega 12..20
(Medium)
"a" in mm 25.0 25.0
"b" in mm 225.0 225.0
"c" in mm 65.0 65.0
"d" in mm 308.0 348.0
"e" in mm 219.5 209.5
Weights Omega 5..8
(Small)
Omega 12..20
(Medium)
Net weight in kg 10.6 14.4
Operating weight in kg 12.9 19.6
6.3.2 Mounting the steam generator

20
Procedure
1. Mark the attachment points "A" at the desired position with the help of a spirit level. Then, drill holes
diameter: 10 mm, depth: 50 mm.
2. Insert the supplied plastic plugs. Then, screw in the supplied screws 6 x 50 mm into the plastic plug
in such a way that the distance between screw head and unit rear wall is 10 mm.
3. Unlock the retaining screw of the unit cover, then remove the unit cover.
4. Remove transport securing device located on top of the steam tank , disconnect all heating cables
and the connecting cables to the over temperature switch(es). Then, pull steam tank out of the cou-
pling sleeve and remove.
5. Carefully pull the xing clip of the lling cup out of the support, then push lling cup down and pull it
to the front out of the support.
6. Hang the steam generator onto the screws. Insert the supplied locking plates "B" between screw
head and unit rear wall. Align the steam generator horizontally using a spirit level, then fasten the
screws.
7. Moisten the O-ring in the steam tank receptacle with water (do not use grease or oil). Then, insert
the stirrup on the backside of the steam tank into the retaining bracket on the back wall of the unit
housing. Insert the connector on the bottom side of the steam tank into steam tank receptacle and
push steam tank downwards until it comes to a stop.
Important: Check whether the steam tank is correctly hooked in the retaining bracket on the back
wall of the unit housing by pulling the steam tank to the front. A correctly mounted steam tank can-
not be moved.
8 Connect heating cable plugs into the corresponding sockets (see Abb. 5).
Important: make sure the cables are not crossed!
Attach connecting cables to the connectors of the overtemperature switch(es).
1
1
2
3
4
5
2
34
5
Abb.5: Connectingtheheatingcablesandtheconnectingcablesoftheovertemperatureswitch(es)
9. Insert the hocks of the lling cup into the opening in the lling cup support. Push lling cup upwards
until the xing clip engages.
Important: make sure the drain hose from water cup is inserted into the drain opening on the
bottom of the unit housing.
10. Reattach the unit cover and secure it with the retaining screw.
Other manuals for Omega
1
Table of contents
Other Nordmann Engineering Iron manuals
Popular Iron manuals by other brands
Oliso
Oliso Smart Iron TG1250 user manual

Sunbeam
Sunbeam Turbo Steam Master Proffesional instruction manual

cecotec
cecotec IRONHERO 1800 ULTIMATE instruction manual

Gaggia
Gaggia STIRO PROFESSIONAL manual

HOT TOOLS
HOT TOOLS PRO ARTIST BLACK GOLD HT1125BG Use and Care Instruction Manual

Philips
Philips Diva GC120 Series user manual

