Nordval TRIPLE SPIN HC104 User manual
TRIPLE SPIN
NORDVÄL HC104
English
Nordväl® is the registered trademark of TJM Zwerink Holding B.V.

1
Thank you for purchasing the Nordväl HC104 Triple Spin. Let’s get started!
HELLO,
Installing the water tank
Cleaning modes
Water tank & mop maintenance
Charging status & LED indicators
Declaration of Conformity
What’s in the box?
Remote control
Indicators & product maintenance
Troubleshooting
Product specifications
2
3
5
6
7
8
9
10
11
12

2
Product information
For the following
Product: Mop Robot
Type: HC104 Triple Spin
Declaration and applicable standards
Hereby, TJM Supplies B.V. declares that the type of radio equipment HC104 robot conforms to:
Directive EMC 2014/53/EU and the RoHS directive (2011/65/EU) and its amendment directives 2015/863/EU on the restriction
of the use of certain hazardous substances in electronic equipment.
The full text of the EU declaration of conformity can be found at the following internet address:
www.nordval.eu/declaration-of-conformity
Importer
Company: TJM Supplies B.V.
Address: Zompstraat 8
81012 HX Raalte
The Netherlands
Phone number: +31 85 0402973
Business license number: 72016981
VAT number: NL858946439B01
Nordväl® is the registered trademark of TJM Zwerink Holding B.V.
Specifications are subject to change without notice. Copyright©2022 TJM Supplies B.V. All rights reserved.
Manufactured in Korea by Everybot Inc.
DECLARATION OF CONFORMITY
3
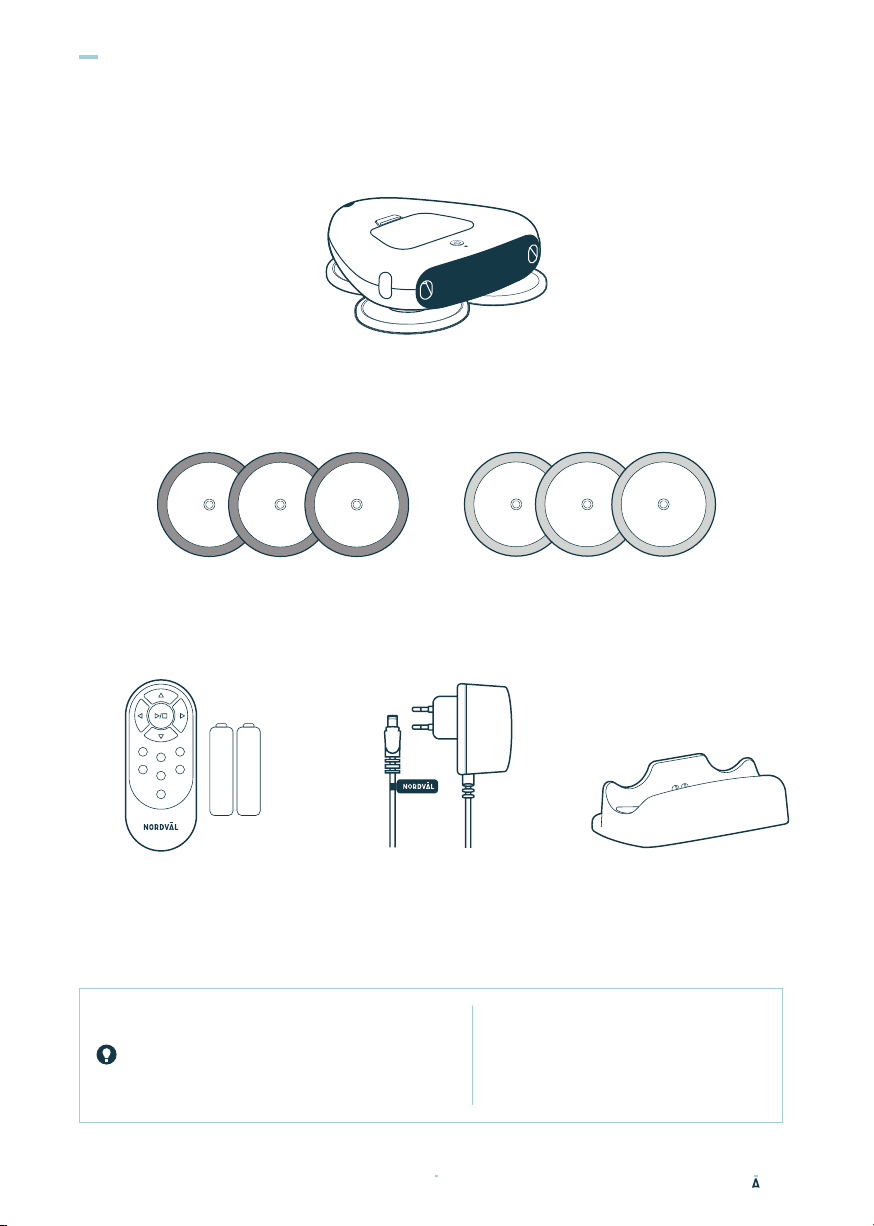
WHAT’S IN THE BOX?
HC104 Triple Spin
Remote Control
(Batteries included)
Power Adaptor
Mother-yarn Mop (Grey Color)
Composed of mother yarn fibers
that are 100 times thicker than
microfibers, which are great for
cleaning dirty cracks and old stains.
Microfiber Mop (Green Color)
Long and thick bristles provide a
large surface area for cleaning, which
is excellent for wiping floors without
leaving water stains.
Note
Mother-yarn Mop
(Grey Color)
Microfiber Mop
(Green Color)
Charging cradle
Table of contents
Other Nordval Vacuum Cleaner manuals


