NORLUX 0370-02-3 User manual
Sikkerhetsinformasjon:
•Følg installasjonsmanual for korrekt montering.
•Koble alltid fra strømmen før montering eller
vedlikehold.
•Kan kun monteres av autorisert elektriker.
•Monter ikke produktet hvis det er synlig skade.
Kontakt forhandler eller produsent.
•Bruk ikke løsemidler ved rengjøring
•Produktet skal ikke under noen omstendigheter
endres eller modifiseres.
•Sjekk produktets isolasjonsklasse.
Ved isolasjonsklasse I skal produktet jordes.
Safety Notes:
•The product must be installed, maintained,
and operated as instructions below.
•Before starting installation of this product,
make sure power supply is disconnected.
•Only to be installed by authorized electrician.
•Do not use abrasives or solvents when cleaning.
•Do not install the product if it appears damaged
in any way. Check with manufacturer if in doubt.
•Do not modify this fitting in any matter as this will
void warranty.
•Check protection class, if class I, it must be earthed.
•Disconnect power supply before maintenance or cleaning.
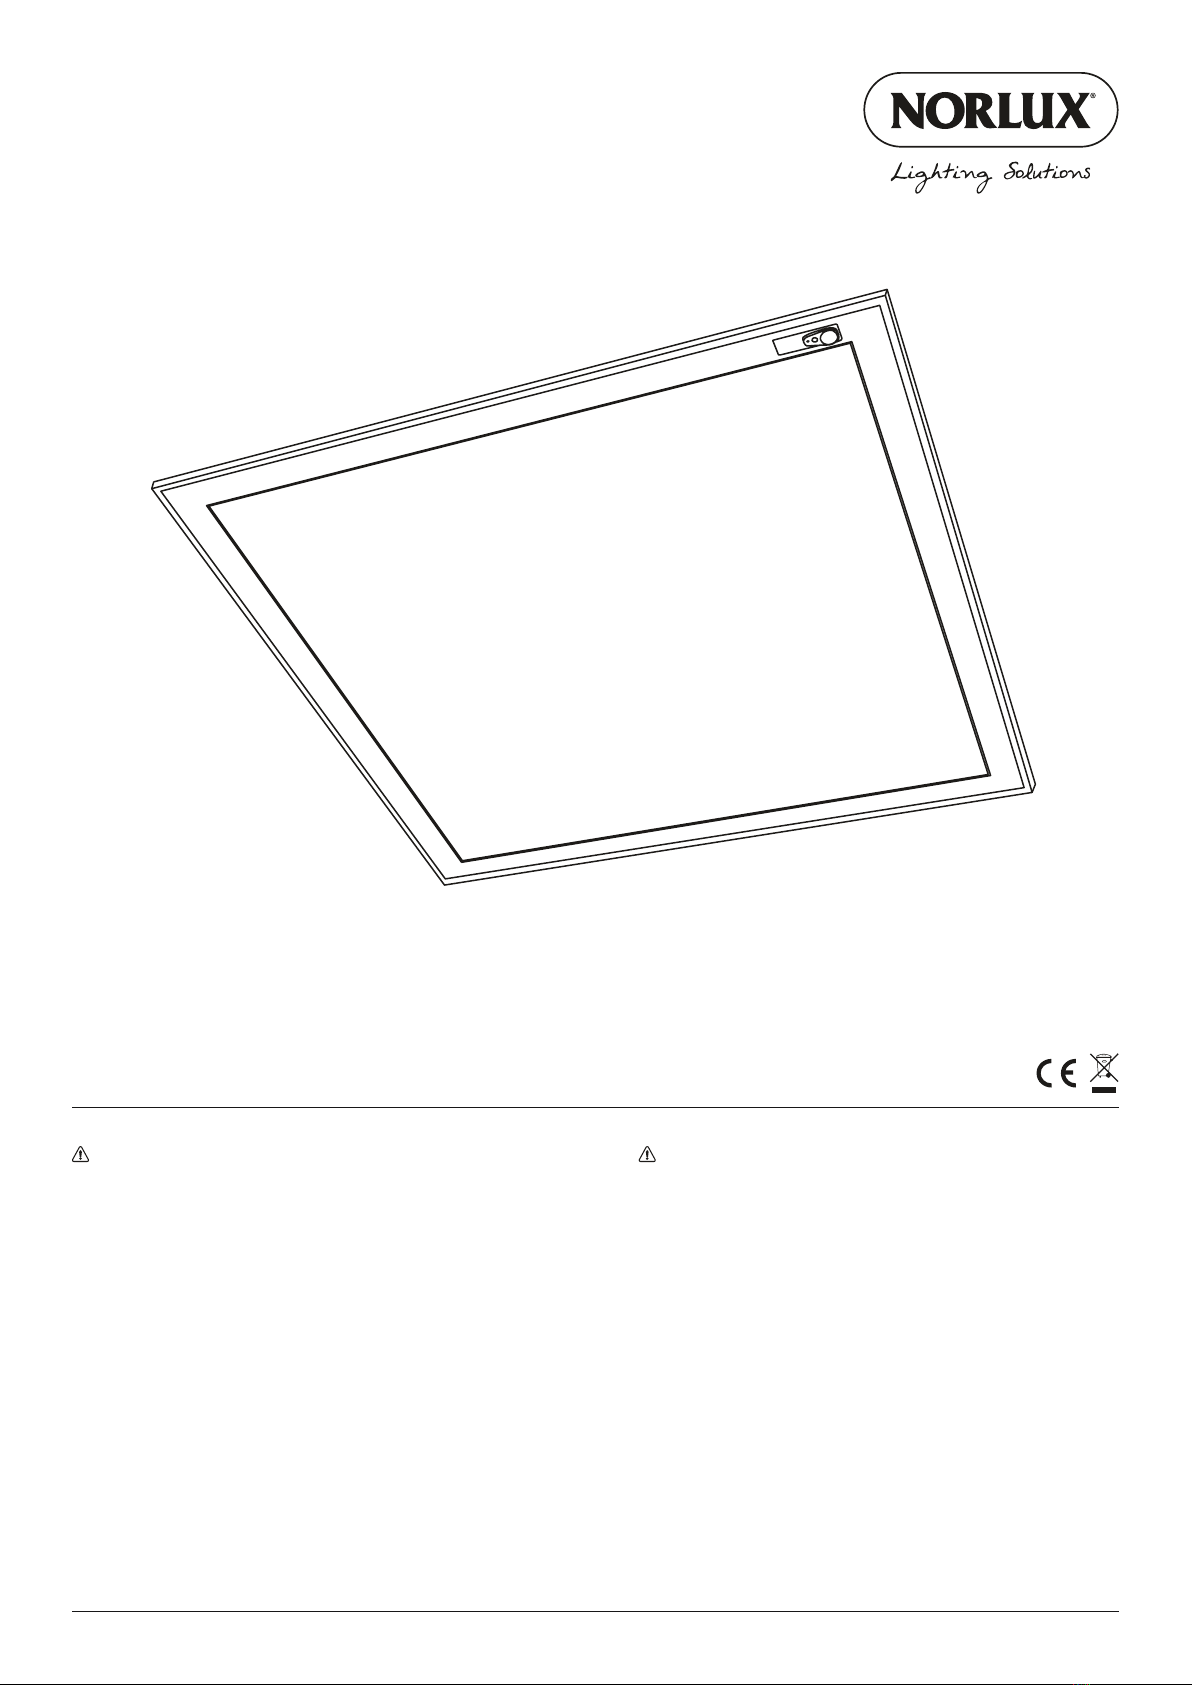
PIR Sensor Panel
INSTALLATION MANUAL
Imported by Norlux AS | Borgeskogen 32, 3160 Stokke, Norway | norlux.com
ART. NO.
0370-02-3

SENSOR PARAMETER SETTING
NOTE
AVAILABLE ACCESSORIES
COVERAGE PATTERNS
Time
1 2 3
10 s OFF OFF OFF
30 s OFF OFF ON
1 min OFF ON OFF
3 min OFF ON ON
5 min ON OFF OFF
10 min ON OFF ON
15 min ON ON OFF
30 min ON ON ON
Standby Time
5 6
1 min OFF OFF
30 min OFF ON
60 min ON OFF
∞ON ON
Standby Level
4
20% OFF
50% ON
Side view Top view
Unit of measurements: meters.
Driver included with 18i3 male plug.
Max current: 1050mA
Max power: 41W
Panel PIR Remote Control, art. no. 0370-01
CCT-switch 830/840
Daylight-sensor can only be enabled by remote, not by DIP-switch.
Time, standby-level and standby-time can be set by DIP-switch.
Default setting: Occupied time 10 min, standby-level 20% and standby-time 30 min
Minor motion
Major motion

ELECTRICAL CONNECTION
DAYLIGHT HARVESTING FUNCTION SETTING BY REMOTE CONTROL RC-105.
Sensor wiring with 10~ 28VDC wire dimming ballast or LED driver.

13
2
Snap-in Ceiling Installation Schematic diagram for vertical installationSchematic diagram for embedded installation
1. Install the bracket in the ceiling. 1. Install the hanging fixed block in order.
2. Install the Y rope.
3. Fasten the Y rope end with the easy snap
hooks. Use 3 pcs Y rope if 1195mm length.
1. Move away ceiling plaster slab,
then arrange the wire
2. Connect the power.
3. Fix the panel light to suitable place.
2. Snap the light in the ceiling bracket, then
fasten the side panel with screws.
3. Installation finish.


