manuals.online logo
Brands
  1. Home
  2. •
  3. Brands
  4. •
  5. NORMBAU
  6. •
  7. Indoor Furnishing
  8. •
  9. NORMBAU Inox Care 2956 110 Manual

NORMBAU Inox Care 2956 110 Manual

GB
DE
Mo tagea leitu g
Fixi g I structio s
Notice de mo tage
Mo tage ha dleidi g
Inox Care Kippspiegel 2956 11 , 2956 13 , 2956 14
Inox Care adjustable mirror 2956 11 , 2956 13 , 2956 14
Inox Care miroir inclinable 2956 11 , 2956 13 , 2956 14
Inox Carey kantelspiegel 2956 11 , 2956 13 , 2956 14 NORMBAU GmbH
77871 Renchen/Germany · Schwarzwaldstraße 15
EDV-Nr. 8214 360/A1 11.01.2017
NL
FR
Für d e rutschs chere Befest gung der
Bohrschablone (Kartondeckel) Aufkleber (1)
auf der Aussense te aufkleben und Schutzfol e
abz ehen.
For a non-sl p f x ng of the template (top of the
cardbord box) f x st ckers (1) on the outs de and
remove protect ve f lm.
Pour une f xat on stable du garbar t de
perçage (couvercle en carton), coller les
past lles autocollantes (1) sur le dessus
du couvercle et ret rer les feu lles de protect on.
Voor de bevest g ng van het boorchablone
(model van karton) dubbelz jd ge tape (1)
op de bu tenz jde plakken en beschermfol e
verw jderen.
1
1
GB
DE
NL
FR
Befest gungshöhe ca. 1500 mm anze chnen,
Bohrschablone ausr chten und aufkleben.
Mark the f x ng he ght (approx. 1500mm). Adjust
and st ck template.
Marquer la hauteur de f xat on
(env ron 1500 mm), pos t onner le gabar t
et le coller au mur.
Bevest g ngs hoogte ca 1500 mm
aangeven, boorchablone plaatsen en
opplakken.
ca. 1500
2
GB
DE
NL
FR
Bohrpunkte mark eren, Dübellöcher m t
Bohrer Ø 8mm ca. 65 mm t ef bohren und
Dübel e nschlagen. Für Anschluß der Leuchte
Verte lerdose bzw. Schüko-Steckdose vorsehen.
D e Leuchte st für Wechselspannung von 230 V,
50 Hz ausgelegt.
Mark dr ll ng pos t on. Dr ll holes, 8mm d a.,
approx. 65mm deep and nsert plugs. Take nto
cons derat on space for d str but on / safety socket
for the power po nt of the lamp.
Th s lamp can only be used w th alternat ng
voltages 230V, 50 Hz!
Marquer les po nts de f xat on. Percer les trous
pour les chev lles à l’a de d’un foret Ø 8 mm,
profondeur 65 mm env ron, et enfoncer les
chev lles. Pour le raccordement du lum na re,
prévo r un boît er de d str but on ou une pr se de
courant.
Boorpunten aangeven, gaten voor de pluggen
met een boor 8 mm ca. 65 mm d ep boren de
pluggen plaatsen. Voor het aanslu ten van de
verl cht ng een verdeeldoos of een
Schuko- stopcontact plaatsen.
3
GB
DE
NL
FR
Stützen (2) m t Halterungen (3) nach nnen
ze gend anschrauben und
Rossettenoberte le (4) aufdrücken.
Screw supports (2) w th m rror holders (3)
to po nt nwards to the wall.
M rror holders must be pos t oned to po nt nwards.
Cl p on cover roses (4).
V sser les supports muraux (2), en pos t onnant
les p nces pour m ro r (3) veres l’ ntér eur, et
cl pser les rosaces (4).
Beugelhouder (2) met klemmen (3) naar
b nnenstaand monteren en afdekkappen
erop drukken.
2
3
4
4
GB
DE
NL
FR
Das Anschl eßen der Lampe st vom
Fachmann auszuführen. Sp egelachsen
von h nten n d e se tl chen Halterungen
e nrasten.
The connect on of the lamp has to be done by a
competent electr c an. Secure the m rror p vot nto
the holders from the rear.
Le branchement du lum na re do t être effectué
par un profess onnel. Insérer par l’arr ère les axes
latéraux du m ro r dans les p nces.
Het aanslu ten van de verl cht ng s u t te voeren
door een vakman.
Assen van de sp egel van achteren n de
z jdel ngse steunen plaatsen.
5
93/42/EWG
GB
DE
NL
FR
Hülsenmutter (5) von unten,Schraube (6) von
vornnde Bohrungder Halterungen e nstecken
undsowe tmte nander verschrauben,daßs ch
der Spegel gutkppen läßt.Abdeckkappen (7)
aufrasten.
Insertthe female part(5) from the backandthe
screws (6) from the frontthrough the holes n the
mrror holders. Screw them together so thatthe
mrror canbe adjusted eas ly.Press nthe cover
caps(7).
Introdure les dou lles (5) par l´arrèredans
les perçages des pnces, les vs(6) par l´avant.
Serrer légèrementdes pnces, etles vs(6) par
l’avant.Serrer légèrementles vsafnque le
mro r pusse encore s’ncl ner faclement.
Enfoncer les cache-vs(7).
Schroefhuls(5) vanachteren,schroef (6)
aande vorzjde nde bor ngvande klemmen,
deschroef door de bor ngnde hulsschroeven,
zodatde sp egel nog goed te kantelen s.
Afdekkapen (7) plaatsen.
6
GB
DE
NL
FR
Lampe wechsel:
Glasabdeckung(8) festhalten undSchraube
(9) sowe tlösen,bss chde Glasabdeckung
abnehmen läßt.
Excha ge oflamp:
Holdthe glass cover (8) andloosen the
screw (9) unt lthe glass cover can be removed.
Cha gemet de l’ampoule:
T
en r le cache(8) etdesserrer lavs(9) jusqu’à
cequele cache pusse êtreretré.
Verieuwe vade lamp:
Glas afdekkng(8) vasthouden en schroef (9)
zover losdraa en,totdat deglasafdekkngzch
laat afnemen.
9
8
GB
DE
NL
FR
Roten Arret erknopf(10) drücken und
Leuchtstofflampe vors cht g herausz ehen.
Press red stop knob (10) andremove the
fluorescent lampcarefully.
Appuyer sur le bouton rouge (10) et ret rer
dél catement l’ampoule.
Roodeklemknop (10) ndrukken en de
lchtstoflampvoorzcht gverwjderen.
(10)
GB
DE
NL
FR
Neue Leuchtstofflampe
TC-L24 Watt e ndrücken und
Glasabdeckunganschrauben.
Insertnew fluorescentlamp TC-L24watt and
screw glass cover on.
Insérer une nouvelleampoule fluocompacte
24 W et v sser le cache.
N euwelchtstoflampplaatsen en de glas
afdekk ngplaatsen.
GB
DE
NL
FR
Klemmkraftei stellu g:
Abdeckkappen (7) abnehmen,Verstellkraft zur
Sp egelbewegungüber d eSchrauben (6) an der
l nken undrechten Lagerungnachstellen.
Adjustme t of clamp stre gth:
Remove cover caps (7). Re-regulate the clamp
strength by the screws (6) on the left and r ght
s de of the m rror bear ngs.
Réglage de la force d’i cli aiso :
Ret rer les caches-v s (7), et régler la force
d’ ncl na son par les v s(6) des deuxcôtés du
m ro r.
Klem- sterke- i stelli g:
Afdekkappen (7) verw jderen, verstelsterkte voor
de sp egel beweg ng met schroeven (6)
aan de l nker en rechter lager ng nastellen.
1
2
3
GB
DE
NL
FR
Die Mo tage ist vom Fachmaauszuführe.
Beiicht fachgerechter Mo tage wird vo
NORMBAU keie Haftug für Folgeschäde
über omme.
The fixig has tobe do e byskilled workers
o ly. If fixig has ot beedo e professio-
ally, NORMBAU willot assume liabilityfor
ayco sequetialdamages.
La fixatio doitêtreeffectuée paru
professio el.Ecasde fixatio Iadaptée,
NORMBAU ´assureaucu egaratie.
De mo tage is door eevakmauit te
voere.Bij iet mo atage door eespecialist
ka de aasprakelijkheid voor eve tuele
gevolgschade iet eergelegt wordebij
NORMBAU.

This manual suits for next models

2

Other NORMBAU Indoor Furnishing manuals

NORMBAU NY.466.110 Manual

NORMBAU

NORMBAU NY.466.110 Manual

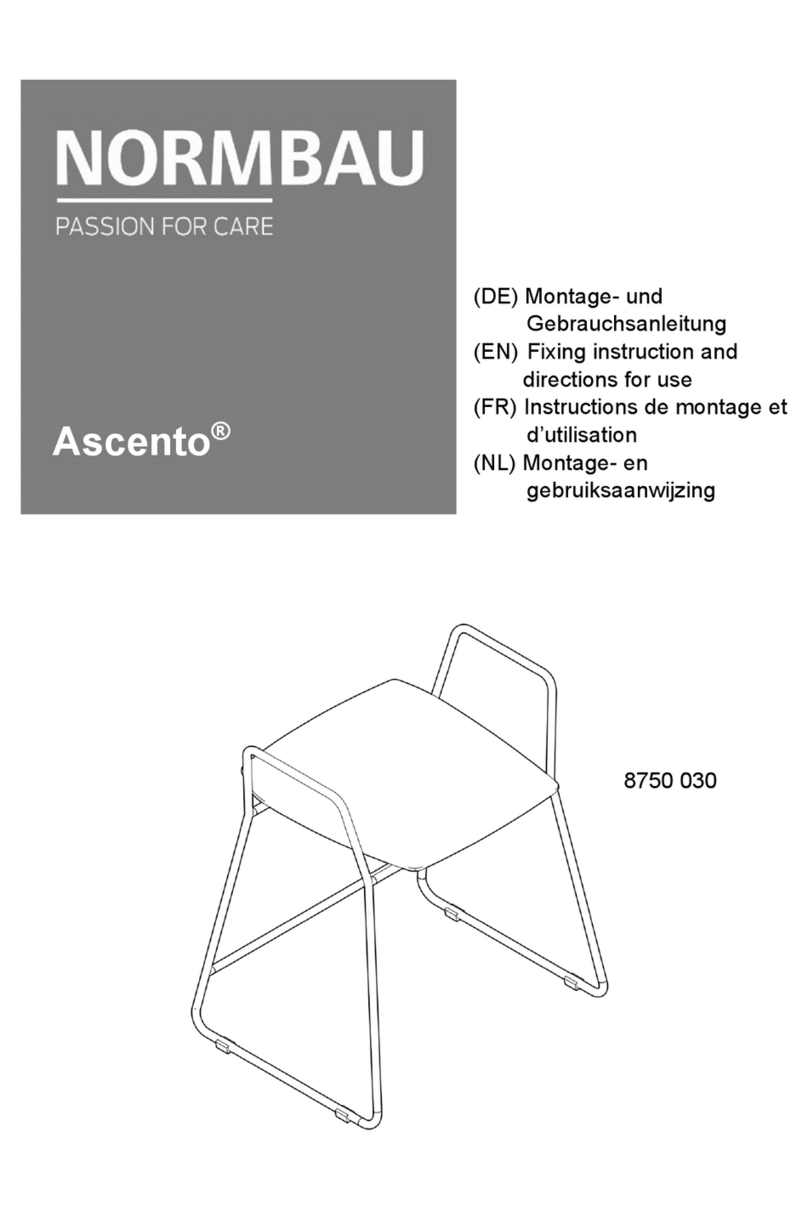
NORMBAU Ascento 8750 030 User manual

NORMBAU

NORMBAU Ascento 8750 030 User manual

Popular Indoor Furnishing manuals by other brands

IKEA AKURUM instructions

IKEA

IKEA AKURUM instructions

Home Decorators Collection MERRYFIELD 19112-VS49-AG Assembly instructions

Home Decorators Collection

Home Decorators Collection MERRYFIELD 19112-VS49-AG Assembly instructions

Lane 30071-12-01 Assembly instructions

Lane

Lane 30071-12-01 Assembly instructions

Coaster 609461PPI Assembly instructions

Coaster

Coaster 609461PPI Assembly instructions

VISIONARY DESIGNS MOD-1450 Setup instructions

VISIONARY DESIGNS

VISIONARY DESIGNS MOD-1450 Setup instructions

Emerald Home Furnishings B372-05 Assembly instruction

Emerald Home Furnishings

Emerald Home Furnishings B372-05 Assembly instruction

Gami H76-MOKA Assembly instructions

Gami

Gami H76-MOKA Assembly instructions

Northbeam WNR0032200010 Care Instructions

Northbeam

Northbeam WNR0032200010 Care Instructions

Olympia Tools 82-738 user manual

Olympia Tools

Olympia Tools 82-738 user manual

fatboy ROCK'N'ROLL manual

fatboy

fatboy ROCK'N'ROLL manual

Mission Hills Kingston Dining Table Assembly instructions

Mission Hills

Mission Hills Kingston Dining Table Assembly instructions

Glacier bay 1342VA-30-201 Assembly instructions

Glacier bay

Glacier bay 1342VA-30-201 Assembly instructions

Okay GRETA L60/2 Assembly instruction

Okay

Okay GRETA L60/2 Assembly instruction

Mocka Addi Bedside Table Assembly instructions

Mocka

Mocka Addi Bedside Table Assembly instructions

Hornbach 45049 quick start guide

Hornbach

Hornbach 45049 quick start guide

Enwork FE Series installation instructions

Enwork

Enwork FE Series installation instructions

ROBERTO FIORE Cabinets To Go WC2430 Assembly instructions

ROBERTO FIORE

ROBERTO FIORE Cabinets To Go WC2430 Assembly instructions

NOVIGAMI OTOTO 1059133 Assembly & user instructions

NOVIGAMI

NOVIGAMI OTOTO 1059133 Assembly & user instructions

manuals.online logo
manuals.online logoBrands
  • About & Mission
  • Contact us
  • Privacy Policy
  • Terms and Conditions

Copyright 2025 Manuals.Online. All Rights Reserved.