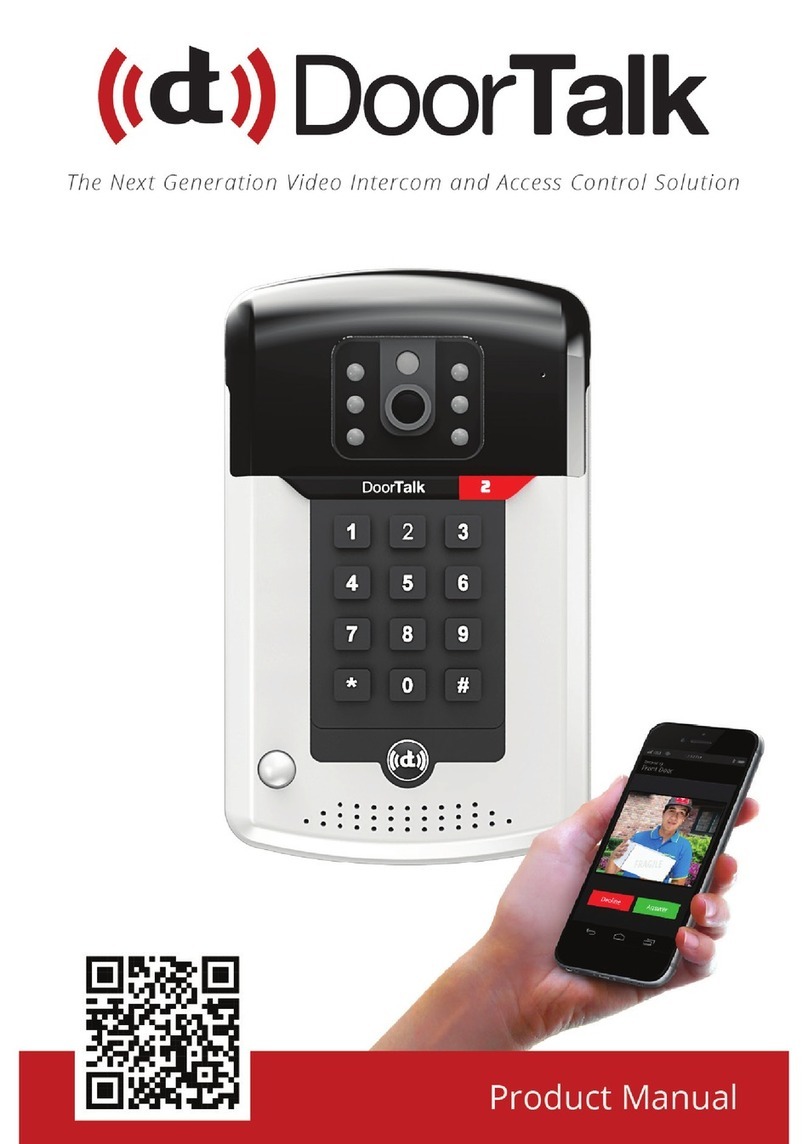
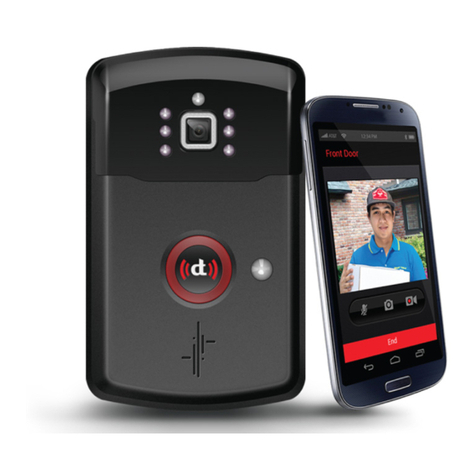
NTEK DOORPAD User manual

Product Manual
Product Manual
Version: DP2016.V01
Software Version: 1.0.1.3

Table of Contents
Table of Contents.........................................................
Preface...........................................................................
Software Terms & Conditions.....................................
Introduction..................................................................
About the Product........................................................
Getting Started............................................................... 16
Product Installation...................................................... 17
Product Setup................................................................
Product Setup(SIP Server).............................................
Product Conguration..................................................
20
21
25
Preparation.................................................................. 16
Installation Guide........................................................ 17
Initialization.................................................................
AutoProvisioning.........................................................
Adding Clients..............................................................
Connecting to the Internet........................................
Manual Setup...............................................................
Nex Phone Application...............................................
IP Phone.......................................................................
Adding DoorPad as Client..........................................
20
21
25
20
23
25
26
27
Product Overview........................................................
Features........................................................................
What’s in the box........................................................
Product’s Design..........................................................
User Interface..............................................................
Technical Specications ............................................
Wiring Diagrams..........................................................
System Requirements................................................
6
7
8
9
10
13
14
16
1
3
4
5
6
Product Basic Features................................................. 29
Direct Call....................................................................
Do not Disturb............................................................
29
31

2
Connecting other Devices .........................................
Safety, Handling, and Support ..................................
Restart or Reset Product........................................
FAQs...........................................................................
40
41
40
40
Call Forward.................................................................
Surveillance Features.................................................
Surveillance, Access Control, Security and Home
Automation Features..................................................
31
32
32
NEX Asterisk Features..................................................
Trunks...........................................................................
Outgoing Calling Rules...............................................
Dial Plans......................................................................
Users.............................................................................
Ring Groups.................................................................
Call Queue....................................................................
Voicemail......................................................................
Paging / Intercom........................................................
Voicemail Groups........................................................
SIP Settings..................................................................
To Create a New SIP Trunk.......................................
To Create a New Outgoing Call Rule.......................
To Create a New Dial Plan .......................................
To Create a new user ...............................................
To Create a New Ring Group ..................................
To Create a New Call Queue ...................................
To Open a Voicemail for a User ..............................
To Create a New Page / Intercom...........................
To Create a New Voicemail Group .........................
To Congure your NEX Asterisk for Global............
To Assign Agent for Users .......................................
33
34
35
35
36
37
38
39
39
40
33
34
35
35
36
38
37
38
39
39
40
33
Call Pickup................................................................... 31

3
Preface
Please read and follow all the instructions cited in this manual. More
information on how to use advanced features of the Device are avail-
able online at NTEK Systems Inc. website, www.nteksystems.com. Basic
safety precautions should always be followed for the benet of the
Customer and to prolong the Device life span.
DO NOT dismantle the device or tamper with the device’s software (see
Software Terms). Only qualied technicians from authorized distrib-
utors or the manufacturer are allowed to open the Device and make
technical modications if necessary. Tampering may cause malfunction
and may void warranty.
DO NOT plug the Device to a power source during and until installation
is complete. If you prefer to connect to a power line,
turn o the power source rst.
DO NOT detach the Device from its place without unplugging or turn-
ing o the power source rst should the Device needs to
be relocated.
DO NOT submerge or soak device in any liquid
DO NOT shake, drop or strike the unit to prevent internal damage.
Handle the unit with care.
DO NOT remove the microSD or the USB cable before unplugging or
turning o the device.
DO NOT use detergent, wax, solvent, spray, benzene-based chemicals,
thinner, alcohol or excessive water to clean the surface of the product.
DO NOT use the Device in any way that violates the right to privacy or
for any other activity that constitute a violation of human rights.
Repairs should only be referred to and done by authorized distributors
or the manufacturer
Keep the Device Software and Application updated. You will be sent
notications when updates are available.
Product Notice

4
Software Terms & Conditions
GRANT. NTEK Systems Inc. (NTEK) grants Customer a non-exclusive,
non-transferable, limited licence to use the Software in the Device
along with its Software Extensions (such as available SmartPhone
applications and Web management tools) in the Customer’s normal
course of business (including the version initially installed together with
any Updates specically for the Device Software, but excluding any new
software feature or substantial additional functionality for which NTEK,
in its sole discretion, generally charges customers of the Software addi-
tional charges.) In addition, Customer may use the Software Extensions
on personal computers or mobile device apart from the Device. The
Software is protected by copyright and patent applications.
COPYING. Customer may make copies of the Software for backup pur-
poses only. Each copy made by Customer must include the copyright/
proprietary rights notice(s) embedded in and axed to the Software.
All other copying is prohibited.
RESTRICTIONS. Customer may not publish, transmit, retransmit,
disseminate, broadcast, circulate, sell, resell, loan, lease, distribute
or transfer Software or copies to third parties, nor reverse engineer,
decompile, disassemble or otherwise attempt to discern the source
code of the components of the Software. Customer may not use Soft-
ware, nor allow Software to be used, to provide data management or
processing services for third parties. Customer may not reproduce all
or any portion of the Software (except as expressly permitted herein)
or any accompanying Documentation, or modify, translate or otherwise
create derivative works of the Software. Customer agrees to notify
its employees and agents who may have access to Software of the
restrictions contained herein and to ensure their compliance with these
restrictions.
TITLE. Customer hereby acknowledges and agrees that all right, title
and interest in and to the Software, the Documentation and any other
related materials are, and shall remain, vested solely in NTEK, its Al-
iates and other software owners, if any, and Customer shall not hold
itself out as having any ownership or other rights with respect thereto,
except as specically granted hereunder. Except as expressly permitted
herein, Customer agrees that it shall make no use of the Software, the
Documentation or any other related materials without NTEK’s prior
written consent. Any and all goodwill associated with such rights shall
inure directly and exclusively to the benet of NTEK.

5
Introduction
No part of this manual, including the product and software described
in it may be reproduced, transmitted, transcribed, stored on a retrieval
system, or translated into any language in any for or by any means,
except documentation kept by the end user for backup purposes,
without the express written permission of NTEK Systems Inc. (NTEK)
NTEK provides this manual “as is” without warranty of any kind, either
express or implied, including but not limited to the implied warranties
or conditions of merchantability or tness for a particular purpose.
In no event shall NTEK, its directors, ocers, employees or agents be
liable for any indirect, special, incidental, or consequential damages
(including damages for loss of prots, loss of business, loss of use or
data, interruption of business and the like), even if NTEK has been
advised of the possibility of such damages arising from any defect or
error in this manual or product.
Specications and information contained in this manual are furnished
for informational use only, and are subject to change at any time
without notice, and should not be construed as a commitment by
NTEK. NTEK assumes no responsibility or liability for any errors or
inaccuracies that may appear in this manual, including the products
and software described in it.
Products and corporate names appearing in this manual may or
may not be registered trademarks or copyrights of their respective
companies, and are used only for identication or explanation and to
the owners’ benet, without intent to infringe.

6
About the Product
DoorPad is the center of your home automation that you can
connect to multiple platforms and devices. DoorPad expands home
communications through internet calls with its built-in IP-PBX Server.
DoorPad gives you absolute convenience in monitoring your security
system and managing your home automation.
Product Overview
Figure 1

7
Features
Integrated IP-PBX Server
DoorPad’s Built in SIP Server can host communication
functions and security integration
Network Flexibility
Create a home intercom system seamlessly with a device
that is adaptable to any type of network environment (Wi-Fi
or LAN connectivity
Smart Platform
DoorPad runs on Android™ KitKat allowing you to use
Android supported applications as well.
Relay & Sensor Device Integration
Multiple relays and sensors are available to ensure that
none of your automated systems gets missed out
Remote Control via Smart Device App
Control integrated devices like automated door lock,
alarms, sensors and surveillance cameras from anywhere
with the DoorPad app
Motion Detection
When movement is detected within the specied area, the
sensors activate the camera, captures the event, and trigger
instant alerts on smart device.
Video & VoIP Communication
Bring your family closer by talking with them via Internet
Voice or Video Calls
Automation Support
Manage home living systems such as entertainment,
lighting or temperature in a single device

What’s in the box
8
To know that your product is complete with all its accessories, we have
listed them as the following:
DoorPad Main Unit
Metallic Wall Mount
Mounting Tools
Power Adapter (12V 2A) RJ45 USB Dongle - RK
• Screw Driver Set
• Screw Holder
• Phillips Screw Bit
• M4x25 Screw ( 2 pcs )
• Plastic Screw Anchor ( 2 pcs )
Note:
NTEK Systems will not be liable for any defect arising from the use of unauthorized
accessories which may void the warranty.

1
2
3
4
5
7
8
9
6
9
Product’s Design
Parts of the Product
1) Camera
2) Status Indicator
3) Power/Wake-up
Button
4) Microphone
5) LCD Screen
6) Speaker
7) Micro SD Slot
8) USB Port
9) Motion Sensor
Figure 2.1
Figure 2.2

10
User Interface
Dialer Button Settings
Home Automation Button
Home Page
Dialer Page
Dialer Tab
Dialer Panel
Voice Call
Call
Function
Shortcuts
Delete
Video Call
Figure 3.1
Figure 3.2

11
Call Logs Page
Contacts Page
Figure 3.4
Figure 3.5
Contact Called Date & Time
Add Contact
Button
Contact Name
SIP Local
Number
Search Box
Contact Log Tab
Call Type
Filter
Contacts Tab

12
Home Automation Page
Figure 3.6
DoorPad
Camera Viewer

13
Specications
Technical Specications
Chassis
Audio
Video
Connectivity
Memory
Camera
Features
I/O Interface
Power
Dimension
Material
Mounting
IP Rating
Speaker
Mic
Audio Format
Display / Resolution
Touchscreen
Video Format
WLAN
LAN / Ethernet
Bluetooth
RAM
Internal (DDR)
External (Micro SD)
Primary
OS
CPU
SIP / IP-PBX Server
Sensor
Relay
Motion Detector
IoT Interface
Standard Wired Sensor
and Relay Module
Input
217 x 162 x 28 (mm)
ABS Plastic
Wall mounted (via screws)
IP53
Rectangular. 8Ω / 2.5W
Unidirectional. 110dB SPL. Clear up to 3m
MP3, MP2, OGG, AAC, M4A,
AMR, FLAC, APE, WAV
7” LCD / 16:9 / 1280 x 800 pixels
Capacitive Multi-touch
MPEG 1/2/4,H.263/H.264,RMVB,
WMV/VC-1,MVC,AVS
Wi-Fi 802.11 b/g/n
Via USB-to-Ethernet dongle
Bluetooth Low Energy 4.0
1 GB
8 GB
Expandable up to 32GB
CMOS 5MP Fixed Focus. QSXGA 2595x1944
FOV (Field of View): 120 ° - wide angle lens
Android™ Kitkat
Quadcore 1.2 GHz ARM Cortex A9
Built-In
Option - 2 inputs(1.2 - 24 VDC)
Option - 2 outputs(30VDC/1A,125VAC/0.5A)
PIR (Pyroelectric Infrared),
detection range: 5 meters
via Wi-Fi, Bluetooth,
via Shrouded Header
5-12 VDC / 2A , via Shrouded header

Wiring Diagrams
14
DoorPad Basic Wiring Diagram
Figure 4.1

15
Wiring Diagrams
Figure 4.2
Doortalk 2 + Doorpad Wiring Diagram

System Requirements
16
Required Device and Tools for Installation
• Power
• Output: 12V 2A
• Input: 100 - 250VAC 50-60 Hz
• Network
• WLAN: Wi-Fi 802.11 b/g/n
• LAN / Ethernet: RJ45 Port
• Minimal Connection Speed
• Environment
• Operation Temperature: -10°C up to + 40°C
Getting Started
Required Device and Tools for Installation
• DoorPad Main Unit
• Power Adapter (12V 2A)
• Metallic Wall Mount
• Screw Driver Set
Required Applications & Software
• DoorPad Launcher (installed in the Device)
Preparation
Reminder:
NTEK will not be liable for any defect arising from the use of unauthorized
accessories which may void the warranty.
Figure 5

17
Product Installation
Product Preparation
Installation
Upon knowing that your DoorPad is complete:
Plan your installation and wiring.
Before starting the installation
process, plan rst how your
device will be powered, the
network connection type
(wireless or LAN) and what
devices you plan to integrate
with DoorPad. Decide whether
the wiring should go through
the wall or pass underneath the
device.
1. Place the Metalic Wall
Mount against the wall and
mark through the screw holes
and wire outlet (through-
wall wiring) using a pencil or
marker.
2. Drill through the markings
using the appropriate drill bit,
depending on the type of wall.
For concrete or brick walls,
the screw holes should just be
wide enough that the provided
screw anchors will t through
tightly and not loose.
Figure 6.1
Figure 6.2
Figure 6.3

18
Note
For through wall wire setting : make hole on the bracket portion for
wire out
For Bottom wire setting : set the wire downward on the bracket portion
for wire out
through wall wire setting Bottom wire setting
3. Mount the back cover onto the wall using the provided cross-slot
screws and a phillips screwdriver. For concrete or brick walls, wind the
screw through the inserted screw anchors.
Figure 6.4
Figure 6.6
Figure 6.5
Figure 6.7

19
4. Attach the cables to the corresponding slots.
Refer to your security system’s manual or consult a specialist for
technical information.
5. Once all the wire connections are in place, the device can then be
mounted and xed.
Note:
Align and slide downward the unit to snap/ x the unit on the bracket
Relay output
connection
Sensor Input
connection
Figure 6.8
Figure 6.9 Figure 6.10
Table of contents
Other NTEK Intercom System manuals