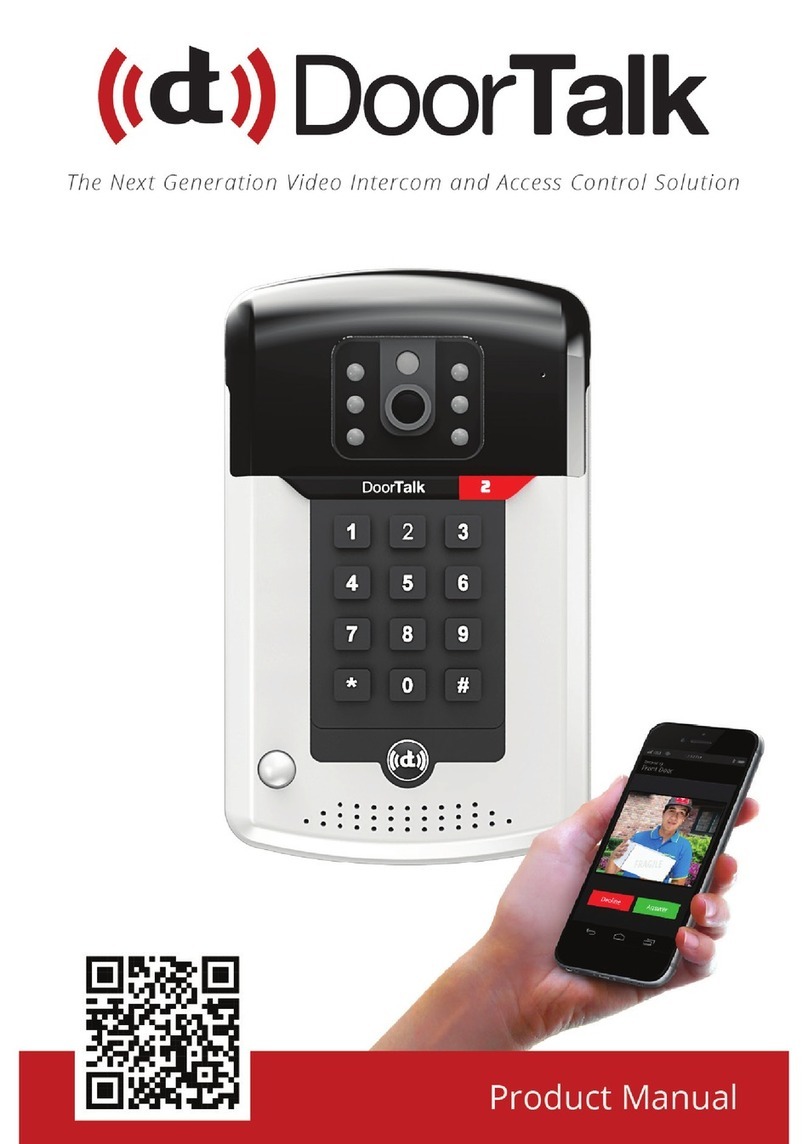
NTEK doortalk User manual

Lite

I. TABLE OF CONTENTS
I. TABLE OF CONTENTS...........................................................
II. YOUR DOORTALK ...............................................................
III. INSTALLING DOORTALK...................................................
IV. CONFIGURING YOUR DEVICES........................................
V. REGISTERING RECEIVER/CLIENT ......................................
VI. USING DOORTALK .............................................................
VII. TROUBLESHOOTING........................................................
VIII. DOORTALK FACTORY RESET ......................................
1
Safety Precautions .......................................................................................
Specications ...............................................................................................
DoorTalk’s design .........................................................................................
2
3
4
7
12
17
17
18
18
18
Device Installation .......................................................................................
Integrating Other Devices ..........................................................................
STEP 1: Know your SIP Proxy Server .........................................................
STEP 2: Download the DoorTalk App ........................................................
STEP 3: Connect DoorTalk to a power source .........................................
STEP 4: Connect mobile device to DoorTalk Access Point (AP) .............
STEP 5: Start the Application .....................................................................
STEP 6: Find your DoorTalk Device ...........................................................
STEP 7: Network Setup ...............................................................................
STEP 8: Event Server Conguration ..........................................................
STEP 9: Call Functions Setup ......................................................................
13
13
13
13
13
14
15
16
16
STEP 1: Download The DoorTalk Application ..........................................
STEP 2: Input Registration Data ................................................................
Customizing Email Notications ...............................................................
Answering a Call ..........................................................................................
Calling your DoorTalk Device/s .................................................................
This manual contains only basic information about DoorTalk, including its
installation and conguration procedures. For more information about
other features, visit www.DoorTalk.net.
1
2
7
13
17
18
19
21


II. YOUR DOORTALK
2
Safety Precautions
Please read and follow all the instructions cited in this manual. More
information on how to use other features of DoorTalk are available
online at www.DoorTalk.net. Basic safety precautions should always
be followed for the benet of the user and to prolong usability of the
product.
DO NOT dismantle the device or tamper with the product’s
software. Only qualied technicians from authorized distributors
or the manufacturer are allowed to open it and make technical
modications if necessary. Tampering may cause malfunction
and may void warranty.
During installation, DO NOT plug the device to a power source
until the procedure has been completed. If you prefer to connect
to a power line, TURN OFF THE POWER SOURCE FIRST.
If device is to be relocated, always UNPLUG or TURN OFF the
power source rst before detaching the device from its place.
Do not submerge or soak the device into any liquid.
Avoid direct exposure to weather elements to reduce potential
risks and prolong usage.
Handle the unit with care. Do not shake, drop or strike the unit to
prevent internal damage.
Unplug the device or turn o the power source before removing
the micro SD card or USB cable.
Do not use detergent, wax, solvent, spray, benzene-based
chemicals, thinner, alcohol or excessive water to clean the
surface of the device.
DoorTalk is designed to provide security. Do not use the device
in any way that violates the right to privacy or for any other
activities that constitute a violation of human rights.
Repairs should only be referred to and done by authorized
distributors or the manufacturer.
Keep the device software and application updated. You will be
sent notications when updates are available.
1.
2.
3.
4.
5
6.
7.
8.
9.
10.
11.

3
Specications
Dimension
Material
Connectivity
Operating System
Power Input
Audio
Camera
Video
Memory
Sensors
Sensor Input
Relay Output
Operating Temperature
I/O Interface
CPU
9 x 14.7 x 2.62 cm
ABS Plastic / Weatherproof
Wi-Fi (802.11 b/g/n) or LAN (Ethernet)
Android OS
5.0V - 14V DC/2.0A
Built-in 87dB unidirectional Microphone
Built-in 2W Speaker
2MP Color (1600 x 1200 CMOS - UXGA)
60° view angle with Face Recognition
and 6 IR LED’s for night visibility
1600 x 1200 at 15FPS
Micro-SD card expandable up to 32GB
Ambient Light sensor, Motion Sensor
Active Sensors up to 5V/50mA
Contact Rating: 30VDC / 1A 125VAC / 0.5A
-20 °C to 48 °C
Micro USB
1GHz ARM Cortex A8

DoorTalk’s Design
4
1. Ambient Light Sensor
2. Infrared Illuminator
3. Mic
4. Camera
5. Call Button
6. Motion Detector
7. LED / Status Indicator
8. Speaker
1
2
5
3
6
4
7
8

5
9. USB 2 (Host)
10. Reset
11. USB 1 (Host) for Ethernet dongle
12. Sensor Input
13. Relay Output
14. Power Input (5V - 14V DC)
11 12 13
9
14
10

6
15. Micro HDMI
16. Micro SD Slot (External Storage)
15
16

7
Device Installation
STEP 1:
Plan your installation and wiring. Select a location by your door,
where visitors can easily notice and use DoorTalk. If you have a
wired mechanical door bell, you may choose to replace your door
bell button with DoorTalk. See “Integrating Other Devices, p.12” for
instructions.
Before starting the installation process, plan rst how your device will
be powered, the network connection type (wireless or LAN) and what
security systems you plan to integrate with DoorTalk. Decide whether
the wiring should go through the wall or pass underneath the device.
IMPORTANT!
READ THE INSTRUCTIONS CAREFULLY AND MAKE THE NECESSARY
PREPARATIONS FIRST BEFORE STARTING INSTALLATION OF YOUR
DOORTALK DEVICE. KEEP THE DEVICE UNPLUGGED UNTIL
INSTALLATION HAS BEEN COMPLETED.
Through Wall wire out Bottom wire out
III. INSTALLING DOORTALK
DEVICE INSTALLATION

POWER: DoorTalk comes with an AC adapter, to be plugged to a
power outlet near the door.
ETHERNET / LAN CONNECTION: DoorTalk can be connected through
Ethernet/LAN if preferred. The provided USB-Ethernet dongle serves
as an adapter to connect with a LAN (RJ45) cable. ( refer to Step 6 )
SECURITY SENSORS:
Decide which of the following security systems you plan to connect
with DoorTalk and line up their cables.
Doorbell
Electronic Door Lock System
Smoke Detector / Fire Alarm
Contact Closure Detector
NOTE: Connecting DoorTalk to any of these systems enables you to receive notications
on your mobile device if they are triggered by an event. Know more about the
corresponding mobile applications for these security systems at www.DoorTalk.net.
8
STEP 2:
Place the back cover against
the wall and mark through the
screw holes and wire outlet
(through-wall wiring) using a
pencil or marker.

STEP 3:
Drill through the markings using the appropriate drill bit, depending
on the type of wall. For concrete or brick walls, the screw holes
should just be wide enough that the provided screw anchors will t
through tightly and not loose.
STEP 4:
Position the wires accordingly before axing the rear cover onto the
surface.
9

10
STEP 5:
Mount the back cover onto the wall using the provided cross-slot
screws and a phillips screwdriver.
For concrete or brick walls, wind the screw through the inserted
screw anchors.
STEP 6:
Attach the cables to the corresponding slots. (see illustration)
Power cable - +5V - 14V DC(red wire), GND (black wire)
Doorbell - Relay (see Integrating Other Devices, p.12)
Security System - Sensor or Relay
Ethernet/LAN - LAN
Refer to your security system’s manual or consult a specialist for
technical information. You may also visit www.DoorTalk.net for
more information.

11
LAN Power
+5V - 14V DC
Ground (GND)
Relay
Normally Open (NO)
Common (COM)
Normally Closed (NC)
Sensor
Sensor Input (S1)
Sensor Ground (SGND)
STEP 7:
Once all the wire connections are in place, the device can then be
mounted and xed.
1
2
3
Attach rst the top portion
of DoorTalk.
Check if the wiring is properly placed before
locking the lower portion of the device.
Push the DoorTalk against the wall to
snap the lower portion.

12
STEP 8:
Use the provided torx screw to secure the device in place.
Finally, insert the screw covers to hide access to the screws.
You may connect any one of the following devices to your DoorTalk:
• door bell / buzzer
• electronic door lock
• alarm systems
Simply connect the wires to the Relay slots – one wire goes into the
“COM” slot and another to the “NO” (Normally Open) slot. Wires can be
interchanged. Make sure to twist the screws tight to secure the wires in
place.
Integrating Other Devices
Torx Screw
Screw Cover

13
IMPORTANT NOTE: Device set-up should be done one at a time to avoid confusion.
TURN OFF OTHER UNITS WHILE SETTING UP ONE DOORTALK DEVICE
IV. CONFIGURING YOUR DEVICES
DoorTalk requires a SIP account. Make sure you know the SIP address, SIP
number and password, which will be required during the process setup.
Consult your SIP network administrator regarding the SIP server setup
detail.
Step 1: Know your SIP Server
You can search and download the DoorTalk application to your mobile
phone or tablet. Simply click INSTALL after nding the application.
Step 2: Download the DoorTalk App
Connect your DoorTalk device to a power source. It takes approximately
two minutes for the device to properly boot up. The LED indicator will blink
rapidly to show that it’s ready to connect and a voice prompt from the
device will say “Access Point On.”
STEP 3: Connect DoorTalk to a power source
On your mobile device, visit your Wi-Fi
Settings and look for “DoorTalk_AP”
among the list of available connections.
Press “Connect” and wait for the
“connected” status to show.
NOTE: You will lose your Wi-Fi connection and
will not be able to connect to the internet until
the entire setup process is nished.
STEP 4: Connect mobile device to Doortalk Access Point (AP)
Launch the DoorTalk app. “Failed to start to SIP stack” will appear, signifying
a need for network conguration.
STEP 5: Launch the Application
DEVICE CONFIGURATION

14
On the Log-in tab, enter the default
details below:
NOTE: You can choose to customize your
ID and Password by tapping on “Account
Settings” AFTER completing the set-up
process
ID: admin
Password: admin
NOTE: If the app fails to nd your DoorTalk, you may press “Scan” to refresh
the list. If it still fails to show, check your Wi-Fi settings and make sure that
you are still connected to “DoorTalk_AP”.
Tap on “Settings” at the lower right corner of the dashboard. Under “Server
Conguration” you will see “Automatic” (recommended) and “Manual” (for
advanced users).
A) Choose “Automatic” to instantly locate your DoorTalk device. You should
see an item labelled “UNNAMED_DOORTALK”, tap on this and a log-in pop-
up will appear
B) If you choose “Manual” you can input the IP Address of the DoorTalk
Device 192.168.42.1
STEP 6: Find your DoorTalk Device

Tap on “Network Setup” to congure your network settings.
You may choose your preferred network connection for DoorTalk device.
If you chose to install your DoorTalk with
an Ethernet/LAN cable, you will be asked to
choose either DHCP (recommended) or Static
IP Setting (advanced user).
Choosing DHCP will automatically provide
your DoorTalk with an IP address from the
network where your Ethernet is connected.
If you choose Static, you will then have to
manually input the IP address of the network
which can be provided by your network
administrator
If connecting through Wi-Fi, tap the “Scan”
button beside “SSID” and choose your SIP
network. Enter your network password and
tap “Save” to establish connection.
NOTE: If you cannot see your network from
the list, just press “Scan”.
Once connected, you will be taken back to
the DoorTalk home screen. Your DoorTalk
device is now connected to your network.
Next, you will need to congure your mobile
device.
NETWORK TYPE
Ethernet/Lan Connection (cabled)
Wi-Fi Connection (wireless)
STEP 7: Network Setup
15

Visit your mobile device’s Wi-Fi Settings again and connect to your wireless
network. Once connected, go back to your DoorTalk application, go to
“Settings” then tap “Automatic” under “Server Conguration”. Again,
choose “UNNAMED_DOORTALK” and a Log-in tab will appear.
Enter the default details below:
Under “Device Conguration,” you can congure SIP, Outbound Call and
Inbound Call Blocking to set the call functions of the DoorTalk Device.
Tapping on SIP will get you to the DoorTalk Device registration menu. Fill in
the input elds and the SIP Server details, then tap “Save” to complete the
registration process. You should hear a voice notication saying “Device
Ready” if you have successfully registered your DoorTalk device.
If setup is fails “Connection failed, Please try again” will be heard.
Outbound call is required to setup the default call receiver/s for DoorTalk.
Click “Add” to specify a receiver. You will be taken to the receivers list
where call receiving prioritization can be set from 1 (highest priority) to 5
(lowest priority). This means, if receiver no.1 does not answer a call, the
call will automatically be redirected to receiver no.2, and so on. Tap “Save”
when done.
SIP
Outbound Call
ID: admin
Password: admin
STEP 8: Event Server Conguration
STEP 9: Call Functions Setup
16
Tap “Device Conguration” and the Event Server pop-up should appear
automatically. By default, the input elds should already be lled in with
the necessary information. Just tap Connect. The pop-up will disappear if
connection is successful.
NOTE: If connection fails, check your internet connection.
You can choose to tap “Later” to bypass event server conguration and
continue to setup the call functions of DoorTalk.
NOTE: There should ALWAYS be at least 1 receiver on the receiver’s list.
Otherwise, nobody will receive DoorTalk’s calls.

You can register other mobile devices to receive a call from or make a call
to your DoorTalk device. DoorTalk allows a maximum of 5 client devices
to receive visitor calls in order of call priority, which is set by the device
administrator.
Download the DoorTalk application
on the mobile device. (client)
STEP 1: Download The DoorTalk Application
V. REGISTERING RECEIVER/CLIENT DEVICES
Launch the application and go to
“Settings”. Tap “My SIP” and it will get
you to the registration menu. Fill in the
input elds and the SIP Server details.
Tap “Save” to complete the registration
process. You should be able to make a
video call to the DoorTalk device once
the registration is completed
STEP 2: Input Registration Data
Setting up Inbound Call Blocking is optional, though this is needed to
manage incoming calls to the DoorTalk Device from specic client devices.
If you wish to setup this feature to prevent specic client devices from
making direct calls to Doortalk, tap “Add” to enter the blocking list. Specify
the SIP number of the client device that you wish to block. Tap “Save”
when done.
Inbound Call Blocking
17

18
VI. USING DOORTALK
Once the DoorTalk device set up is completed, visitors will only need to
press the call button on the device to contact you wherever you are. When
you receive the call, a MUTED video from the Doortalk device will show. If
you would like to speak to the caller, just tap on the mute button to enable
audio communication.
NOTE: Your mobile phone or tablet needs to be connected to the internet or to the same
network as the DoorTalk device in order to receive the call.
You may customize DoorTalk to send event notications to your personal
or oce email. On the “Settings Menu,” tap “Automatic” (recommended) or
“Manual” (advanced user). Choose the DoorTalk device onto which you want
to connect your email. Type the email address where you want to receive
your notications. You may also customize the available security systems
and notication settings to your preference. Tap “Save” when you are done.
With the DoorTalk app, you can view what is currently happening around
your doorstep or check if anybody is lurking by your door at any time.
Step 1: Just make Sure you are connected to the internet or to the same
network as the DoorTalk device
Answering a Call
Customizing Email Notications
Calling your DoorTalk Device/s
A live video stream of your DoorTalk’s eld review should automatically
show on your mobile phone or tablet.
Step 2: Launch the DoorTalk app and tap on the “DoorTalk” tab
Step 3: Press the Call button on the DoorTalk application to make the
call
NOTE: You may also tap the Favorites tab and choose the DoorTalk device that you
want to call. Alternatively, you may go to the “Dialer” and dial the SIP number of the
DoorTalk device or another client device to make a call.
Video quality and speed of connection will depend on the quality of the network your
devices are connected to.
NOTE: GCM Notication and Email Notication will only function once Event Server is
properly set up. Visit www.DoorTalk.net for more instructions and information
Other manuals for doortalk
1
Table of contents
Other NTEK Intercom System manuals
Popular Intercom System manuals by other brands

Philips
Philips WelcomeBell 300 Color Series user manual

Fermax
Fermax COLOUR VDS LOFT MEMORY MONITOR manual

Utilitech
Utilitech UT-7574 user guide

SSS Siedle
SSS Siedle DCA 650-02 Programming instructions

SSS Siedle
SSS Siedle SET CA 812 Series Product information

Multivoice
Multivoice MV-AUDIBLE quick start guide