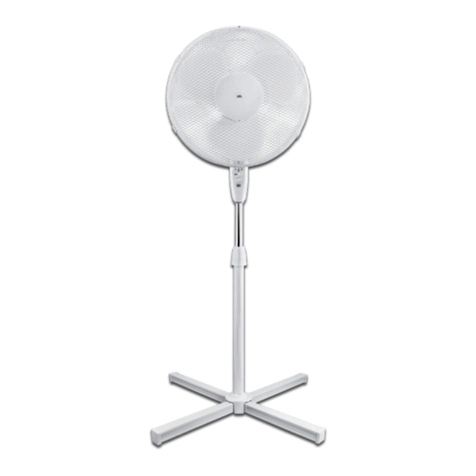
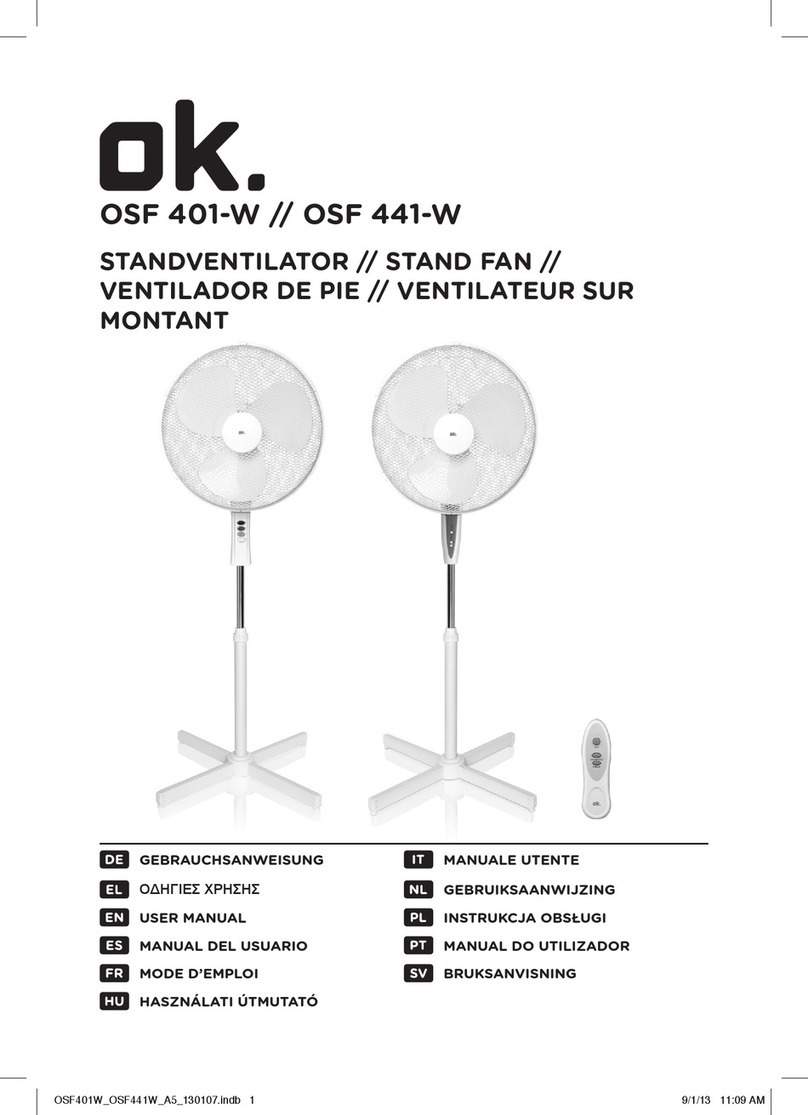
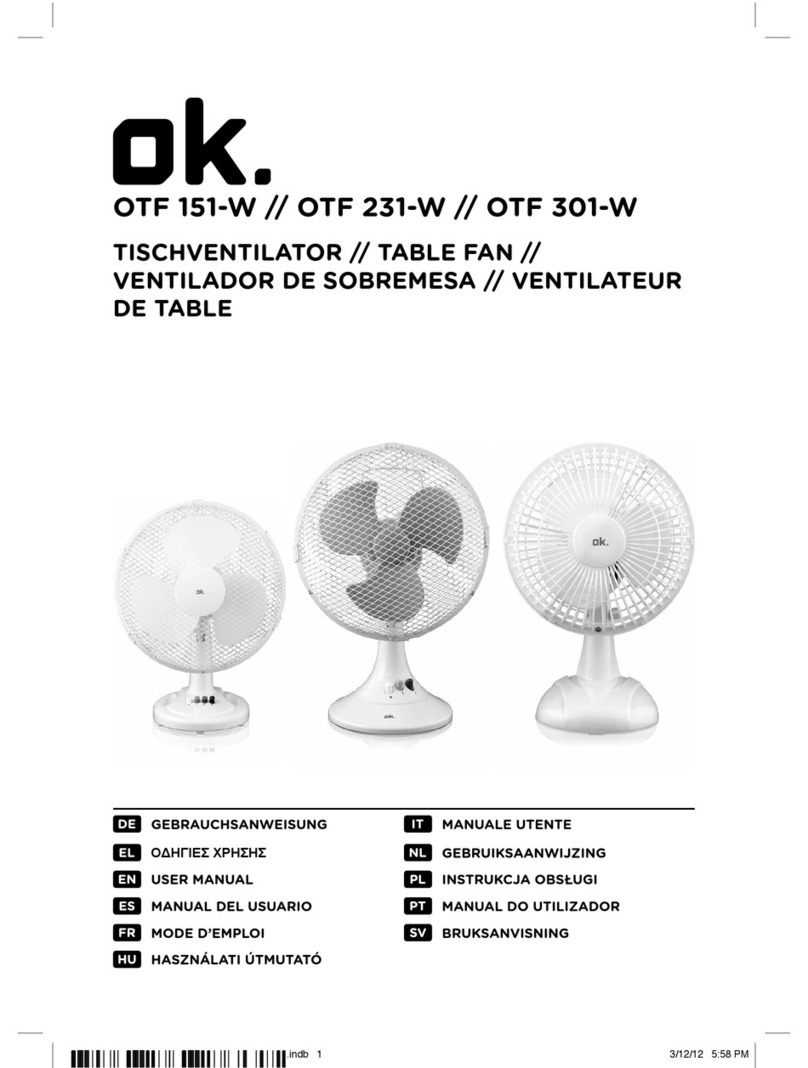
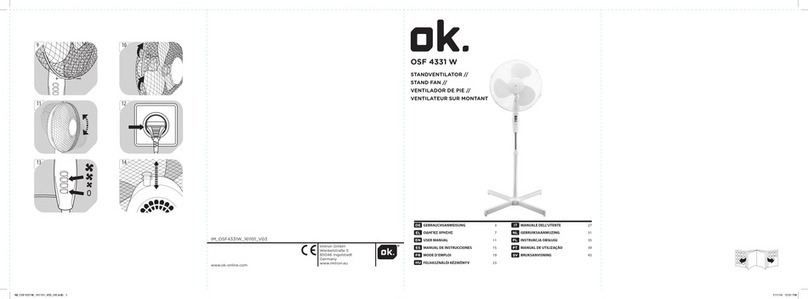
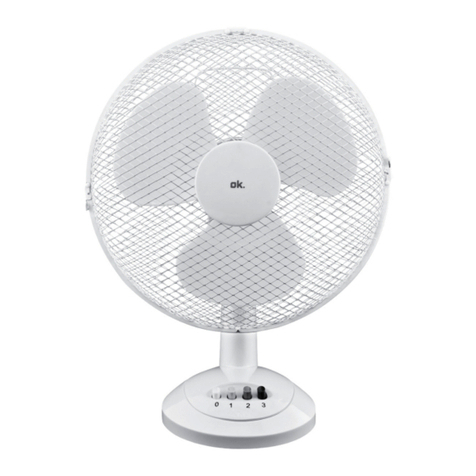
O.K. OSF 400-M User manual

OSF 400-M
NL
IT
FR
ES
EN
DE
GEBRUIKSAANWIJZING
MANUALE DELL’UTENTE
MODE D’EMPLOI
MANUAL DE INSTRUCCIONES
USER MANUAL
GEBRAUCHSANWEISUNG
STANDVENTILATOR // STAND FAN //
VENTILADOR DE PIE // VENTILATEUR
SUR MONTANT


Español
Deutsch
English
Français
Italiano
Nederlands
4 - 7
8 - 11
12 - 15
16 - 19
20 - 23
24 - 27

DE 4
5
1
3
8 954
2
6 7
13 14
1110 12
3 Ventilatorflügel
1 Schutzgitter (hinten)
8 Bedienknopf
2 Schutzgitter (vorn)
4 Netzkabel
9 Schwenkschalter
6 Motorwelle
14 Beschwerung
11 Teleskopstange
12 Feststellschraube für
Höheneinstellung
5 Halterung mit Schrau-
ben
BAUTEILE
13 Standfuß
10 Schraube und
Unterlegscheibe
7 Schutzgitter-Schrau-
ben
Wichtige Sicherheitshinweise befinden sich in
einem gesonderten Dokument.

4
5DE
1
4 5
32
6
7 8 9
1.
2.
1.
2.
Unterlegscheibe und
Schraube von der
Teleskopstange
entfernen.
Teleskopstange
ausziehen und durch
Festziehen der
Feststellschraube
sichern.
Feststellschraube und
Zapfen aus dem oberen
Ende der Teleskopstan-
ge entfernen.
Die Beschwerung in den
Standfuß einsetzen und
die Teleskopstange mit
Unterlegscheibe und
Schraube montieren.
Schrauben aus der
Motorhalterung
entfernen.
Die Motoreinheit durch
Montieren des Zapfens
an der Teleskopstange
montieren.
Die Schrauben an
beiden Seiten der
Motorhalterung wieder
einsetzen.
Die Feststellschraube
montieren und anziehen,
um die Motoreinheit zu
fixieren.
Die 4 Schutzgitter-
Schrauben aus der
Motoreinheit entfernen.
MONTAGE Stellen Sie sicher, dass der Netzstecker gezogen ist.

DE 6
7
10 11 12
13 14 15
BA C
1.
2.
Das hintere Schutzgitter
mit Hilfe der 4
Schrauben mit den
Halteleisten in Richtung
Motoreinheit montieren.
Das Gummistück
entnehmen und die Nut
in der Motorwelle nach
oben drehen.
Das vordere Schutzgitter
in das hintere Schutzgitter
einhängen; dabei beide
Schraublöcher
aufeinander ausrichten.
Den Netzstecker
einstecken. Bei
längerem Nichtgebrauch
den Netzstecker ziehen.
Die Schutzgitter mit
Hilfe von Schraube und
Mutter fixieren. Die
Klammern schließen.
Zum Einschalten des
Ventilators eine der
Geschwindigkeitsstufen
(I-III) wählen. Zum
Ausschalten auf 0 stellen.
Zum Einstellen des
Neigungswinkels die
Schrauben lösen. Nach
Einstellung wieder
anziehen.
Zum Aktivieren der
Schwenkfunktion den
Stift drücken. Für den
Normalbetrieb den Stift
herausziehen.
BETRIEB
Den Ventilatorflügel auf
die Motorwelle
schieben; die Schraube
auf die Nut ausrichten
und anziehen.

6
7DE
HINWEISE
Nennspannung: 220-240 V, ~ 50 Hz / Nennleistung: 50 W
TECHNISCHE DATEN
Dieses Gerät nicht im Hausmüll entsorgen. An einer vorgesehen
Recycling-Sammelstelle für elektrische und elektronische Geräte
entsorgen. Für weitere Information wenden Sie sich bitte an Ihren
Händler oder die örtlichen Behörden.
Dieses Gerät ist ausschließlich zur Umwälzung der Raumluft vorgesehen. Nur
entsprechend vorliegender Anleitung verwenden. Unsachgemäße Verwendung
ist gefährlich und führt zum Verlust der Garantie. Wichtige Sicherheitshinweise
befinden sich in einem gesonderten Dokument.
ENTSORGUNG
VORGESEHENER EINSATZZWECK
REINIGUNG UND PFLEGE
Während des Betriebes muss das Schutzgitter vollständig geschlossen sein.•
Während des Betriebes nicht die Finger oder andere Gegenstände in das•
Gerät stecken.
Um ein Überhitzen zu vermeiden, das Gerät nicht abdecken.•
Kleinkinder, Kinder und ältere Personen sollten nicht über längere Zeit kalter•
Luft ausgesetzt werden.
Das Gerät nicht ohne Standfuß oder in horizontaler Lage verwenden.•
Das Gerät von losen Gegenständen wie Pflanzen, Vorhänge usw. fernhalten.•
Das Gerät erst nach abgeschlossener Montage an das Netz anschließen.•
Das Gerät darf während des Betriebes, der allgemeinen Wartung, Reinigung•
und Benutzerwartung nicht demontiert werden.
Vor der Höhen- oder Neigungswinkeleinstellung das Gerät ausschalten und•
den Netzstecker ziehen.
Vor dem Reinigen oder der Demontage den Netzstecker ziehen.•
Die Außenflächen mit einem weichen, feuchten Tuch reinigen. Kein•
Waschbenzin, Verdünner oder andere Chemikalien verwenden. Das
Schutzgitter mit einem Staubsauger und einem Bürstenaufsatz reinigen.
Das Gerät nicht in Wasser oder andere Flüssigkeiten eintauchen; kein•
Wasser oder andere Flüssigkeiten über das Gerät gießen.
Bei Nichtgebrauch das Gerät an einem kühlen, trockenen und staubfreien•
Ort aufbewahren.

8
EN
9
3 Fan blade
1 Rear guard
8 Control button
2 Front guard
4 Supply cord
9 Swivel knob
6 Motor shaft
14 Weight
11 Extension pole
12 Height adjustment
thumb screw
5 Bracket with screws
COMPONENTS
1
3
8 954
2
13 Base
10 Screw and washer
6 7
7 Guard screws
13 14
1110 12
Important safety instructions can be found in
the separate document.

8
9EN
INSTALLATION
Remove washer and
screw from the
extension pole.
Pull out the extension
pole and secure it by
tightening the thumb
screw.
Remove thumb screw
and axle from the upper
end of the extension
pole.
Apply the weight to the
base and install the
extension pole with
washer and screw.
Remove the screws from
the motor unit bracket.
1
4 5
32
6
Attach the motor unit to
the extension pole by
installing the axle.
Reinstall the screws on
both sides of the motor
unit bracket.
Install and tighten the
thumb screw to hold the
motor unit in place.
7 8 9
1.
2.
1.
2.
Remove the 4 guard
screws from the motor
unit.
Make sure appliance is disconnected.

10
EN
11
Install the rear guard
with its handle facing up
to the motor unit using
the 4 screws.
Remove the rubber part
and turn the groove of
the motor shaft
upwards.
10 11 12
Hook the front guard
onto the rear guard, ,
aligning both screw
holes.
Plug in the appliance.
Unplug if it is not used
for some time.
Install the screw and nut
to lock the guards.
Close the clips.
13 14 15
To switch the fan on,
select speeds I-III. To
switch fan off, select 0.
To adjust tilting angle,
loosen the screws.
Tighten again after
preferred adjustment.
Push the clutch knob to
activate swivel function.
Pull knob for normal
operation.
BA C
OPERATION
1.
2.
Slide the fan blade onto
the motor shaft, aligning
and tightening the
screw to the groove.

10
11 EN
NOTES
Rated voltage: 220-240 V, ~ 50 Hz / Rated power output: 50 W
SPECIFICATIONS
Do not dispose of this appliance as municipal waste. Return it to a
designated collection point for the recycling of electrical and electronic
equipment. Contact your retailer or local authorities for more informa-
tion.
The appliance is only intended for circulating room air. Only use according to
these instructions. Improper use is dangerous and will void any warranty claim.
Important safety instructions can be found in the separate document.
DISPOSAL
INTENDED USE
CLEANING AND CARE
The guard must be completely closed when operating the device.•
During operation, do not insert fingers or other objects into the appliance.•
In order to avoid overheating, do not cover the appliance.•
Small children, children and older people should not be exposed to cold air•
for prolonged periods of time.
Do not operate the appliance without base or in horizontal position.•
Keep appliance away from loose objects such as plants, curtains, etc.•
Only connect the appliance after it has been assembled completely.•
The appliance must not be disassembled during operation, general care,•
cleaning and user maintenance.
Switch off and disconnect the appliance before adjusting height or tilting•
angle.
Before cleaning or disassembly, disconnect the appliance from the mains.•
Clean the outside surfaces with a soft, damp cloth. Do not use cleaning•
solvents, thinners or other chemicals. Clean the grill with a vacuum cleaner
using a brush attachment.
Do not immerse the device in water or other liquids; do not pour water or•
other liquids over the appliance.
When not using the appliance, store in a cool, dry and dust-free place.•

12
ES
13
3 Palas del ventilador
1 Protección posterior
8 Botón de control
2 Protector delantero
4 Cable de alimenta-
ción
9 Mando giratorio
6 Eje del motor
14 Peso
11 Mástil extensible
12 Tornillo de ajuste de
altura
5 Soporte con tornillo
COMPONENTES
13 Base
10 Tornillo y arandela
7 Tornillos de
protección
Las instrucciones importantes de seguridad se
han incluido en la documentación separada.
1
3
8 954
2
6 7
13 14
1110 12

12
13 ES
MONTAJE
Extraiga la arandela y el
tornillo del mástil de
extensión.
Extraiga el mástis de
extensión y asegúrelo
con el tornillo de
fijación.
Extraiga el tornillo de
fijación y el eje por el
extremo superior del
mástil de extensión.
Aplique el peso a la
base e instale el mástil
de extensión con su
arandela y tornillo.
Extraiga los tornillos del
soporte de la unidad de
motor.
1
4 5
32
6
Fije la unidad de motor
al mástil extensible
instalando el eje.
Vuelva a colocar los
tornillos a ambos lados
del soporte del motor.
Coloque y apriete el
tornillo para sujetar el
motor en su lugar.
7 8 9
Extraiga los 4 tornillos
de protección de la
unidad del motor.
1.
2.
1.
2.
Asegúrese de que el aparato está desconectado.

14
ES
15
Instale la protección
trasera con su asa hacia
arriba de cara al motor
con los 4 tornillos.
Extraiga la pieza de
goma y gire la marca
del eje del motor hacia
arriba.
Cuelgue la protección
frontal sobre la
posterior alineando los
dos orificios de tornillos.
Enchufe el aparato.
Desenchúfelo si no se
utiliza durante un
tiempo.
Instale el tornillo y la
tuerca para cerrar las
rejillas protectoras.
Cierre los clips.
Para poner en marcha el
ventilador, seleccione
las velocidades I - III.
Para apagar el
ventilador, seleccione 0.
Empuje hacia abajo el
botón para poner en
marcha la función de
oscilación. Sáquelo
hacia arriba para
funcionamiento normal.
MANEJO
Inserte la pala del
ventilador en el eje del
motor, alineándola y
apretando el tornillo en
la muesca.
10 11 12
13 14 15
BA C
1.
2.
Para ajustar el ángulo de
inclinación, afloje los
tornillos. Apriételos de
nuevo tras ajustar el
ángulo preferido.

14
15 ES
NOTAS
Tensión nominal: 220-240 V ~ 50 Hz / potencia nominal: 50 W
ESPECIFICACIONES
No deseche este aparato como residuo municipal. Devuélvalo a un punto
de recogida designado para reciclar equipos eléctricos y electrónicos.
Contacte con su vendedor o autoridades locales para obtener más
información.
Este aparato no está pensado para la circulación de aire de una habitación.
Utilícelo exclusivamente según estas instrucciones. El uso inadecuado es
peligroso y cancelación cualquier reclamación de garantía. Las instrucciones
importantes de seguridad se han incluido en la documentación separada.
ELIMINACIÓN
UTILIZACIÓN PREVISTA
LIMPIEZA Y CUIDADO
La protección debe estar totalmente cerrada cuando funcione el aparato.•
Durante el funcionamiento, no introduzca dedos ni otros objetos en el•
aparato.
Para evitar sobrecalentamiento, no cubra el aparato.•
Los bebé, niños pequeños y la gente mayor no debería exponerse a aire frío•
durante largos períodos de tiempo.
No ponga en marcha el aparato sin su base o en posición horizontal.•
Mantenga el aparato lejos de objetos sueltos como plantas, cortinas, etc.•
Conecte el dispositivo después de haberlo ensamblado del todo.•
El aparato no debe desmontarse durante el funcionamiento, el mantenimien-•
to general o su limpieza.
Apague y desenchufe el aparato antes de ajustar la altura o el ángulo de•
inclinación.
Antes de limpiar o desmontar el aparato, desconéctelo de la alimentación•
eléctrica.
Limpie las superficies exteriores con un paño suave y húmedo. No utilice•
disolventes, diluyentes ni otras sustancias químicas. Limpie la rejilla con un
aspirador provisto de cepillo.
No introduzca el aparato en agua u otros líquidos, no vierta agua ni otros•
líquidos sobre el aparato.
Cuando no utilice el aparato, guárelo en un lugar fresco, seco y sin polvo.•

16
FR
17
1
3
8 954
2
6 7
13 14
1110 12
3 Pale du ventilateur
1 Protection arrière
8 Bouton de com-
mande
2 Protection avant
4 Câble d'alimentation
9 bouton rotatif
6 Arbre du moteur
14 Poids
11 Pôle d'extension
12 Vis à oreilles de ré-
glage en hauteur
5 Support avec vis
COMPOSANTS
13 Base
10 Vis et rondelle
7 Vis de sécurité
Le document séparé contient des consignes de
sécurité importantes.

16
17 FR
1
4 5
32
6
7 8 9
1.
2.
1.
2.
INSTALLATION
Retirer la rondelle et la
vis de la barre d’exten-
sion
Retirer la barre d’ex-
tension et la bloquer en
serrant la vis à oreilles
Retirer la vis à oreilles
et l’axe de l’extrémité
supérieure de la barre
d’extension
Appliquer le poids à la
base et installer la barre
d’extension avec la ron-
delle et la vis
Retirer les vis du sup-
port du moteur.
Fixer l'unité de moteur à
la barre d'extension en
installant l'axe
Réinstaller les vis des
deux côtés du support
du moteur.
Installer et serrer la vis
à serrage à main pour
maintenir le moteur en
place.
Retirer les 4 vis de sécu-
rité du moteur.
S’assurer que l’équipement est débranché.

18
FR
19
10 11 12
13 14 15
BA C
1.
2.
Installer la protection
arrière avec sa poignée
faisant face au moteur
en utilisant les 4 vis.
Retirer la partie en
caoutchouc et tourner la
gorge de l’arbre moteur
vers le haut
Accrocher la protection
avant à la protection
arrière en alignant les
deux trous de vis
Branchez l'appareil. Le
débrancher s'il n'est
pas utilisé pendant une
période prolongée.
Installer la vis et l'écrou
pour fixer les protec-
tions. Fermer les clips.
Pour mettre le ven-
tilateur en marche,
sélectionner les vitesse
I-III. Pour arrêter le ven-
tilateur, sélectionner 0.
Pour ajuster l’angle d’in-
clinaison, desserrer les
vis. Les resserrer après
le réglage sur la position
souhaitée.
Appuyer sur le bouton
d'embrayage pour activer
la fonction rotation. Tirer
sur le bouton pour un
fonctionnement normal.
Engager la pale du
ventilateur dans l'arbre
du moteur, en alignant
et en serrant la vis sur la
gorge.
FONCTIONNEMENT

18
19 FR
REMARQUES
Tension nominale : 220-240 V, ~ 50 Hz / puissance nominale délivrée : 50 W
SPÉCIFICATIONS
Ne pas éliminer cet appareil avec les déchets ménagers. L'apporter à un
point de collecte approprié pour le recyclage des composants électri-
ques et électroniques. Contacter son revendeur ou les autorités locales
pour de plus amples informations.
Cet appareil est exclusivement destiné à la circulation de l'air intérieur. L'utiliser
exclusivement conformément à ces instructions. Une utilisation incorrecte
est dangereuse et annulera toute demande en garantie. Le document séparé
contient des consignes de sécurité importantes.
MISE AU REBUT
USAGE PREVU
NETTOYAGE ET ENTRETIEN
La protection doit être complètement fermée pendant le fonctionnement de•
l'appareil.
Pendant son fonctionnement, ne pas introduire les doigts ou d'autres objets•
dans cet appareil.
Afin d'éviter toute surchauffe, ne pas couvrir l'appareil.•
Les enfants en bas âge, les enfants et les personnes âgées ne doivent pas•
être exposés à l'air froid pendant des périodes prolongées.
Ne pas utiliser l'appareil sans support ou en position horizontale.•
Tenez l'appareil loin d'objets mobiles comme les plantes, les rideaux, etc...•
Ne branchez l'appareil que s'il a été complètement monté.•
L’équipement ne doit pas être désassemblé pendant le fonctionnement,•
l’entretien général, le nettoyage et la maintenance par l’utilisateur.
Eteindre et débrancher l’équipement avant de régler la hauteur ou l’angle•
d’inclinaison.
Avant nettoyage ou démontage, débranchez l'appareil du secteur.•
Nettoyez les surfaces extérieures avec un chiffon doux. N'utilisez ni solvants•
de nettoyage, ni diluants ni autres produits chimiques. Nettoyez la grille avec
un aspirateur en utilisant une brosse.
Ne pas immerger l'appareil dans l'eau ou dans d'autres liquides, ne pas dé-•
verser de l'eau ni d'autres liquides sur l'appareil.
Si l'appareil n'est pas utilisé, stockez-le dans un endroit frais, sec et exempt•
de poussière.

20
IT
21
1
3
8 954
2
6 7
13 14
1110 12
3 Pala del ventilatore
1 Protezione posteriore
8 Tasto di comando
2 Protezione anteriore
4 Cavo di alimentazione
9 Manopola girevole
6 Albero del motore
14 Peso
11 Asta estendibile
12 Vite ad alette per la
regolazione in altezza
5 Staffa con viti
COMPONENTI
13 Base
10 Vite e rondella
7 Vite della protezione
Le istruzioni di sicurezza importanti sono
raccolte nel documento a sé stante.
Table of contents
Languages:
Other O.K. Fan manuals
Popular Fan manuals by other brands

Omega Altise
Omega Altise OD152W Operation, maintenance and safety instructions

Rubine
Rubine RCF-VETTA101-5B user manual

Progress Lighting
Progress Lighting AirPro P2578 Installation guides

Minka Group
Minka Group minkaAire Contractor WATT F551 instruction manual

QuFresh
QuFresh QuF100X instructions

Vortice
Vortice VORT NRG EVO 005 Instruction booklet

TJERNLUND
TJERNLUND SS2 SIDESHOT WITH UC1 UNIVERSAL CONTROL (VERSION X.02) 8504105 REV... installation instructions

Nordic Home
Nordic Home FT-771 user manual

Midea
Midea MF-12FT8J Operation instructions

Hunter
Hunter 20415 Parts guide

Airflow
Airflow 7006A installation instructions

Ortech
Ortech OD22025 manual