Oasis LDS-IG User manual

OASIS
H.Z.02290025
A product recommended by State Administration of Grain for popularization
One of the first batches of products having passed a nationwide survey by State
Administration of Grain
ISO9001: 2000 certified
LDS-IG
Computerized Moisture Meter
User’s Manual
Quick, accurate, convenient
AC/DC power supply compatible
High-brightness backlight LCD, clear and energy-saving
Multipoint calibration, error correction
Low power consumption, automatic shutdown
Automatic weighing and temperature compensation
Volume-weight conversion display
Shanghai QingPu Oasis Inspection Technologies Co., Ltd.

Thank you for buying and using our product. In order to maximize the effect of this product, please
read this User’s Manual carefully and keep safely.
I. Structure Diagram
LCD panel Measuring sensor
Operation panel
AC power socket
Communication
interface
Lower edge of blanking cylinder
the place for sample to be placed
during measurement
Funnel
Sample container
Switch for discharge
gate
Discharge gate
Schematic drawing of LCD panel
display when the dry
battery is under voltage
Indicate that the value is the
average of the measure
Indicate different working
statuses of the moisture
meter
Indicate the corresponding
unit of measurement result
Indicate the measurement times Indicate measurement
result

II. Preparations before Use
1. Take out protective foam blocks filled around the measurement sensor of the moisture meter ( “the
meter” for short), and meanwhile confirm that the sensor is free of any substance, otherwise the meter
will not work properly;
2. Open the cover of battery compartment at the bottom of the meter, load in four 5# alkaline (1.5V)
dry batteries (rechargeable batteries must not be used) according to polarity indication, or plug into AC
power source (200V±10%, 50Hz) with AC adapter which is provided together with the meter;
3. Put the meter on a wind-free and shake-proof horizontal platform and make the funnel closely
attached to sample container.
4. Get ready the sample to de tested: conduct preliminary sample screening, get rid of impurities, and
put the sample in the meter for as long as possible to achieve temperature balance;
5. Check the list to identify category code: for ease of operation, the calibration parameters for
representative categories have been preset during shipment of the meter. During application, all you
need to do is check the “category-code list” attached to this User’s Manual and chooses the
corresponding category code for moisture measurement.
Note: when the meter is used for trade settlement and safe storage which needs higher precision, we
strongly recommend that you adopt standard sample of the category to be measured and conduct
calibration and error correction of the meter so as to ensure measuring precision and safeguard your
interest.
III. Moisture Measurement
1. Press down the power switch and the meter starts self-check. If no abnormality is found, the category
code will be displayed;
Note 测量:measure
2. Press the “ ” or “ ” key to choose the code of category to be measured (refer to the attached list△▽
for details);
3. Put the sample into the blanking cylinder to the lower edge of funnel for later use (see Figure A);
4. Make the blanking cylinder closely attached to the meter’s sensor, support the blanking cylinder with
one hand and press gently the switch for discharge gate (shown in Figure B) to make the sample fully
and evenly fall into the measuring sensor. Without pressing any key, the meter will automatically start
the measurement and the moisture value will be displayed after the decimal point flickers several times;
Note 样品放至下沿口:Put the sample to the lower edge
图A:Figure A
图B:Figure B

5. Close the discharge gate of the blanking cylinder, empty the sensor of the sample and prepare for the
next measurement.
6. In order to reduce measurement error, pay attention to the consistency in operating method: the same
sample (especially large-grain samples such as corn) shall be subject to several measurements, whose
results will be averaged: press the “ ” key once and the average value of previous measurements
will be shown.
Note “ ”:OK
IV. Error Correction
Due to objective factors in regions and category difference, preset calibration parameters with the meter
shipment may have limitation and measurement error is likely to occur. The moisture value can be
corrected with the following method so as to guarantee or improve measuring precision:
1. Determine error correction value: as a rule, the moisture value measured through 105 standard℃
drying oven method is adopted as the standard value. The correction value is obtained by deducting the
measured value from the standard value. For instance, the moisture value measured by the meter is
13.6%, but actual moisture value to be displayed is 14.0%. So correction value is +0.4, which means
that the calibration is 0.4 upward. If the correction value is negative, that means the downward
calibration is necessary;
2. Enter into correction status: take the sample out of the meter, press and hold the “Category” key and
release it after hearing the buzz. By this time, the character “Correction” flickers on the LCD panel,
which means the meter has been in correction status, and the set error correction value (the default
correction value before shipment is 0.0) is also displayed;
3. Correct error: press the “ ” key to raise the correction value (e.g.,△0.4), and then press the “确
定”(OK) key to save the value. The meter will flicker for confirmation. Turn off the meter or press the
“Category” key to exit from correction status.
The entire correction process is shown below:
Note 品种:Category
听到蜂鸣声后松开:Release it after hearing the buzz
显示数:Indicated value
修正:Correction
按△键:Press the “ ” key△
修改为:Corrected as 修正:Correction
按一次确定键:Press the “确定”(OK) key one time
闪烁显示:Flickering display
修正:Correction

V. Calibration
Calibration means conducting new configuration of the meter’s parameters with samples whose
standard moisture value has been already known. Calibration is used to increase measurement
categories or correct precisely the measurement error of existing categories.
The meter can be calibrated with up to 4 standard samples in the following method:
1. Prepare standard sample: adopt 105 standard drying oven method to prepare standard sample; to℃
make representative and accurate calibration, the maximum and minimum moisture value of standard
sample shall be at the two ends of the range of actually measured moisture values, with 3~6 percentage
points as the interval between different levels. If the range of measured moisture does not exceed 6
percentage points, only three standard samples (high, middle, low) or two standard samples (high, low)
are required (e.g., wheat, standard moisture values are arranged according to high, middle 1, middle 2,
low, i.e., 22%, 18%, 14%, 10% respectively);
2. Notices:
(1) The calibration must be performed in the order of low, middle, high moisture values;
(2) The meter shall not be shut down during calibration;
(3) The sensor shall be emptied prior to calibration.
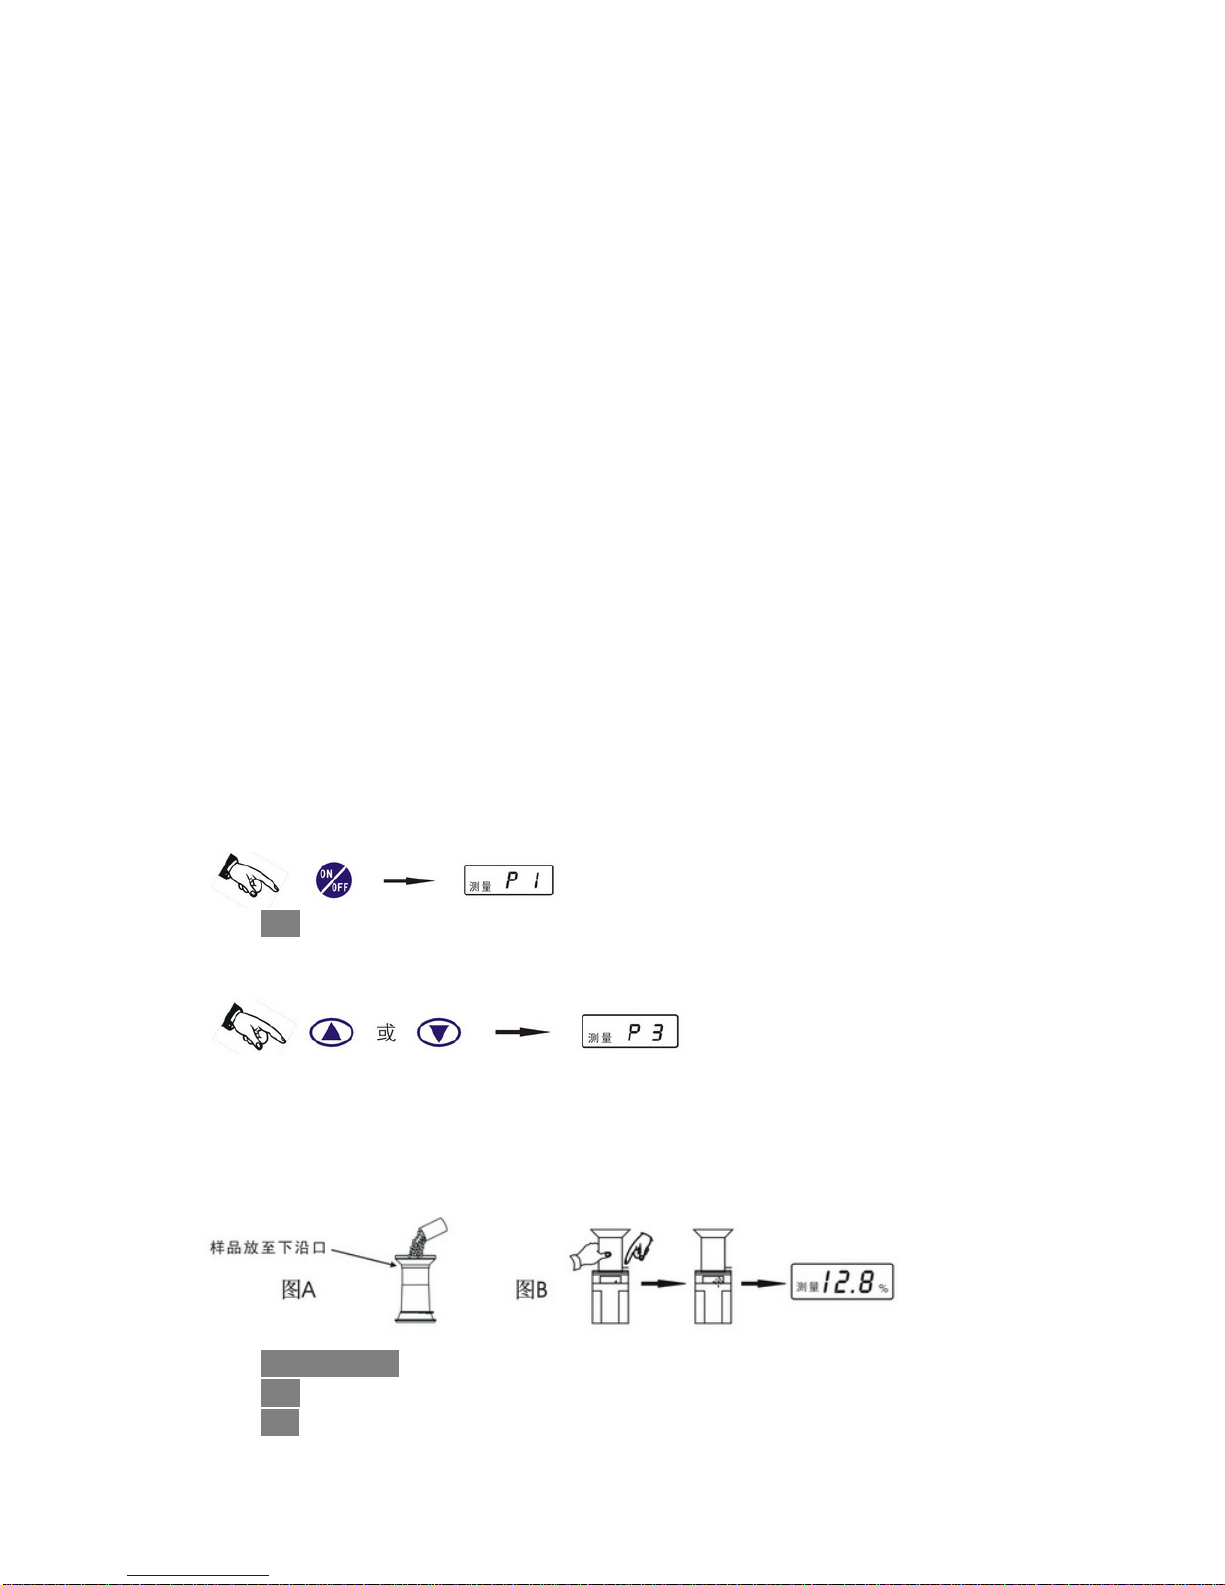
3. Choose category code: press the “ ” or “ ” key to choose the code of the category to be calibrated△▽
(the previous calibration parameter under this code will be overlaid);
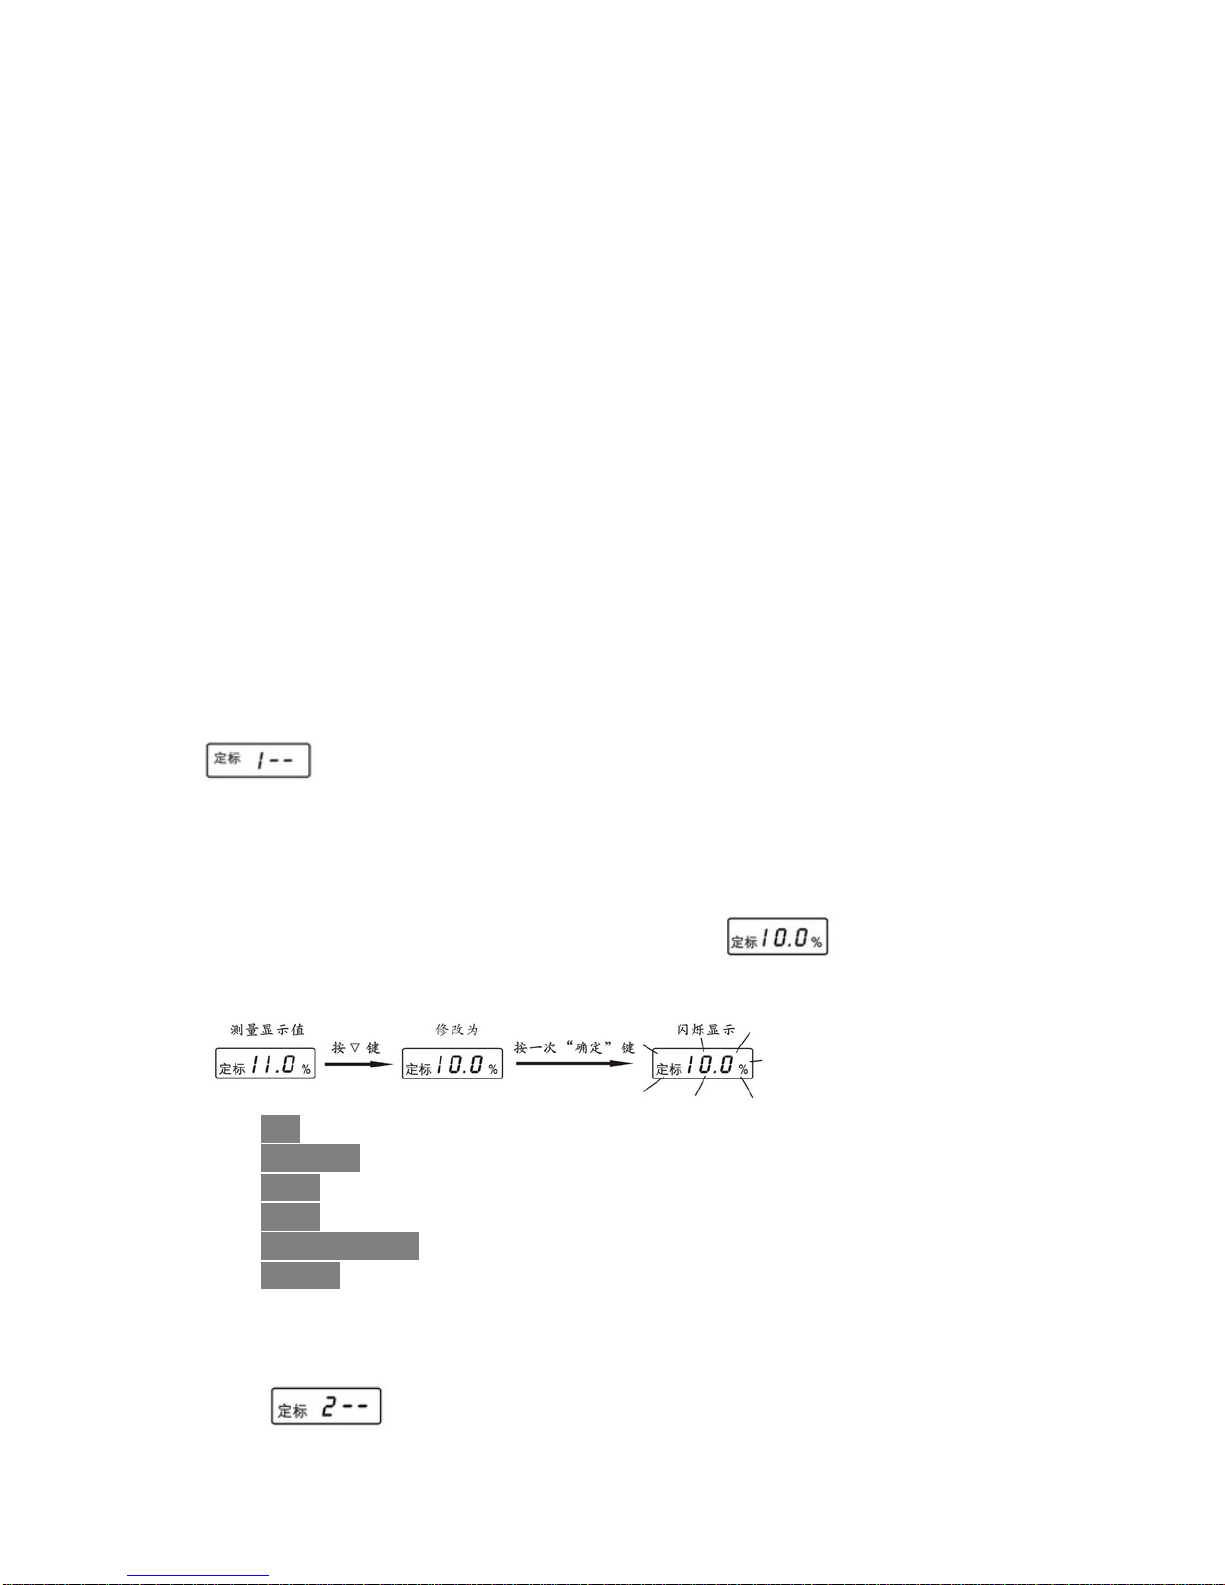
4. Enter into calibration status: press and hold the “确定”(OK) key (approx. 5~6s) and release it after
hearing the buzz. The character “Calibration” flickers at the bottom left corner of the LCD panel, and
is displayed, which means that the meter has entered into the calibration status and the
first standard sample shall be put in;
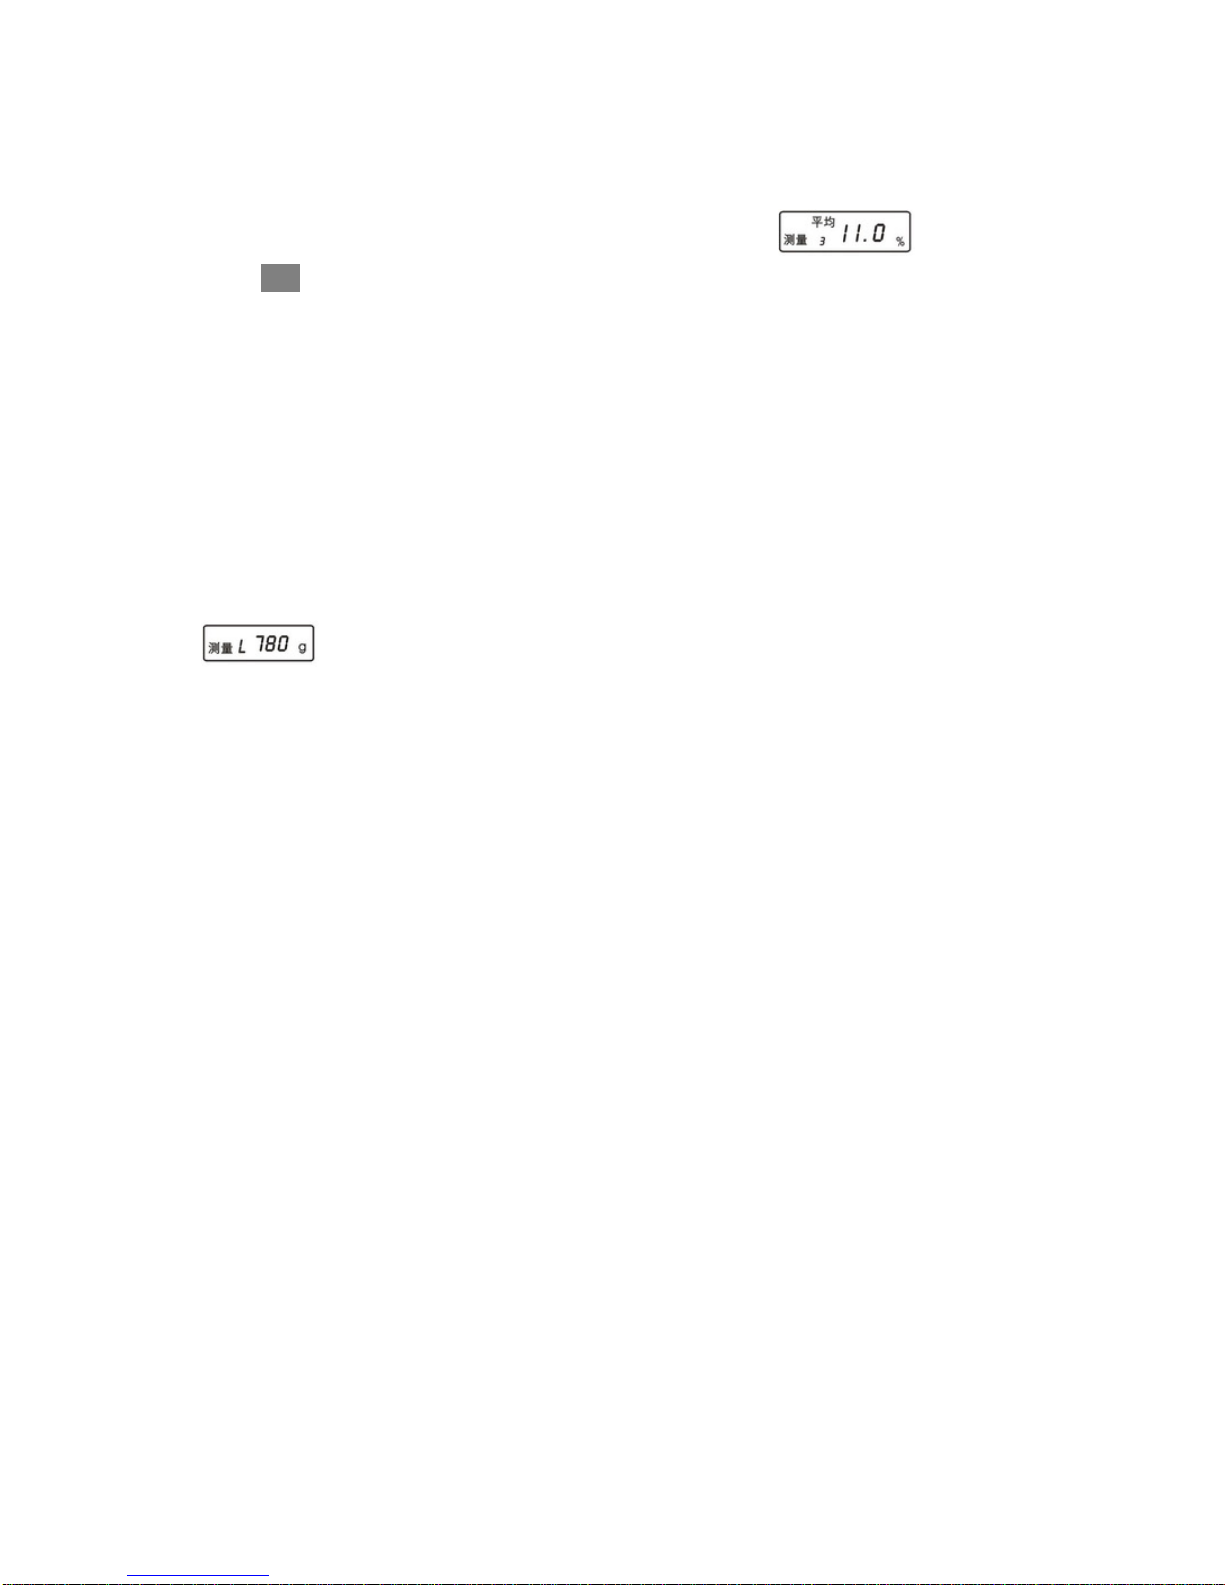
5. Calibrate low moisture: take the low-moisture standard sample and put it into the sensor through the
blanking cylinder. After the meter indicates the measured value (e.g., 11%), press the “ ” or “ ” key△▽
to modify the displayed value into the standard value (e.g., 10%), then press the “确定”(OK) key to
save the modification result. The meter displays the flickering , which means that the
one-point calibration is completed. See the following diagram:
Note 定标:Calibration
测量显示值:Displayed measurement value
按▽键:Press the “ ” key▽
修改为:Corrected as
按一次“确定”键:Press the “确定”(OK) key one time
闪烁显示:Flickering display
Note: the one-point calibration also acts as an error correction method. If the meter is shut down
at this time, it is equivalent to the completion of error correction.
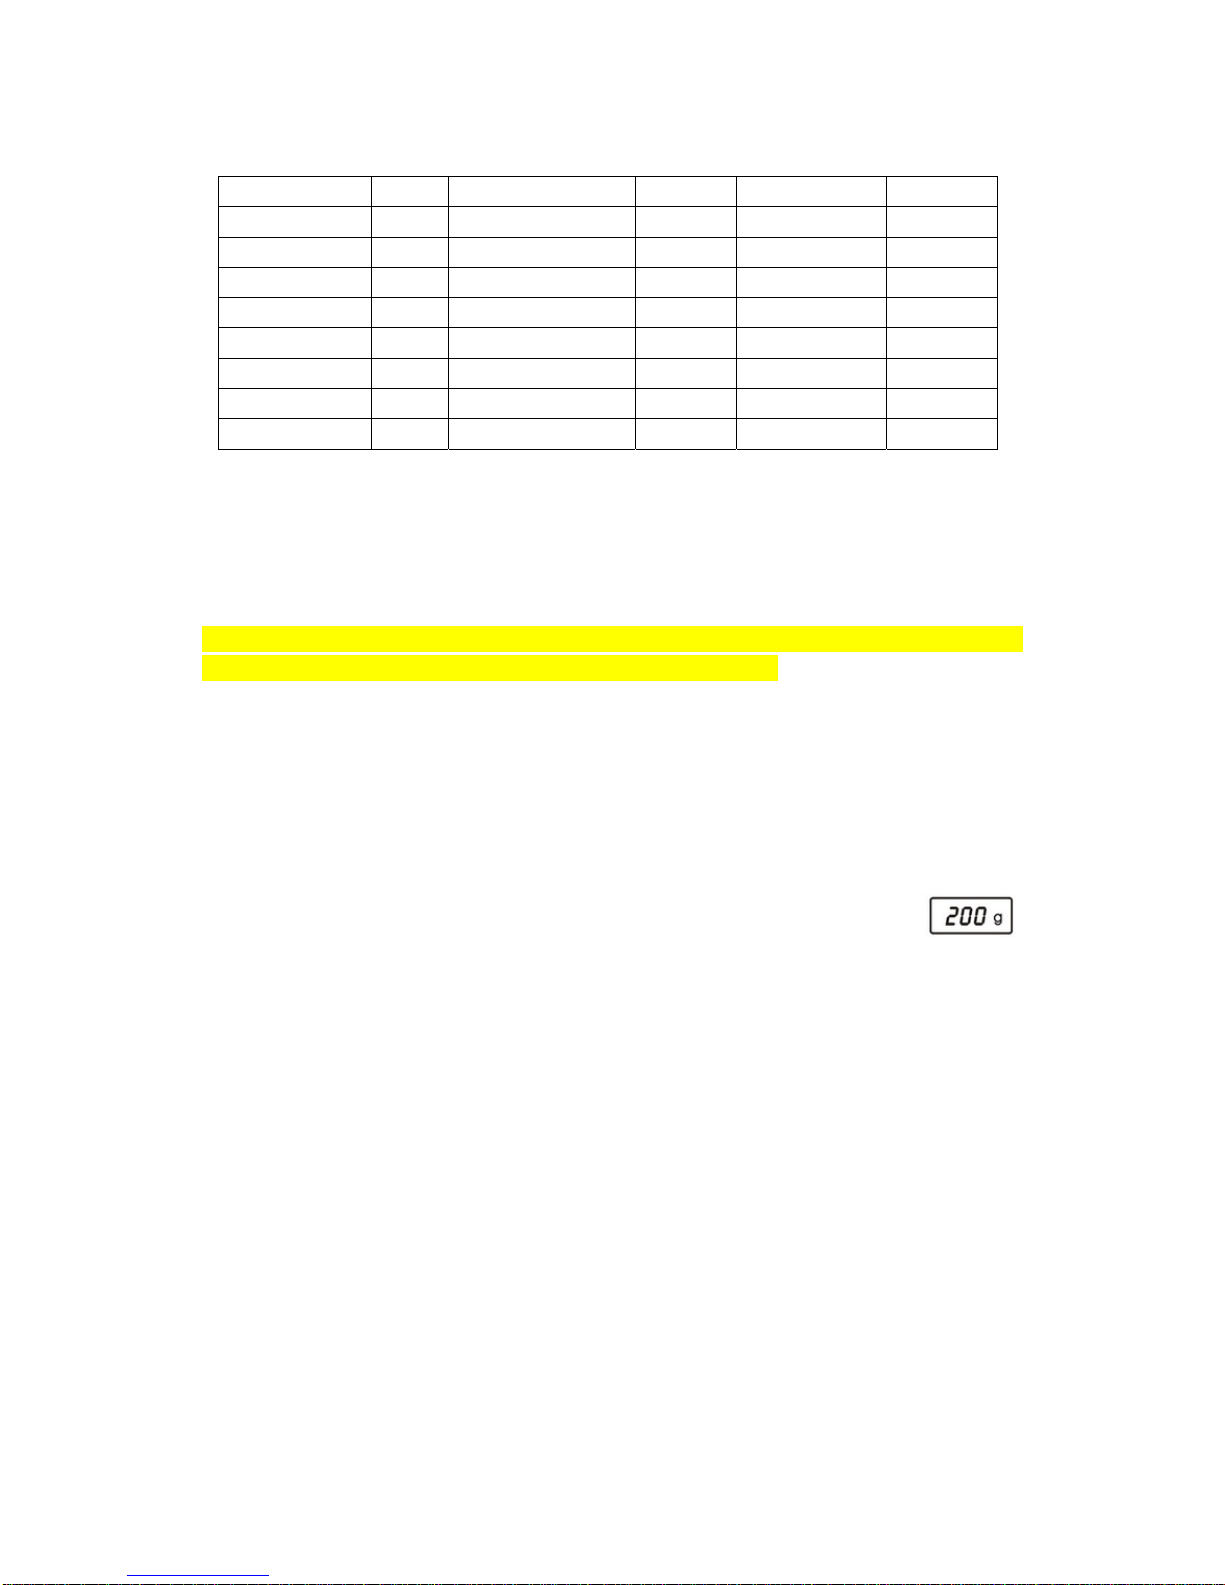
6. Calibrate the second point: Empty the sensor of low-moisture standard sample and the meter will
display which means that the second standard sample shall be put in. Complete the
calibration of the second point in the same method as specified in the above step 5;

7. Continue calibration: continue calibration in the above procedures. After the calibration of the fourth
standard sample is completed, the meter will automatically exit from the calibration status; if there is
no third or fourth standard sample, you may press the “Category” key or shut down the meter to exit
from the calibration status;
8. Recalibrate standard sample: if the measuring error is ≤0.5%, it means the success of the calibration.
If the measuring error is bigger, recalibration is necessary.
Note: in case of any mis-operation during calibration, press and hold the “Category” key and
release it only after hearing the buzz. Return to the initial calibration status and restart the
calibration.
VI. Restoration of Calibration Data with Shipment
If you want to restore the meter’s default calibration data with shipment, the following operations shall
be performed:
Choose the code of the category to be restored. Press the “确定”(OK) key, and press again and hold the
“确定”(OK) key. Release it after hearing the buzz, and then press and hold the “Category” key until the
buzz is heard. The meter displays flickering which means the default parameter has
been restored. Shut down the meter and exit the restoration status.
VII. Status Display
The meter has self-check functionality upon startup, which can give prompt signals according to
different working status:
: shows that there is a sample in the sensor during startup or something wrong with the
meter. The sample shall be taken out or the meter shall be inspected;
: shows that a fault occurs to the meter’s moisture measuring circuit,
temperature measuring circuit and weighing circuit respectively;
: shows that the moisture difference between standard samples is less than one percentage
point during calibration;
: shows that during calibration, there is something wrong with the sequence of standard
samples’ moisture value in terms of size;
flickering display of at the top left corner of LCD panel: shows that the battery voltage is
insufficient and timely replacement is required;
There is a constant display of at the top left corner of LCD panel, and meanwhile
appears on the LCD panel: shows that the batteries have been used up and the meter will be
automatically shut down in 30 seconds.

VIII. Subsidiary Functions with the Meter (for reference)
1. Averaging: when the meter measures the same sample twice or more, press the “确定”(OK) key once,
and the average value of previous measurements will be shown, such as .
Note 平均:Average
2. Indicating sample weight: After the meter displays the first measured moisture value or the average
value, press the “确定”(OK) key to display the sample weight in gram; and press the “确定”(OK) key
to redisplay the moisture value.
3. Indicating sample temperature: under the status of weight indication, press the “Category” key to
display the sample temperature in ℃; and press the “确定”(OK) key again to redisplay the moisture
value.
4. Volume weight conversion: the volume of the blanking cylinder supplied with the meter is about
232cm3(ml) without using the funnel. The sample shall be stickled with the funnel along the edge of
blanking cylinder before being put into the meter for measurement. After showing the moisture value,
press the “确定”(OK) key to display the sample weight. Then press the “确定”(OK) key again to starts
automatic conversion, shortly after which the volume weight of the sample will be displayed, e.g.,
. This value, of course, is for reference only.
5. Communication interface: used for special occasions. Please contact us for its technical parameters
and usage.
IX. Accessories of the Meter
The instrument case shall include the following accessories:
AC adapter, cleaning brush, user’s manual, quality conformity certificate and quality warranty card,
blanking cylinder, funnel, calibration weight for each meter; four 5# alkaline batteries.
X. Major Technical Data
Measuring object: foodstuff and other non-metal granular samples, such as rice grain, wheat, corn,
soybean and rapeseed;
Measuring error: ≤±0.5% Repetitiveerror: ≤0.2%
Measuringrange: 3~35% Measuringtime: ≤10s
Environmental temperature: 0~40℃Netweight: 830g
Power supply: four 5# alkaline batteries or external 9V DC stabilized power source
Displaymode: high-brightnessbacklightLCD

XI. Category-Code List
Category name Code Category name Code Category name Code
Japonica rice P1 Large-grain corn P9 Soybean meal P17
Soybean P2 White wheat P10 Cotton meal P18
Wheat P3 Peanut kernel P11 Rapeseed meal P19
Rapeseed P4 Chinese sorghum P12 Pellet feed P20
Corn P5 Black sesame seed P13 P21
Barley P6 Sunflower seed P14 P22
Indica rice P7 Watermelon seed P15 P23
Rice P8 Cotton seed P16 P24
XII. Maintenance and Servicing
1. As a precision electronic product, the meter must be handled with care and be protected against
shock and dampness. It must be placed horizontally during use and safekeeping, and be subjected to
regular cleaning and maintenance;
2. Dry batteries shall be taken out if the meter is not used for a long time or in transit;
3. Calibration of electronic balance: The electronic balance built in the meter may lose its accuracy due
to unexpected factors, which can be calibrated in the following manner:
a. Horizontally place the meter in shutdown state and take everything out of the sensor. Press and hold
the “Category” key, then press the “Power” key for startup and the meter will buzz. Release the
“Category” key, and the meter will display a figure, indicating the meter is under balance calibration
status;
b. Press the “确定”(OK) key and the decimal point on the display screen flickers several times,
showing a flickering 200g, which means that a 200g weight shall be added;
c. Put the fixed weight supplied with the meter (or 200g standard weight) gently on the black tip in the
center of measuring sensor, and press the “确定”(OK) key again. After the meter shows ,
turn off the meter and take away the weight.
Shanghai QingPu Oasis Inspection Technologies Co., Ltd.
Address:No.349YingxiuRoad,Qingpu,Shanghai District201700
Tel: (021)69201018 59202470
Telephone exchange: 59203649 Fax: 59202470
Http: //www.shluzhou.com
E-mail: luzhou@shluzhou.com
Production Permit No.: H.Z.02290025
Revised in March, 2008
Table of contents
Popular Measuring Instrument manuals by other brands

Trace2O
Trace2O METALYSER DELUXE HM2000 instruction manual

Extech Instruments
Extech Instruments MO270 user guide

McIntosh
McIntosh MPM4000 owner's manual

Hitachi
Hitachi UST-9133 instruction manual

Global Energy Innovations
Global Energy Innovations EC1000 quick start guide

C-LOGIC
C-LOGIC 85 instruction manual