SAV III Basic rel. 1.0 5
#UNDERWATERNATURALLY
In order to maintain the warranty, service and routine maintenance of the products
must be performed by the end user as indicated by OCEAN REEF and described in
chapter 8 MAINTENANCE, CLEANING AND STORAGE.
For details, contact an authorized OCEAN REEF dealer at: https://diving.
oceanreefgroup.com/shop-dealers/
OCEAN REEF refuses all responsibility for damages caused by non-compliance with
the instructions contained in this manual. These instructions do not extend the warranty
or the responsibilities stated by OCEAN REEF terms of sales and delivery.
Before using the SAV III Basic the user must ensure that the product has been properly
inspected and maintained. (see Chapter 8 Maintenance, Cleaning and Storage).
Dust and any debris in the area of the SAV can cause malfunction in the product
or even compromise its correct use. In order to avoid this, before use, make sure
that the SAV is perfectly clean.
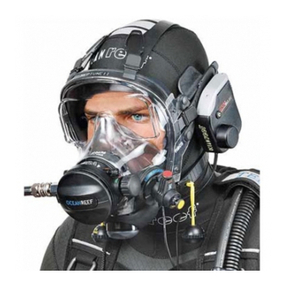
While the SAV provides the diver the ability of breathing ambient air on surface, it does
not change or eliminate the potential hazards of diving. As a further component of the
diver’s equipment, it should be operated according to this manual and included in
one’s conguration only when fully understood and condent use achieved.
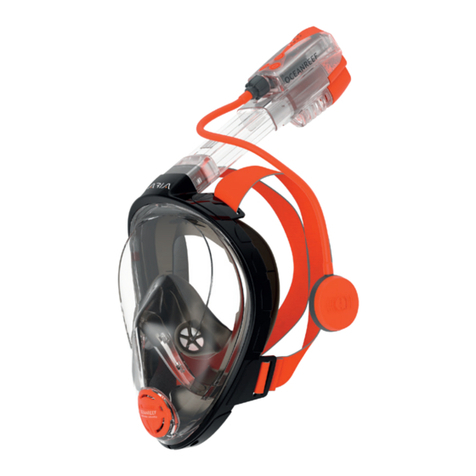
While our SAVs feature a valve to avoid water to rush in the mask when submerged,
this is intended in vertical position and normal diving trim position. According to the
position of the valve, leaking can be more serious. For this reason, the valve should not
be forgotten open, upon submerging as instructed in this manual.
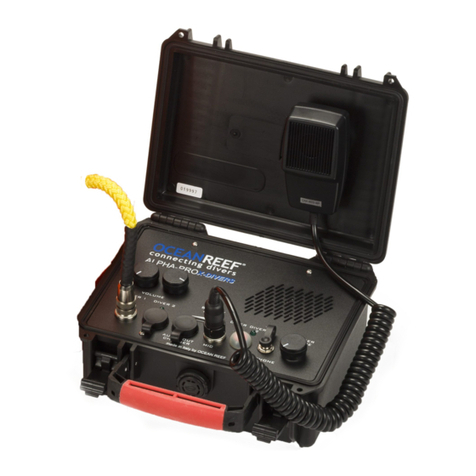
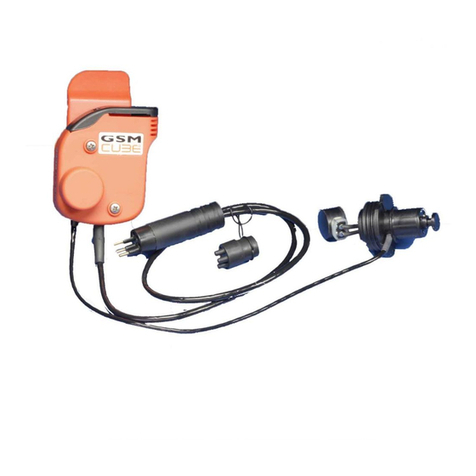
Check the COMMUNICATION port plug: it should be in place, screwed into it’s tting
if you have not installed a communication unit microphone/PTT assembly. IF you have
opened and closed this port plug, make sure youu have placed the at gaskeet that
should be on the inside perimeter - back in place.
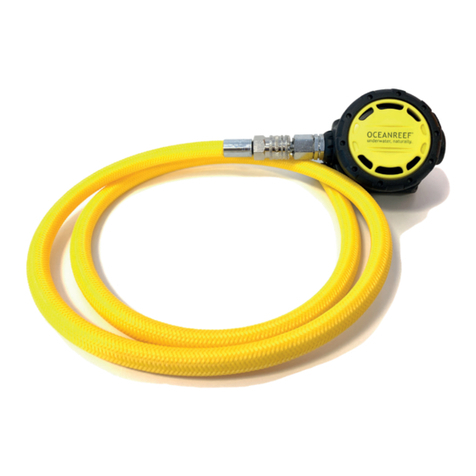
Verifying quick connection hoses before the dive is imperative. Attach and detach
hoses from male connections multiple times (before and after pressurizing) to ensure
the connection system operates smoothly. Make sure, once nally connected, that the
coupling is secure by pulling on the female part of the hose, without unlocking the
quick connections. The hoses must remain assembled on the male part rmly. Always
make sure you do not get dirt, sand or other material in the hose mechanism.
