manuals.online logo
Brands
  1. Home
  2. •
  3. Brands
  4. •
  5. Oceanic
  6. •
  7. Bathtub
  8. •
  9. Oceanic OCEABTPS105 User manual

Oceanic OCEABTPS105 User manual

OCEABTPS105,OCEABTPS111
OCEABTPS112,OCEABTPS118
OCEABTPS013,OCEABTPS116
BAIGNOIRE ILOT
Notice
FREESTANDING BATHTUB
Instruction booklet
Guide d'installation des baignoires autonomes
REMARQUE/NOTICE
Au moins deux personnes sont nécessaires pour déplacer ou
soulever la baignoire.
At least two people are required to move or lift the tub body.
AVERTISSEMENT/WARNINGS
Attention: Prenez garde au caractère glissant de la surface de
la baignoire, et a plus forte raison en présence d’eau, de savon ou
de détergent, il peut être facile de glisser et de se faire mal.
Des dommages peuvent survenir en raison d'une
manipulation brutale durant le transport ou lors de la pause.
N'installez pas ce produit tant que l'inspection approfondie n'est
pas réalisée.
Vérifiez que le modèle et les dimensions de la baignoire sont
corrects. Inspectez soigneusement la baignoire pour déceler tout
dommage possible (C’est-à-dire débris, égratignures, fissures).
Toutes les pièces préassemblées doivent être vérifiées et
resserrées avant l'installation.
Avant l'installation, assurez - vous que le sol est propre et plat
à l'aide d'un nettoyant de sol doux et d'un niveau à bulle.
Lors du nettoyage de la baignoire en acrylique, utilisez un
chiffon doux humide pour nettoyer sa surface.
CAUTION: Beware to the slippery tub surface, please do not
pour any cleaners on surfaces which may have the danger of slip
and fall.
Duetopossible roughhandlingduringshipping or onthejobsite,
damages may have occurred. DO NOT INSTALL thisproduct untila
thoroughinspection havebeencompleted.
Check the bathtub for the correct model and size. Carefully
inspect the tub of any possible damages (i.e., chips, scratches,
cracks).
All pre-installed parts must be checked and re-tightened before
installation. Be sure your floor is clean and evenly leveled before
installation by usinga mild floor cleaner and astandard precision level.
For cleaning our acrylic bathtub, please use soft cloth with
clean water to clean the tub surface.
LISTE DU CONTENU / COMPONENTS LIST
Le produit est préassemblé.
The product is pre-assembled.
Corps de la baignoire / Bathtub body
Couvercle du clapet / Valve lid
Corps du clapet / Valve body
Join superieur / upper gasket
Joint inferieur / Lower gasket
Bonde / Valve seat
Bonde à clapet /
Pop-up drain
EQUIPEMENT (NON-INCLUS) /EQUIPMENT (NOT INCLUDED)
SILICONE OU MASTIC / SILICONE OR SEALANT
TASSEAUX EN BOIS (4cm x 4cm) / WOOD BATTEN (4cm x 4cm)
NIVEAU A BULLE / LEVEL
BAIGNOIRE AUTO-PORTANTE – GUIDE
D’INSTALLATION
FREESTANDING BATHTUB INSTALLATIONGUIDE
Etape 2 :
Inspectez soigneusement la surface de la baignoire et ne l'installez
pas si des dommages sont constatés (p. ex., débris, rayures,
fissures).
STEP 2:
Have a careful checking of the surface of the bathtub, if there are
any damages (i.e., chips, scratches, cracks), do not install it.
Etape 1 :
Déballez le carton et sortez soigneusement la baignoire en étant
au moins à 2 personnes.
STEP 1:
Open the packaging and pull the freestanding bathtub out
carefully, being at least 2 persons.
Étape 3 :
Utilisez des tasseaux de bois pour surélever la baignoire afin
d’avoir un accès suffisant pour l'installation et l'inspection.
STEP 3:
Use battens to raise the bathtub up, so you have enough space
for the installation and checking.
Étape 4 - installation de l’évacuation Option 1 :
Note : La bonde et le clapet sont pré-installés sur la baignoire.
Si l’emplacement de votre évacuation correspond à la position de
la bonde, vous pouvez la connecter directement à la bonde.
L'écrou de raccordement doit être de type G1 1/2.
STEP 4 - Drain installation option 1 :
NOTE: The pop-up drain will be pre-installed on the tub.
If your floor drain position can match the pop-up drain, you can
connect the pop-up drain to the floor drain directly. The
connection nut should be G1 ½ type.
Étape 4 - installation de l’évacuation Option 2 :
Note : La bonde et le clapet devront être pré-installés sur la
baignoire.
Si l'emplacement de votre évacuation ne correspond pas à celle
de la bonde, vous pouvez utiliser un flexible pour connecter la
bonde à l’évacuation. L'écrou de raccordement du tuyau
d'évacuation doit être G1 1/2.
STEP 4 - Drain installation option 2 :
NOTE: The pop-up drain will be pre-installed on the tub.
If your domestic drain position cannot match the pop-up drain,
you can use a separate soft drain pipe to connect the pop-up
drain with the domestic drain. The soft drain pipe connection nut
should be G1 ½ type.
Fermé/Closed
Ouvert/Open
Étape 5 - Essai d’étanchéité. Partie 1 :
Avant la mise en eau, assurez-vous que le clapet est en position
fermée.
STEP 5 - Water test Pt. 1:
Before the water test, make sure the pop-up drain has been
closed.
Étape 5 - Essai d’étanchéité. Partie 2 :
Une fois le clapet fermé, remplissez la baignoire d'eau et vérifiez
s'il y a des fuites en dessous de la baignoire.
STEP 5 - Water test Pt. 2:
After the pop-up drain closed, fill the bathtub with water, and
check the bottom drain part to see if there is any leakage.
Étape 6:
Retirez les tasseaux et vérifiez le niveau de la baignoire à l'aide
d'un niveau à bulle.
STEP 6:
Remove the battens and check the bathtub to see if it is at level
with a levelling instrument.
Étape 5 - Essai d’étanchéité. Partie 3 :
S’il y avait une fuite au niveau de la bonde, vous pouvez resserrer
l’ensemble jusqu’à l’arrêt de la fuite.
Après le test, videz l'eau.
STEP 5 - Water test Pt. 3:
After the water test, please drain the water away.
Étape 7 :
Si le niveau n’est pas horizontal, vissez ou dévissez les pieds
réglable pour atteindre l’horizontale.
STEP 7:
If it is not at level, please rotate the adjustable feet to make it
levelled.
Étape 8:
Après vérification du niveau, ajoutez suffisamment de silicone
sous chaque pied réglable pour les fixer au sol.
STEP 8:
After the horizontal checking, add enough silicone under each
adjustable feet to fix them to the ground.
Étape 9:
Scellez également les bords extérieurs de la baignoire avec du
silicone pour empêcher l'eau de pénétrer sous la baignoire.
STEP 9:
Use silicone to seal the outer edges of the bathtub to prevent
water entering under the bathtub.

This manual suits for next models

5

Popular Bathtub manuals by other brands

ALEX BAITLER GARDA user manual

ALEX BAITLER

ALEX BAITLER GARDA user manual

b10 Elysse Installation, use and maintenance instructions

b10

b10 Elysse Installation, use and maintenance instructions

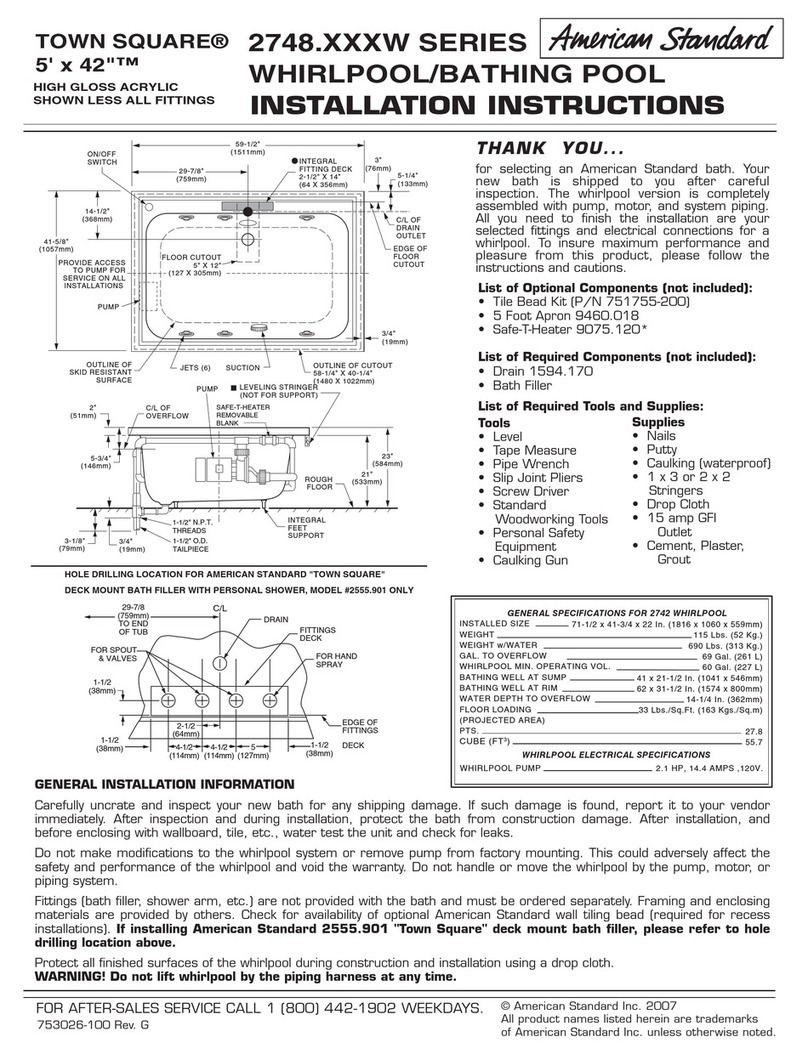
American Standard Town Square 2742.XXXW Series installation instructions

American Standard

American Standard Town Square 2742.XXXW Series installation instructions

Reval Transcare Series instruction manual

Reval

Reval Transcare Series instruction manual

Fleurco BSE7035 Installation and user guide

Fleurco

Fleurco BSE7035 Installation and user guide

Streamline N-120-60FSWH-DM Owner's manual & installation guide

Streamline

Streamline N-120-60FSWH-DM Owner's manual & installation guide

Aquatic Builders' Choice Series Owner's manual & installation guide

Aquatic

Aquatic Builders' Choice Series Owner's manual & installation guide

Oliveri Naples installation instructions

Oliveri

Oliveri Naples installation instructions

glass 1989 dek 185/85 manual

glass 1989

glass 1989 dek 185/85 manual

American Standard Whirlpool and Bathing Pool 2732.002 specification

American Standard

American Standard Whirlpool and Bathing Pool 2732.002 specification

MCBATH BLOCK installation manual

MCBATH

MCBATH BLOCK installation manual

CLEOPATRA WellPool Square 401 manual

CLEOPATRA

CLEOPATRA WellPool Square 401 manual

BainUltra EVANESCENCE 6634 Addendum to the owner's manual

BainUltra

BainUltra EVANESCENCE 6634 Addendum to the owner's manual

Artweger ARTLIFT Operation and maintenance

Artweger

Artweger ARTLIFT Operation and maintenance

American Standard Heritage 5'x42 2805.002 Specifications

American Standard

American Standard Heritage 5'x42 2805.002 Specifications

Kohler Underscore K-1822-G manual

Kohler

Kohler Underscore K-1822-G manual

American Standard Colony 5-1/2' x 32" Specification sheet

American Standard

American Standard Colony 5-1/2' x 32" Specification sheet

American Standard Savona 2901.028WC Specifications

American Standard

American Standard Savona 2901.028WC Specifications

manuals.online logo
manuals.online logoBrands
  • About & Mission
  • Contact us
  • Privacy Policy
  • Terms and Conditions

Copyright 2025 Manuals.Online. All Rights Reserved.