Product mix & Illustrations ....................................................................................................... 1
Controls and Operation .......................................................................................................... 2
UHF ACS Receiver Module DR-501A ......................................................................................... 3
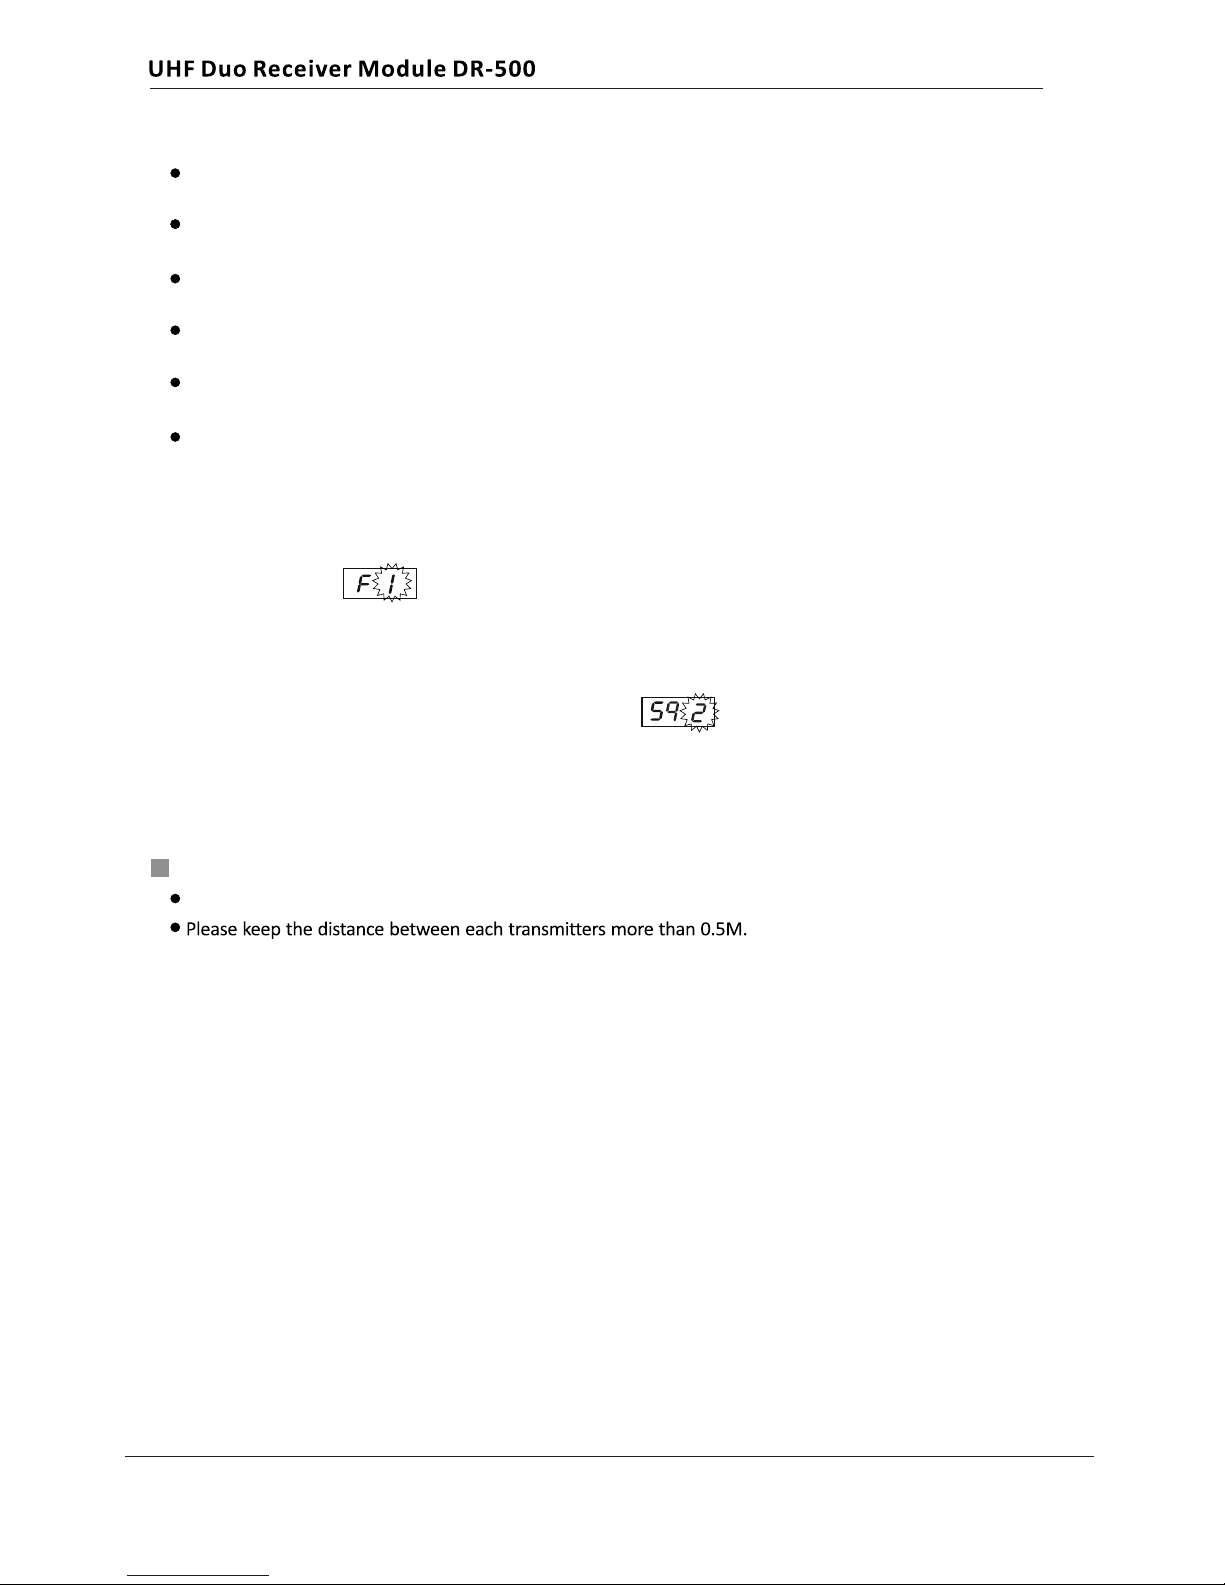
UHF Duo Receiver Module DR-500 ....................................................................................... 4 ~ 5
CD Player CD-800S+ ........................................................................................................... 6 ~ 7
UHF Audiolink Transmitter TX-701-820 .................................................................................... 8
Important Maintenance Guideline ........................................................................................... 9
Specifications ...................................................................................................................... 10
Notice: The changes or modifications not expressly approved by the party responsible for compliance could void the user's authority to
operate the equipment.
FCC INFORMATION
The Federal Communication Commission Radio Frequency Interference Statement includes the following paragraph:
-- Reorient or relocate the receiving antenna.
-- Increase the separation between the equipment and receiver.
-- Connect the equipment into an outlet on a circuit different from that to which the receiver is connected.
-- Consult the dealer or an experienced radio/TV technician for help.
The equipment has been tested and found to comply with the limits for a Class B Digital Device, pursuant to part 15 of the FCC Rules.
These limits are designed to provide reasonable protection against harmful interference in a residential installation.
This equipment generates, uses and can radiate radio frequency energy and, if not installed and used in accordance with the instruction,
may cause harmful interference to radio communication.
However, there is no grantee that interference will not occur in a particular installation. If this equipment dose cause harmful interference
to radio or television reception, which can be determined by turning the equipment off and on, the user is encouraged to try to correct the
interference by one or more of the following measures:
IMPORTANT NOTE: To comply with the FCC RF exposure compliance requirements, no change to the antenna or the device is
permitted. Any change to the antenna or the device could result in the device exceeding the RF exposure requirements and
void user's authority to operate the device.
Consumer Alert
Most users do not need a license to operate this wireless microphone system. Nevertheless, operating this microphone system
without a license is subject to certain restrictions: The system may not cause harmful interference; it must operate at a low power
level (not in excess of 50 milliwatts); and it has no protection from interference received from any other device. Purchasers should
also be aware that the FCC is currently evaluating use of wireless microphone systems, and these rules are subject to change. For
more information, call the FCC at 1–888–CALL–FCC (TTY: 1–888–TELL–FCC) or visit the FCC's wireless microphone Web site at
http://www.fcc.gov/cgb/wirelessmicrophones.
This device complies with part 15 of the FCC Rules.
Operation is subject to the following two conditions: (1) This device may not cause harmful interference, and (2) this device must accept any
interference received, including interference that may cause undesired operation.
120W power output (max).
Two-way speaker – 8” woofer and 1” tweeter – deliver great sound projection.
Supports max two UHF ACS receiver modules (DR-501A) or UHF Duo receiver modules (DR-500)
allows 4 wireless microphones to operate concurrently.
Integrated Bluetooth function for audio streaming from smartphone and tablet.
Built-in Echo sound effect & delay applied on wireless mics and audio inputs (GPA-828 ONLY).
Various audio player modules for option – MP3, CD, DVD, pitch control or recording – at users' choice.
Voice priority allows a reduced music volume when a microphone is used.
4-segment battery meter for charging and power status reading.
Two power models – AC or Battery powered.
Runs 4-6 hours on a charge (built-in battery charger).
Retractable handle and PU wheels allows users to move without difficulty.
Contents
Features 3
Product mix & Illustrations 4
Controls and Operations 5
UHF Duo Receiver Module DR-500 6
UHF Audiolink Transmitter TX-701-820 8
Troubleshooting 9
Important Maintenance Guideline 9
Specifications 10
Environment 11
Important notes 11