Assembly Instructions
32" TALL ROUND RAISED GARDEN BED
Curved Panels
What is in the kit ?
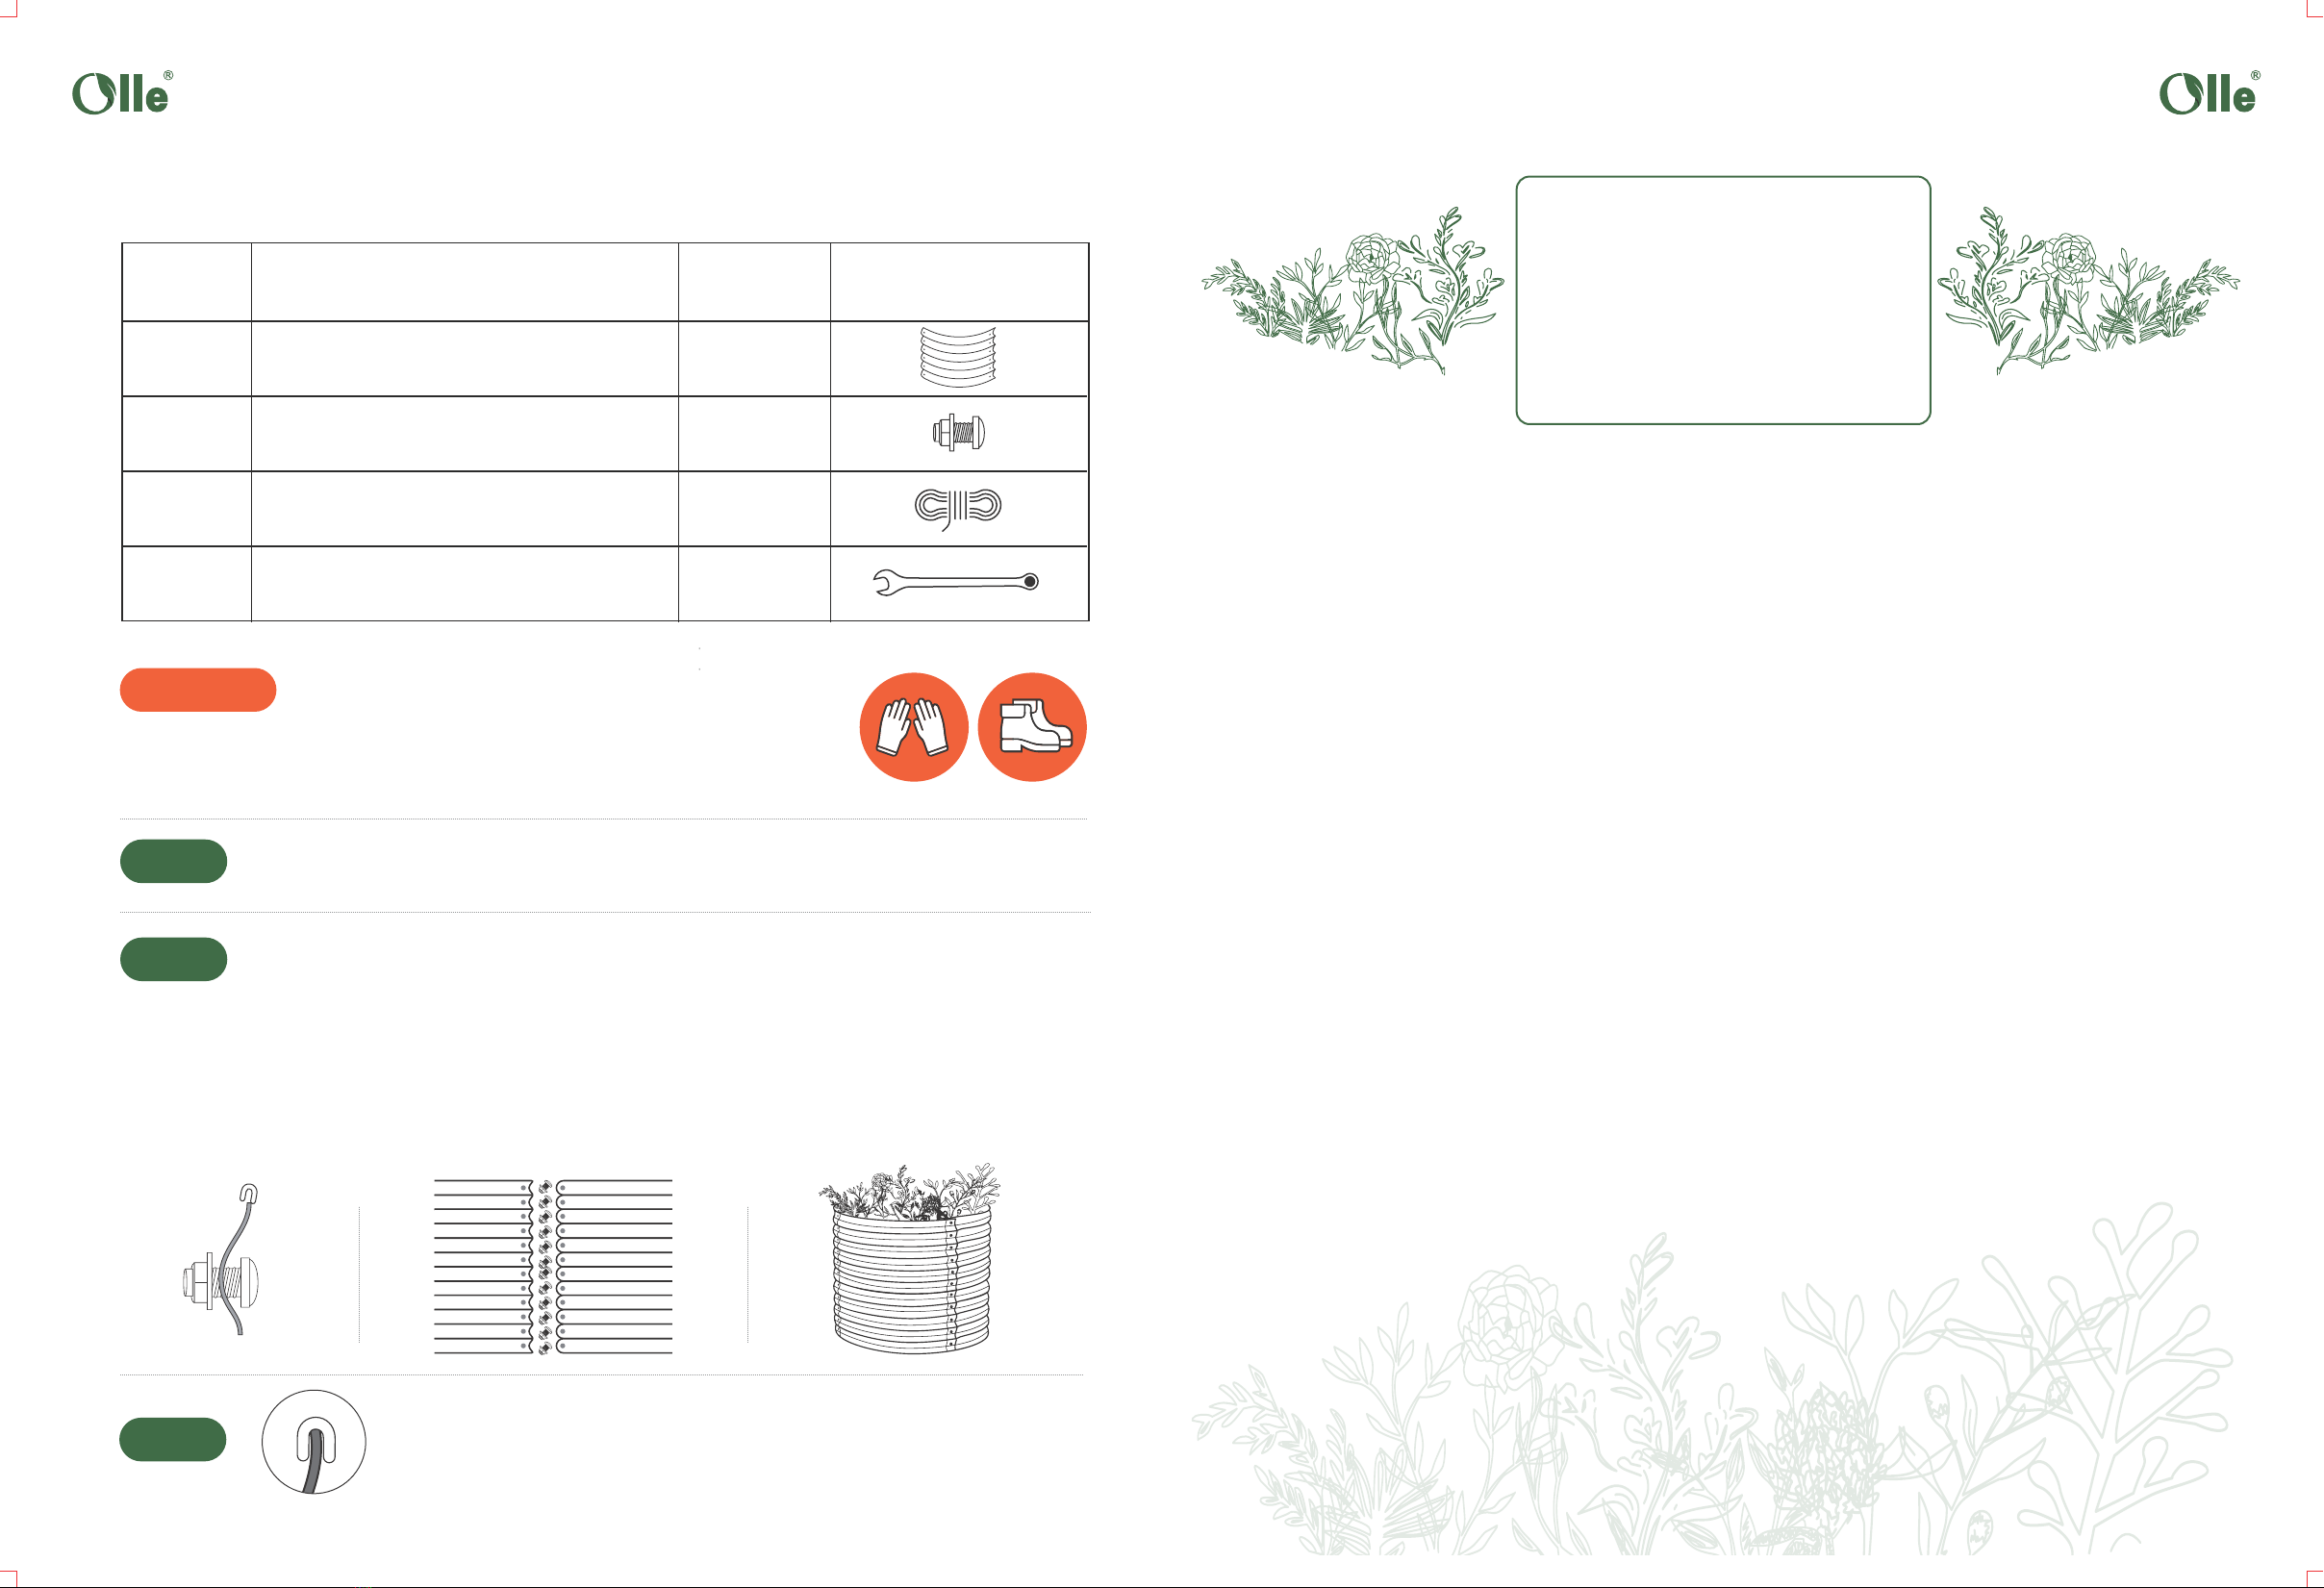
Part NO. Description Qty. Parts
A
B
C
D
6pcs
66 sets
1pc
1pc
Bolts, Washer and Nuts
(Stainless Steel)
Wrench Tool (10mm)
Rubber Safety Edging
ASSEMBLY INSTRUCTIONS
32" TALL ROUND RAISED GARDEN BED
Please be aware of the sharp edges in the metal panels that may cause injury.
The use of protective equipment such as gloves and closed-toe shoes is recommended.
CAUTION
FREQUENTLY
ASKED
QUESTIONS
Why are the Olle garden beds open at the bottom?
WILL. . . THE OLLE RAISED BED GARDEN OVERHEAT?
GROWING IN THE OLLE RAISED GARDEN BED...IS IT SAFE?
The answer is NO. The colored powder-coating with the Aluzinc reflects the heat from
the Sun and protects the plants from root burn. It also maintains a warmer
temperature in the winter for a longer gardening season. Our metal raised garden
beds outperform standard wooden, concrete and plastic beds.
The open-bottom metal garden beds allow for drainage and the plants will have access
to the nutrients at the soil level.
The answer is YES. The Olle Raised Garden Beds are made made from 24 gauge galva-
nized steel, powder-coated with color and coated with Aluzinc, a zinc-aluminum alloy. The
coating provides great resistance to different acidic levels found in most garden soils
creating a safe and healthy garden environment.
• Lay out your panels
• Remove the protective film from both sides of the panels prior to assembly.
Step 1
• Assemble two curved panels to start. Put one bolt at the top and bottom of the panel set.
Hand-tighten them.
• Continue the same process to complete your garden bed.
• After you have loosely assembled your shape, add the interior bolts on the outside and the washer
and nut on the inside.
• Pinch the panels together at the top and finish tightening the nuts from the top to the bottom
with the wrench tool provided and a phillips head screwdriver to hold the bolt in place on the
outside. To speed up the tightening process, you can use a metric number 10mm hand ratchet.
Step 2
Step 3
• Slightly pull/stretch the Safety Rubber Capping as you push it onto the top
edge of the garden bed and trim off the excess.
(You can use the back of the wrench we provide or a screwdriver to slightly
open the channel of the rubber edging only at the joints where the panels
overlap allowing it to slip over both panels easier.)
OutsideInside


