Wifi Connectivity
WPA manual setting
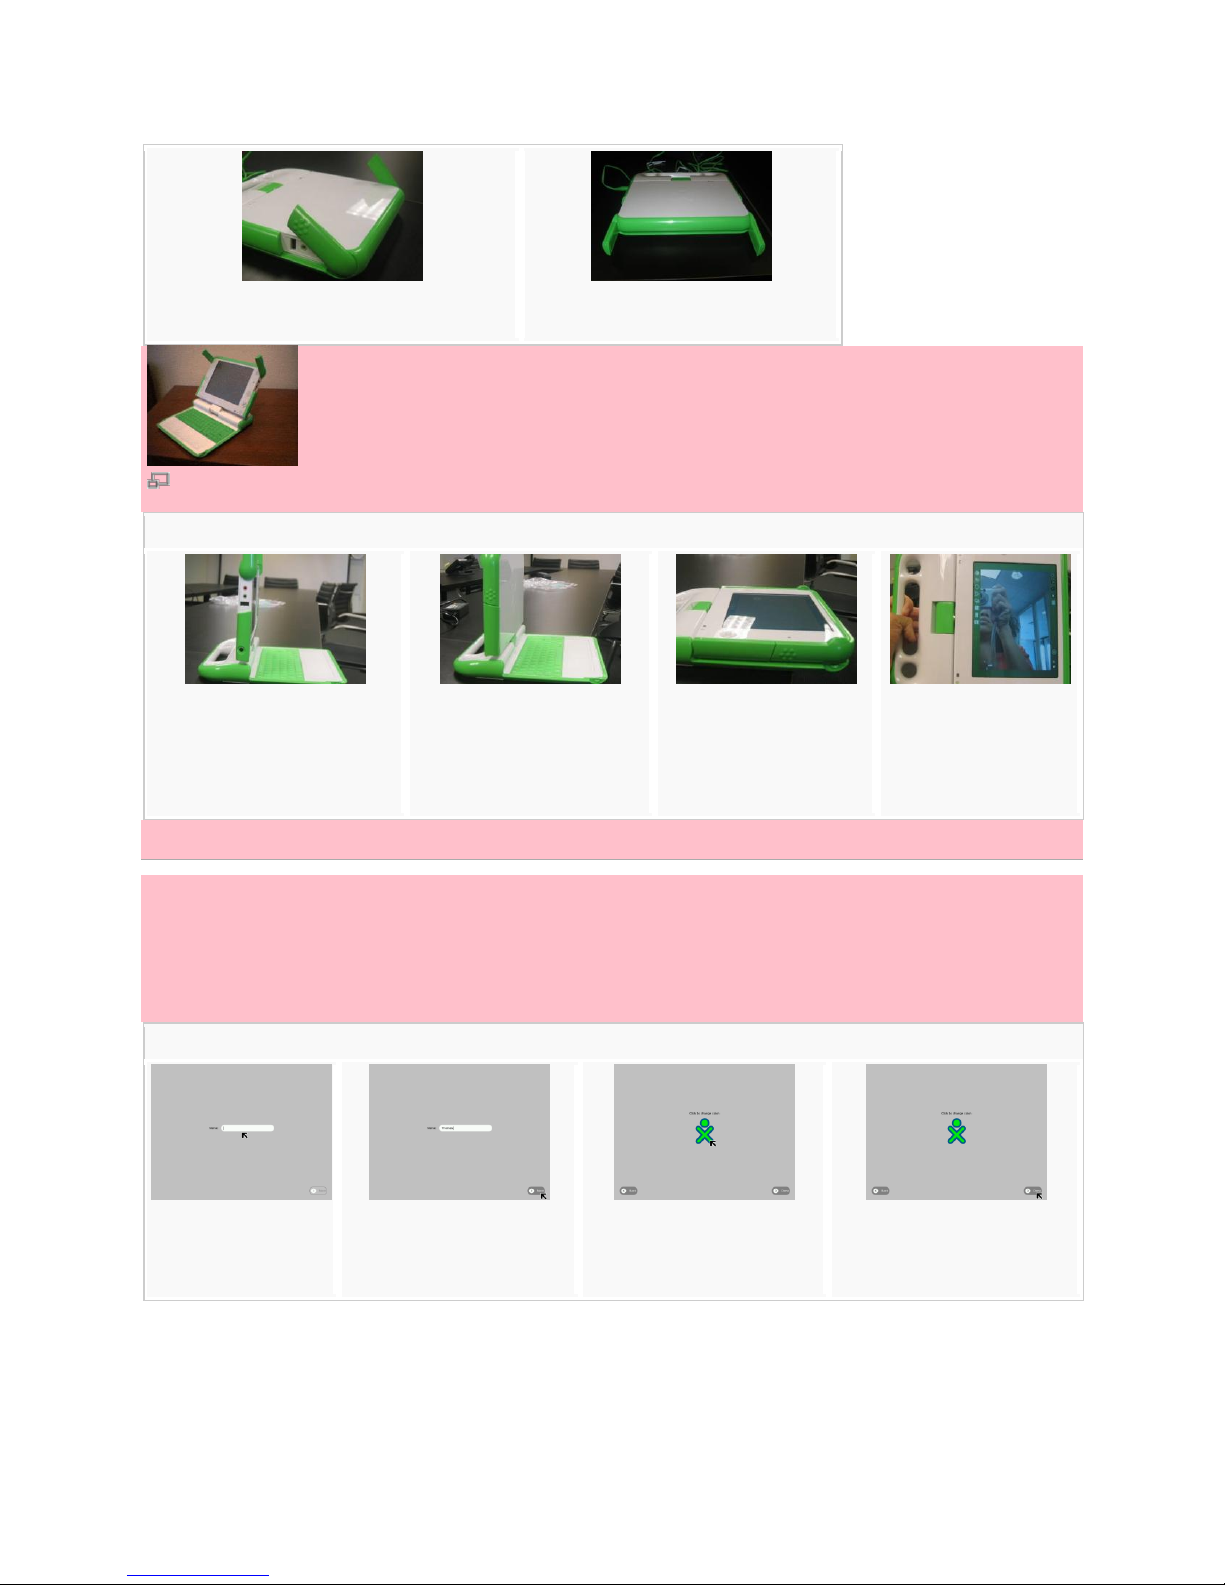
Cleaning and caring for your XO
While your XO is tough, you should try to keep your XO dry and clean and avoid dropping it or stepping or
sitting on it. If it gets dirty, wipe it with a damp cloth and dry it. It can survive an occasional accidental
soaking in a rain storm, but don't dip it all the way into water.
The XO laptop has no hard drive to crash and only two internal cables, so it is less likely to fail than other
laptops. For added robustness, the XO's plastic walls are thicker than the standards for other laptops. Its
green mesh network antennas, or "bunny ears," double as external covers for the USB ports, which are
protected internally as well. Internal bumpers protect the screen display by offering cushioning.
Updating and maintaining your XO
You might want to update all the software on your XO laptop when a new version of the software is
released. It takes about 30 minutes, and you can use the following instructions to install all new updates
without losing any data. Refer to wiki.laptop.org for the most recent version number and for information
about updates and reasons for updating. For example, the version that shipped on early Give 1 Get 1
XOs was 650 but it did not support certain wireless settings, so you could use this procedure to update to
version 656.
To determine what version your XO currently contains, go to the Journal, and then press ctrl + alt + the
Group View key (three dots) simultaneously from your Journal. In the output, look for the number after the
word build. This example shows build 653:
OLPC build 653[/B] (stream ship.2; variant devel_jffs2) Kernel 2.6.22-20071121.7.olpc.af3dd731d18bc39
on an i586 xo-0D-39-78 Login: To return to the Home View, press ctrl + alt + the Home View keys
simultaneously.
1. Plug the AC adapter into your XO and plug the adapter into an electrical outlet for constant
power.
2. Connect to the Internet by going to the Neighborhood View if necessary. If you cannot connect
to the Internet, see the Tips section below.
3. Open the Terminal Activity.
terminalactivity
1. Log in as root by typing su - l (lower case L, not the number one) and then press enter.
su -l
1. Next, in the Terminal Activity, type: