Optibike R Series User manual

R Series Unpacking Guide Page 1
Optibike R Series
Unpacking Guide V1.0
Congratulations on your new Optibike R Series Electric Bike.
Please take time to read through this instruction manual before
unpacking.
ATTENTION!
If you do not have the necessary skills and experience to perform the
actions in this manual, it is strongly suggested that you take the bike to a
bicycle shop to have it assembled.

R Series Unpacking Guide Page 2
Find a work area that is comfortable with lots of room around you on all
sides
Tools Needed
While we strive to make it as simple as possible to get you out on the road, you will need a few
basic tools for the job. Unpacking is easier done with two people.
Metric Allen wrench set
Pedal wrench or a quality 15mm open end wrench
Some type of cutter for opening the box (carpet knife scissors etc.)
A pair of wire cutters or pliers
Cut the straps holding the box together

R Series Unpacking Guide Page 3
Remove the lid and inspect the contents to make sure you have
everything.
The following should be in the box:
Pedals
Fox Shock pump
Tail light
Multi tool
Battery charger
Rear Fender
Fox Suspension Manual
Avid Brake Manual
Rohloff Hub Manual
Cycle Computer Manual
Any optional accessories you may have ordered.
These items will be in the compartment towards the rear of the bike

R Series Unpacking Guide Page 4
Remove the staples in all of the circled locations
Once these are removed you may remove the support pieces and boxes from the main crate, the large
box contains the front wheel and the support on top contains the rear fender

R Series Unpacking Guide Page 5
Lift the outer box up and off from the bike
Now you can see your beautiful new bike
Set the crate aside and we can start getting the bike ready. Check the bike for any shipping damage.

R Series Unpacking Guide Page 6
Put the seat on,
Slide into the seat tube and tighten with a 5mm Allen wrench. Don’t worry about getting it straight or
the correct height now you can do this later when the bike is all together
Install the Handlebars
Next get the handlebars ready, loosen up the stem bolts with a 4mm Allen and turn the bar straight. You
may tighten it lightly for now and tighten it correctly when the wheel is on it will be easier to get the
stem lined up with the front tire
Remove the Bike From the Crate
You will need a 4mm Allen
Loosen and remove the two bolts holding the top cap of the fork mount. Be careful after these are
removed because the bike can tip at this point

R Series Unpacking Guide Page 7
Installation of the Front Wheel
Next the front wheel needs to be installed. This is easier to do with two people. Remove the red brake
pad spacer from the brake caliper (when this is removed be extra careful not to squeeze the front brake
or damage may result)
Remove the axle by first flipping down the lock levers (this may vary depending on your model
fork/wheel) then unscrewing the axle.

R Series Unpacking Guide Page 8
We will now install the front wheel
First place the wheel into the fork taking care to line up the brake rotor in between the pads correctly
When this is done reinsert the axle, tighten it firmly and press the lock levers into place

R Series Unpacking Guide Page 9
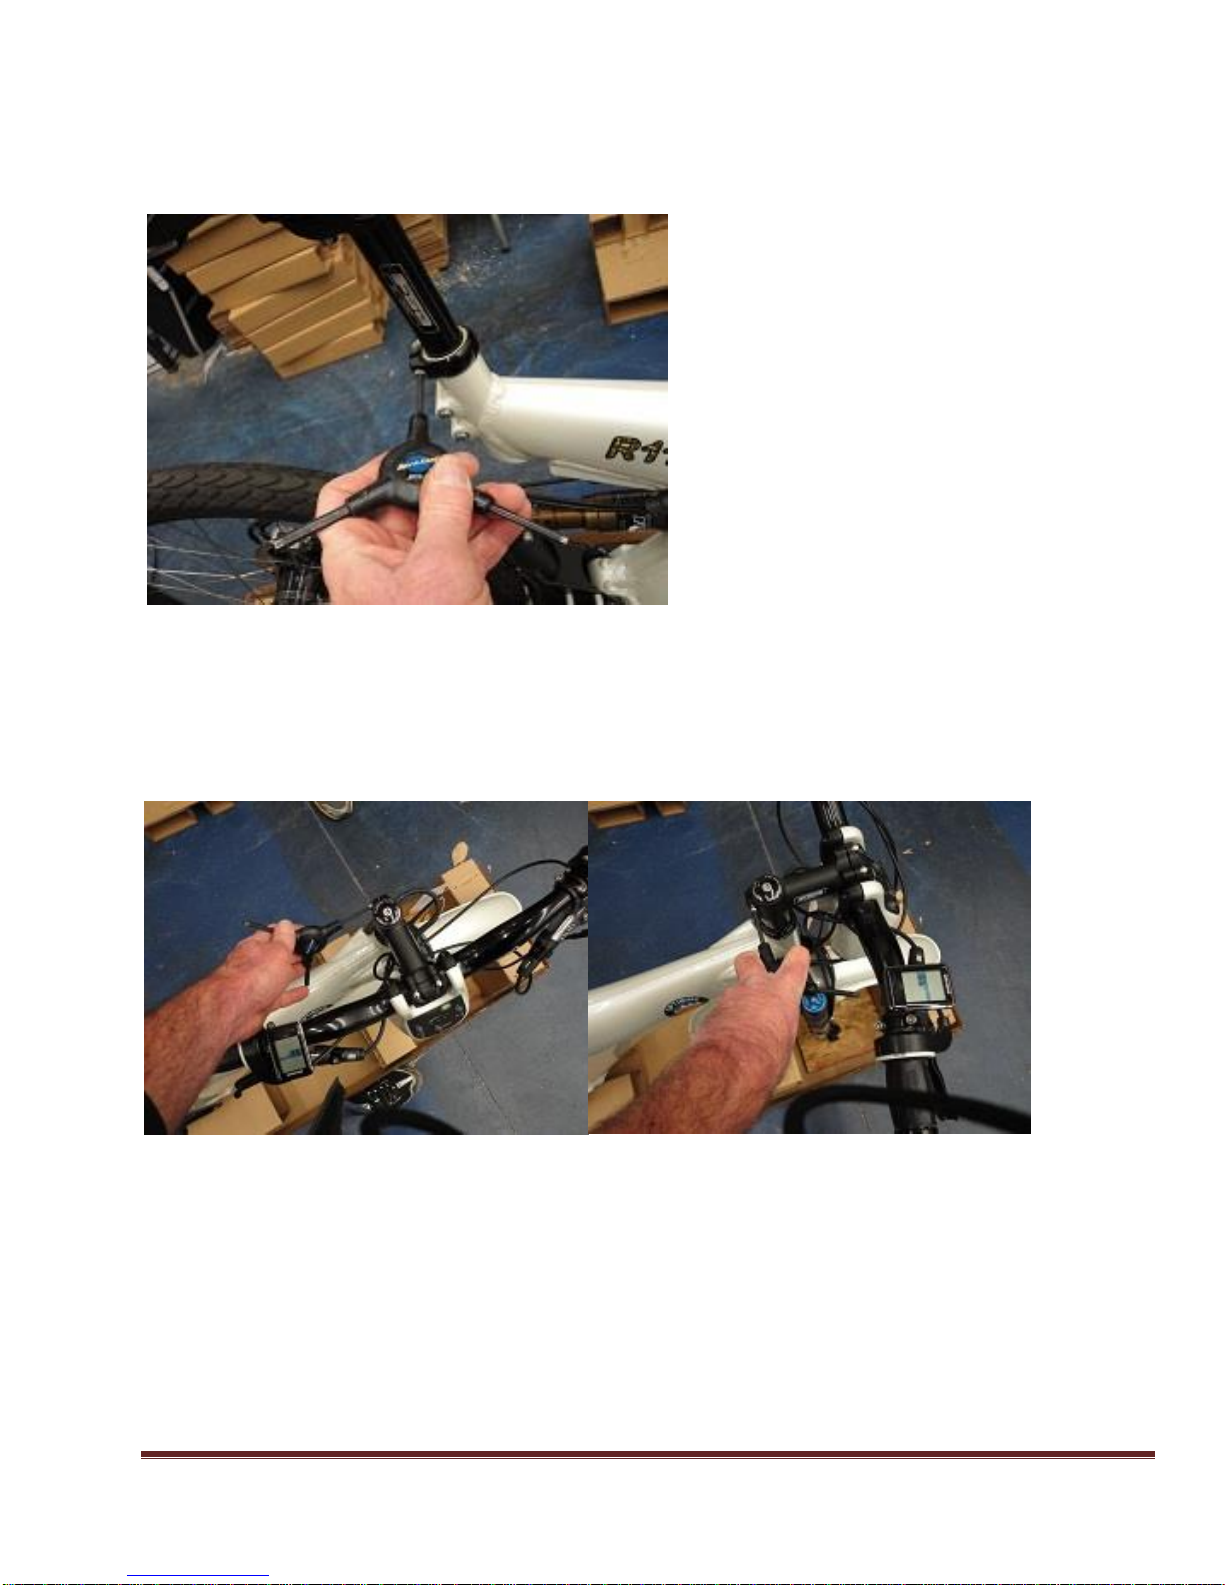
Align Handlebar Stem with Front Wheel
At this point you can straddle the bike and line up the stem/bars with the front wheel (this is done purely
by “eyeballing” it) then tighten the stem bolts.
Attention: Be sure to cross tighten the stem bolts to insure they are tight.
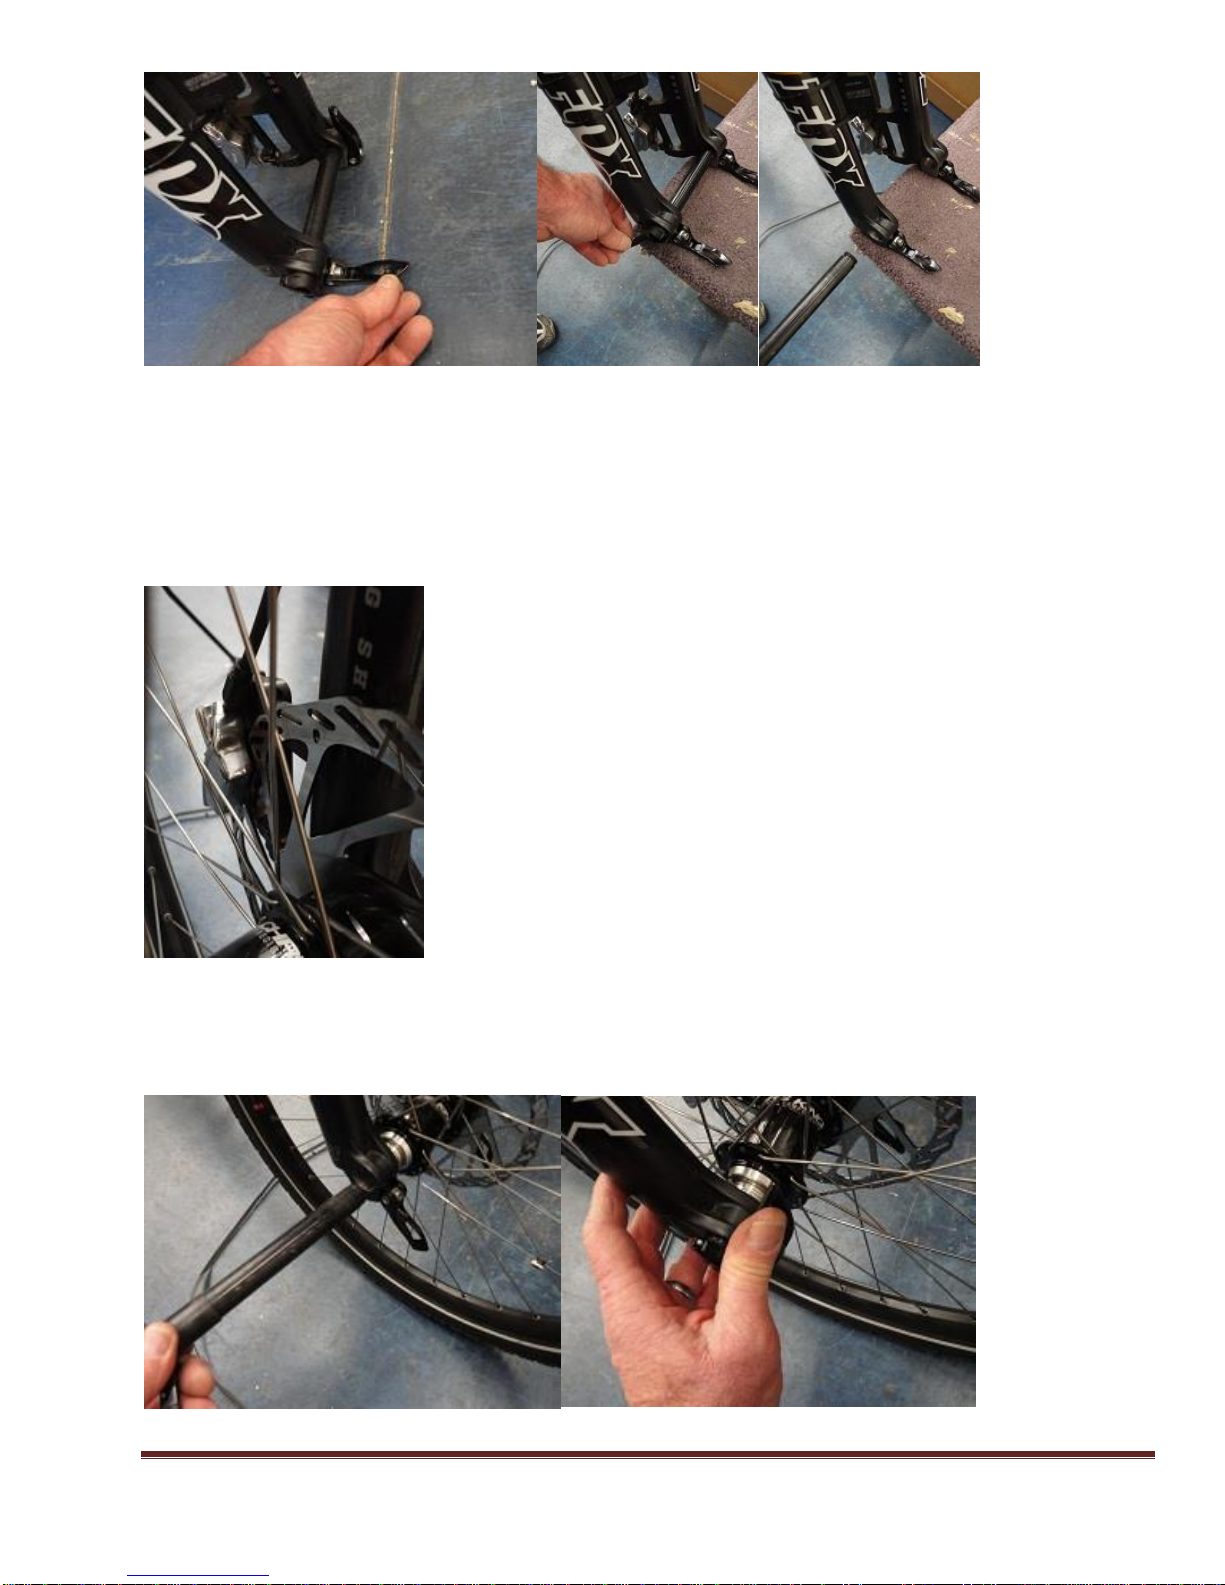
Inflate the Front Fork
The front suspension fork is deflated for shipping so it will need to be pumped up
Start by unscrewing the cap over the air valve
Then thread the shock pump into the fork
Pump the fork to half the riders weight in psi, this pressure can be varied to suit your preferences (please
consult your Fox Shock manual for further details) Then replace the cap.

R Series Unpacking Guide Page 10
Install the Pedals
Next install the pedals taking into account they are left and right specific. They are normally marked L R
and the left one is reversed thread. Apply a little grease to the threads before threading them in.Make
sure to use a proper pedal wrench on these.
Install the Rear Fender
Install the rear fender using a 4mm Allen wrench. Pay attention not to cross thread the threads on the
bolts when inserting into frame. Adjust the straightness of the fender before final tightening.
Check the Tire Pressure
Double check the tires are pumped up to the recommended pressure on the sidewall. A good starting
pressure is 35 psi in both tires. The pressure can be adjusted higher or lower depending on the terrain
you are riding on.
The R series use Presta style inner tubes that require a special bicycle pump, available at bicycle dealers.

R Series Unpacking Guide Page 11
Recheck Everything
Take a few minutes to recheck that everything is tight. Sit on the bike and adjust the seat to a
comfortable height. Check the operation of the brakes. Go for an easy ride.
Other manuals for R Series
1
Other Optibike Scooter manuals