Wisper 705 TORQUE User manual

1
Sean Moroney/Emma Pery 5 Sep 2020 E-Bike Rider’s Handbook doc no. 07
Wisper 705 E-bike Rider’s Handbook
Before you start
●You MUST wear an approved cycle helmet when riding your bicycle
●When using any bicycle, it is important that you stay within safe limits; if you
feel as if you are travelling too quickly, you probably are.
●Always test your brakes prior to using the bike and remember the bike will
not stop as quickly in the wet as it would in the dry.
●Do not ride the bike with flat tyres. There is a tyre pump provided with the
E-bike in the pannier
●This E-bike is not designed for offroad use. Please ride on tarmac or even
surfaces only.
Charge baery: This can be done with the baery sll inserted in the bike rack. Or if you don’t
have a power point near where the bike is stored you can use the key to unlock and slide the
baery out to charge indoors. Pressing and holding down the On buon on top of the baery
reveals the charger level.
The charger and cable will be in the pannier when you collect the e-bike: don’t leave them there
during your week with the e-bike. Please remove them from the pannier and store the charger
and cable in a safe place at home .
The e-bike key locks the baery to the bike and is not needed to operate the bike’s electrical
system.
The baery is connected to the electrical system of the bike automacally when you slide
the baery into the rack. To turn on the bike’s electrical system, press I on the switch located on

2
Sean Moroney/Emma Pery 5 Sep 2020 E-Bike Rider’s Handbook doc no. 07
the right-hand side at the rear of the baery. To turn off the power, press 0.
Fig 2
When the baery has been turned on, the bike is ready for use. The on/off buon of the handle
bar control isolates the power from the bike.
When the on/off buon is pressed for 3 seconds the LCD symbols will become visible (and the
lights will come on; see Lights on p.3 below). When the on/off buon is pushed again for 2-3
seconds, the LCD symbols will disappear - you have turned the bike “off”. When the bike is “off”
you will not get any assistance from the baery and motor and the lights will not funcon.
First check your posion when sing on the saddle. You should be able to place your foot so that
you can hold the bike upright easily.
Control Panel
Turn on the bike by pressing the on/off switch adjacent to the
le-hand grip for 2-3 seconds. (Turn off the bike by repeang
the same process).
Fig 1
The bike will be ready to ride, and the LCD will acvate showing baery state, assist level, me,
trip and speed. Turning the pedals for more than ¼ of a revoluon will now acvate the motor.
1. To set the assist levels: Toggle with the up and down arrows.
2. To turn lights on or off: Press on/off buon, the bike must be turned on for the lights to operate.
3. To toggle between Trip and ODO the lights must be on: Double click the up arrow for ODO.
Double click the down arrow for Trip. (The double-click takes a bit of trial and error!)
4. To reset the Trip: When the bike is turned on, double click the on/off buon whilst the bike is in
Trip funcon.

3
Sean Moroney/Emma Pery 5 Sep 2020 E-Bike Rider’s Handbook doc no. 07
5. To change from KM to Miles and visa versa: Hold the Power and down arrow for 5 seconds.
If the bike is le for ten minutes without being ridden, the bike will automacally turn off. The
baery capacity indicator bars provide an indicaon of the baery capacity remaining with four
bars indicang the baery is at full capacity. The display also incorporates a diagnosc funcon for
use by Wisper service.
Lights: The LIGHT buon is the on/off buon . If you click the on/off when the bike’s power is on,
the LED headlight and rear light will illuminate. The LCD display will also become back lit.
Click it again to switch off the lights. The power for the lights comes from the bike baery,
but due to the low power consumpon of the LED lights, you will not noceably reduce
your range.
The Throle
The twist grip throle can be found on the le-hand side of the handlebars. PLEASE BE AWARE :
TURNING THIS CAUSES THE BIKE TO LURCH FORWARDS WHEN ASSIST MODE IS NOT SET AT --.
The twist and go throle has two funcons:
i. To power the bike sufficiently to help when walking the bike to a maximum of 4mph.
ii. To increase the power to the motor when on a level road. Your range will decrease if you
use this opon.
Fig 3
Baery capacity meter, riding style and effect on range
The range of the bike (distance covered between recharging of the baery) is greatly influenced by
the level of assist selected, the amount of pedal assistance provided by the rider and the use of the
throle.
If a high level of assist is selected, then the range of the bike will be reduced compared to using a
lower level of assist.
The opmum range is achieved when the rider pedal effort is maximized, and an ideal situaon is
for the rider to aim to match the power being provided by the bike on an equal basis.

4
Sean Moroney/Emma Pery 5 Sep 2020 E-Bike Rider’s Handbook doc no. 07
The baery capacity indicator gives an approximaon of baery capacity remaining. Each bar on
the LCD approximates to a ¼ of the capacity. However, this indicator relies on sensing baery
voltage that will rise and fall depending on the amount of power being demanded at any given
me, the meter should only be used for indicaon purposes.
Under heavy power draw (full throle or high levels of assist) the baery voltage will temporarily
dip resulng in the capacity meter showing a lower level of charge. When the heavy power usage
is reduced, the capacity meter will rise again as the baery naturally recovers its voltage.
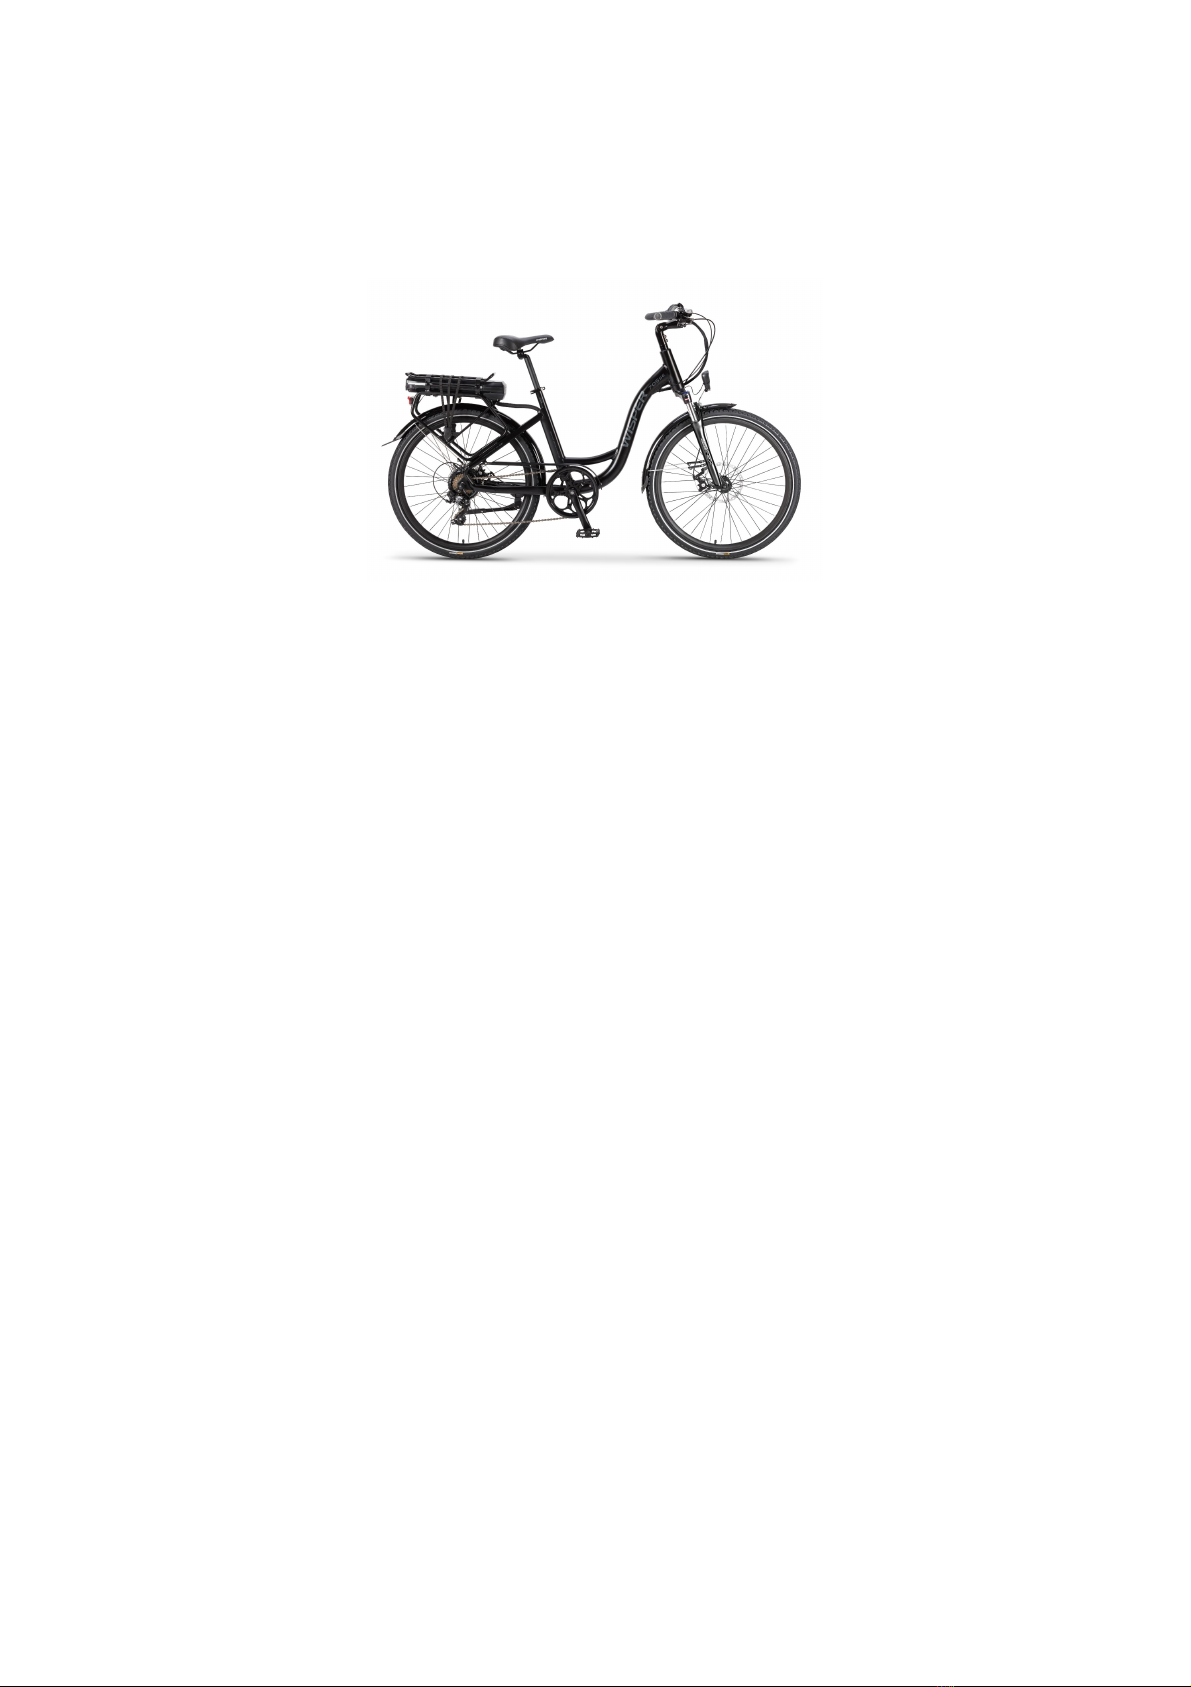
Gears
To change gear, use the 7-speed rapid fire gear shier located on the right side of the handlebar.
The two levers located underneath the shier can be pulled and pushed to select the gears over
the range 1 to 7 .
It is best to start pedalling in 1
st
gear and change to 2
nd
and 3
rd
when you have gained momentum.
Check road is clear, signal and push firmly on pedals. It will take about 4 pedal strokes to get motor
going. Now connue pedalling unl desired speed is reached. If you stop pedalling motor will stop
providing power and the bike will slow down. Note it takes about 2 seconds for the motor to stop.
It will take 2-4 pedal strokes to get the bike going again.
The MID – 3 bars – seng will provide a range of about 30 miles depending on how steep the hills
are and how strong the wind is.
Normally gears 4 or 5 will suit this mode of cycling and provide a speed of 13-14 mph
To climb hills change gears down to 1st or 2nd. Do not stop pedalling unl you reach the top of the
hill.
Using the brakes will stop the motor.
The motor will cut out above 15 mph.
Gear ranges:
1 Start up and steep hills.
2 Start up and 9-10 mph.
3 Start up and 10-11 mph.
4 12-13mph.
5 13-14mph.
6-7 Max assist/higher speeds such as downhill
Always reduce gears to 1-3 before stopping for an easy start.
Quick release saddle height adjustment
The bike is fied with a quick release saddle post fing to facilitate the adjustment of the saddle
height.
It is important that the nut on the fing is ghtened so the post will not move in the seat post
tube. Make this adjustment with the quick release lever in the open posion.

5
Sean Moroney/Emma Pery 5 Sep 2020 E-Bike Rider’s Handbook doc no. 07
Adjust the seat to the correct height and close the lever firmly. When you sit on the saddle there
should be no vercal movement. Never apply grease to the seat post .
Bike Stand
On the le hand side. Don’t set it off with it down.
Panniers
These are fixed by Velcro fastenings only. You are advised to load them equally on each side.
Aer your ride
Control system will switch off automacally aer a few minutes. You can switch the system off by
pressing the ON/OFF buon once. Or at the baery by turning the baery switch to OFF.
To charge the baery on the bike plug the big round connector into the baery.
PLEASE RETURN THE E-BIKE TO THE E-BIKE IN THE ABINGTONS TEAM WITH A FULLY CHARGED
BATTERY . THANK YOU.
Troubleshoong
The tyres on this e-bike have high puncture-resistance so a puncture is highly
unlikely as long as roads & paths suitable for cycling are used. In the event
of a puncture, it is your responsibility to return the bike to your hire
address . If you cannot repair the puncture yourself, Wayne Atherton (M: 07469
963603 ), who is local, offers this service.
In the case of serious Accident with the E-bike, contact emergency services
on 999 and inform [email protected] and [email protected]
at the earliest opportunity.
In case of E-Bike malfunction, please call the E-BA team on:
07818 062952 (Emma Pery) or
07849 693973 (Bernie Talbot ) or
01223 891960 (Peter Brunning)
If the battery will not charge properly, please text or call Emma Pery on 07818
062952.
Other manuals for 705 TORQUE
1
Table of contents
Other Wisper Scooter manuals
Popular Scooter manuals by other brands

Pride Mobility
Pride Mobility Maxima owner's manual

Sunrise Medical
Sunrise Medical ELITE XS 3 wheel Workshop manual

HOMCOM
HOMCOM 371-033 Assembly instruction

Shoprider
Shoprider Capri S787M user manual

TravelScoot
TravelScoot Deluxe 160 owner's manual

hepco & becker
hepco & becker Journey TC 30 Assembling instructions