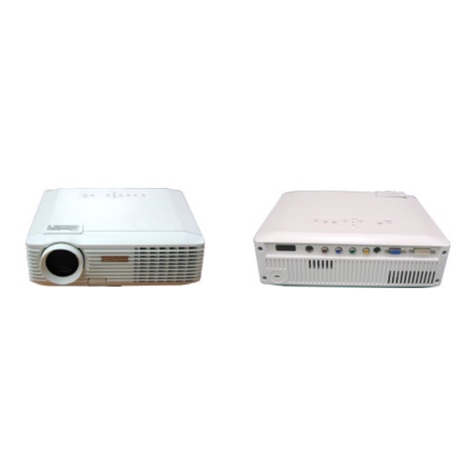
Optoma EP716R User manual

1... English
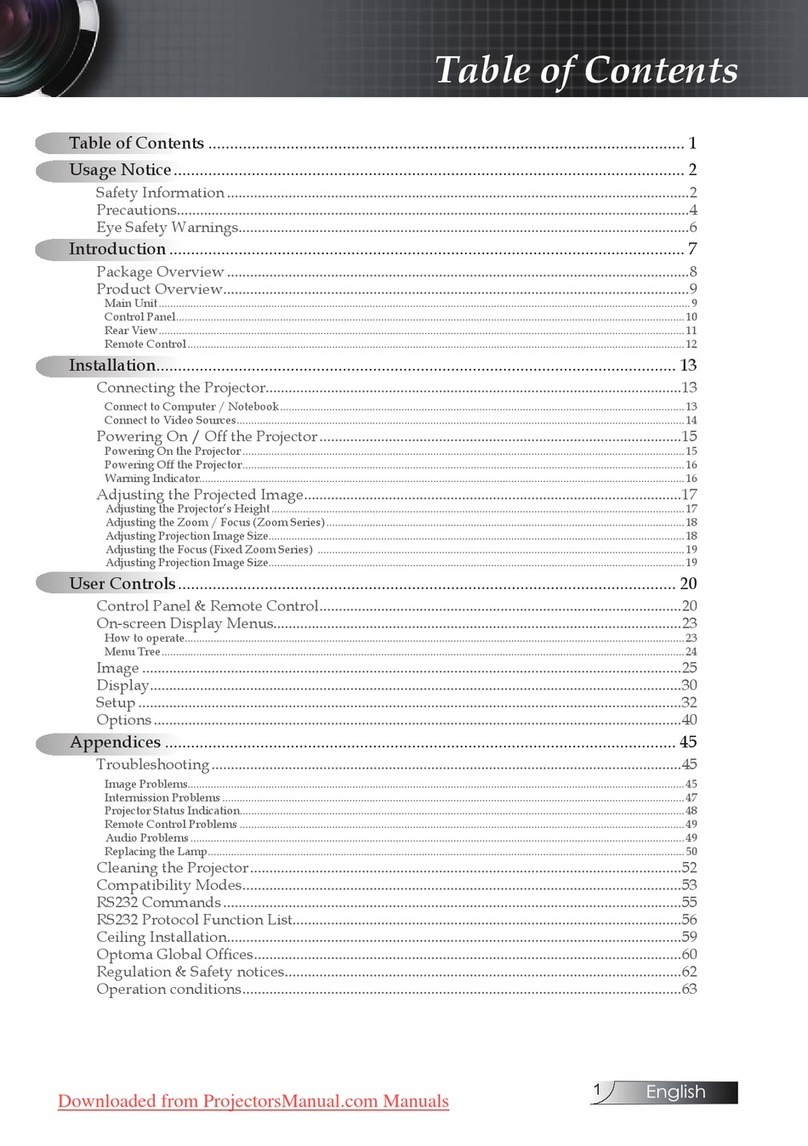
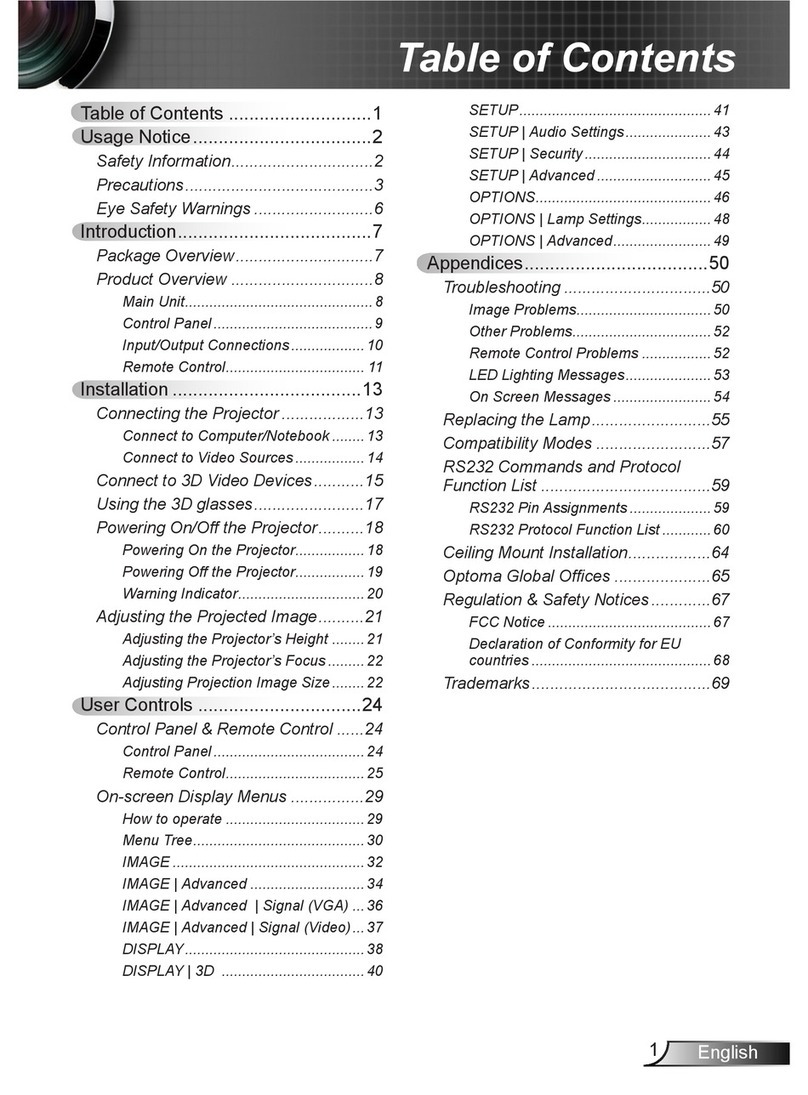
Table of Contents
Table of Contents ......................................................................................... 1
Usage Notice................................................................................................ 2
Precautions...........................................................................................................2
Introduction................................................................................................... 4
Product Features..................................................................................................4
Package Overview................................................................................................5
Product Overview .................................................................................................6
Main Unit........................................................................................................................6
Control Panel .................................................................................................................7
Connection Ports ...........................................................................................................8
Wireless Remote Control ...............................................................................................9
Installation .................................................................................................. 10
Connecting the Projector....................................................................................10
Powering On/Off the Projector............................................................................11
Powering On the Projector........................................................................................... 11
Powering Off the projector ...........................................................................................12
Warning Indicator.........................................................................................................12
Adjusting the Projected Image............................................................................13
Adjusting the Projector Image Height ..........................................................................13
Adjusting the Projector Zoom / Focus..........................................................................14
Adjusting Projected Image Size ...................................................................................14
User Controls ............................................................................................. 15
Control Panel & Remote Control ........................................................................15
On-Screen Display Menus..................................................................................18
How to operate ............................................................................................................18
Menu Tree....................................................................................................................19
Language .....................................................................................................................20
Image-I ........................................................................................................................21
Image-II (Computer Mode)...........................................................................................23
Image-II (Video Mode) .................................................................................................25
Audio............................................................................................................................27
Management ................................................................................................................28
Lamp Setting ...............................................................................................................31
Appendices................................................................................................. 32
Troubleshooting ..................................................................................................32
Replacing the lamp.............................................................................................36
Compatibility Modes ...........................................................................................37
Ceiling Mount Installation ...................................................................................38
2
English ...
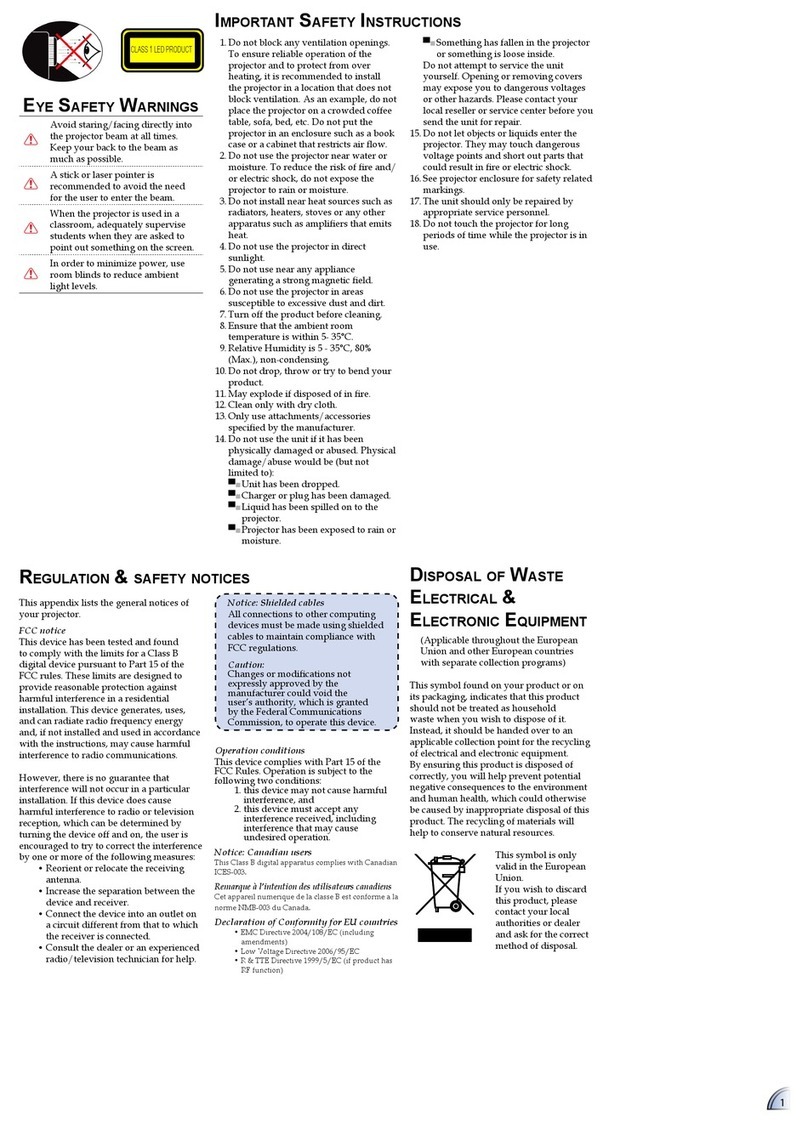
Usage Notice
Precautions
Follow all warnings, precautions and maintenance as recom-
mended in this user’s guide to maximize the life of your unit.
Warning- Do not look into the projector’s lens when the lamp is
on. The bright light may hurt your eyes.
Warning- Toreducetheriskofreorelectricshock,donot
expose this product to rain or moisture.
Warning- Please do not open or disassemble the product as this
may cause electric shock.
Warning- Whenchangingthelamp,pleaseallowunittocool
down,andfollowallchanginginstructions.
Warning- This product will detect the life of the lamp itself.
Please be sure to change the lamp when it shows
warning messages.
Warning- Reset the “Lamp Reset” function from the On Screen
Display “Lamp Setting” menu after replacing the lamp
module (refer to page 31).
Warning- Whenswitchingtheprojectoroff,pleaseensurethe
projector completes its cooling cycle before
disconnecting power.
Warning- Turnontheprojectorrstandthenthesignalsources.
Warning- Do not use lens cap when projector is in operation.
Warning- Whenthelampreachestheendofitslife,itwillburn
out and may make a loud popping sound. If this
happens,theprojectorwillnotturnbackonuntilthe
lampmodulehasbeenreplaced.Toreplacethelamp,
follow the procedures listed under “Replacing the
Lamp”.

3... English
Usage Notice
Do:
Turn off the product before cleaning.
Use a soft cloth moistened with mild detergent to clean the
display housing.
Disconnect the power plug from AC outlet if the product is not
being used for a long period of time.
Don’t:
Block the slots and openings on the unit provided for
ventilation.
Useabrasivecleaners,waxesorsolventstocleantheunit.
Use under the following conditions:
- Inextremelyhot,coldorhumidenvironments.
- In areas susceptible to excessive dust and dirt.
- Nearanyappliancethatgeneratesastrongmagneticeld.
- Place in direct sunlight.

4
English ...
Introduction
Product Features
This product is an SVGA single chip 0.55” DLPTM projector.
Outstanding features include:
TrueSVGA,800x600addressablepixels
Single chip Dark Chip2TM DLPTM technology
NTSC/NTSC4.43/PAL/PAL-M/PAL-N/SECAM and
HDTVcompatible(480i/p,576i/p,720p,1080i)
Multi-Autofunctions:Autodetection,Autoimageand
Auto saving the adjustments
Full function remote control
User friendly multilingual on screen display menu
Advanced digital keystone correction and high
quality full screen image re-scaling
User friendly control panel
Built-inonespeakerwith2Wattamplier
SXGA,XGAcompressionandVGAre-sizing
Mac compatible

5... English
Introduction
PowerCord1.8m VGACable1.8m
Wireless Remote
Controller
Composite Video Cable
1.8m
Projector with lens cap
Package Overview
This projector comes with all the items shown below. Check to
make sure your unit is complete. Contact your dealer immedi-
ately if anything is missing.
Carrying Case
Documents :
User’s Guide
Quick Start Card
Warranty Card
SCART RGB/S-Video
Adaptor
(available in European
version only)
Due to the differ-
ence in applica-
tions for each
country,some
regions may have
different
accessories.
2 x AAA Batteries

6
English ...
Introduction
1. Control Panel
2. Zoom Lever
3. Focus Ring
4. Power Socket
5. ElevatorFoot
6. ElevatorButton
7. ZoomLens
8. IRReceivers
9. Connection Ports
10. TiltAdjustingFeet
Main Unit
Product Overview
8
6
9
1
2
4
5
3
10
10
8
7

7... English
Introduction
Control Panel
1. Power Indicator LED
2. Temp Indicator LED
3. Lamp Indicator LED
4. Keystone Correction
5. Power/Standby
6. Re-Sync
7. Source
8. FourDirectionalSelectKeys
9. Menu (On/Off)
10. Enter
4
4
5967
2
3
1
10
8

8
English ...
Introduction
Connection Ports
1. IR Receiver
2. RS232 Connector
3. Monitor Loop-through Output Connector
4. Composite Video Input Connector
5. S-VideoInputConnector
6. AudioInputConnector
7. PCAnalogsignal/SCARTRGB/HDTV/ComponentVideo
Input Connector (VGA 1)
8. PCAnalogsignal/HDTV/ComponentVideoInput
Connector (VGA 2 )
9. KensingtonTM Lock Port
8
7123456
9

9... English
Introduction
Wireless Remote Control
1. Power
2. IR LED
3. Hide
4. Freeze
5. DisplayFormat
6. DisplayMode
7. Menu
8. KeystoneCorrection
9. Re-Sync
10. Volume+
11. Volume -
12. Reset
13. Enter
14. Four Directional
Select Keys
15. VGA1Source
16. VGA2Source
17. CompositeVideo
Source
18.S-VideoSource
4
5
6
15
9
10
11
13
2
712
17 16
18
14
83
1

10
English ...
Installation
Connecting the Projector
Due to the differ-
ence in applica-
tions for each
country,some
regions may have
different
accessories.
Toensuretheprojectorworkswellwithyourcomputer,
please set the display mode of your graphic card less than or
equalto1280x1024resolution.Makesurethetimingofthe
display mode is compatible with the projector. Refer to the
“CompatibilityModes”sectiononpage37.
S-Video Output
Video Output
DVDPlayer,Set-
topBox,
HDTV receiver
5
1
6
RGB
1...............................................................................................................Power Cord
2................................................................................................................VGA Cable
3........................................SCART RGB/S-Video Adaptor (For European Only)
4.......................................................................................... Composite Video Cable
5.....................................................................S-Video Cable (Optional Accessory)
6..................................... D-15toRCAAdapterforYPbPr(OptionalAccessory)
RS232
4
32
3

11 ... English
Installation
Powering On the Projector
1. Remove the lens cap.
2. Ensure that the power cord and signal cable are securely
connected.ThePowerLEDwillashgreen.
3. Turn on the lamp by pressing “Power/Standby” button on
the control panel.And the Power LED will turn green.
Thersttimeyouusetheprojector,youcanselectyour
preferred language from quick menu after the startup screen
display.
4. Turnonyoursource(computer,notebook,videoplayer,etc.).
The projector will detect your source automatically.
Ifyouconnectmultiplesourcesatthesametime,usethe
“Source” button on the control panel or remote control to
switch.
Powering On/Off the Projector
Turn on the projector
rstandthenthesignal
sources.
1
Power/Standby
2
Lens Cap
Quick Menu

12
English ...
Installation
Warning Indicator
Whenthe“LAMP”indicatorlightssolidred,theprojector
will automatically shut itself down. Please contact your local
resellerorservicecenter.Seepage34~35.
Whenthe“TEMP”indicatorlightssolidredforabout60
seconds,itindicatestheprojectorhasbeenoverheated.The
projector will automatically shut itself down.
Undernormalconditions,theprojectorcanbeswitchedon
againafterithascooleddown.Iftheproblempersists,you
should contact your local dealer or our service center. See
page34~35.
Whenthe“TEMP”indicatorashesredforabout5seconds,
it indicates the fan failed. Please contact your local dealer or
ourservicecenter.Seepage34~35.
Powering Off the Projector
1. Press the “Power/Standby” button to turn
offtheprojectorlamp,youwillseeamessage
displayed on the pro-
jector’s screen. Press the “Power/Standby” button again
toconrm,otherwisethemessagewilldisappearafter5
seconds.
Please note that if the keyispressedinstead,theprojec-
tor will enter the “Picture Mute” mode and no image will
bedisplayed.Toexitthe“PictureMute”mode,pressthe
“Power/Standby” button again.
2. Thecoolingfanscontinuetooperateforabout30seconds
for cooling cycle and the Power LED will turn green. When
thePowerLEDbeginsashing,theprojectorhasentered
standby mode.
Ifyouwishtoturntheprojectorbackon,youmustwait
until the projector has completed the cooling cycle and has
enteredstandbymode.Onceinstandbymode,simplypress
“Power/Standby” button to restart the projector.
3. Disconnect the power cord from the electrical outlet and the
projector.
4. Do not turn on the projector immediately following a power
off procedure.

13 ... English
Installation
Adjusting the Projected Image
Adjusting the Projector Image Height
Tilt Adjusting
Feet
Elevator Foot
23
Elevator Button
The projector is equipped with an elevator foot for adjusting the
image height.
To raise the image:
1. Press the elevator button .
2. Raise the image to the desired height angle ,thenrelease
the button to lock the elevator foot into position.
3. Use tone-tunethedisplayangle.
To lower the image:
1. Press the elevator button.
2. Lowertheimage,thenreleasethebuttontolockthe
elevator foot into position.
3. Use tone-tunethedisplayangle.
1
3

14
English ...
Installation
69.3"
(176.1cm)
115.6"
(293.5cm)
161.8"
(410.9cm)
184.9"
(469.6cm)
277.3"
(704.4cm)
38.1"
(96.8cm)
76.2"
(193.6cm)
127.1"
(322.7cm)
177.9"
(451.8cm)
203.3"
(516.3cm)
304.9"
(774.5cm)
4.9'
39.4'
26.3'
23.0'
16.4'
9.8'
(1.5m)
(12.0m)
(8.0m)
(7.0m)
(5.0m)
(3.0m)
34.7"
(88.1cm)
Max. 38.1"(96.8cm) 76.2"(193.6cm) 127.1"(322.7cm) 177.9"(451.8cm) 203.3"(516.3cm) 304.9"(774.5cm)
Min. 34.7"(88.1cm) 69.3"(176.1cm) 115.6"(293.5cm) 161.8"(410.9cm) 184.9"(469.6cm) 277.3"(704.4cm)
Max.(WxH) 30.5" x 22.9"
(77.4 x 58.1cm)
61.0" x 45.7"
(154.9 x 116.2cm)
101.7" x 76.3"
(258.2 x 193.6cm)
142.3" x 106.7"
(361.4 x 271.1cm)
162.6" x 122.0"
(413.0 x 309.8cm)
243.9" x 182.9"
(619.6 x 464.7cm)
Min.(WxH) 27.8" x 20.8"
(70.5 x 52.9cm)
55.4" x 41.6"
(140.9 x 105.7cm)
92.5" x 69.4"
(234.8 x 176.1cm)
129.4" x 97.1"
(328.7 x 246.5cm)
147.9" x 110.9"
(375.7 x 281.8cm)
221.8" x 166.4"
(563.5 x 422.6cm)
4.9'(1.5m) 9.8'(3.0m) 16.4'(5.0m) 23.0'(7.0m) 26.3'(8.0m) 39.4'(12.0m)
Screen
(Diagonal)
Screen
Size
Distance
Diagonal
Focus Ring
Zoom Lever
Adjusting the Projector Zoom / Focus
Youmayturnthezoomlevertozoominorout.Tofocustheim-
age,rotatethefocusringuntiltheimageisclear.Theprojector
willfocusatdistancesfrom4.9to39.4feet(1.5to12.0meters)
with mechanical travel.
Adjusting Projection Image Size
This graph is for user’s reference only.

15 ... English
User Controls
Remote ControlControl Panel
Control Panel & Remote Control
There are two ways for you to control the functions: Remote
Control and Control Panel.
Using the Control Panel
Power/Standby
Refer to the “Power On/Off the Projector” section on pages
11-12.
Source
Press“Source”tochooseRGB,Component-p,Component-i,
S-Video,CompositeVideoandHDTVsources.
Menu
Press “Menu” to launch the on screen display (OSD) menu.
ToexitOSD,press“Menu”again.
Keystone /
Adjustsimagedistortioncausedbytiltingtheprojector(±15
degrees).
Four Directional Select Keys
Use to select items or make adjustments to your
selection.
Enter
Conrmyourselectionofitems.
Re-Sync
Automaticallysynchronizestheprojectortotheinputsource.

16
English ...
User Controls
Using the Remote Control
Power
Refer to the “Power On/Off the Projector” section on pages
11-12.
Re-Sync
Automaticallysynchronizestheprojectortotheinputsource.
Volume+/-(Vol+/Vol-)
Increases/decreases speaker volume.
Reset
Changes the adjustments and settings to the factory default
value.
Hide
Press“Hide”tohideimage,pressagaintorestoredisplayofthe
image.
Keystone /
Adjustsimagedistortioncausedbytiltingtheprojector(±15
degrees).
Freeze
Press“Freeze”topausethescreenimage.
Display Format
Display the “Aspect ratio” section of the on screen display
menu to select the desired aspect.
Display Mode
SelectthedisplaymodefromPC,Movie,Game,sRGBandUser.
Four Directional Select Keys
Use to select items or make adjustments to
your selection.
Enter
Conrmyourselectionofitems.
Menu
Press “Menu” to launch the on screen display menu. To exit
OSD,press“Menu”again.
VGA1
Press “VGA1” to choose VGA1 connector.
VGA2
Press “VGA2” to choose VGA2 connector.
S-Video
Press “S-Video” to choose S-Video source.

17 ... English
User Controls
Composite
Press “composite” to choose Composite video source.

18
English ...
User Controls
The Projector has multilingual On Screen Display menus that
allow you to make image adjustments and change a variety of
settings. The projector will automatically detect the source.
How to operate
1. ToopentheOSDmenu,press“Menu ” on the Remote Control
or Control Panel.
2. WhenOSDisdisplayed,use keys to select any item in the
mainmenu.Whilemakingaselectiononaparticularpage,press
or “Enter” key to enter sub menu.
3. Use keys to select the desired item and adjust the
settings by key.
4. Select the next item to be adjusted in the sub menu and adjust as
described above.
5. Press “Menu ”toconrm,andthescreenwillreturntothemain
menu.
6. Toexit,press“Menu ”again. The OSD menu will close and the
projector will automatically save the new settings.
On Screen Display Menus
Main Menu
Sub Menu Setting

19 ... English
User Controls
Menu Tree

20
English ...
User Controls
Language
Language
Choose the multilingual OSD menu . Use the or key to select
your preferred language.
Press“Enter”tonalizetheselection.
Table of contents
Other Optoma Projector manuals

Optoma
Optoma HD600X-LV User manual

Optoma
Optoma H78DC3 User manual

Optoma
Optoma EP910 SXGA+ Installation manual

Optoma
Optoma EX762 User manual

Optoma
Optoma DS322 User manual

Optoma
Optoma TW766W User manual

Optoma
Optoma GT720 User manual

Optoma
Optoma H79 User manual

Optoma
Optoma ThemeScene HD65 User manual

Optoma
Optoma HD73 User manual

Optoma
Optoma EX540i User manual

Optoma
Optoma Optoma EX525ST Installation manual

Optoma
Optoma EP7150 User manual

Optoma
Optoma TX763 User manual

Optoma
Optoma HD36 User manual

Optoma
Optoma HD20 User manual

Optoma
Optoma Optoma EP747 User manual

Optoma
Optoma TS721 User manual

Optoma
Optoma EW330 User manual

Optoma
Optoma EP 732H User manual