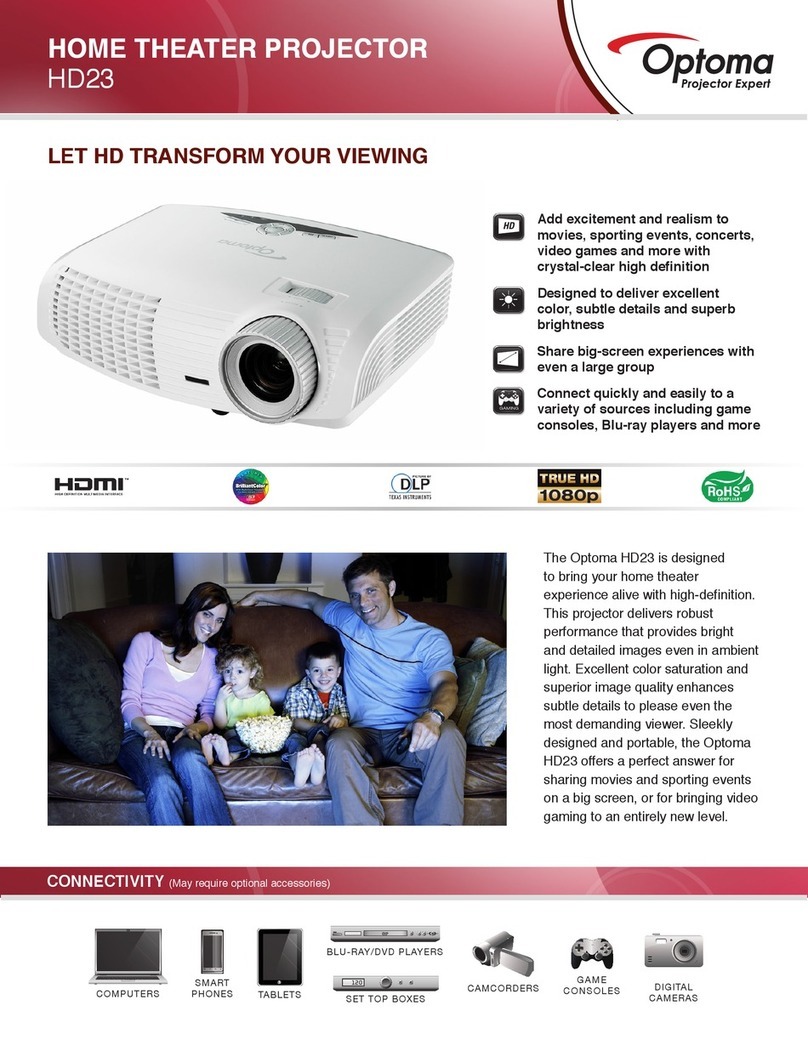
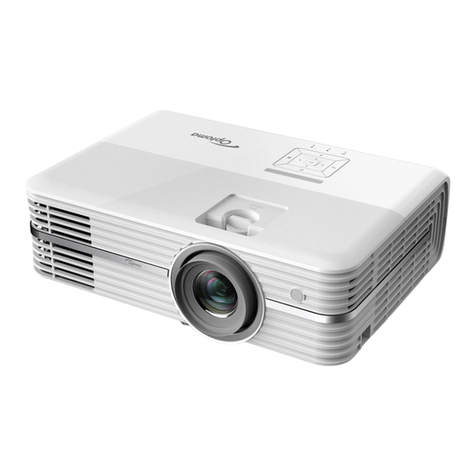
Optoma H27 User manual

Model Name : H27
SERVICE MANUAL
etaDnoisreVesiveRnoitpircseD
22/3/50020.1VeussIlaitinI
Copyright March, 2005 . All Rights Reserved
Document #80J-G04-01A . P/N: 36.80J02.001
Prepared by SI :
________________________________________
Prepared by TSE :
________________________________________
Checked by :
________________________________________
Approved by :
________________________________________

H27
i
Preface
This manual is applied to H27 0.5 DMD SXGA digital proje tion system. Its the mode of single Panel,
200 Watt Lamp and 854(H) x 480(V) resolution. The manual gives you a brief des ription of basi te hni-
al information to help in servi e and maintaining the produ t.
Your ustomers will appre iate the qui k response time when you immediately identify problems that o ur
with our produ ts. We expe t your ustomers will appre iate the servi e that you offer them.
This manual is for te hni ians and people who have an ele troni ba kground. Send the produ t ba k to
the distributor for repairing and do not attempt to do anything that is omplex or is not mentioned in the
troubleshooting.
NOTICE :
The information found in this manual is subje t to hange without prior noti e. Any subsequent hanges
made to the data herein will be in orporated in further edition.
Copyright 2005, Mar h
All Rights Reserved
Manual Version 1.0
Do ument # 80B-G04-01A

Table of Contents
Chapter 1 Introduction 1-1
Product Highlights 1-1
Computer Compatibility (Analog and DVI) 1-4
Chapter 2 Disassembly of Procedure 2-1
Removing Lamp Module 2-1
Removing Rear Cover, Keypad Board, Top Cover and Main Board 2-2
Removing 70x20 AXIAL Fan Module, Lamp Driver Module,
Interrupt Switch and LVPS Module 2-4
Removing Front Cover Insert, Front Cover, IR Receiver Board
and Zoom Ring 2-6
Removing Color Wheel Module and Engine Module 2-8
Disassemble Engine Module 2-9
Removing 50x20 Blower Fan Module, Elevator Module
and Thermal Sensor Board 2-10
Chapter 3 Troubleshooting 3-1
Equipment Needed 3-1
Main Procedure 3-2
Chapter 4 Function Test and Alignment Procedure 4-1
Product 4-1
Test Equipment 4-1
Test Condition 4-1
Test Display Modes and Pattern 4-2
Inspection Procedure 4-7
Chapter 5 Firmware Upgrade Procedure 5-1
Equipment Needed 5-1
Hardware Setup Procedure 5-1
Firmware Upgrade Procedure 5-2
H27

Chapter 6 DDC Key-in Procedure 6-1
Equipment Needed 6-1
Setup Procedure 6-2
DDC Key-in Procedure 6-3
Appendix A 7-1
Exploded Overview 7-1
Appendix B 7-15
Serial Number System Definition 7-15
Appendix C 7-16
Board S/N Coding 7-16
Appendix D 7-17
DLP Composer Lite Setup Procedure 7-17
Appendix E 7-22
The Comparision of EDID Fixture 7-22
Reader’s Response 7-23
H27iii

H271-1
Chapter 1
Introduction
1-1 Product Highlights
- Target istocreatethehighest qualityentry level hometheatre projector inthe market
- TIDMD,0.5” 480PDDRSXGADigitalMirrorDevice
- Uses Single 16:9 854 x 480DMD
- Uses2x sixsegmentcolor wheelRGB
- HighendscalerDDP2000with3:2\2:2PullDown
- LightweightIDfora totalweight5.5lb.
- SCART RGB support via an adaptor
- 35 +/- 2 dBA in normal mode
- On-Screenmenuwith7languages.
- Four types of projection method. (Front desktop, Front Ceiling, Rear desktop, Rear Ceiling)
- Four types of display mode. (Normal,GameTV, Movie or User for selections). *Notice
* Notice :
All modes except “Normal Mode” are fixed values. Only “ Normal Mode” can be
adjusted for user’s preference.
- CoolingSystem
a. Advancedairflow
b. Twofanswithlowsystemacousticnoiselevel
c. Temperaturecontrolcircuitswithadaptivevoltagecontrolfanspeed.
- Tiltangle:7degreeswithelevatormechanism
- IR receivers : Front and back of projector
- Power supply : Input 100-240V, 50/60Hz
- Power Consumption : 265W+-10% Full Power

H271-2
- Terminals:
a. One 29-pinDVI-IconnectorforDigitalsignalwith HDCPinput.
b. OneD-Sub 15-pin female connector for analog RGB / HDTV / component video / SCART
RGBSyncinput.
c. One MiniDIN 4-pin for S-Video Input
d. One RCAJack for CompositeVideo Input
e. Three RCAJacks for component video / HDTV input
f. One MiniDIN3-pin for RS232
- Inputsignalspec
a. PCSignal
b. Hsync Frequency 31.5 ~ 100 kHz
c. Vsync Frequency 56 ~ 85 Hz
d. VideoSignal RGB(PC)
e. Analog RGB 0.7Vp-p, 75 ohm
f. AnalogRGB1Vp-p, 75 ohm, Sync. signal
g. Separate TTL H, V Sync.
h. CompositeTTLSync.
i. Video
j. Composite video 1Vp-p,75 ohm
k. S-video Luminance0.714Vp-p,75 ohm
l. Chrominance 0.286Vp-p,75 ohm
- Videocompatibility:
NTSC : M (3.58MHz), 4.43 MHz, 480i
PAL : B,D, G, H, I, M,N; 576i
SECAM : B,D, G, K, K1, L
HDTV : 480p, 576p, 720p, 1080i
- WVGA/Compression:byusing “DDP2000”Chipsto compressSVGA/XGA/SXGAimageinto
WVGAdisplay.
- Keystone correction : +/ -16 degree
- Brightness:
Specification:800lumens;520lumens(minimum)
- Contrastratio :
Specification:2300:1orhigherfullon/fulloff ;1300:1fullon/fulloff(minimum)

H271-3
- Uniformity:
Specification: 85%(Japanstandard)
- Displayable colours:16.7millioncolours 256shadesofgray
- Color temperature : 7500° K (Video)Adjustable from 6500° K to 9500° K
- Lamp type : 200W lamp with ECO mode supported.
- Lamplife: 2000 hours Brite mode
3000 hours ECO mode
1500hours to50% survivaltypical
- Projection lens : F/ 2.6~2.8, f = 22.34 ~ 26.8mm. Zoom Lens
- Projection screen size : 30.1” to 241.6” (Diagonal for 16:9)
- Projection distance : 1.5M ~ 10M
- Throwratio :1.87~2.25:1 distance/width
- Operationalnoise:
Specification: 28dB (Normal mode),32dB (Brite mode)
- Temperatures:
a. Operating:5-35°C,80%humidity(Max.)
b. Storage: -20 - 60°C, 80% humidity (Max.)
- Altitude:
a. Operating 5-35°C @ 0 - 2,500 ft
5-30°C @ 2,500 - 5,000 ft
5-25°C @ 5,000 - 10,000 ft
b. Storage 40,000 ft (Max.)
- MTBF : Operating more than 12,000 hours ( 90% Confidence Level )

H271-4
1-2 Computer Compatibility (Analog and DVI)
ytilibitapmoC noituloseR ]zH[cnyS-V ]zHK[cnyS-H
AGV053x046075.13
053x046589.73
004x046589.73
084x046065.13
084x046279.73
084x046575.73
084x046583.34
004x027075.13
004x027589.73
AGVW084x458062.23
AGVS006x008652.53
006x008069.73
006x008271.84
006x008579.64
006x008587.35
AGX867x4201064.84
867x
4201075.65
867x4201570.06
867x4201587.86
AGXS468x2511078.36
4201x08210689.36
"61CAM426x23855.47527.94
"91CAM867x42015742.06
C
AM078x251160.5786.86
4GCAM084x0460653.13
VDcaMi867x42015706
VDcaMi078x25115794.86

H272-1
Chapter 2
Disassembly Procedure
The Front Side The Rear Side
Equipment Needed
Screw Bit(+) : 107
HexSleeves5mm
Screw Bit(+) : 101
HexSleeves8mm
Appearance

H272-2
1. Unscrew 4 screws and 4 hex screws to remove Rear Cover.
Rear Cover
2-2 Removing Rear Cover, Keypad Board, Top Cover
and Main Board
Hexscrews
2-1 Removing Lamp Module
1. Turnovertheunit.
Loosen 2 screws to remove Lamp Cover.
Loosen 2 screws to pull out Lamp Module.
LampModule

H272-3
3. Unscrew 4 screws to remove Keypad Board and Control Key Rubber
(under Keypad Board)
2. Pull out the Top Cover (as the blue arrow show) to remove it and then disconnect the FFC
cable.
Notice : Be careful, don’t put forth your strength too hard, in case the FFC cable breaks off.
Keypad Board
FFC Cable
4. Unscrew 5 screws and disconnect 9 connectors, then remove Main Board.
Notice : Because there is a connector under Main Board and linking toDMDBoard, you
shouldlift upto removeMainBoard.
MainBoard

H272-4
1. Unscrew 2 screws to remove 70x20AXIAL Fan Module.
2. Unscrew 4 screws and 2 hex spacers and disconnect the connector to remove LampDriver
Module.
3. Unscrew 2 screws to remove Interrupt Switch.
2-3 Removing 70x20 AXIAL Fan Module, Lamp Driver
Module, Interrupt Switch and LVPS Module
70x20AXIALFan Module
LampDriverModule
hexspacers connector

H272-5
4. Unscrew 7 screws (one of 7 screws is used byGrounding) to remove LVPS Module.
usedbyGrounding
Interrupt
Switch LVPS Plate
LVPSModule

H272-6
2. Unscrew one screw, then loosen 4 tenons inside of the Front Cover.
FinallyremoveFrontCover.
Notice : Lift up the four plastic plates and you can loosen the tenons as well as the Front Cover
Module.
2-4 Removing Front Cover Insert, Front Cover,
IR Receiver Board and Zoom Ring
1. Remove Front Cover Insert.
Notice : Press two sides of the Front Cover Insert to lift it up.
ZoomRing

H272-7
4. Take off the Mylar to remove IR Receiver Board.
IRReceiver Board
Front Cover
ZoomRing
Front Cover Insert
3. RemoveZoomRing.

H272-8
1. Unscrew one screw toremove Color Wheel ModulefromEngine Module.
2. Loosen one screw from EngineBase,then unscrew 6 screws to removeEngine Module.
2-5 Removing Color Wheel Module and
Engine Module
ColorWheelModule
Notice : Please screw well (the two tenons
shouldbestick out) whenyou
assembleColorWheelModule.
LensClamp/Stopper
MBBracket
ColorWheel
Module
Twotenons

H272-9
1. Unscrew 4 screwsto remove HeatSinkfromEngine Module.
2. Unscrew 4 screws to remove Formatter Board andDMDChip from Engine Module.
3. Unscrew 2 screws to remove Light Cut.
Formatter Board
Heat Sink
DMD Chip
2-6 Disassemble Engine Module
DMD Thermal Pad
DMD Insulator Mylar
DMD Heatsink Baker Plate
DMD Heatsink
DMD Heatsink Spring Plate
SUBASSY Engine Module
Light Cut
Sponges
Notice :Don’t forget to paste the sponges when you assemble the SUBASSYEngine Module.

H272-10
1. Unscrew 3 screws to remove 50x20 Blower Fan Module.
2. Unscrew one screw to remove Thermal Sensor Board.
2-7 Removing 50x20 Blower Fan Module, Elevator
Module and Thermal Sensor Board
50x20 Blower Fan Module
ThermalSensorBoard

H272-11
3. Unscrew 9 screws to remove Bottom Base and Elevator Module.
4. Turn over the Bottom Base and unscrew two screws to remove Elevator Foot.

H27
3-1
3-1 Equipment Needed
Chapter 3
Troubleshooting
- PC or pattern generator
- DVDplayer(Video, S-Video,Audio, HDCP/HDMI)
- QuantumData 802B or CHROMA2327
3-2 Main Procedure
3-2.1 No Power
- Ensure that the power cord andAC power outlet are securely connected.
- Check Lamp Cover and Interrupt Switch
- Ensurethatall connectors aresecurelyconnected andhaven’t broken.
- Check LVPS
- CheckLampDriver
- Check Main Board
3-2.2 Auto Shutdown
- Check LED indicator *Notice
a. If Lamp LEDlit,please checkLamp Module
b. IfTempLEDlit,pleasecheckThermalSensorBoard
c. IfTemp LEDblinks, pleasecheck FanModule
d. If Power LEDoff, please check LVPS
- Check Main Board
- CheckLampDriver
3-2.3 No Image
- Ensurethat the signalcables and sourcearework aswell.(If youconnectmultiple
sources at the same time, use the “Source” button on the control panel to switch.)
- Ensurethatall connectors aresecurelyconnected andhaven’t broken.
- Check Main Board
- CheckDMDBoard
- Check Color Wheel
Other manuals for H27
3
Table of contents
Other Optoma Projector manuals

Optoma
Optoma TX770 User manual

Optoma
Optoma EP716 User manual

Optoma
Optoma HD33 User manual
Optoma
Optoma DS322 User manual

Optoma
Optoma PRO160S Technical manual

Optoma
Optoma DS302 User manual

Optoma
Optoma EW533ST User manual

Optoma
Optoma ES530 User manual

Optoma
Optoma PRO8000 Technical manual

Optoma
Optoma ES526 User manual

Optoma
Optoma HD70 User manual

Optoma
Optoma EH1020 User manual

Optoma
Optoma TW635-3D User manual

Optoma
Optoma EH1020 User manual

Optoma
Optoma EP910 SXGA+ User manual
Optoma
Optoma Optoma EP771 User manual

Optoma
Optoma X306ST User manual

Optoma
Optoma HD27 User manual

Optoma
Optoma TX800 User manual

Optoma
Optoma TX612-3D User manual