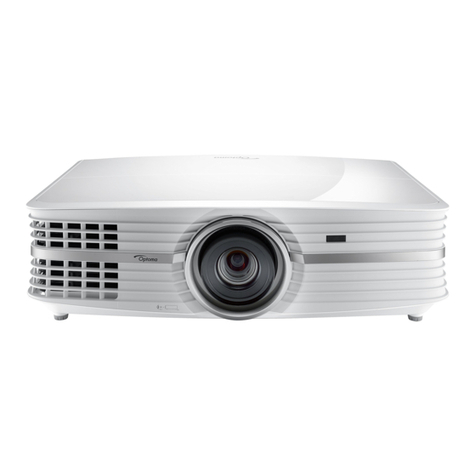
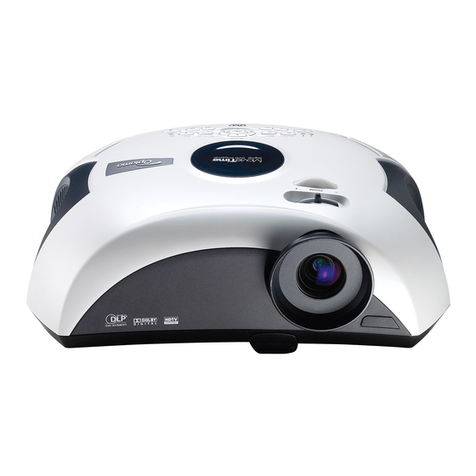
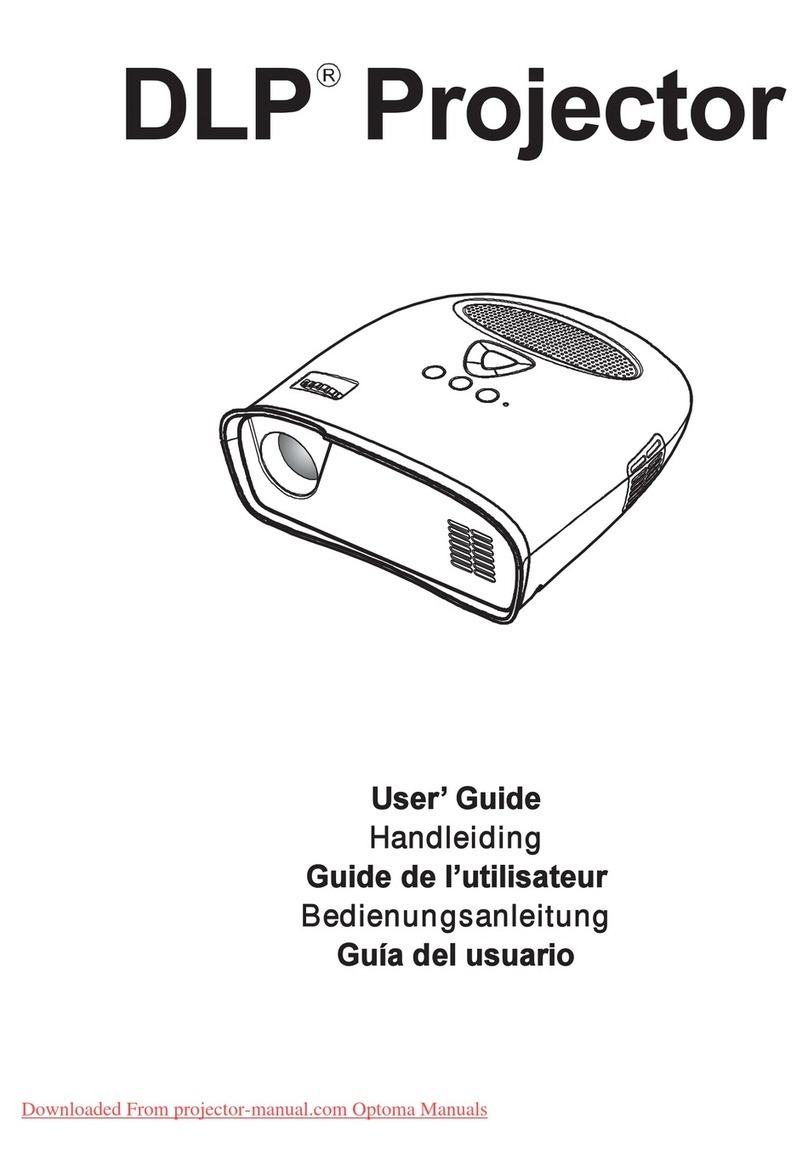
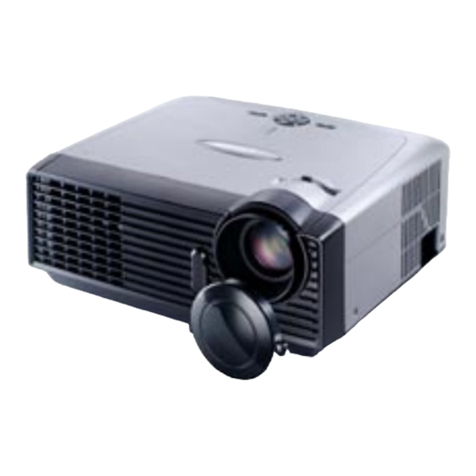
Optoma H30 User manual

Model Name : H30
SERVICE MANUAL
etaDnoisreVesiveRnoitpircseD
82/01/30020.1VeussIlaitinI
Prepared by SI :
________________________________________
Prepared by TSE :
________________________________________
Check by :
________________________________________
Approved by :
________________________________________
Copyright October, 2003 . All Rights Reserved
Document #80A-G04-01A . P/N: 36.80A04.001

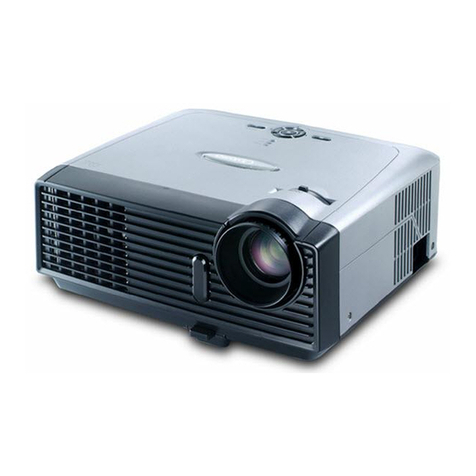
ThismanualisappliedtoH300.55”DMDSVGA HomeTheaterProjectorwithdigitalimagingfunctional-
itybasedonDigital Micro-mirrorDevice(DMD)technology. It’s themode ofsingle Panel,180 watt
compact P-VIPlamp and 800(H) x 480(V) resolution. The manual gives you a brief description of basic
technicalinformationtohelpinserviceandmaintainingtheproduct.
Yourcustomerswillappreciatethequickresponsetimewhenyouimmediatelyidentifyproblemsthatoccur
withour products. Weexpect your customers willappreciatethe service that you offerthem.
This manual is for technicians and people who have an electronic background. Send the product back to
thedistributor forrepairing and do not attempt to doanything that iscomplex oris notmentioned in the
troubleshooting.
NOTICE:
Theinformationfoundinthismanualissubjecttochangewithoutpriornotice.Anysubsequentchanges
madetothedatahereinwillbe incorporatedinfurther edition.
Copyright 2003, October
AllRightsReserved
ManualVersion1.0
Document # 80A-G04-01A
Preface
H30I

H30II
Table of Contents
Chapter 1 Introduction 1-1
Product Highlights 1-1
Machanical Specifications 1-2
Electrical Specifications 1-2
Optical Specifications 1-3
Environmental Specifications 1-4
Chapter 2 Disassembly Procedure 2-1
Disassemble Lamp Module and Keypad Board 2-1
Disassemble Rear Cover, Main BDand I/O BD 2-3
DisassembleDC-DC Module, Ballast, Front Cover Module
and Engine Module 2-4
Chapter 3 Troubleshooting 3-1
EquipmentNeeded 3-1
Main Procedure 3-1
Chapter 4 Function Test and Alignment Procedure 4-1
Product 4-1
Test Equipment 4-1
Test Condition 4-1
TestDisplay Modes & Pattern 4-2
Inspection Procedure 4-5
Chapter 5 Firmware Upgrade Procedure 5-1
EquipmentNeeded 5-1
Setup Procedure 5-1
Upgrading Procedure 5-2
Chapter 6 DDC Key-in Procedure 6-1
EquipmentNeeded 6-1
Setup Procedure 6-2
DDC Key-in Procedure 6-3
Appendix A Exploded Diagram 7-1
Appendix B Serial Number System Definition 7-24
Reader’s Response 7-25

H301-1
Chapter 1
Introduction
1-1 Product Highlights
- One panel 0.55"DMDSVGAprojection system with 520ANSI lumens (Typical) and 450
ANSIlumens.
- 180 Watt Compact P-VIP Lamp
- Highefficiencycoolingsystemwithlowsystemacousticnoiselevel
- LightweightApprox.4.6lbs.
- True 800 * 480 resolution, 16.7MTrue colors
- Withup, down, left,andright screenreverse
- Build-infull screenNTSC / PAL/SECAM videocapabilitywith S-video / Composite /
ComponentandHDTVterminals
- SXGA/ XGA/ SVGA/VGA/ MAC compatibility with oneD-subinput terminal
- Autoimagere-sizing to800 * 480full screen
- Manualfocusprojection
- Autodetectionofcomputersignalinput
- AutoImagesynchronization(Auto-tracking/frequency/positionadjustment)
- Powerfulenlargeandfreezefunction
- Automaticallysavesadjustmentsforfutureuse
- On-screenmenuwith10languages
- IRremotecontrol without USB mousefunctionand laserpointer
- Adaptive voltage control fanspeed
- Monitorloopthrough
- Eco mode supports

H301-2
1-2 Mechanical Specifications
Dimensions(LxWxH) - External10.7*8.3*3.4 inches(272*210*86mm)
Weight - Approximate 4.6 lbs. (2.1 Kg)
CoolingSystem - Advancedairflow
- Fourfanswithlowsystemacousticnoiselevel
- Temperaturecontrolcircuitswithadaptivevoltagecontrol
fanspeed
- MaxtouchtemperaturefollowsUL1950regulation
TiltAngle - 11degreewithelevatormechanism
Keystonecorrection - +/- 16 degrees (32 degrees)
Color - WhiteTop and Silver Bottom / Front
LampDoorProtection - Lamppowersupplyshutoffautomatically when door open
1-3 Electrical Specifications
PowerSupply
- UniversalAC 100—240V, 50/60 Hz with PFC input
- 180W Compact P-VIP Lamp
- Variance FANspeed control (Depend on temperature variant)
Terminals
- ComputerInput(D-Sub FemaleTerminal *1)
- Composite Video Input (RCAjack *1)
- S-Video Input (MiniDIN 4-pin *1)
- MonitorOutput (D-Sub 15-pinFemale terminal *1)

H301-3
InputSignalSpec
- Hsync Frequency 15-70 kHz
- Vsync Frequency 43-85 Hz
- VideoSignal RGB(PC)
Analog RGB 0.7 Vp-p, 75 ohm
Analog RGB 1 Vp-p, 75 ohm, Sync. signal
Separate TTL H, V Sync.
CompositeTTLSync.
- Video
Composite video 1 Vp-p, 75 ohm
S-Video Luminance 0.714 Vp-p, 75 ohm
Chrominance 0.286Vp-p, 75 ohm
VideoCompatibility
- Standards:
NTSC M(3.58 MHz), 4.43 MHz
PAL B,D, G, K, I, M, N
SECAM B,D, G, K, K1, L
HDTV 480p, 720p, 1080i
1-4 Optical Specifications
ProjectionLens - F/2.4~2.7, f=19.7~23.6mm. Zoom Lens.
- ThrowRatio=1.75~2.12
ProjectionLens - Adjustable from 29”to260”(Diagonal)
ThrowDistance - 1.25m~10m
Brightness Base on 60”, 16 : 9, 8500oK Color Temperature
- 520ANSI Lumens,Typical,
- 450ANSILumens,Minimum
Contrast - 1400 : 1 Typical (Full White and Black, 8500oK)
- 1000: 1Minimum(FullWhiteandBlack, 8500oK)
Uniformity - 75%Typical
- 65%Minimum

H301-4
1-5 Environmental Specifications
Temperature:
- Operating : 5° to 35°C
- Storage : -20° to 60°C
MaximumHumidity
- Operating : 5° to 35°C, 80%RH (max), non-condensing
- Storage : -20° to 60°C, 80%RH (max), non-condensing
AcousticNoiseLevel:
- 32 ±2 dbA (typical @ 23 + 2° C)
LampLife:
- 1500hourstypical, 50%survivalrate
- 3000hourstypical, 50%survivalrate
Altitude:
- Operating : 0 ~ 2,500 ft 5~35° C
2,500 ~ 5,000 ft 5~30° C
5,000 ~ 10,000 ft 5~25° C
- Storage : 40,000 ft
MTBF : Operating more than 10,000 hours (80% Confidence Level)

H302-1
Chapter 2
Disassembly Procedure
2-1 Disassemble Lamp Module and Keypad Board
1. Loosen 2 screws to remove Lamp Cover.
LampModule
2
1
2. Unscrew 2 screws to pull up Lamp Module.

H302-2
3. Unscrew 4 screws on the right and left sides of the projector, and unscrew 3 screws on the
Front Cover and then directly detach the cable inside to removeTop Cover.
TopCover
4. Tear off Mylar and then unscrew 3 screws to remove Keypad and Keypad Board from Top
Cover.
Keypad
Keypad Board
Mylar

H302-3
Hex screws
2
1
2-2 Disassemble Rear Cover, Main BD and I/O BD
1. Unscrew 4 hex screws and 2 screws on the bottom housing to remove Rear Cover.
2. Unplug all cables and unscrew 5 screws to remove Main Board and IO Board.
RearCover
IOBoard
Main Board

H302-4
FanModule
Ballast
2-3 Disassemble DC-DC Module, Ballast,
Front Cover Module and Engine Module
DC-DCModule
Bracket
1. Unscrew 5 screws to remove Fan Module, Bracket andDC-DC Module.
2. Unscrew 2 screws to remove Bracket and 6 screws to remove Ballast from Bottom Cover.
Bracket

H302-5
Interlock Switch
EngineModule
FanModule
3. Unscrew 2 screws to remove Front Cover Module.
4. Unscrew 2 screws to remove Interlock Switch.
FrontCoverModule
5. Unscrew all acrews to remove Engine Module and Fan Module from Bottom Cover.

H303-1
Chapter 3
Troubleshooting
3-1 Equipment Needed
• H30 Projector
• PC (Personal Computer)
• VGACable
• VideoInput
• ScrewDrivers
3-2 Main Procedure
Connect Power cord, analog or
digital, video or S-Video and
then turn power on
Start
Is Lamp light on ? A. Power
Troubleshooting
No
Is Image K ? B. Image Performance
Troubleshooting
C. Function
Troubleshooting
No
Yes
No
Is function K ?
1
Yes
Yes

H303-2
D. Remote Control
Troubleshooting
No
Yes
Is Remote
Control K?
No Fault Found
End
1
E. Cable
Troubleshooting
No
Yes
Is Cable K?

H303-3
3-2.1 A. Power Troubleshooting
Start
End
No
Yes
Is Power
LED indicator
K ?
Is Fan working ?
Yes
Change
DC-DC
No
Yes
No Change
Main Board
Supply
AC power
No Check Power
cord & input power
voltage
Lamp
Cover assembly
K ?
Change
DC-DC
No
Yes
No Change
Fan
Module
Is Lamp lit ? No Change
Thermal
Board
Reassembly
lamp Cover
No
Yes
No Change
Ballast
Yes
Is Lamp LED
indicator K ?
Is Temp
LED indicator
K ?
No Change
Lamp Module
No Change
Main Board
No Change
Ballast

H303-4
Have bar at the
right & left side of
image ?
Yes
Start
Have garbage
pattern ?
No
Have image ? No Change
M/B
Yes
No Change
DMD
Board
Change
M/B
No Change
DMD Board
No Change
DMD Board
Yes
No Change
DMD
Chip
Uniformity K ?
Yes
No Change
Engine Module
3-2.2 B. Performance Troubleshooting
Dot defect isnt
compliant with the
spec.?
Yes Change
DMD Chip
Color Adjust
Procedure
* Note 1
No
Yes
Is color K ? No Change
M/B
No
Change
DMD Board
Change
Engine
Module
No
1
Have line bar ?
No
Change
M/B
No
Adjust
frequency
Yes

H303-5
Color Adjust Procedure :
Notice : PC shall run 64 Intensity for Primary Colors Pattern of DMW Program.
1. n the screen of No Signal - Check Video Cable, press , buttons at the same
time, then press + and to enter Service Mode.
2. Connect PC signal, then press button to enter Display Source function.
3. Press or to choose Color Wheel Index function.
4. Press + or - button to adjust.
✎ Note 1 : It may need to be used when you replace Main Board or Optical En ine alone.
Start
No
Yes
Does SD show
up ?
Can function be
adjusted ?
Change
Main board
Yes Is Remote
Control K ?
Change
Keypad BD
No Is Keypad
FFC K ?
End
No
Change Remote
Control
Change
Main board
3-2.3 C. Function Troubleshooting
Can SD data
be saved ?
No Change
Main board
Yes
Yes
No Change FFC
Is Keypad K? No Change
battery
No
No
No
End
Have noise ? Yes
No
No
Change
M/B
No
Adjust
tracking
1

H303-6
Start
No
Replace
the battery
Change Remote
Controller
Change Keypad
End
No
Change M/B
No
Yes
Yes
Yes
Yes
3-2.4 D. Remote Control Troubleshooting
3-2.5 E. Cable Troubleshooting
Start
No
Yes
Connect PC & loop-
through signal, then
power on the projector
Is loop-through
image K ?
Yes
Change VGA
or DVI cable
End

H304-1
Chapter 4
Function Test & Alignment Procedure
4-1 Product
- H30
4-2 Test Equipment
- IBM PC with XGA resolution (Color Video Signal & PatternGenerator)
- VCR with Multi-system(NTSC/PAL/SECAM)
- Chroma meter Minolta CL-100
- Hi-Pot
4-3 Test Condition
- Circumstance Brightness :Dark room less than 10 lux
- Inspection Distance : 2.0m
- Screen Size : 60 inches diagonal (wide)
- Beforefunctiontest and alignment,eachH30shouldbe run-inandwarmed-upforat
least30minuteswithfollowingconditions.
1.) In room temperature
2.) With cycled display colors (R,G,B,White)
3.) With cycled display modes
640*350 (H=31.5 KHz, V=70 Hz)
640*400 (H=37.9 KHz, V=85 Hz)
640*480 (H=37.5 KHz, V=75 Hz)
720*400 (H=31.5 KHz, V=70 Hz)
800*600 (H=53.7 KHz, V=85 Hz)
800*600 (H=37.9 KHz, V=60 Hz)
1024*768 (H=48.4 KHz, V=60 Hz)
1024*768 (H=68.7 KHz, V=85 Hz)
- Test Display Mode & Pattern (Refer to 4-3.1 & 4-3.2)
- Function Test and Alignment Procedure

H304-2
4-4 Test Display Modes & Pattern
4-4.1 Compatible Modes
ytilibitapmoC noituloseR )zH(cnyS-V )zHK(cnyS-H
AGV053*046075.13
AGV053*046589.73
AGV004*046589.73
AGV084*046065.13
AGV084*046279.73
AGV084*046575.73
AGV084*046583.34
AGV004*027075.13
AGV004*027589.73
AGVS006*008652.53
AGVS006*008069.73
AGVS006*008271.84
AGVS006*008579.64
AGVS006*008587.35
AGX867*42014.345.53
AGX867*4201064.84
AGX867*4201075.65
AGX867*4201570.06
AGX867*4201587.86
AGXS4201*08210689.36
"31CLCAM084*04666.6689.43
"31IICAM084*04686.6653
"61CAM426*23855.47527.94
"91CAM867*42015742.06
CAM078*251160.5786.86
4GCAM084*0460653.13
VDCAMi867*42015706
Analog :
Other manuals for H30
3
Table of contents
Other Optoma Projector manuals

Optoma
Optoma Pico PK301+ User manual

Optoma
Optoma TX610ST User manual

Optoma
Optoma Pico PK301+ User manual

Optoma
Optoma TX779P-3D User manual

Optoma
Optoma ML1080 User manual

Optoma
Optoma ES520 User manual

Optoma
Optoma H79 User manual

Optoma
Optoma H57 User manual

Optoma
Optoma EzPro 610H User manual

Optoma
Optoma EW631 User manual

Optoma
Optoma EX784 User manual

Optoma
Optoma EP721i User manual

Optoma
Optoma Optoma EP728 User manual

Optoma
Optoma DH1011 User manual

Optoma
Optoma TX762 User manual

Optoma
Optoma Optoma EP585 User manual

Optoma
Optoma EP753 User manual

Optoma
Optoma HD806 User manual

Optoma
Optoma EH415ST User manual

Optoma
Optoma DS219 User manual