44
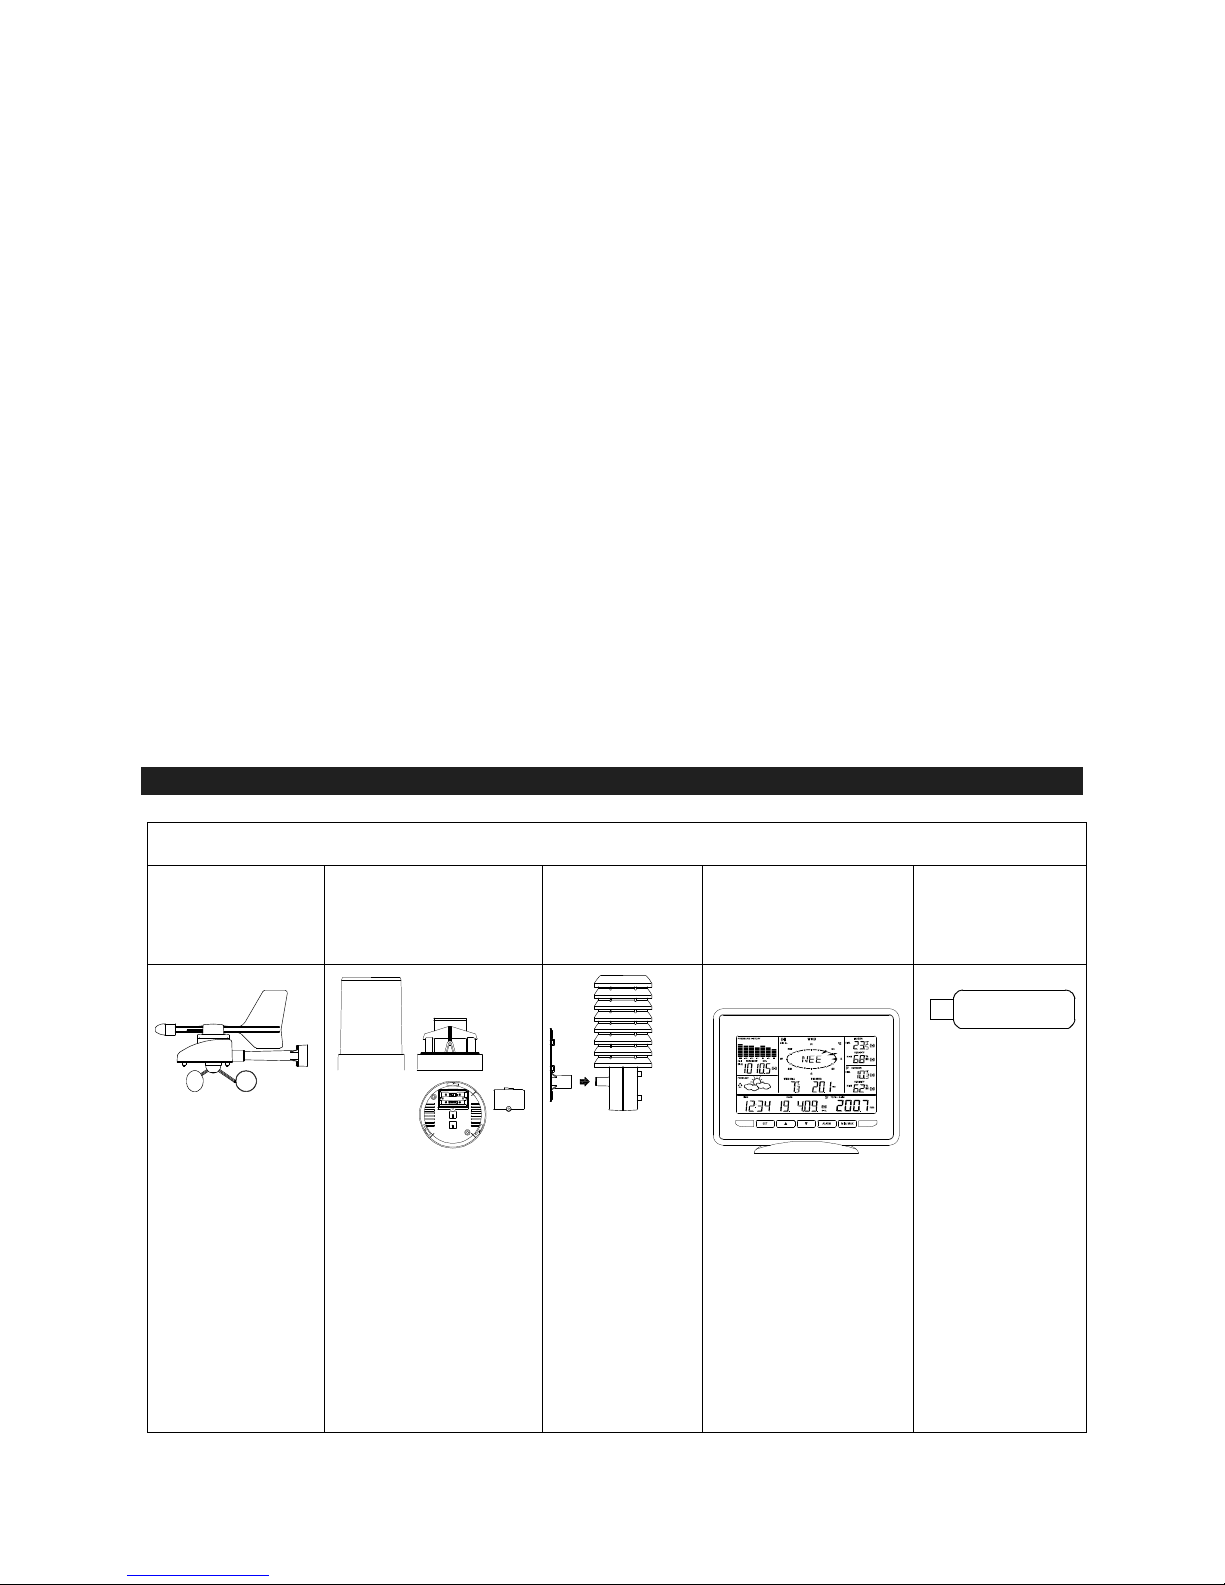
WIND SENSOR
The wind sensor must be installed with the front of the en or (the olar panel)
facing true South, or the reported wind direction will not be accurate. Mount within the
50 meter wireless range of the thermo-hygro sensor and on the same side of the
house. The roof may or may not be an ideal mounting location. Secure the main unit to
the shaft of the mast holder. Use the right-angle adaptor if the wind sensor will be
mounted on a horizontal mast or surface.
Fasten the wind sensor to a suitable mast using the two U-bolts, washers and nuts
included. Note: Mount the wind sensor onto a mast so the wind can reach the sensor
unobstructed from all directions for an accurate reading. The ideal mast is between
15.75mm and 33mm in diameter. The wind sensor DOES NOT have replaceable
batteries, it consumes solar power and charges the internal battery pack automatically.
RAIN SENSOR
The rain sensor should be mounted on a level surface in an open area and bright area
within the 50 meter wireless range of the thermo-hygro sensor and on the same side
of the house. Mount the rain sensor at least 0.30 meter off the ground level for optimum
wireless transmission. The rain sensor should be accessible to allow for period cleaning
of debris or insects.
THERMO-HYGRO SENSOR
The thermo-hygro sensor is "weather resistant", but not "water proof". To ensure an
extended life of your sensor, mount it in a semi-covered place out of the elements. An
ideal location for the thermo-hygro sensor is under the eaves on the North side of the
house to avoid the effects of sunlight. Mount the sensor 0.5 meter down from the eaves
to ensure optimum performance. This way the weather data collected by the sensor will
not be affected by the temperature of the air coming out of the attic.
To wall mount the thermo-hygro sensor, fix the wall holder onto the desired wall using
the included screws, plug the sensor firmly into the wall holder and replace the rain
cover if it is not already in place. Note: After mounting the units, if the weather data is
not received, press and hold the ▲UP ARROW key for 2 seconds to synchronize the
wireless display to the sensors.
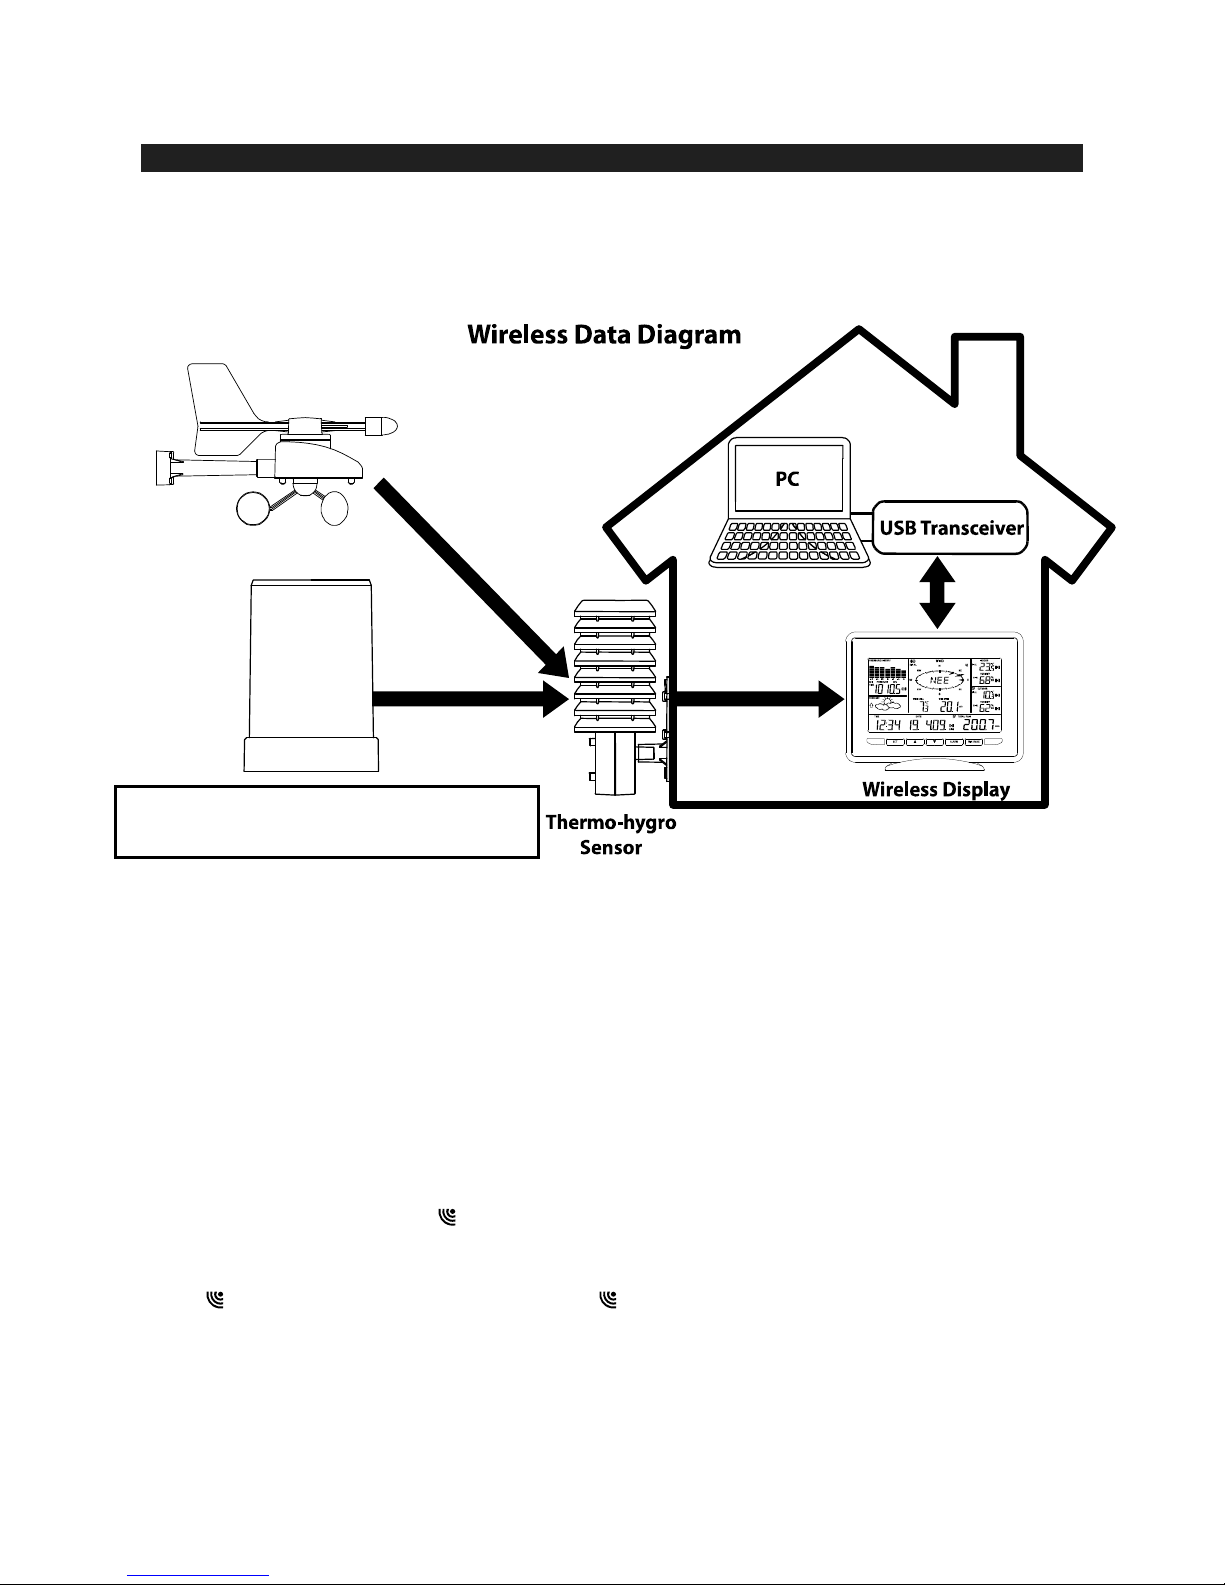
HEAVY WEATHER PC SOFTWARE
Use your PC to store and graph the latest weather data collected by the weather station.
Download the Heavy Weather PC software from www.tfa-dostmann.de.
The Help function of the Heavy Weather Pro-Software contains detailed information
about handling and operating the software.
Note: Plea e pay attention about pc-connection:
It must be distinguished between “synchronize” and “contact”
“synchronize” = introduce the hardware to each other
“contact”= push the wireless connection for transfer of new data