EN
8
*The upper and lower heart rate limits are calculated
by multiplying your maximum heart rate (MHR) by the
percentages.
It is important to pace yourself, especially if you haven’t
exercised for a while. Start off slow, aiming for the lowest
range (50%-60%). As you become more comfortable,
challenge yourself by increasing in speed and duration.
To benet most from your work-out, determine your tness
goal and exercise at a proper intensity. The most common
zone range is from 50% to 80% of your maximum heart rate.
This is where you achieve cardiovascular benets, burn fat
and become more t.
Remember, if you rush in too quickly and push your body too
hard before it’s ready, it can be counterproductive. You can
hurt your muscles / tendons and may even result in injury
and be a real step back from your goal.
IMPORTANT Always warm up before exercise and select
the HR zone setting that best suits your physique. Exercise
regularly, 20 to 30 minutes per session, three to four times a
week for a healthier cardiovascular system.
WARNING Determining a suitable exercise intensity is
a critical step in the process towards an efcient and safe
training program. Please consult your doctor or health
professional to help you determine exercise frequency and
duration appropriate for your age, condition and specic
goals.
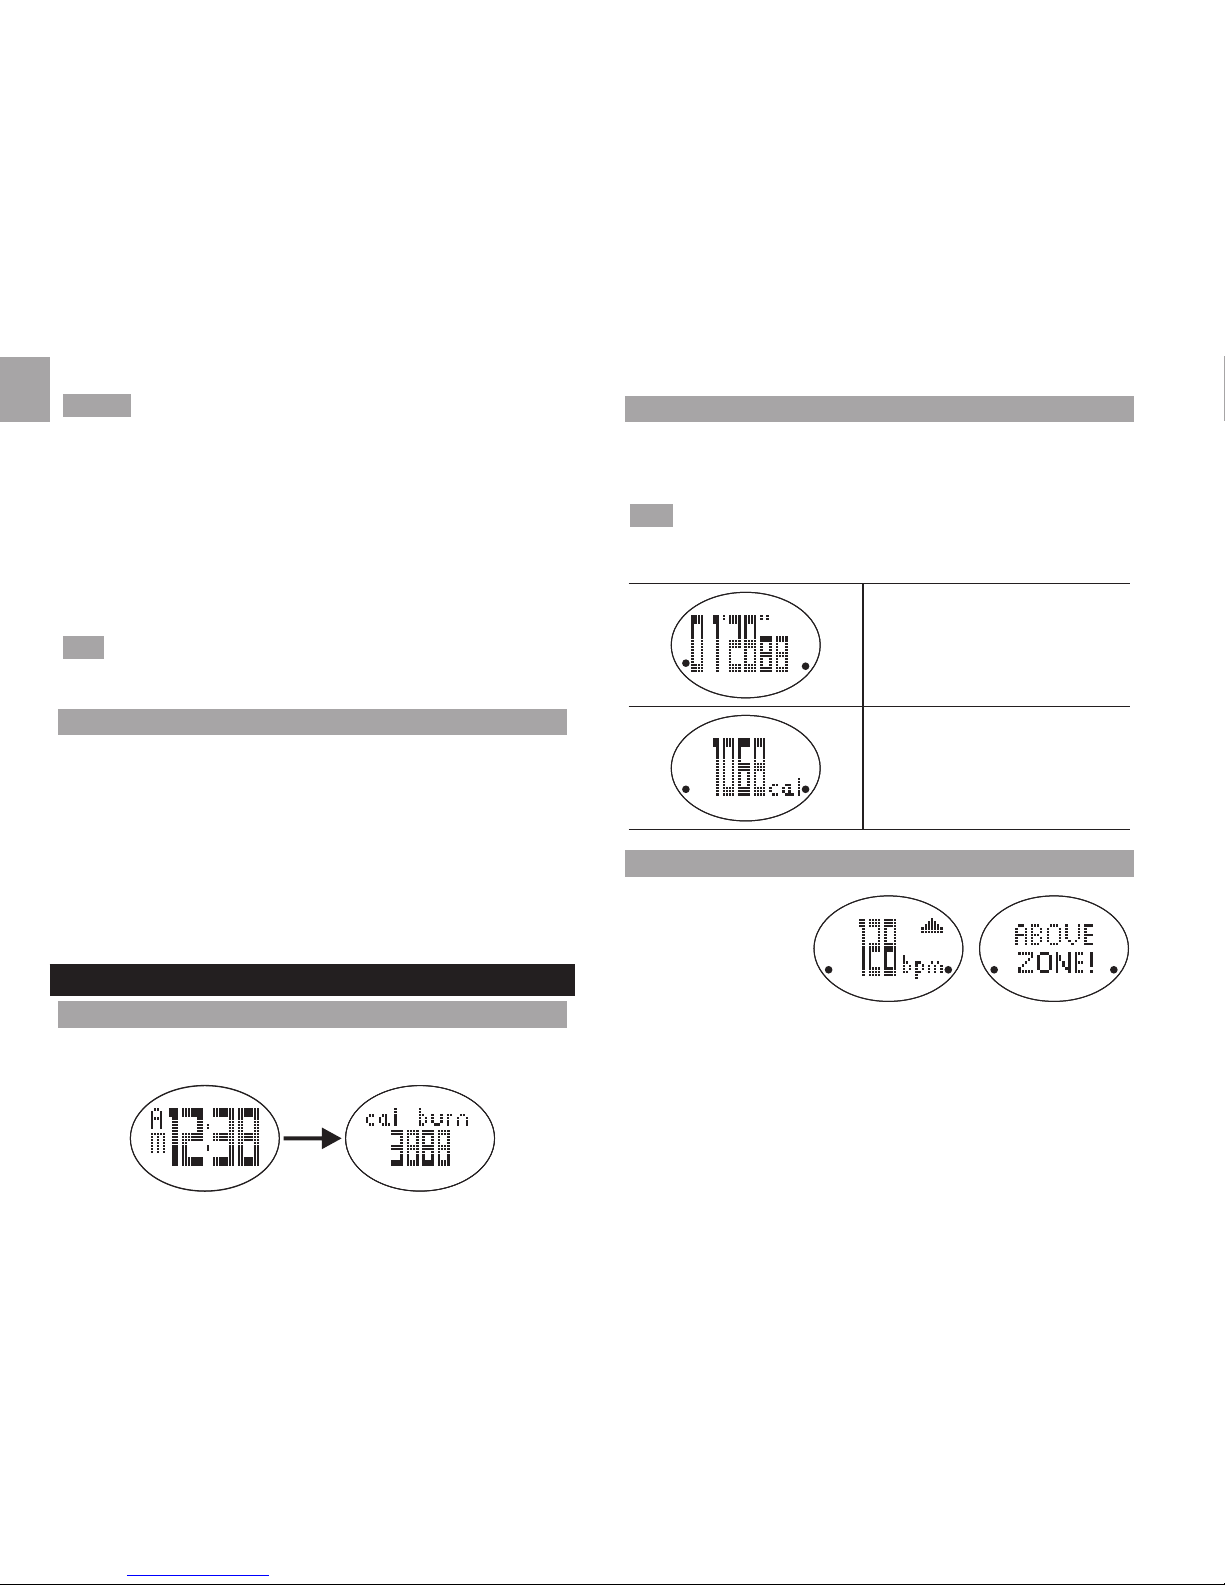
MEMORY
1. Press MODE/- repeatedly to select “MEM”. After 2
seconds, display will show the time and date of the most
recent exercise session recorded or “NO RECORD” if
there is no data.
2. Press +/ST/SP to navigate to desired record.
3. Tap on lens to toggle through the displays related to
selected exercise session.
Total time taken for entire
exercise
Maximum heart rate
Average heart rate
Total calories burnt (kcal)
To return to previous screen at any time: Press MODE/-.
CLEAR RECORDS
This watch can contain data for up to 99 exercise sessions.
Individual memory cannot be selected and deleted. The
watch only allows for all data to be deleted.