Oregon Scientific PD293 User manual

ENGLISH
ENGLISH
GERMAN
ITALIAN
SPANISH
ENGLISH
ENGLISH
GERMAN
ITALIAN
SPANISH
TOUCH-SCREEN ORGANIZER
USER’S MANUAL
MODEL PD293
TABLE OF CONTENTS
Introduction.............................................................................................................3
Description of Parts.................................................................................................4
Description of the Main-Menu-Display Icons.......................................................5
Battery Installation / Replacement........................................................................5
Initialization..............................................................................................................6
Getting Started........................................................................................................7
The Easy-Touch Stylus....................................................................................7
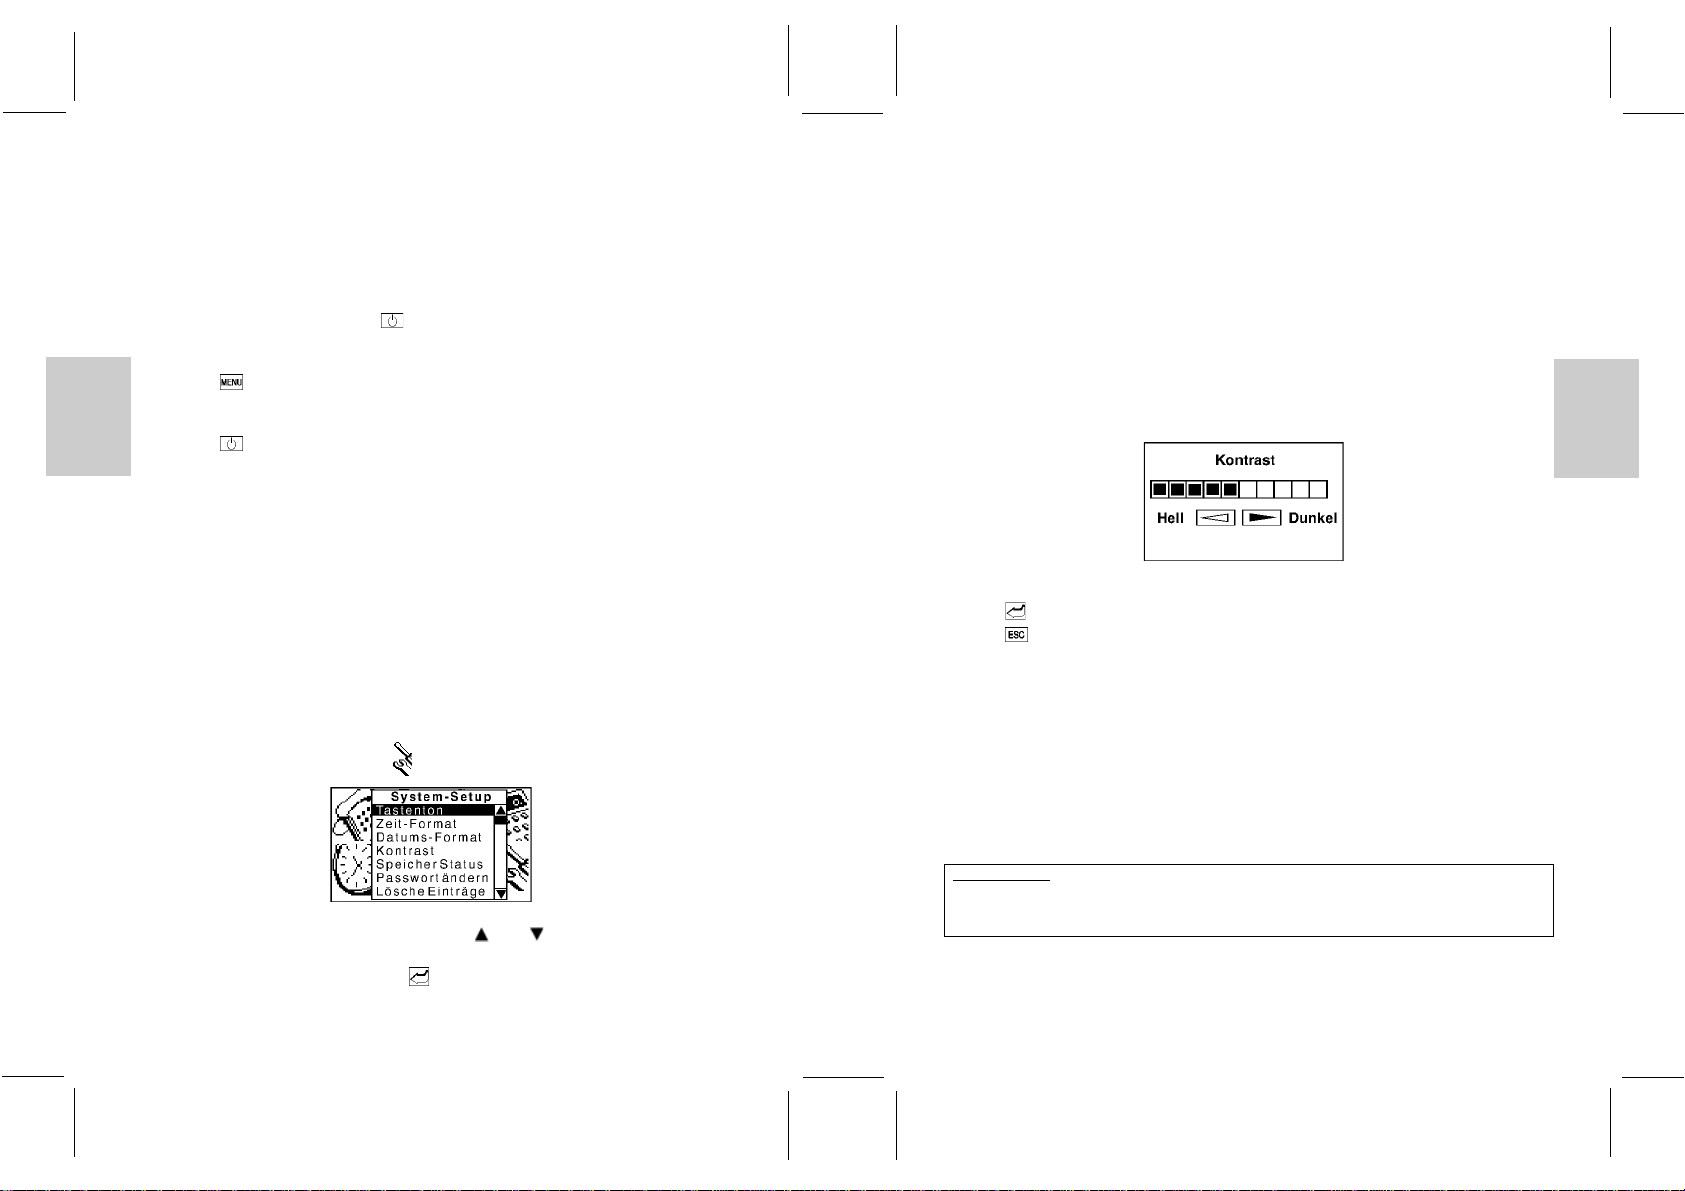
System Setup............................................................................................................7
Key Tones........................................................................................................8
Display Contrast Control.................................................................................8
Change Password.............................................................................................8
Delete Records.................................................................................................9
Time Format.....................................................................................................9
Date Format....................................................................................................10
Data SynchronizationWith PC..............................................................................10
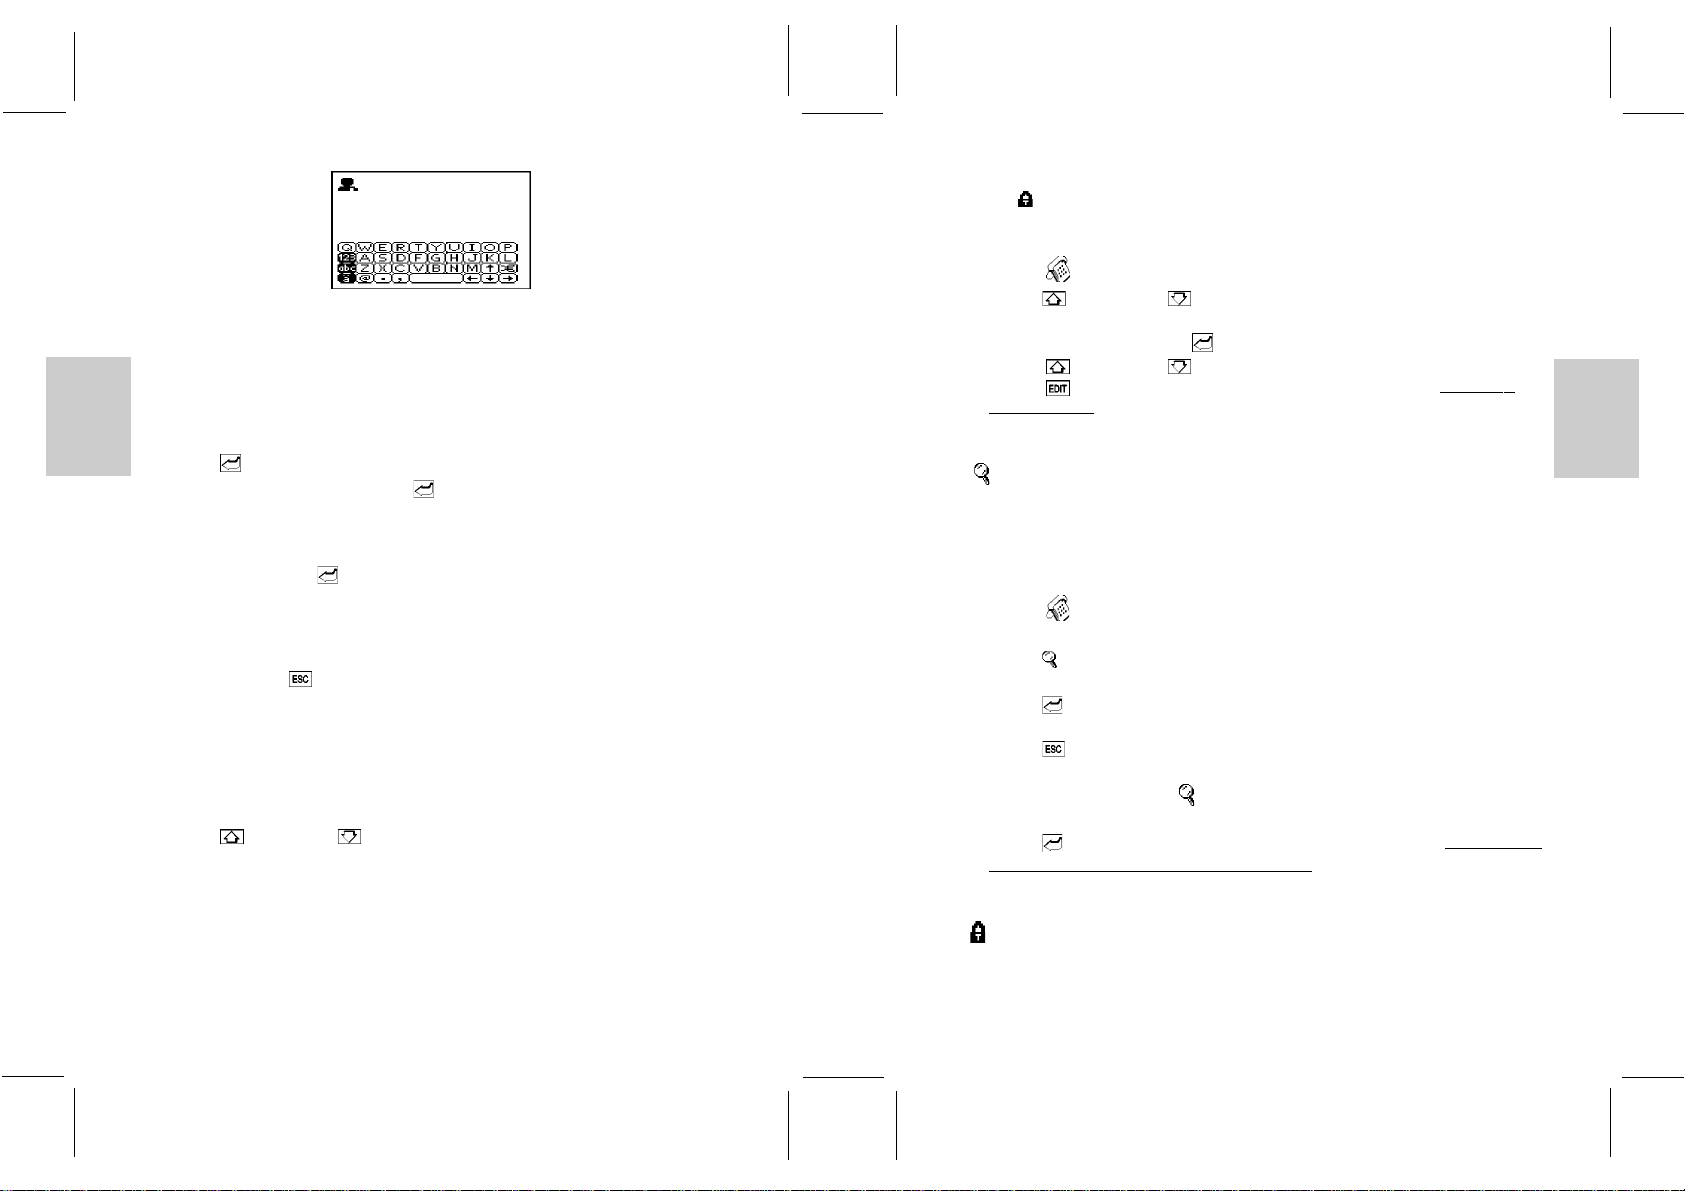
The Phonebook Mode............................................................................................11
Categories .....................................................................................................12
Create A New Record....................................................................................12
Browsing Phonebook Records........................................................................13
Viewing or Editing Existing Phonebook Records..........................................13
Search............................................................................................................14
Lock ..............................................................................................................14
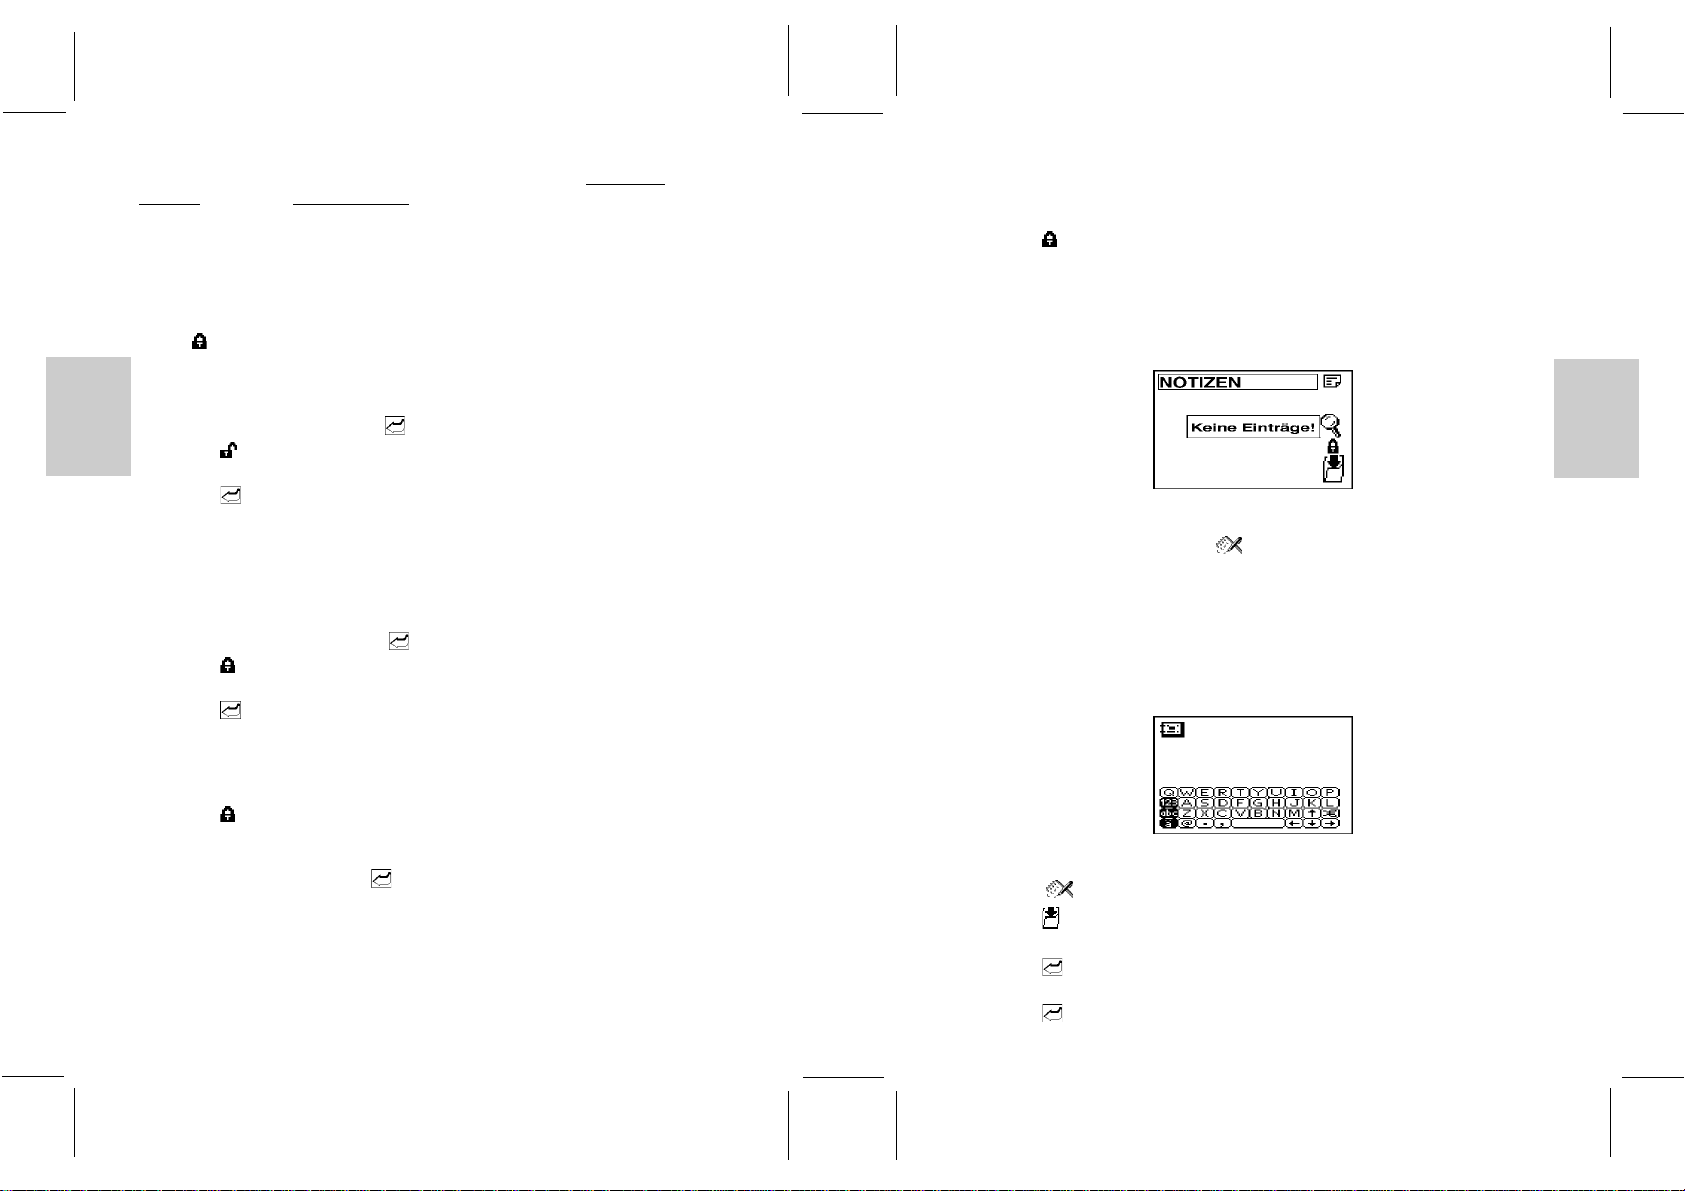
Notepad Mode.........................................................................................................16
Create a New Note.........................................................................................16
2
Bookmark Mode.....................................................................................................17
Mark a Web Site Address...............................................................................17
Home/World Time..................................................................................................18
Choosing a Home City...................................................................................18
To Enter or Edit the Home Date and Time....................................................18
Finding The Time Of Cities Around The World............................................19
Daily Alarm....................................................................................................19
Calculator Mode....................................................................................................19
Calculations...................................................................................................20
Metric Conversions........................................................................................20
Currency Conversions....................................................................................21
Calendar Mode......................................................................................................22
Viewing Past or Future Dates........................................................................22
Daily Scheduler.............................................................................................23
Erasing Past Schedules..................................................................................24
Anniversary Lists and Holiday Lists.............................................................25
Reset........................................................................................................................25
Maintenance...........................................................................................................26
Caution...................................................................................................................26
Specifications..........................................................................................................27
1

ENGLISH
ENGLISH
GERMAN
ITALIAN
SPANISH
ENGLISH
ENGLISH
GERMAN
ITALIAN
SPANISH
3
INTRODUCTION
Congratulations on your purchase of the Touch-Screen Databank (PD293).
A multi-function device, this product provides seven primary functions.
Phonebook
Stores individual names, phone numbers, addresses, and other information in twelve
text-field categories.
Notepad
Stores message information and important need-to-remember notes.
Bookmark
Stores Web Site addresses and related information.
Home /World Time Clock
A current-date calendar, local-time clock, and world-time clock for 84 major cities around
the world.
Calculator
A 10 digit numerical calculator with metric and currency conversion functions.
Calendar and Daily Scheduler
A daily planner and scheduler that highlights important dates or specific blocks of time.
PC Sync
Another feature of your PD293 is its PC connective capabilities. With a cradle, data can be
sychronized with PC.
Using touch-screen technology, primary functions can be accessed in one step.
Unlike conventional databanks that utilize extensive keyboards, your PD293 simplifies
data input. Using an Easy-Touch Stylus, functional sequences are fast and simple to
follow. Large easy-to-read display icons enhance the product’s user friendliness.
As a final note, take time to read this manual. Understanding the many features of your
PD293 should increase the unit’s usefulness and help to avoid mistakes that may otherwise
result in lost data.
DESCPRITION OF PARTS
1. Liquid Crystal Display (LCD) and Easy-Touch Display Buttons
• Large Touch-Screen Display with easy-to-read icons
• Touch-sensitive functional buttons
2. [ ] On/Off Button
Activates and deactivates the unit
3. [ ] Escape Button
Exits to the previous display
4. [ ] Page-Up Button
Scrolls upwards through records
5. [ ] Page-Down Button
Scrolls downwards through records
6. [ ] Delete Button
Erases information
7. [ ] Edit Button
Edits records or specific text fields
8. [ ] Enter Button
• Confirms an action
9. [ ] Menu Button
Access to Main Menu Display
10. Touch-Screen Stylus
For use when making selections
11. Battery Compartment
Main: Two CR2025 3V lithium cells
4

ENGLISH
ENGLISH
GERMAN
ITALIAN
SPANISH
ENGLISH
ENGLISH
GERMAN
ITALIAN
SPANISH
12. Reset Button
Clears all information and resets the unit to its original factory values
13. Cradle
Connect with PC for data synchronization
DESCRIPTION OF MAIN MENU DISPLAY ICONS
The Main Menu Display has eight (8) icons
Phonebook Notepad
Calculator Calendar
Clock Bookmark
PC Sync System Setup
BATTERY INSTALLATION/REPLACEMENT
1. Turn off the unit.
2. Open one of the battery doors according to the indication on the back of the unit.
3. Take out the old battery.
4. Insert a new CR2025 lithium battery into the battery compartment.
5. Close the battery doors.
6. Repeat step 2 to step 5 to replace the other battery.
7. Reset the unit if necessary.
Remark: - Make sure to turn off the unit before battery replacement
- Replace the batteries one by one to avoid data loss (such as time/calendar
etc).
When the batteries become weak, a low battery warning message will be displayed.
INITIALIZATION
After the reset operation or battery installation, the following initialization screen will be
displayed.
Warning: Initialize the unit will erase all information. To keep stored information,
select ‘N’ (no initialization).
To keep stored information after replacing batteries or reset operation:
1. Use the Easy-Touch Stylus and gently touch [N]. The unit will keep the stored
information and advance to the Main Menu Display.
After initialization, user will be asked to set the date and time.
5 6

ENGLISH
ENGLISH
GERMAN
ITALIAN
SPANISH
ENGLISH
ENGLISH
GERMAN
ITALIAN
SPANISH
GETTING STARTED
THE EASY-TOUCH STYLUS
Use the Easy-Touch Stylus to enter information or select a particular function.
To start the unit:
Use the Easy-Touch Stylus to touch [ ] On / Off.
To enter the Main Menu Display (at any time):
1. Touch [ ] Menu.
To deactivate the unit:
1. Touch [ ] On / Off.
Note: If there is no operation for about 3 minutes, the unit will turn off automatically.
SYSTEM SETUP
Initially take a few minutes to personalize the system. Properly setting up the system
before use will improve the functionality. The System Setup menu have 6 components:
Key Tone, Time Format, Date Format, Screen Contrast, Change Password and Delete
Records.
To access System Setup:
To access the System Setup menu:
1. In the Main Menu Display, touch [ ] , the System Setup menu will be display.
2. Touch the desired item to highlight it or touch [ ] or [ ] to scroll upwards or
downwards.
3. Touch the highlighted item again or [ ] Enter to access the function.
7
KEYTONES
When the key tone function is activated, a confirmation beep sound will be output as the
Easy-Touch Stylus touches the screen.
To activate/deactivate the Key Tone:
1. Enter System Setup and select the [Tastenton].
2. Touch [Ein] or [Aus] to activate or deactivate the key tone.
DISPLAY CONTRAST CONTROL
Select “Kontrast” in the System Setup menu to adjust the contrast of the display.
Direct touch on the contrast bar or touch the left/right icon to alter the contrast level.
Touch [ ] Enter to confirm or
Touch [ ] Escape to cancel the operation.
CHANGE PASSWORD
To limit the access to private information, use System Setup to enter or change a
password. A password can be any combination of numbers or letters to a total of eight
characters.
Once the password is saved, user will be prompted to enter the password before accessing
locked information.
IMPORTANT
Do not forget a password. If a password is lost or forgotten, locked information can not be
accessed. To prevent losing information, memorize or store a password in safe place.
To change or input a new password:
1. Enter System Setup and select [Passwort ändern].
2. User will be asked to input the Old Password. (If no password is currently in use, user
will be asked to input a New Password instead of the Old Password).
8

ENGLISH
ENGLISH
GERMAN
ITALIAN
SPANISH
ENGLISH
ENGLISH
GERMAN
ITALIAN
SPANISH
Note: For more information about the usage of the on screen keyboard, please refer to the
section Create ANew Record located in the Phonebook section of this manual.
3. Touch [ ] Enter to confirm, user will then be asked to input the password again for
re-confirmation purpose.
DELETE RECORDS
User can delete all the records in a selected category.
To delete all the records of a category:
1. Enter the System Setup menu and select [Lösche Einträge].
2. A pop up menu will be displayed with six items: Telefon, Notizen, Web-Site, Termine,
Jahrestage, Urlaub.
3. Select the desired category by double click the item or [ ] Enter position.
4. A re-confirmation screen will be displayed, select ‘Ja?’ to confirm the deletion.
5. To cancel the deletion, select ‘Nein?’ or [ ] Escape.
TIME FORMAT
User can select 12 hour or 24 hour format for the Home/World time clock.
To select the hour display format
1. Enter the System Setup menu and select ‘Zeit-Format’
2. Select the desired format by touching on the corresponding position.
3. To confirm the selection, touch the corresponding position again or touch [ ] Enter.
4. To abort the selection, touch [ ] Escape.
9
DATE FORMAT
User can select different date display formats and separators.
Three date display formats: TT/MM/JJJJ, MM/TT/JJJJ and JJJJ/MM/TT
Four separators: ‘/’, ‘-’, ‘.’ and ‘,’.
To select the date display format and separator
1. Enter the System Setup menu and select ‘Datums-Format’.
2. Touch the current date format or separator position, a pop up menu with the
corresponding items will be displayed.
3. Select the desired format by touching on the corresponding position.
4. To confirm the selection, touch the corresponding position again or touch [ ]Enter.
5. To abort the selection, touch [ ]Escape.
6. Touch ‘OK’ to save the settings or touch ‘Abbrechen’ to abort the selection.
DATA SYNCHRONIZATION WITH PC
This unit is designed to communicate with IBM compatible personal computers (PC). Data
can be entered on the PC or on the PD293 unit, and after the data synchronization process,
both the data in PC and the PD293 unit will be updated automatically.
To synchronize data with a PC:
1. Connect the cradle unit to PC’s serial port through a 9 or 25 pin connector (make sure
3 AAA size batteries are installed in the cradle)
2. Remove the rubber connector at the left side of the PD293 unit.
(User can place the rubber connector on the cradle as indicated)
3. Plug the unit in the cradle. The LED on the cradle will be turned on when the
connection between the cradle and PD293 unit is correct. Otherwise, please check
the connection or batteries again.
4. In the Main Menu Display, touch [ ] PC Sync.
5. Select ‘Ja?’ and touch [ ] Enter or touch ‘Ja?’ two times.
10

ENGLISH
ENGLISH
GERMAN
ITALIAN
SPANISH
ENGLISH
ENGLISH
GERMAN
ITALIAN
SPANISH
6. The message “Übertragung...?” will be displayed.
7. Select the ‘PC Sync’ icon on the PC.
8. If error message is displayed, please check the connection of the cable and try again.
9. Touch the highlighted bar or [ ] Enter to confirm the selection.
Remark: User is needed to setup the Window’s Link software on the PC prior to the data
synchronization.
For some PCs, the message “Communications error - PDA sent NACK” may
be displayed during data synchronization, user is needed to start the
synchronization again by:
1. Touch ‘ESC’ in PD293 unit to abort PC Sync.
2. Click ‘Continue?’ button on the PC.
3. Start the synchronization again.
THE PHONEBOOK MODE
The phonebook is where names, telephone numbers, addresses, and other pertinent
information related to an individual is kept. Asequence of steps will direct the user to
input the appropriate information in a particular field.
To enter Phonebook Mode:
1. In the Main Menu Display, touch [ ] Phonebook
There are 4 function icons on the display.
1: [ ] Category 2: [ ] Lock
3: [ ] New Record 4: [ ] Search
To enter one of the phonebook’s four (4) subsections:
1. Touch the appropriate icon.
11
[ ] CATEGORIES
Phonebook data is divided into three categories: Geschäftl., Privat, Andere. In addition, an
special category. Alle is provided to display all the data within the categories.
Note: The default category is ‘Alle’after system reset.
To select a subdirectory:
1. Enter Phonebook Display and touch [ ] Category to view a pop-up menu with the
name and icon of the four categories.
2. Touch one of the four categories to highlight it or touch [ ] or [ ] to move
upwards or downwards through the pop-up menu.
3. Touch the highlighted category again or touch [ ] Enter to accept the choice.
If there is no record for the selected category, the message ‘Keine Einträge’ will be
displayed.
[ ] CREATE A NEW RECORD
The Phonebook contains twelve text fields for which information can be stored. Input
information into desired fields.
The fields are: Name, Telephone Number, HomeAddress, Company Name, Company
Telephone Number, Company Address, Company Fax Number, Email Address, Mobile
Phone Number, Job Title, Birthday, and Remark.
To insert a new record:
1. Touch [ ] to start editing a new record.
12

ENGLISH
ENGLISH
GERMAN
ITALIAN
SPANISH
ENGLISH
ENGLISH
GERMAN
ITALIAN
SPANISH
Note: There are three keyboard maps, each with a specific use.
Touch [ABC] or [abc] to toggle between small and capital letters.
Touch [123] before entering numerical digits or symbols.
Touch [ä] or [Ä] to input European accent characters.
2. Touch the desired letters on the keyboard.
3. Touch [ ] Enter to access Telephone Number Edit field.
4. Input the telephone number or touch [ ] Enter to carry on to the next field.
5. Carry on, in the same manner inputting information into the remaining fields.
6. In the Remark field, which is the last field of the record, input information specific to
that person.
7. When finished, touch [ ] Enter.
8. User will be prompted to security lock function, select ‘EIN’ to password protect the
record.
Note: It is not necessary to work through all of the fields. Enter the desired information
and then touch [ ] Escape to enter the Phonebook display.
BROWSING PHONEBOOK RECORDS
After inputting or editing a record, the user can browse the different fields.
To browse within a record:
1. Touch [ ]Page Up or [ ]Page Down to scroll through the fields within a record.
VIEWING OR EDITING EXISTING PHONEBOOK RECORDS
Records in the Phonebook can be displayed or edited at any time.
Note: The system categorizes records as subgroups that are either protected or
unprotected. When first entering Phonebook, by default, the system will display the
unprotected records. 13
To display locked records:
Touch [ ] Lock and enter the password.
To view or edit a Phonebook record:
1. Touch [ ]Phonebook to enter the phonebook list.
2. Touch [ ] Page Up or [ ]Page Down to scroll the list.
3. Touch the desired item to highlight it.
4. Touch the highlighted item or [ ] Enter to browse the record’s fields.
5. Touch [ ] Page Up or [ ] Page Down to scroll through the fields.
6. Touch [ ] Edit and follow the procedure as outlined in the section CREATE A
NEW RECORD.
[ ] SEARCH
A record can be identified and located by inputting a few key words/characters of the
record.
To search for a record with only a few key words/characters:
1. Touch [ ] Phonebook.
2. Select the desired category or the ‘Alle’ category.
3. Touch [ ] Search.
4. Input the key word.
5. Touch [ ] Enter to start the search.
6. The result(s) will be displayed.
7. Touch [ ] Escape to exit.
Note about editing a record in [ ] Search:
1. Locate the record by highlighting it.
2. Touch [ ] Enter and follow the procedure as outlined in the section, VIEWING OR
EDITING EXISTING PHONEBOOK RECORDS.
[ ] LOCK
Information can be classified as protected or unprotected. Information that has been
protected requires a password before it can be accessed.
14

ENGLISH
ENGLISH
GERMAN
ITALIAN
SPANISH
ENGLISH
ENGLISH
GERMAN
ITALIAN
SPANISH
For information and instructions on how to create a password refer to SECURITY
ACCESS in the section SYSTEM SETUP.
Note: The system categorizes records as subgroups that are either protected or
unprotected. When first entering Phonebook, by default, the system will display the
unprotected records.
To display locked records:
Touch [ ] Lock and enter the password.
To protect a record:
1. In Phonebook Display, locate and highlight the record that is to be protected.
2. Touch the record again or touch [ ] Enter.
3. Touch [ ] Lock.
4. If [Ein] is not highlighted, touch [Ein] to highlight it.
5. Touch [ ] Enter.
The record is now locked and will require a password to access the information.
To unprotect information:
1. In Phonebook Display, access the locked record by entering the password.
2. Locate and highlight it.
3. Touch the record again or touch [ ] Enter.
4. Touch [ ] Lock.
5. Touch [Aus] to unlock the information.
6. Touch [ ] Enter or touch [Aus] again.
The record is now unlocked and no password is required to access the information.
To select a protected record:
1. Touch [ ] lock to access a protected records list.
2. Input the password.
3. Locate the record to highlight it.
4. Touch the highlighted item or [ ] Enter.
Note: If the password has never been setup, refer to SYSTEM SETUP for information on
setting or changing a password.
The password entered must correspond exactly to the password (case sensitive) as it was
entered in System Setup.
To change an entry from the protected category to the unprotected category, the user
should:
1. In Phonebook Display access the locked record by entering the password.
2. Touch [ ] Lock and follow the procedure as listed above.
NOTEPAD MODE
Important information can be kept as a note or message in Notepad Mode.
To access Notepad Mode:
1. In the Main Menu Display, touch [ ] Notepad.
Note: Lock, Create a new record, and Search functions are similar to those mentioned at
the Phonebook section.
CREATE A NEW NOTE RECORD
Information or a note can be entered and stored as a note in Notepad.
To insert a new note:
1. Touch [ ] Notepad to enter Notepad Mode.
2. Touch [ ] Create to enter the title field.
3. Input a title for the note. A title can be up to 20 characters.
4. Touch [ ] Enter to confirm and to enter the note field.
5. Input the note or message.
6. Touch [ ] Enter to browse the information.
15 16

ENGLISH
ENGLISH
GERMAN
ITALIAN
SPANISH
ENGLISH
ENGLISH
GERMAN
ITALIAN
SPANISH
7. Touch [ ] Escape.
8. Touch Geheim [EIN] to protect the information or [AUS] to keep information
unprotected. The selection becomes highlighted.
9. Touch [ ] Enter to accept.
Note: To edit the record, touch [ ] Edit after browsing the record, and follow the
procedure as outlined in the section CREATING ANEW RECORD.
BOOKMARK MODE
The bookmark feature is ideal for storing Web Site addresses and related information about
a Web Site.
To access Bookmark:
1. In the Main Menu Display, touch [ ] Bookmark.
Note: Lock, Create a new record, and Search functions are similar to those mentioned at
the Phonebook section.
MARK A WEB SITE ADDRESS
To mark a Web Site address:
1. Touch [ ] Bookmark.
2. Touch [ ] Create to enter the address field.
3. Input the address for the web site.
4. Touch [ ] Enter to confirm and to enter the description.
5. Input a description or note pertaining to the Web Site.
6. Touch [ ] Enter to confirm and to enter the Web Site type.
7. Input the Web Site type.
8. Touch [ ] Enter to confirm and view the information.
9. Touch [ ] Escape to exit.
10. Touch GEHEIM [EIN] to protect the information or [AUS] to keep information
unprotected.
11. Touch [ ] Enter to accept.
Note: To edit the record, press [ ] EDIT after browsing the record, and follow the
procedure as outlined above.
HOME/WORLD TIME
The Home time display has an analog clock icon with a moving hour, minute and second
hand. The current Home/World time city is displayed at the first line of the screen.
To access Home/World Time
1. In the Main Menu Display, touch [ ] Clock.
CHOOSING A HOME CITY
Determine a Home City and then set the current local time and date for that location.
To enter the current time of a home city:
1. In Home/World Time Display, touch the icons to toggle between the Home and World
time.
2. Select [ ] Home Time.
3. Touch the current city (at the 1st line of screen) to display a pop-up menu that
contains an index of 100 world cities.
4. Touch [ ] Page Up or [ ] Page Down to display a new page.
5. Find the appropriate city from the list of 100 cities.
6. Highlight the appropriate selection.
7. Touch the highlighted selection or [ ] Enter to accept.
8. Touch [ ] Daylight Saving icon to activate/deactivate the daylight saving
function.
TO ENTER OR EDIT THE HOME DATE AND TIME
Once a Local City has been selected, the current date and time can be entered.
To enter the current date:
1. Touch the Date icon to edit the current date. Work from left to right along the date
settings or select a specific character to edit.
2. Touch [ ] Enter when finished or [ ] Escape to cancel the setting.
17 18

ENGLISH
ENGLISH
GERMAN
ITALIAN
SPANISH
ENGLISH
ENGLISH
GERMAN
ITALIAN
SPANISH
To enter the current time:
1. Touch the Time icon to edit the time. Work from left to right along the time settings or
select a specific digit to edit.
2. For 12-hour format, touch the ‘AM’ or ‘PM’ icon to toggle a.m. or p.m.
3. Enter the time by selecting the appropriate time digits.
4. Touch [ ] Enter when finished or [ ] Escape to cancel the setting.
FINDING THE TIME OF CITIES AROUND THE WORLD
1. Select [ ] World Time.
2. Choose the desired World time city as the same procedure stated in CHOOSING THE
HOME CITY.
DAILYALARM
A daily alarm can be set to activate at a given time.
To set the daily alarm:
1. Touch the [ ]Alarm icon in the Home / World Time display.
2. Touch [Ein] to activate the alarm and set the desired alarm time.
3. Enter the desired alarm time. Work from left to right along the time settings.
4. Touch [ ] Enter when finished or [ ] Escape to cancel the setting.
CALCULATOR MODE
The calculator can perform standard numerical calculations, metric conversions, and make
currency exchange conversions.
To access Calculator Mode:
1. In the Main Menu Display, touch [ ] Calculator.
19
Display will show either the rechner, metr. konvert or währungs-Umr screen, depends on
the last operation.
CALCULATIONS
Like many standard calculators, this device can make calculations by adding, subtracting,
multiplying, and dividing. The calculator has a memory function and square root
calculations.
To enter the Calculator Display:
Touch [ ] Calculator on the top bar to enter the Calculator Display.
To solve arithmetic calculations:
1. Touch the numerical key map to enter the digits.
2. Touch [=] to do the calculations.
[ ] METRIC CONVERSION
There are 5 categories of units that metric / imperial conversions can be made : Länge,
Fläche, Gewicht, Temperatur and Volumen.
20

ENGLISH
ENGLISH
GERMAN
ITALIAN
SPANISH
ENGLISH
ENGLISH
GERMAN
ITALIAN
SPANISH
To convert measurements between Metric and Imperial units:
1. In Calculator Mode touch [ ] Metric Conversion on the top bar to enter the
Conversion Display.
2. Touch the category list to select and highlight the desired units for conversion or use
the [ ] or [ ] to move upwards or downwards to select the desired conversion.
Note: To initiate a conversion, the user needs to first specify the original unit and the
target unit to be calculated.
3. Touch the line starting with [>] and select the original unit of measurement.
4. Touch the line starting with [<] and select the target unit of measurement.
5. Input the value to be converted.
6. Touch [=] to obtain the conversion.
To reverse a conversion:
1. Touch [ ] icon to revert the conversion.
[ ] CURRENCY CONVERSIONS
The unit provides 18 currencies (include 11 Euro fixed rate) plus 4 user editable currencies
from which exchange conversions can be made.
To set a currency rate:
1. Touch [ ] Currency Conversion (located on the first line of display) to enter
Currency Conversion Display.
2. Touch [Kurs] to edit the currency rate.
21
To convert a given amount of currency to another currency:
1. Touch [ ]Currency Conversion on the first line of display to enter the Currency
Conversion Display.
2. Touch the line starting with [>] and select the source currency. Use the [ ] or [ ]
to move upwards or downwards to select the desired currency.
3. Touch the line starting with [<] to select the target currency.
Again, use the [ ] or [ ] to move up or down to select the desired currency.
4. Input the value to be converted.
5. Touch [=] to get the conversion result.
CALENDAR MODE
Use the Calendar in the same way that a day timer or scheduler is used to organize and
manage individual schedules.
To access Calendar Mode:
1. In the Main Menu Display, touch [ ] Calendar.
The Calendar Display has 4 function icons.
1: [ ] Schedule 2: [ ] Delete Past Schedule record
3: [ ] Anniversary Reminder 4: [ ] Holiday
VIEWING PAST OR FUTURE DATES
Past and future date can be viewed in a variety of ways.
To view a past or future month in the current year:
1. Enter [ ] Calendar Mode.
2. Touch [ ] Page Up to select the previous calendar months.
3. Touch [ ] Page Down to select future calendar months.
22

ENGLISH
ENGLISH
GERMAN
ITALIAN
SPANISH
ENGLISH
ENGLISH
GERMAN
ITALIAN
SPANISH
An alternate method of viewing past or future date:
1. Touch the month and year position on the screen.
2. Input the date.
3. Touch [ ] Enter to confirm.
[ ] DAILY SCHEDULER
Use the Daily Scheduler to manage various activities during a given day, for example,
schedule appointments or indicate an important time.
To input Daily Schedules:
1. In Calendar Mode, locate the desired day.
2. Touch the day or [ ] Daily Schedule.
Note: If no schedules have been made for that day, a “Keine Einträge” message will be
displayed .
3. Touch the time bar at the top of the display to enter the time duration of the
appointment. Touch the arrows at each end to locate the appropriate time.
4. Touch the appropriate position (1 hour duration) to identify the beginning of the time
period.
5. Touch the appropriate finishing position to identify the end of the time period.
6. Input a title for the time period.
7. Touch [ ] Enter.
8. Touch [Ein] for no alarm and [Aus] if an alarm is required to sound at the beginning of
the time period.
9. Touch [ ] Enter, then followed by [ ] Escape to return to the Daily Schedule
Display.
To view a schedule:
1. Touch the desired date in Daily Schedule Display.
Note: If schedules have been selected for a particular day, the date on the calendar will be
indicated with <S> symbol (at the bottom of display). A holiday is indicated with
<H> and anniversary dates are indicated with <A>.
2. Touch the scheduled time that needs to be viewed.
3. Touch [ ] Enter.
[ ] ERASING PAST SCHEDULES
Pasted schedule records can be erased in one step.
To erase pasted schedules:
1. In Calendar Display, press [ ] alte Termine löschen.
2. Press [Ja] to erase past schedules and [Nein] to keep past schedules.
3. Press [ ] Enter to process.
Remark: Because of the different power condition between the PC and PD293 unit, user
can only enable / disable the schedule alarm on the PD293 unit.
2423

ENGLISH
ENGLISH
GERMAN
ITALIAN
SPANISH
ENGLISH
ENGLISH
GERMAN
ITALIAN
SPANISH
[ ] ANNIVERSARY LISTS AND [ ] HOLIDAY LISTS
Special dates such as anniversaries, holidays, or other days of importance can be entered
into the Data Bank.
To enter a special date:
1. Touch [ ] Anniversary to enter the Anniversary Display, or [ ] Holiday to enter
the Holiday Display.
2. Touch [ ]Create new record and enter the day and month of the special date.
3. Input a title for the special occasion.
4. Touch [ ] Enter.
5. Input a note or information related to the occasion.
6. Touch [ ] Enter to view the information followed by [ ] Escape to return to
the special date list.
Note: Once a special date has been selected, the date will be indicated on the calendar.
RESET
The RESET function will return all settings to factory values. Accessing the function is
required only when the unit is not operating in a favorable way such as in the rare case of a
malfunction.
The RESET button is located at the back of the unit.
To reset the unit:
1. Place a blunt point in the RESET hole at the back of the unit and press once.
MAINTENANCE
When handled properly, this unit is engineered to give you years of satisfactory service.
Here are a few product care instructions:
• Do not immerse the unit in water. If the unit comes in contact with water, dry it
immediately with a soft lint-free cloth.
• Do not clean the unit with abrasive or corrosive materials. Abrasive cleaning agents
may scratch the plastic parts and corrode the electronic circuit.
• Do not subject the unit to excessive: force, shock, dust, temperature, or humidity.
Such treatment may result in malfunction, a shorter electronic life span, damaged
batteries, or distorted parts.
• Do not tamper with the unit’s internal components. Doing so will terminate the unit’s
warranty and may cause damage. The unit contains no user-serviceable parts.
• Only use new batteries as specified in this instruction manual. Do not mix new and old
batteries as the old batteries may leak.
CAUTION
1. Technical specifications are subject to changes without notice.
2. The content of this manual is subject to change without further notice.
3. Due to printing limitation, the displays shown in this manual may differ from the
actual display.
4. The manufacturer and its suppliers held no responsibility to you or any other person
for any damage expenses, lost profits, or any other claim arise by using this product.
5. The contents of this manual may not be reproduced without the permission of the
manufacturer.
2625

ENGLISH
ENGLISH
GERMAN
ITALIAN
SPANISH
ENGLISH
ENGLISH
GERMAN
ITALIAN
SPANISH
SPECIFICATIONS
PD293 unit
Size: 54.5 x 84.5 x 6.8 mm
Weight: 45g (including batteries)
LCD Dimensions: 33mm x 51mm
Battery Type: Two CR2025 Lithium cells
PD293 cradle
Size: 60 x 98 x 15.5 mm
Weight: 128g (including batteries)
Battery Type: Three AAA size batteries
27
Table of contents
Other Oregon Scientific Organizer manuals