UK-3
AC CORD
INSTALLING THE SYSTEM
OPERATING THE UNIT
POWER/STANDBY
CLOCK SETTING
TIMER SETTING
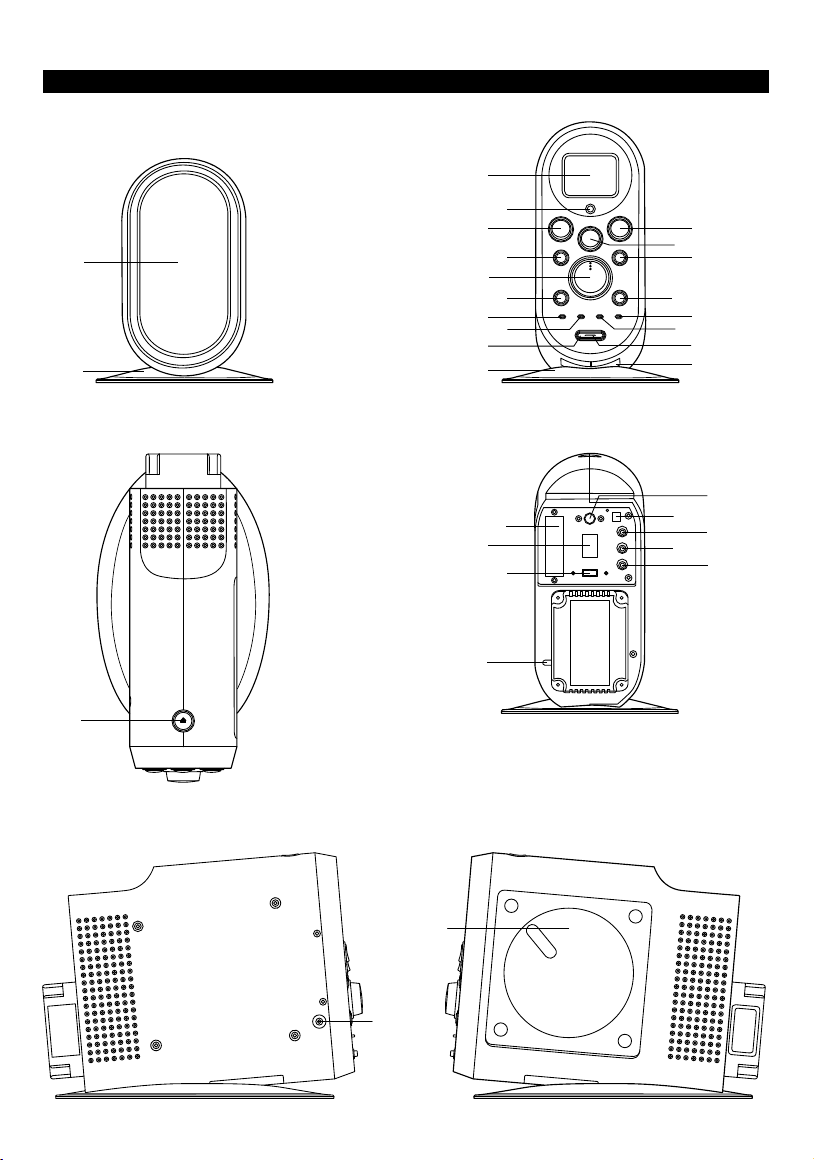
1. Speakers Connection
Extend the SPEAKER WIRES and connect them
to the SPEAKER TERMINALS.
2. Power Cord Connection
Before using , connect the AC Power Cord to
the AC outlet , then turn on the main switch
of the unit.
When you first plug the unit into the AC outlet , the
unit will be in standby mode , You can press the
STAND-BY button on the unit ( or on the remote control )
to switch the unit ON and OFF. Pull the AC plug out of
the wall socket if you want to switch off completely.
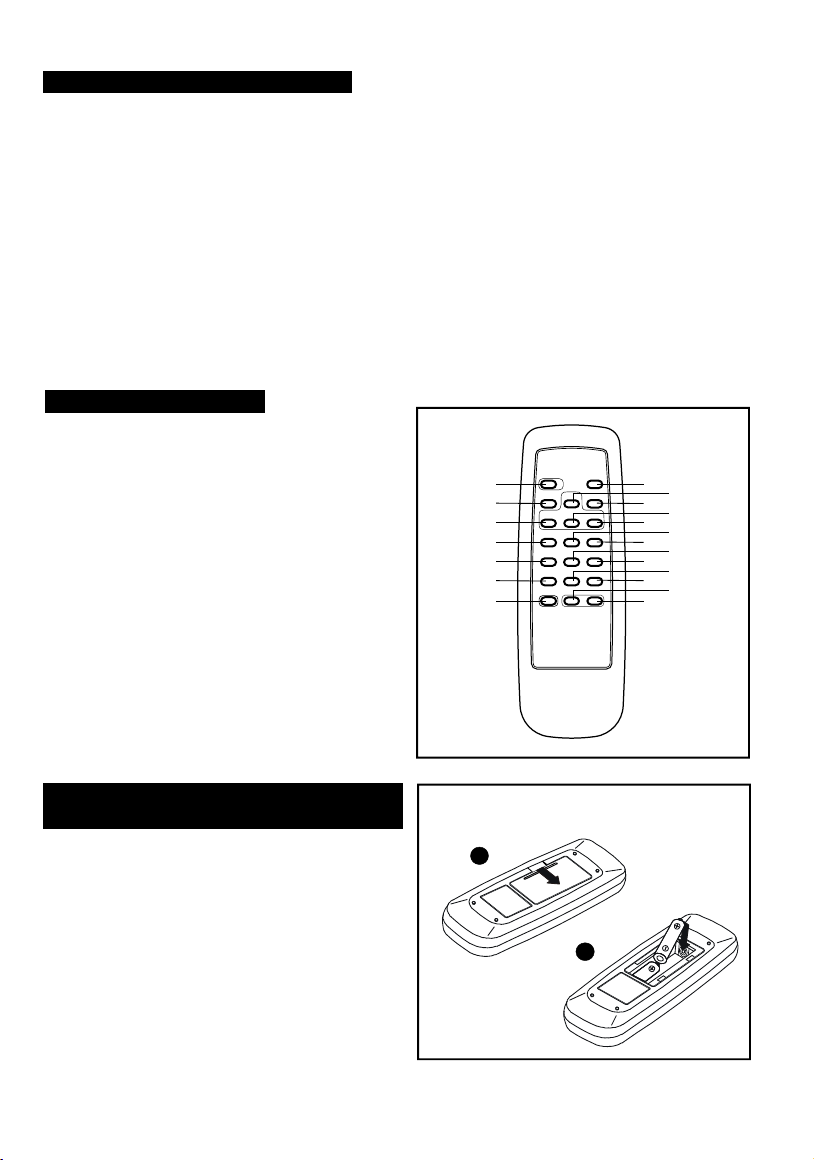
1. Press the STAND-BY button on the unit (or remote) to switch the unit on.
2. Select the sound source ( CD , TUNER or AUX ) by pressing corresponding function key.
The corresponding display will light up. (Note: Use remote pressing FUNCTION key selection)
3. Adjust the volume with the VOLUME ( UP or DOWN ) button.
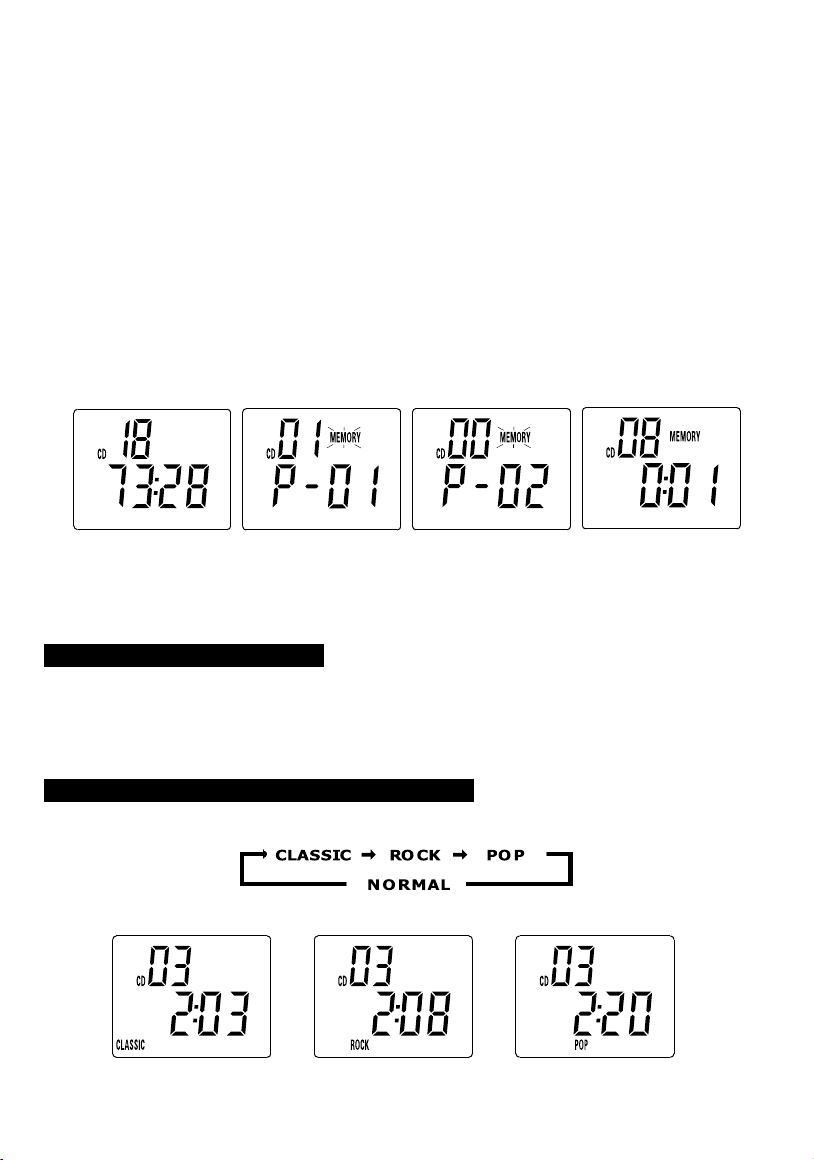
4. Set the present equalizer ( classic , rock or pop) with the EQ button on the remote.
5. Press the STAND-BY button again to switch off the unit.
Unit on STANDBY position
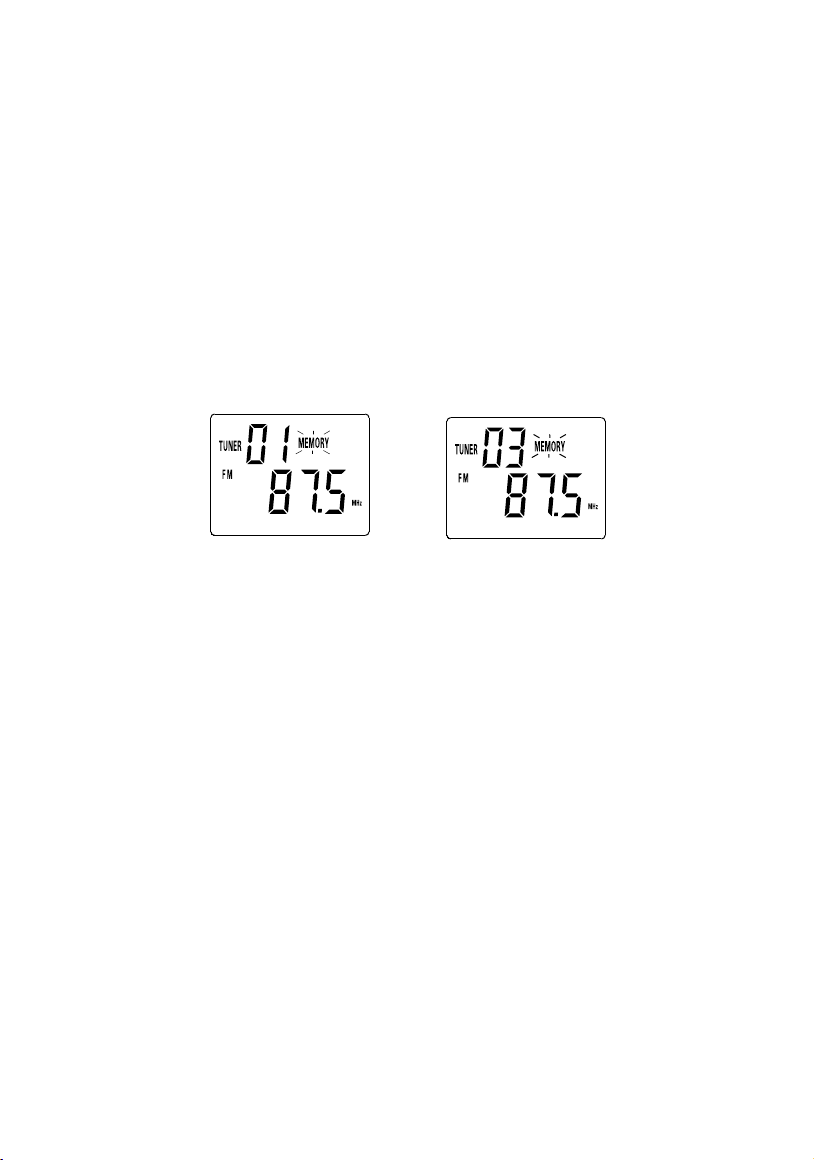
1. Press & hold MEMORY / C-ADJ. button until time display 24-hour digit flash.(F.1)
2. Press TUNING / SKIP / SEARCH UP or DOWN button to adjust 24-hour or 12-hour digit.(F.2)
3. Press MEMORY / C-ADJ. button again, time display hour or minute digit flash, press TUNING / SKIP /
SEARCH UP or DOWN button to adjust hour or minute digit. (F.3)(F.4)
4. Press the MEMORY/C-ADJ.button again to confirm the clock setting.
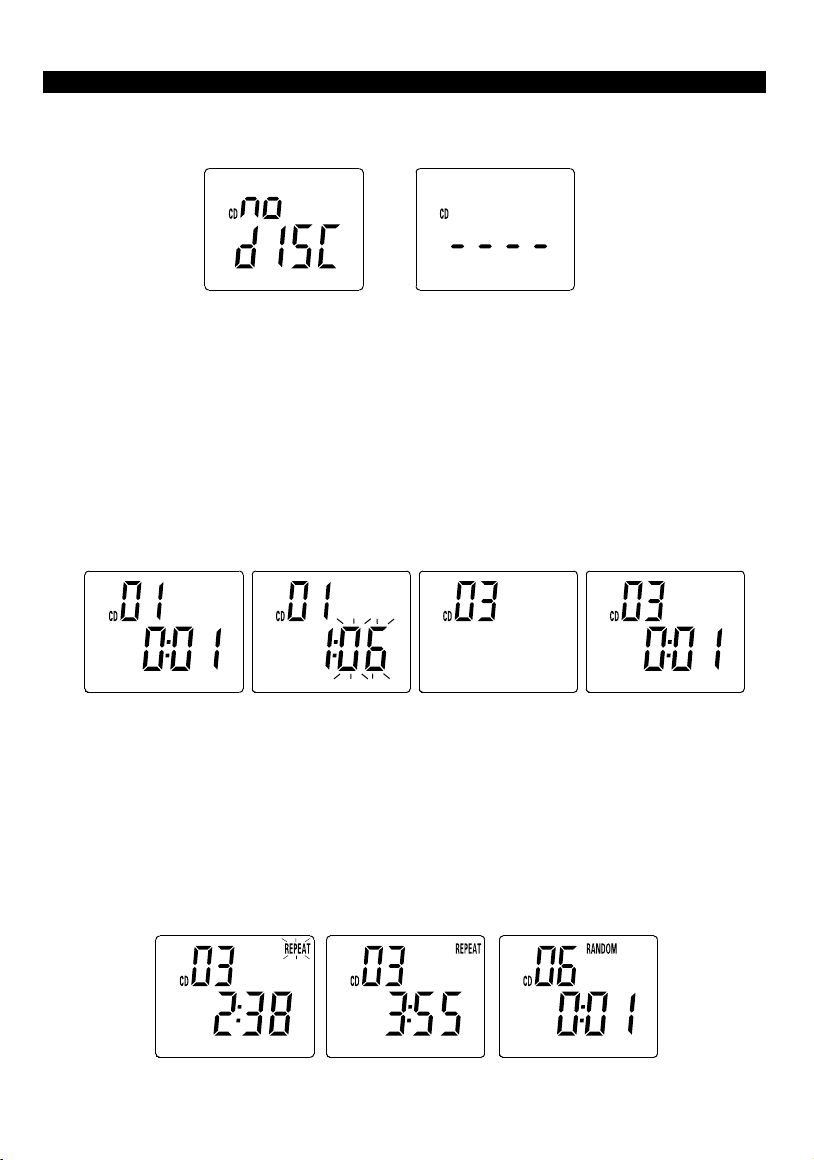
1. Press the POWER / STANDBY button to put the machine in the standby mode, check standby is lit.
2. Briefly press the MODE / REMAIN button , the "TIMER " symbol will flash. Each enable state as
shown above is cleared when the key is not pushed for 10 second. While the "TIMER " symbol is
flashing, press the MEMORY / C-ADJ button for 3 seconds the hour digits flash. Press on one of the
TUNING/SKIP buttons to set the hour. Press the MEMORY/C-ADJ button, the minute digits flash.
Press on one of the TUNING/SKIP buttons to set the minutes. Press the MEMORY/C-ADJ button
again to validate the time. The "TIMER " symbol switches off. (F.5) (F.6) (F.7)
3. Press TIMER button (on the remote) to validate the timer function. The activation time for the timer is
shown for a few seconds, then the machine again displays the actual time.
4. In the TIMER ON mode, the initial volume level is equal to last turn off volume level.
F. 1 F. 3 F. 4
F. 2
AC MAIN POWER SWITCH
RR
LL
RR
LL