33
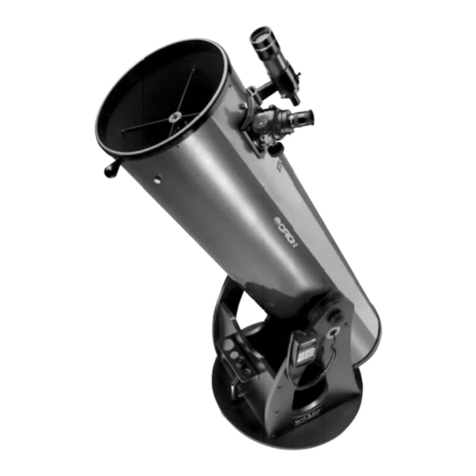
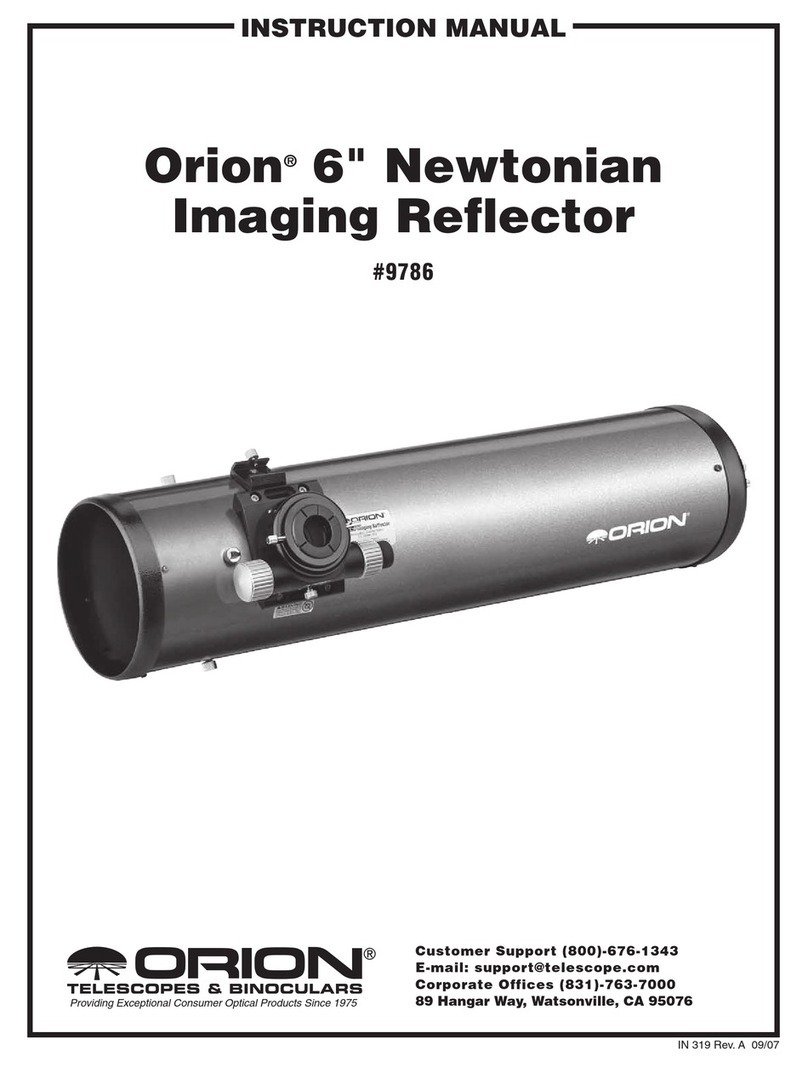
Congratulations on your purchase of an Orion StarBlast
Imaging optical tube assembly (OTA). Your StarBlast
Imaging OTA is a Newtonian reflector telescope with high qual-
ity optics and excellent mechanical construction. It has been
specially optimized for use with astronomical CCD imaging
cameras that utilize chips up to 1⁄2" in size. These instructions
will help you set up and use your telescope.
Getting Started
The StarBlast Imaging OTA comes nearly fully assembled from
the factory. The telescope’s optics have been installed and col-
limated, so you should not have to make any adjustments to
them.
Please keep the original shipping box! In the unlikely event you
should need to ship the telescope back to Orion for warranty
repair service, you should use the original packaging. The box
also makes a very good container for storing the telescope
when it is not in use.
Attaching the StarBlast Imaging OTA to a Mount
The StarBlast Imaging OTA can be attached to a mount by the
use of optional tube rings. Tube rings with an inner diameter
of 140mm (5.5"), such as Orion item #7373, are needed. First
attach the tube rings to your telescope mount, then place the
optical tube in the tube rings.
Use of Optional Finder Scope and Eyepieces
The StarBlast Imaging OTA does not come with a finder scope
or eyepieces in order to grant the user the greatest versatility
in customizing the instrument to suit their tastes. However, cer-
tain rules for using accessories still apply.
To use any Orion finder scope that has a dovetail bracket,
an optional dovetail holder (Orion #7214) is required (Figure
2). To attach the dovetail holder to the tube, first remove the
thumbnuts from the screws located near the focuser (Figure
1). Then, remove the screws themselves by unthreading the
exposed hex nuts. Keep the tube in a horizontal position when
doing this in order to prevent the screws from falling inside the
telescope and onto the primary mirror. Now, use the hex nuts
and screws that come with the dovetail holder to attach the
holder to the tube. The dovetail holder should be oriented so
the notch (Figure 2) is facing the rear (primary mirror cell) of
the telescope.
To connect the finder scope, simply unthread the thumbscrew
on the dovetail holder, and insert the base of the finder scope
bracket. Retighten the thumbscrew to secure the finder scope
and bracket in place. Finder scopes that do not use a dovetail
bracket will need to be attached by some other means.
The StarBlast Imaging OTA can use almost any 1.25" eye-
piece. Insert the eyepiece into the focuser and secure it with
the thumbscrews on the focuser’s drawtube. Focus the eye-
piece by rotating the focus knob.
Calculating Magnification (Power)
It is desirable to have a range of eyepieces of different focal
lengths to allow viewing over a range of magnifications. To
calculate the magnification, or power, of a telescope, simply
divide the focal length of the telescope by the focal length of
the eyepiece:
Telescope Focal Length (mm)
= Magnification
Eyepiece Focal Length (mm)
For example, the StarBlast Imaging OTA, which has a focal
length of 450mm, used in combination with a 25mm eyepiece,
yields a magnification of
450 mm
= 18x
25 mm
Every telescope has a useful limit of power of about 45x-60x
per inch of aperture. Claims of higher power by some tele-
scope manufacturers are a misleading advertising gimmick
and should be dismissed. Keep in mind that at higher pow-
ers, an image will always be dimmer and less sharp (this is
a fundamental law of optics). The steadiness of the air (the
“seeing”) will usually limit how much magnification an image
can tolerate.
Always start viewing with your lowest-power (longest focal
length) eyepiece in the telescope. After you have located and
observed the object with it, you can try switching to a high-
er-power eyepiece to ferret out more detail, if atmospheric
conditions permit. If the image you see is not crisp and steady,
reduce the magnification by switching to a longer-focal-length
eyepiece. As a general rule, a small but well-resolved image
will show more detail and provide a more enjoyable view than
a dim and fuzzy, over-magnified image.
Astroimaging with the StarBlast Imaging OTA
Because of its “fast” F/4 optics, the StarBlast is a great tele-
scope for wide-field astroimaging. This version of the StarBlast
telescope has been optimized specifically for use with astro-
nomical CCD imaging cameras, like the Orion StarShoot
cameras. Unlike most telescopes, it provides full illumination
across the entire field of view of a CCD chip up to 1⁄2" in size.
The focal plane position has also been optimized so CCD
cameras will reach focus without any user modification to the
tube required.
Figure 2. To attach an Orion finder scope, an optional dovetail
holder is required.
Thumbscrew
Notch
