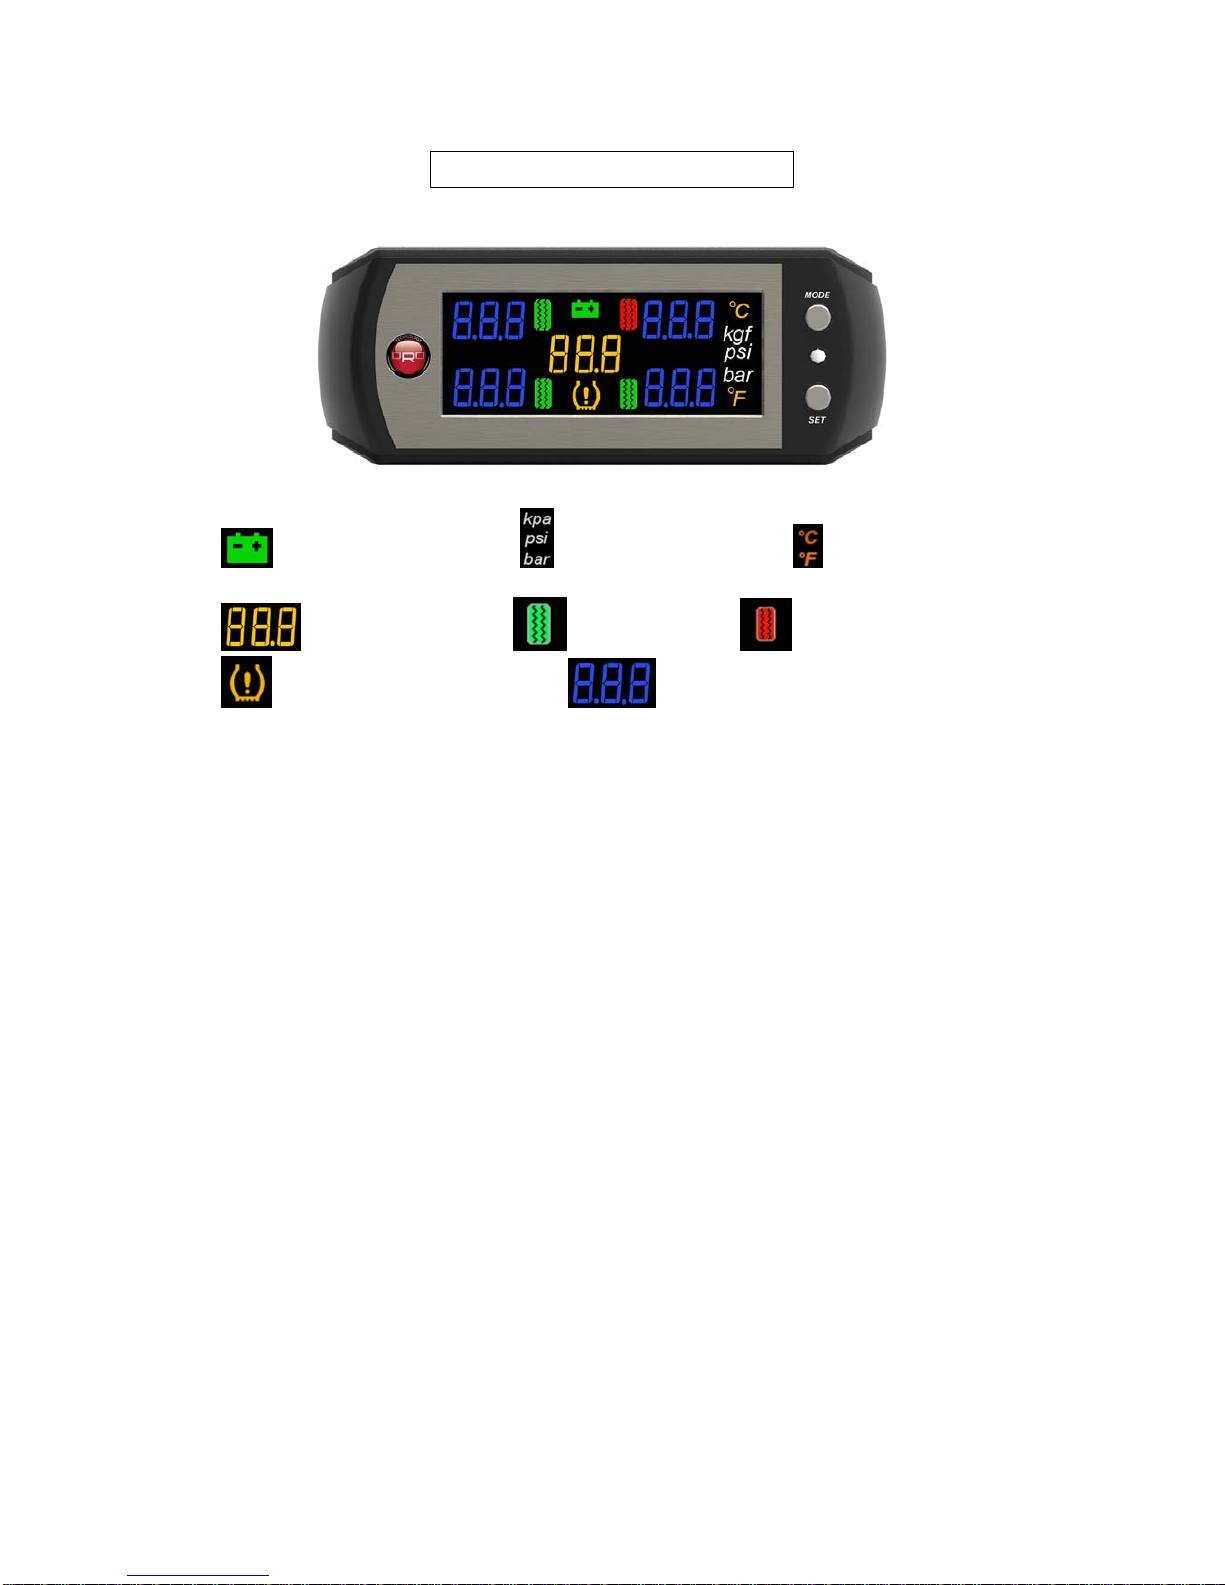
W410 Tire Pressure Monitoring System
ORO-W410 Tire Pressure Monitoring Systems (TPMS), can monitor and provide tire pressure,
tire temperature, and car battery information in real time. This real time information can extend
tire life, reduce fuel consumption, help monitor battery status, and provide a more safe driving
condition.
ORO-W410 Tire Pressure Monitoring System includes 4 tire sensors, and1 receiver display.
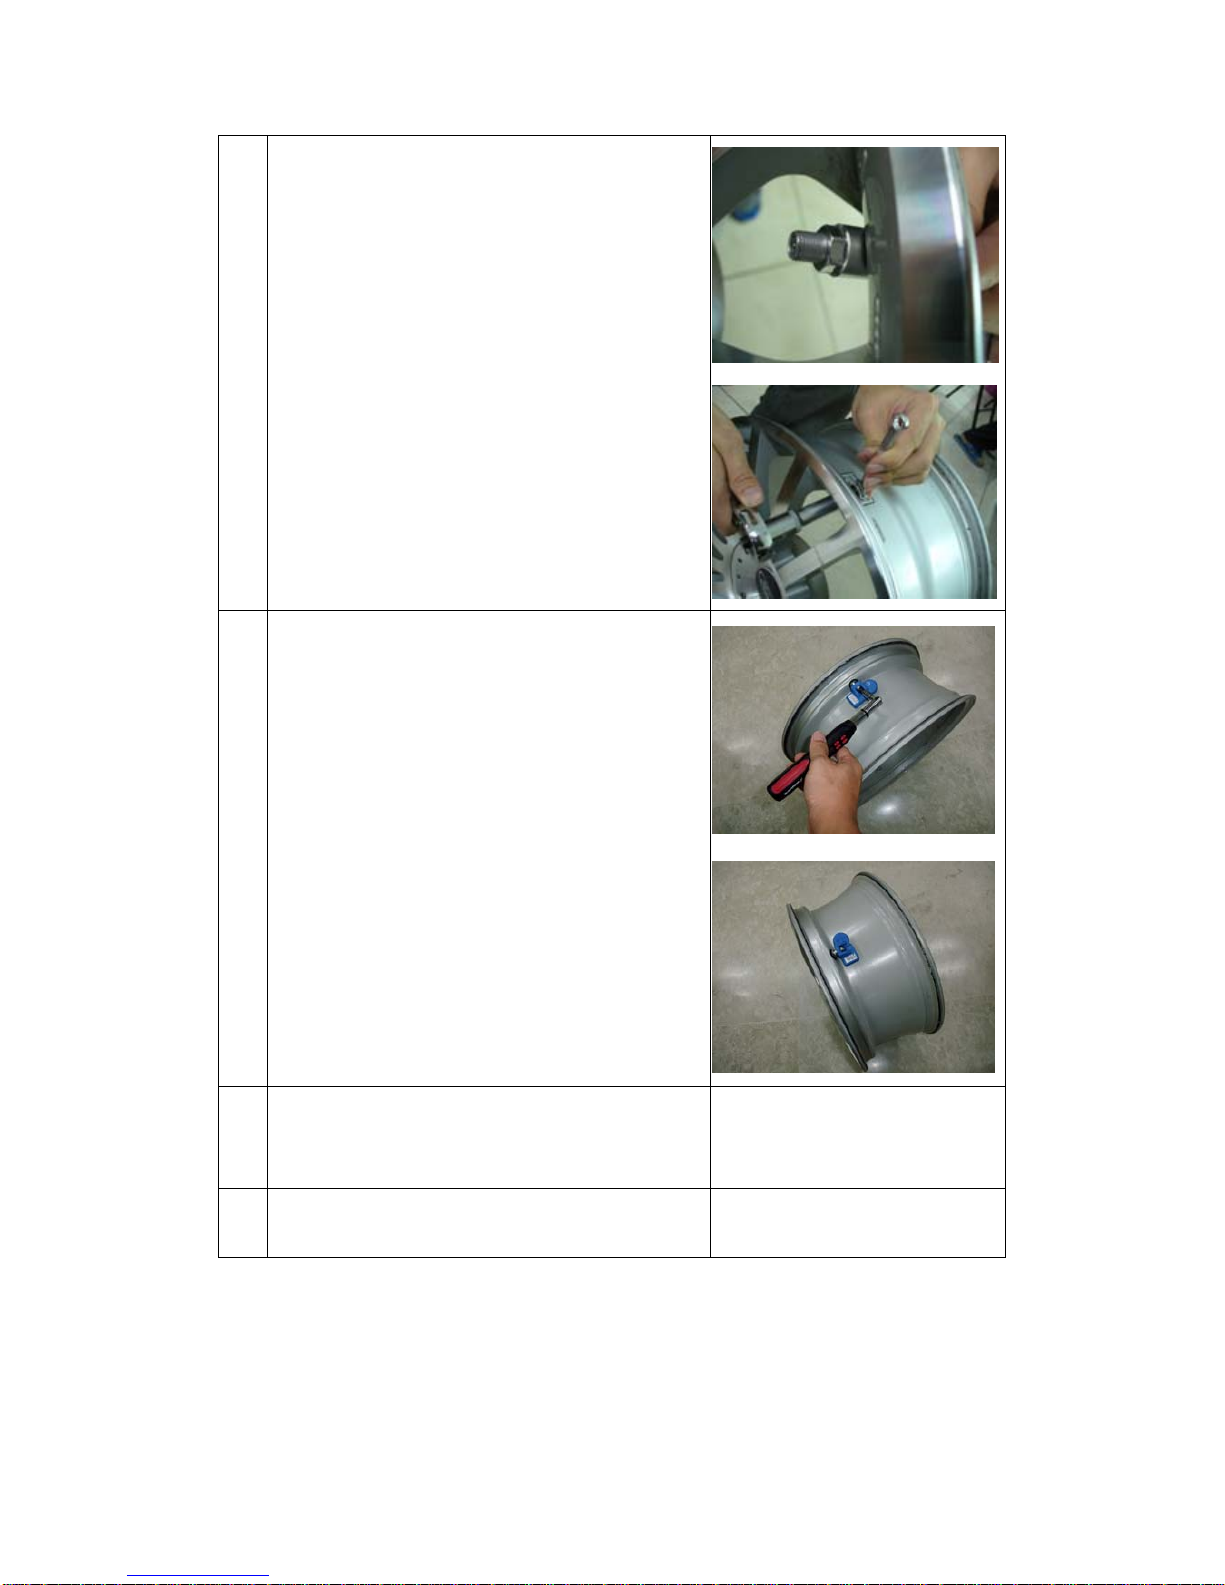
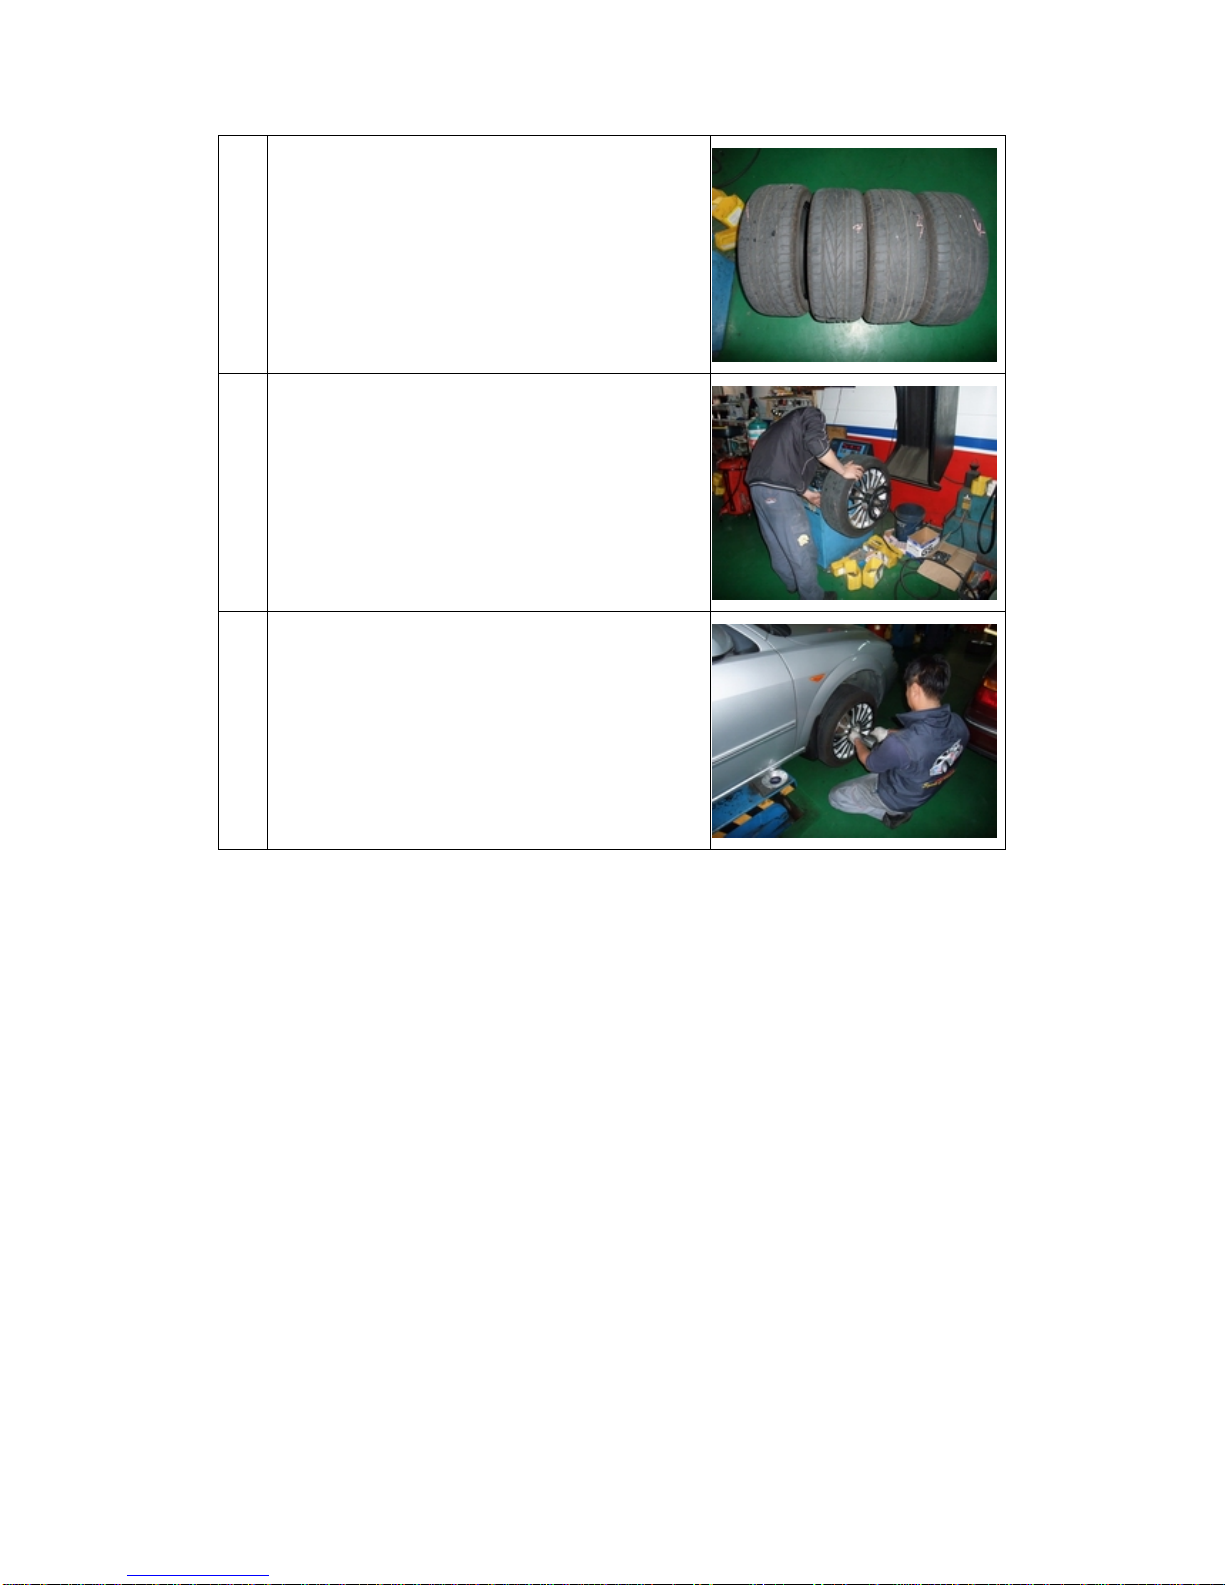
The TPMS monitors the pressure/temperature by snap-in installation into the wheel, and
transmits the tire information wirelessly to the receiver. The TPMS display will trigger an alarm
when any abnormalities happen to the tire in order to prevent any possible accidents that may
happen to the driver/vehicle.
W410 TPMS Specification
1.Transmitter Module Specification
Battery Life Up to 5~ 7 years in normal use
Power Supply 3.6 V Lithium battery
Operating Humidity Max 95%
Storage Temperature -40 ℃to 125 ℃
Operation Temperature -40 ℃to 115 ℃
Transmitting Power Max 75 dBuv/m
Transmitting Frequency 433.92 MHz
Pressure Monitoring Range 0 ~ 116 psi (or 0~800 kPa or 0~8 bar)
Pressure ReadingAccuracy ±1 psi (or ±7 kPa ; ± 0.1 bar)
Temperature Monitoring Range -30 ℃to 115 ℃
Temperature Reading Accuracy ±3 ℃
Module Weight 22.7g ± 1g
2. Receiver Module Specification
Power Supply DC 9V ~ 16V
Operating Humidity Max 95%
Operation Current <200mA at DC 12V
Storage Temperature -30℃to 85 ℃
Operation Temperature -25℃to 85 ℃
Pressure Display Range 0 ~ 116 psi (or 0~800 kPa or 0~8 bar)
Temperature Display Range -30 ℃to 115 ℃