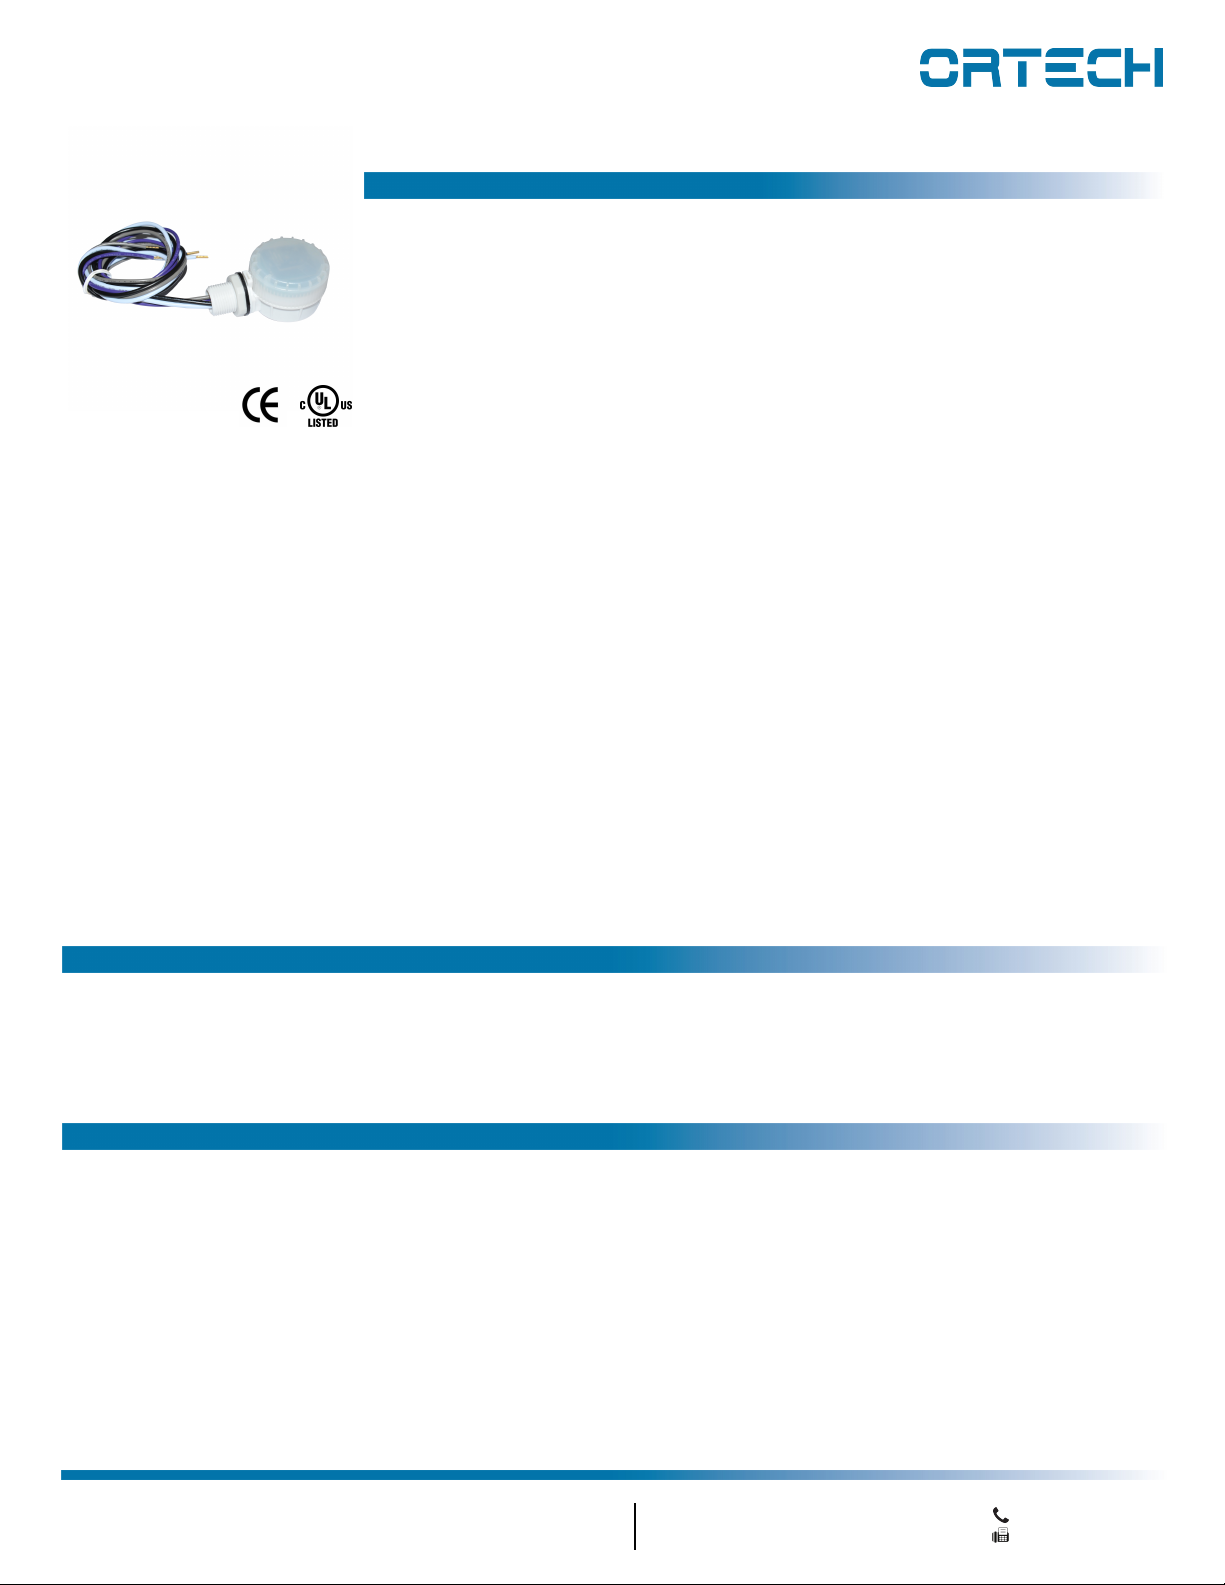
manuals.online logo
Brands
  1. Home
  2. •
  3. Brands
  4. •
  5. Ortech
  6. •
  7. Accessories
  8. •
  9. Ortech OD-MC628VRC User manual

Ortech OD-MC628VRC User manual

Other Ortech Accessories manuals

Ortech AS-0 User manual

Ortech

Ortech AS-0 User manual

Ortech WM-DWHS User manual

Ortech

Ortech WM-DWHS User manual

Popular Accessories manuals by other brands

Quincy lab 140AE-1 operating manual

Quincy lab

Quincy lab 140AE-1 operating manual

HomePro ZIR000 user manual

HomePro

HomePro ZIR000 user manual

DOL 20SCR Technical user guide

DOL

DOL 20SCR Technical user guide

RAB Smart Task installation manual

RAB

RAB Smart Task installation manual

Kemppi KMS 300 quick guide

Kemppi

Kemppi KMS 300 quick guide

Stearns 57,500 Series Installation and service instructions

Stearns

Stearns 57,500 Series Installation and service instructions

iGuzzini TWILIGHT COPENAGHEN manual

iGuzzini

iGuzzini TWILIGHT COPENAGHEN manual

Adelaide Annexe & Canvas Avan Deluxe installation guide

Adelaide Annexe & Canvas

Adelaide Annexe & Canvas Avan Deluxe installation guide

OHAUS 5000 instruction manual

OHAUS

OHAUS 5000 instruction manual

HOME8 WLS1300 quick start guide

HOME8

HOME8 WLS1300 quick start guide

MAXBOTIX MaxSonar quick start guide

MAXBOTIX

MAXBOTIX MaxSonar quick start guide

ioSmart iSmart56 Installation and user guide

ioSmart

ioSmart iSmart56 Installation and user guide

Focusrite Scarlett 18i8 user guide

Focusrite

Focusrite Scarlett 18i8 user guide

Velleman ED38105 user manual

Velleman

Velleman ED38105 user manual

JumpSport SkyBounce user manual

JumpSport

JumpSport SkyBounce user manual

Prima-Temp PRIYA Instructions for use

Prima-Temp

Prima-Temp PRIYA Instructions for use

Tefcold BC85I-BC85I W user manual

Tefcold

Tefcold BC85I-BC85I W user manual

Vaisala WMS302 user guide

Vaisala

Vaisala WMS302 user guide

manuals.online logo
manuals.online logoBrands
  • About & Mission
  • Contact us
  • Privacy Policy
  • Terms and Conditions

Copyright 2025 Manuals.Online. All Rights Reserved.

WARNING
LED High Bay Sensor
MODEL OD-MC628VRC
PLEASE READ INSTRUCTION BEFORE COMMENCING INSTALLATION AND RETAIN FOR FUTURE REFERENCES.
Electrical products can cause death or injury, or damage to property.
If in any doubt about the installation or use of this product, consult a competent electrician.
INSTALLATION GUIDE
1-888-543-6473
1-888-541-6474
13376 Comber Way
Surrey BC V3W 5V9
[email protected]
www.ortechindustries.com
375 Admiral Blvd
Missisauga, ON L5T 2N1
Application Notice
Instruction Manual
WARNING — THE INSTALLATION MUST BE CARRIED OUT BY A QUALIFIED ELECTRICIAN.
CAUTION
1. The sensor should be installed by a professional electrician. Please turn off the power before installing, wiring, changing the
2. The sensor which installed in the plastic and glass lampshade will reduce the sensitivity. For every 3mm increase in thickness, the
3. The dimming performance could be different from different 1-10V drivers
4. The light sensitivity threshold is in a sunny environment, no shadow and ambient light diffuse reflection. Lux level detected by sensor
5. The parameters of the sensor may need to be reconfigured in different installation environments. Please refer to the following
6. This sensor is for indoor use only. It will affect the waterproof effect for outdoor use. Wind, rain, and moving objects around will cause
7. The distance between any inductive sensors should be greater than 3m
8. Do not place the sensor close to high-density objects such as metal, glass, concrete walls, etc, false triggering could happen. When the
9. Please ensure that there are no moving signals around the sensor, such as fan, DC motor, sewer pipe, air outlet, etc., the sensor may
10. You are advised to test 5 samples before mass application of sensor in a new lighting project
11. Due to continuous improvement, the contents of this instruction could be changed without prior notice
1. LED High Bay Sensors are not suitable for using in wet locations
2. Please keep the LED High Bay Sensor away from any corrosive substance, and please use dry
cloth when you clean it
3. LED High Bay can only be installed by a qualified electrician
4. Before installation or maintenance, please disconnect the power to prevent electric shock
setting of the DIP switch
sensitivity will be reduced by 20%
could be different in different environment, weather, climate, time-of-day and season
instructions or contact the manufacturer
false triggering
sensor is installed in a metal lamp, metal reflective surface, or a narrow enclosed environment, the microwave will be reflected
repeatedly and cause false triggering. Please reduce the sensitivity or contact the manufacturer for technical support
generate false trigger
Initialization
1/ On/off function /3step dimming function: After power on, the sensor automatically turns on light at 100% brightness. After
10sec, it turns off the light. During the initialization, the sensor is not able to detect movement.
2/ 2-step dimming function: After power on, the sensor automatically turns on light at 100% brightness. After 10sec, it dims the
light to a low light level (set by stand-by dim level). During the initialization, the sensor is not able to detect movement.
Factory Setting
Detection area: 100%, Hold time: 5s. Stand-by Period: 0s. Stand-by dim level: 10%, Daylight Sensor: Disable
FUNCTIONS
LED High Bay Sensor
MODEL OD-MC628VRC Instruction Manual
1-888-543-6473
1-888-541-6474
13376 Comber Way
Surrey BC V3W 5V9
[email protected]
www.ortechindustries.com
375 Admiral Blvd
Missisauga, ON L5T 2N1
ON/OFF Function (stand-by period be set to "0"s)
2-step Dimming Function (stand-by period be set to "+∞")
3-step Dimming Function (stand-by period be set to "10s/1min/3min/5min/10min/30min")
Daylight Priority (stand-by period set to +∞)
With sufficient ambient
light, the light will not be
switched on even if with
motion signal
1. With insufficient
ambient light, the sensor
switches on the light
when motion is detected
2.After elapse of hold time,
the sensor switches off
the light when no motion
is detected
3.
If there is no motion
detected, the light will be
remained at a low light
level all the time
1. When motion is
detected, the sensor will
switch on the light to
100% brightness
2.After elapse of hold time,
the sensor switches dims
the light at the present
low light level if no
motion is detected
3.
With sufficient ambient
light, the light will not be
switched on even if with
motion signal
1. With insufficient
ambient light, the
sensor switches on the
light when motion is
detected
2.After elapse of hold time,
the sensor switches dims
the light at a low light
level if no new motion is
detected
3.After elapse of standby
period, the sensor
switches off the light if no
motion is detected in the
detection zone
4.
Lamp turns on at low
light level 10% in the
night
1. Motion detected, lamp
automatically lights up
to 100%
2.After hold time, the lamp
gradually dims to a low
light level 10% if no
movement detected
3.Lamp turns off after dawn
4.
WIRING
LED High Bay Sensor
MODEL OD-MC628VRC Instruction Manual
1-888-543-6473
1-888-541-6474
13376 Comber Way
Surrey BC V3W 5V9
[email protected]
www.ortechindustries.com
375 Admiral Blvd
Missisauga, ON L5T 2N1
FUNCTION DIAGRAM
*The sensor is designed for connect one load only.
Connect more than one loads may damage the sensor.
1. Infrared Light
2. Infrared Receiver
5. Near Infrared 4. Daylight Sensor
3. Antenna Module
REMOTE CONTROL
LED High Bay Sensor
MODEL OD-MC628VRC Instruction Manual
1-888-543-6473
1-888-541-6474
13376 Comber Way
Surrey BC V3W 5V9
[email protected]
www.ortechindustries.com
375 Admiral Blvd
Missisauga, ON L5T 2N1
REMOTE-MH10