Osaki Power Tools IDH013 User manual

OPERATORS MANUAL
WARNING:
READ and UNDERSTAND the manual before using. Failure to follow
all instructions may result in electric shock, fire and/or serious personal injury.
SAVE THESE INSTRUCTIONS FOR FUTURE REFERENCE.
ORDER CODE: OSA-279-9660K
MODEL: IDH013
•Suitable for DIY & hobby use.
•Powerful 1050W motor, 230-240V/50Hz supply.
•13mm Chuck capacity.
•Variable speed forward and reverse.
•Heavy duty 2 speed gearbox.
•Switches easily from rotary to impact action.
•Locking side handle with integral metal depth stop.
•Drilling Capacities:
Steel 13mm
Concrete 16mm
Wood 30mm.
IMPACT DRILL 1050W 13MM CHUCK
OSAKI TOOLS Official Agents - JAPAN: MIKI TOOL TRADING CO. MIKI CITY, JAPAN.
EUROPE, MIDDLE EAST, AMERICA & AFRICA: KENNEDY TOOLS, WIGSTON, ENGLAND.
Specifications may change without prior notice. E&EO
Osaki, Osaki Xtra-plus and the round Mitsudomoe logo are trade marks of Osaki Tools.
© The Kennedy Group Ltd. 08/10
DECLARATION OF CONFORMITY
We hereby certify that OSAKI Impact Drill 1050W - IDH013
complies with all the relevant provisions of the following directives:
Electromagnetic Compatibility 2004/108/EC, Low Voltage 2006/95/EC and Machinery 2006/42/EC.
Standards applied:
EN 60745-2-1/A1: 2003+A11: 2007+A1: 2009+A12: 2009, EN 60745-1: 2006, EN 60745-2-1: 2003+A11: 2007,
EN 61000-3-3: 1995/+A1: 2001/+A2: 2005, EN 61000-3-2: 2006, EN 55014-1: 2006,
EN55014-2: 1997/+A1: 2001,
Official Agent: KENNEDY TOOLS, Wigston, Leicester, England.
ISO 9001 REGISTERED COMPANY
QUALITY GUARANTEE & WARRANTY
OSAKI POWER TOOLS carry a one year manufacturers warranty.
OSAKI POWER TOOLS are designed & produced to the highest standards & specifications.
OSAKI POWER TOOLS are fully guaranteed against faulty materials & workmanship.
Should they be found to be defective, they will either be repaired or replaced free of charge
(fair wear and tear and/or misuse excepted). This does not affect your legal rights.
Please retain supplier invoice as proof of purchase.
OSAKI POWER TOOLS are designed for DIY and hobby use only.
They are not covered by an industrial warranty. Industrial use will invalidate this guarantee.
DECLARATION
SPECIFICATIONS
Model Number IDH013
Order Code OSA- 279- 9660K
Motor Input Capacity 1050W
Motor Supply Voltage 230V-240V/50Hz
No Load Speed 0-1100 & 0-3000RPM
Chuck Size 13mm (1/2”)
Drilling Capacities Steel 13mm/
Concrete 16mm / Wood 30mm
Vibration Level <0.3m/s2
Sound Level 93dB(A)
Sound Power 104dB(A)
Protection Class IP20
Overall Size (HxWxD) 360 x 260 x 100mm
Net Weight 3.4kg
• Product details may vary due to product development.
• We reserve the right to change specifications without notice.
OSA-279-9660K_Instructions.qxd 11/11/2010 14:11 Page 1
72
SYMBOLS USED WITH THIS PRODUCT
Recycle
See page 6
WEEE
See page 6
3 pin plug
required
European
Conformity
Warning RoHS
See page 6
Double
Insulated
X
Man, Earth and the Universe are forces that create an
immovable centre of balance . . . the
balance of power
“
“
Osaki Power Tools are committed to the Production of a range of Quality Power Tools
that are designed for high performance and long service life. By following the
recommended safety and maintenance procedures they will last for many years.
WORK AREA CAUTION
1.
Keep your work area clean and well lit. Cluttered
benches and dark areas will invite accidents.
2. Do not operate power tools in explosive
environments. for example; in presence of
flammable liquids, gases, or dust. Power tools
create sparks which may ignite the dust or
fumes.
3. Store tools out of reach of children or other
untrained persons. Tools are dangerous in the
hands of untrained users.
4. Keep bystanders and children away while
operating the power tool. Distraction can
cause you to loose control.
ELECTRICAL SAFETY
1. Power tool plugs must match the outlet.
Never modify the plug in any way. Do not use
any adaptor plugs with earthed (grounded)
power tools. Matching plugs and outlets will
reduce risk of electric shock.
2. Avoid body contact with grounded surfaces
such as pipes, radiators, ranges and
refrigerators. There is an increased risk of
electric shock if your body is grounded.
3. DO NOT expose power tools to rain or wet
conditions. Water entering a power tool will
increase the risk of electric shock.
4. DO NOT abuse the cord. Never use the cord to
carry the tools or pull the plug from an outlet.
Keep the cord away from heat, oil, sharp
edges or moving parts. Damaged cords should
be replaced immediately by qualified repair
personnel. Damaged cords will increase the
risk of electric shock.
5. When operating the drill in a damp location
or outside, use a heavy duty extension cord
in conjunction with a residual current device
(RCD) rated at 30mA or less.
Read operator’s
manual
Always wear the appropriate
personal protection
Dress
appropriately
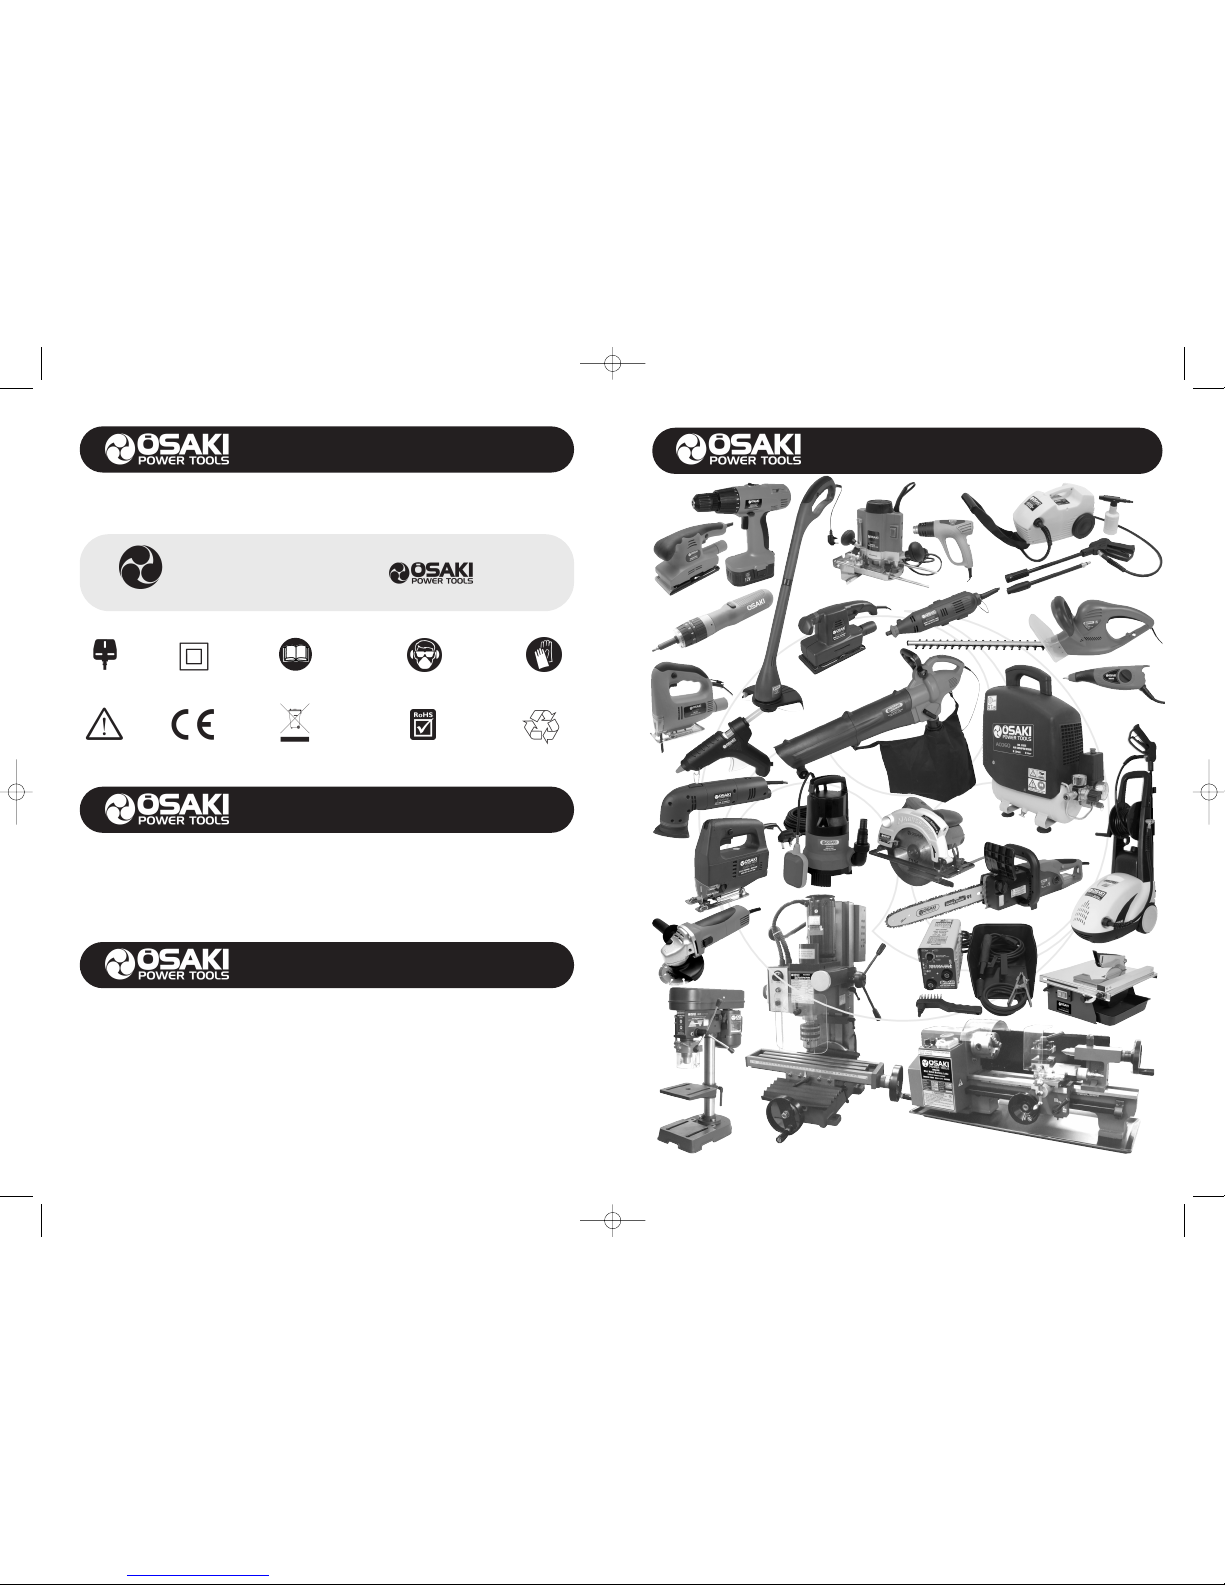
OTHER OSAKI PRODUCTS
OSA-279-9660K_Instructions.qxd 11/11/2010 14:11 Page 2

3
PERSONAL SAFETY
1. ALWAYS wear the approved
eye, ear and respiratory
protection during operation.
Use safety glasses or goggles
which conform to BSEN136 or
CE equivalent that provide protection from the
front and side. It is always the users
responsibility for following accepted eye, face,
respiratory, hearing and body protection.
2. Dress appropriately. Always ensure that all
long hair and loose clothing, ties, scarves,
jewellery, etc., are secured or removed.
3. STAY ALERT! Watch what you
are doing and use common
sense when operating a power
tool. Do not use the tool while
tired or under the influence of
drugs, alcohol, or medication. Loss of
concentration while operating power tools may
result in serious personal injury.
4. To Avoid accidental starting be sure the
trigger switch is in the ‘off ’ position before
plugging in. Carrying tools with your finger on
the switch or plugging in tools that have the
switch on is very dangerous.
5. Remove the chuck key before turning the
drill ‘on’. A key that is left attached to a
rotating part of the tool may result in personal
injury.
6. DO NOT overreach. Keep proper footing and
balance at all times to enable better control of
the tool in unexpected situations.
7. Always consult a doctor if numbness, tingling,
pain or whitening of the skin occurs. Repetitive
work motions, awkward positions and exposure
to vibration can cause “Repetitive Strain
Injuries”.
WARNING!
Cement dust becomes a potential health problem when
particles become airborne. Breathing these particles may cause allergic
respiratory symptoms, mucosal & non-allergic respiratory symptoms & cancer.
6
MAINTENANCE
CAUTION!
Always be sure that the tool is switched ‘OFF’ and unplugged before attempting to perform
inspection or maintenance.
Certain cleaning agents and solvents may damage plastic parts. Some of these are: gasoline, carbon
tetrachloride, chlorinated cleaning solvents, ammonia and household detergents that contain
ammonia.
To ensure safe use and maximise service life of your tool, following instructions should be observed:
1. Regularly inspect all mounting screws and
ensure that they are properly tightened.
2. Regularly clean the tools air vents with
compressed dry air. DO NOT attempt to clean
by inserting pointed objects through openings.
WARNING!
Maintenance and repair work should ONLY be carried out by a
qualified service technician. When servicing a tool, only use spare parts provided by the
manufacturer of the tool.
SERVICING
1. Tool service MUST be performed only by
qualified repair personnel. Service or
maintenance performed by an unqualified
person could result in a risk of injury and loss of
warranty.
2. When servicing a tool, use only identical
replacement parts. Follow instructions in the
maintenance section of this manual. Use of
unauthorised parts or failure to follow
maintenance instructions may create a risk of
electric shock or injury and loss of warranty.
ELECTRICAL SAFETY
A RCCB (Residual Current Circuit Breaker) should be fitted in the
mains electricity distribution board. If the power supply is not
protected by an RCCB, it is highly recommended that an RCD
(Residual Current Device) is used with all portable electrical products.
PLUG FITTING
A moulded UK 3 pin plug with ASTA/BS approval is already fitted for your
safety. If it becomes damaged, and needs replacing, cut off the plug,
prepare the wires and fit the new plug as shown in this diagram.
EXTENSION REELS
When a cable extension reel is used it should be fully unwound before
being connected. Use at least 1.5mm2 section cable or to be absolutely
sure use 2.5mm2section cable.
Yellow & Green = Earth wire
Brown = Live wire
Blue = Neutral wire
Cable restraint
UK
ONLY
ELECTRICAL INFORMATION
13amp
fuse
ENVIRONMENT
Always dispose of unwanted tools, accessories and packaging materials in an environmentally
friendly manner.
For EU and EEA countries only.
In observance of European Directives 2002/96/EC on Waste Electrical and Electronic
Equipment (WEEE) and its implementation in accordance to national law, electrical goods that
have reached the end of their life MUST be collected separately and returned to an environmentally
compatible recycling facility.
DO NOT dispose of electrical goods with domestic waste materials as inappropriate disposal may cause
potential hazards to the environment and human health.
For further information, please contact your local authority or the retailer from whom you purchased this
product.
This product does not contain any restricted substancies in concentrations and application
which are banned by the European ROHS Directive.
OSA-279-9660K_Instructions.qxd 11/11/2010 14:11 Page 3

Fig 2
5
SWITCHING ON AND OFF
Note: Before engaging the on/off trigger switch,
check to make sure the bit you are using is fitted
correctly and running concentrically.
1. Connect the plug to the power supply.
2. To start the tool, depress the safety lock
button and the trigger button together.
3. Release the trigger and safety lock button to
turn the tool ‘off’.
SETTING THE SPEED
1. The drill has a two speed gearbox.
2. Setting the switch with the arrow on position 1
will give you a variable speed from 0-1100RPM.
or position 2 will give you a faster variable
speed range of 0-3000RPM. Make sure you
CLICK the switch in position properly. See Fig.1
3. Set the variable speed on the trigger switch to
suit the material being drilled by turning the black
knob clockwise to increase the set speed or anti-
clockwise to decrease the speed. See Fig.2
CHANGING FROM ROTARY TO IMPACT DRILLING
1. This must only be done when the drill has
stopped rotating as it would cause damage to
the gear-box if tried whilst the drill is running.
2. The slide switch has clearly marked positions
showing a hammer for impact and a drill bit for
rotary a shown in Fig. 4
CHANGING ROTATIONAL DIRECTION
1. Again this must only be done when the drill has
stopped rotating as it would cause damage to
the gear-box whilst the drill is running. At the
top of the trigger is a lever which selects the
direction of rotation. See Figs.2 & 3
FITTING A DRILL BIT
1. Rotate the chuck anti-clockwise manually to
open the jaws just wide enough to take the
size of the drill bit being used. Insert the bit
and tighten by rotating the chuck clockwise.
Now check the bit is fitted concentrically.
It now needs tightening using the chuck key in
each of the three holes in turn. See Fig.5
If you don’t tighten in all three positions the
chuck may come loose allowing the bit to get
stuck in the material. Be sure to remove the
chuck key and return to its holder. See Fig.6
USING THE SIDE HANDLE
1. The drill has a very powerful motor and it is
therefore recommended to use the side
handle to avoid personal injury if the bit gets
jammed into the material being drilled. This
means drilling with this machine needs to be a
two handed operation.
2. To fit the side handle, unscrew the handle
from its fitting which loosens the clamping
mechanism and enables the handle to be
fitted over the chuck and onto the boss of the
gear box behind the chuck. The handle may be
positioned at any angle around the boss and
can be flipped the opposite way to enable left
hand usage. Tighten the handle again and this
will clamp it in position. See Fig.7
USING THE DEPTH STOP
1. The depth stop is a bar which shares the
same clamping mechanism as the side
handle. It has 5mm graduations and can be
used to set the required depth of holes drilled.
To set the depth stop, loosen the handle and
slide the depth stop out to the end of the drill
bit being used. Take note of the reading where
the bar enters the clamp, then take off the
depth required and slide the bar back into the
clamp until it aligns with the new position.
With the depth stop set, tighten the handle to
clamp both the handle and the depth stop in
position. You are now ready to drill holes of
the required/same depth. See Fig.8
OPERATION
4
Fig 1
Fig 3
Fig 4
Fig 5
Fig 6
Fig 7
Fig 8
WARNING!
Make sure that the trigger switch is off before plugging
in and turning the power on!
OSA-279-9660K_Instructions.qxd 11/11/2010 14:11 Page 4
Other Osaki Power Tools Drill manuals


