otometrics Madsen ZODIAC 901 User manual

901
Middle Ear Analyzer
User Manual
Doc no. 7-25-1800/11
Part no. 7-25-180
0459

FM template version: 01-02-2010
Copyright notice
No part of this Manual or program may be reproduced, stored in a retrieval system, or transmitted, in any form
or by any means, electronic, mechanical, photocopying, recording, or otherwise, without the prior written con-
sent of GN Otometrics A/S.
Copyright©2011, GN Otometrics A/S
Printed in Denmark by GN Otometrics A/S, Denmark
All information, illustrations, and specifications in this manual are based on the latest product information
available at the time of publication. GN Otometrics A/S reserves the right to make changes at any time with-
out notice.
Version release date
8. September 2011
Technical support
Please contact your supplier.

TABLE OF CONTENTS
1 INTRODUCTION..........................1
1.1 FEATURES OF THE ZODIAC 901 ....................1
1.2 APPLICATIONS OF THE ZODIAC 901.................3
1.3 ABOUT THIS MANUAL .........................5
1.4 STANDARDS ...............................5
1.5 SAFETY ...................................6
1.6 SERVICE AND REPAIR..........................6
2 INSTALLING THE ZODIAC 901 .................7
2.1 UNPACKING AND INSPECTION ...................7
2.2 STORAGE AND SHIPMENT ......................7
2.3 INSTALLATION..............................8
2.4 CARE AND MAINTENANCE ......................10
2.4.1 CLEANING THE PROBE.......................10
2.5 FUSE REPLACEMENT ..........................11
3 GENERAL DESCRIPTION ....................13
3.1 GENERAL .................................13
3.2 FRONT PANEL LAYOUT & CONTROLS ...............13
3.2.1 MANUAL MODE ...........................15
3.2.2 AUTO MODE .............................15
3.2.3 SELECT .................................16
3.2.4 ALT. SELECT AND SETUP .....................16
3.2.5 OTHER FRONT PANEL CONTROLS ...............17
3.2.6 INDICATOR LAMPS .........................18
3.2.7 LIQUID CRYSTAL DISPLAY ....................18
3.3 START-UP .................................19
3.4 MAIN MENU ...............................20
3.4.1 NEW PATIENT ............................21
3.4.2 IDENTIFICATION ..........................22
3.4.3 DAILY CALIBRATION ........................23
3.4.4 DEFAULT CONFIGURATION ...................24
3.4.5 EASY AND ADVANCED MODES .................24
3.5 HEADSET AND PROBE .........................25
3.5.1 EARTIPS ................................26
3.5.2 USING THE HEADSET AND PROBE ...............26
4 MANUAL MODE ..........................29
4.1 TYMPANOMETRY ............................30
4.1.1 MANUAL ...............................31
4.1.2 AUTO SWEEP .............................33
4.1.3 ETF-I, INTACT EARDRUM .....................36
4.1.4 ETF-P, PERFORATED EARDRUM .................37

4.2 REFLEX TESTING .............................39
4.2.1 MANUAL REFLEX ..........................40
4.2.2 SCREENING ..............................42
4.2.3 DECAY .................................43
4.2.4 USER 1 / USER 2 ...........................45
4.2.5 MARKER FUNCTION ........................45
4.3 THRESHOLD TESTING .........................46
4.3.1 THRESHOLD REFLEX ........................47
4.3.2 FAST SCREENING ..........................49
4.3.3 AIR CONDUCTION .........................51
5 SUPPLEMENTARY FUNCTIONS ................53
5.1 ALT. SELECT................................53
5.1.1 ERASE DATA .............................53
5.1.2 SMOOTH................................53
5.1.3 DATA TRANSMIT ..........................53
5.1.4 LEFT/RIGHT SHIFT .........................54
5.1.5 CONTRAST ..............................54
5.1.6 MARKER ................................54
5.2 SETUP....................................56
5.2.1 TYMPANOMETRY (INCL. ETF-I)..................57
5.2.2 REFLEX TESTING...........................58
5.2.3 THRESHOLD .............................59
5.2.3.1 REFLEX .........................59
5.2.3.2 FAST SCREENING ...................60
5.2.3.3 AIR CONDUCTION ...................60
5.3 PRINTER ..................................60
5.3.1 PAPER LOADING ..........................61
5.3.2 PRINTOUT...............................62
5.3.2.1 SCREEN DUMP .....................62
5.3.2.2 PRINT DATA.......................62
5.3.2.3 PRINT ALL........................62
6 AUTO MODE ............................63
6.1 MADSEN ELECTRONICS PRESET TEST MENU ...........63
6.2 USER-PROGRAMMABLE TESTS ....................64
7 POWER-ON OPTIONS ......................65
7.1 USER TEST PROGRAMMING ......................65
7.2 SYSTEM SETUP ..............................69
8 PRINCIPLES OF MIDDLE-EAR ANALYSIS ..........71
8.1 MECHANICAL IMPEDANCE ......................71
8.2 MISMATCHING OF MECHANICAL IMPEDANCES ........72
8.3 MATCHING OF MECHANICAL IMPEDANCES ...........72
8.4 RESISTIVE LOSS OF VIBRATION ENERGY ..............72
8.5 THE STRUCTURE OF THE EAR.....................73
8.6 THE EFFECT OF LOUD SOUNDS....................74

8.7 MEASURING ACOUSTIC IMPEDANCE................75
8.8 TENSIONING OF THE EARDRUM ...................76
8.9 THE PRINCIPLE OF TYMPANOMETRY................77
8.10 PRACTICAL CONSIDERATIONS....................78
8.11 TYMPANOGRAM CHARACTERISTICS ................79
9 DIAGNOSIS OF AUDITORY DISORDERS ..........81
9.1 DISORDERS AND THEIR SYMPTOMS.................81
9.1.1 MIDDLE-EAR FLUID AND EFFUSION ..............81
9.1.2 DISRUPTION OF THE OSSICULAR CHAIN ...........81
9.1.3 OTOSCLEROSIS............................81
9.1.4 PERFORATED EARDRUM .....................81
9.1.5 OCCLUDED EUSTACHIAN TUBE .................81
9.1.6 FLABBY TYMPANIC MEMBRANE.................82
9.1.7 IMPACTED CERUMEN (DRIED EAR WAX) ...........82
9.1.8 PATULOUS EUSTACHIAN TUBE .................82
9.1.9 COCHLEAR HEARING LOSS ....................82
A APPENDIX: TECHNICAL SPECIFICATIONS .........83
B APPENDIX: ZODICON™ PARAMETERS ...........85


1. INTRODUCTION
1.1 FEATURES OF THE ZODIAC 901
With the ZODIAC 901 Middle-Ear Analyzer, Madsen Electronics have
produced a precision impedance measuring instrument which offers the
busy audiologist an unprecedented level of automation, timesaving and
versatility. The Limited Version of the ZODIAC 901 is described in an
Addendum located at the back of this manual.
Liquid Crystal
Display
·The unique multilingual Liquid Crystal Display (LCD) reduces the re-
quired measurement data instantly to graphical, analog and concise
numerical forms. The large, clear presentation of the data from each
test has been optimized for rapid diagnosis of patient condition.
Multi-Choice Menus
·All function selection and pre-setting of parameters are controlled by a
combination of single-function pushbuttons, plus softkeys. The five
softkeys are used together with multi-choice menus displayed on the
LCD. All functions are driven by the software built into the instrument.
Thanks to this style of user interface, using the ZODIAC 901 can be
learnt quickly and easily. This interface eliminates drudgery from the
tasks of calibration and pre-test setting-up, and allows the instrument
to be configured for a very wide variety of tests.
Analog Meter
Display Option
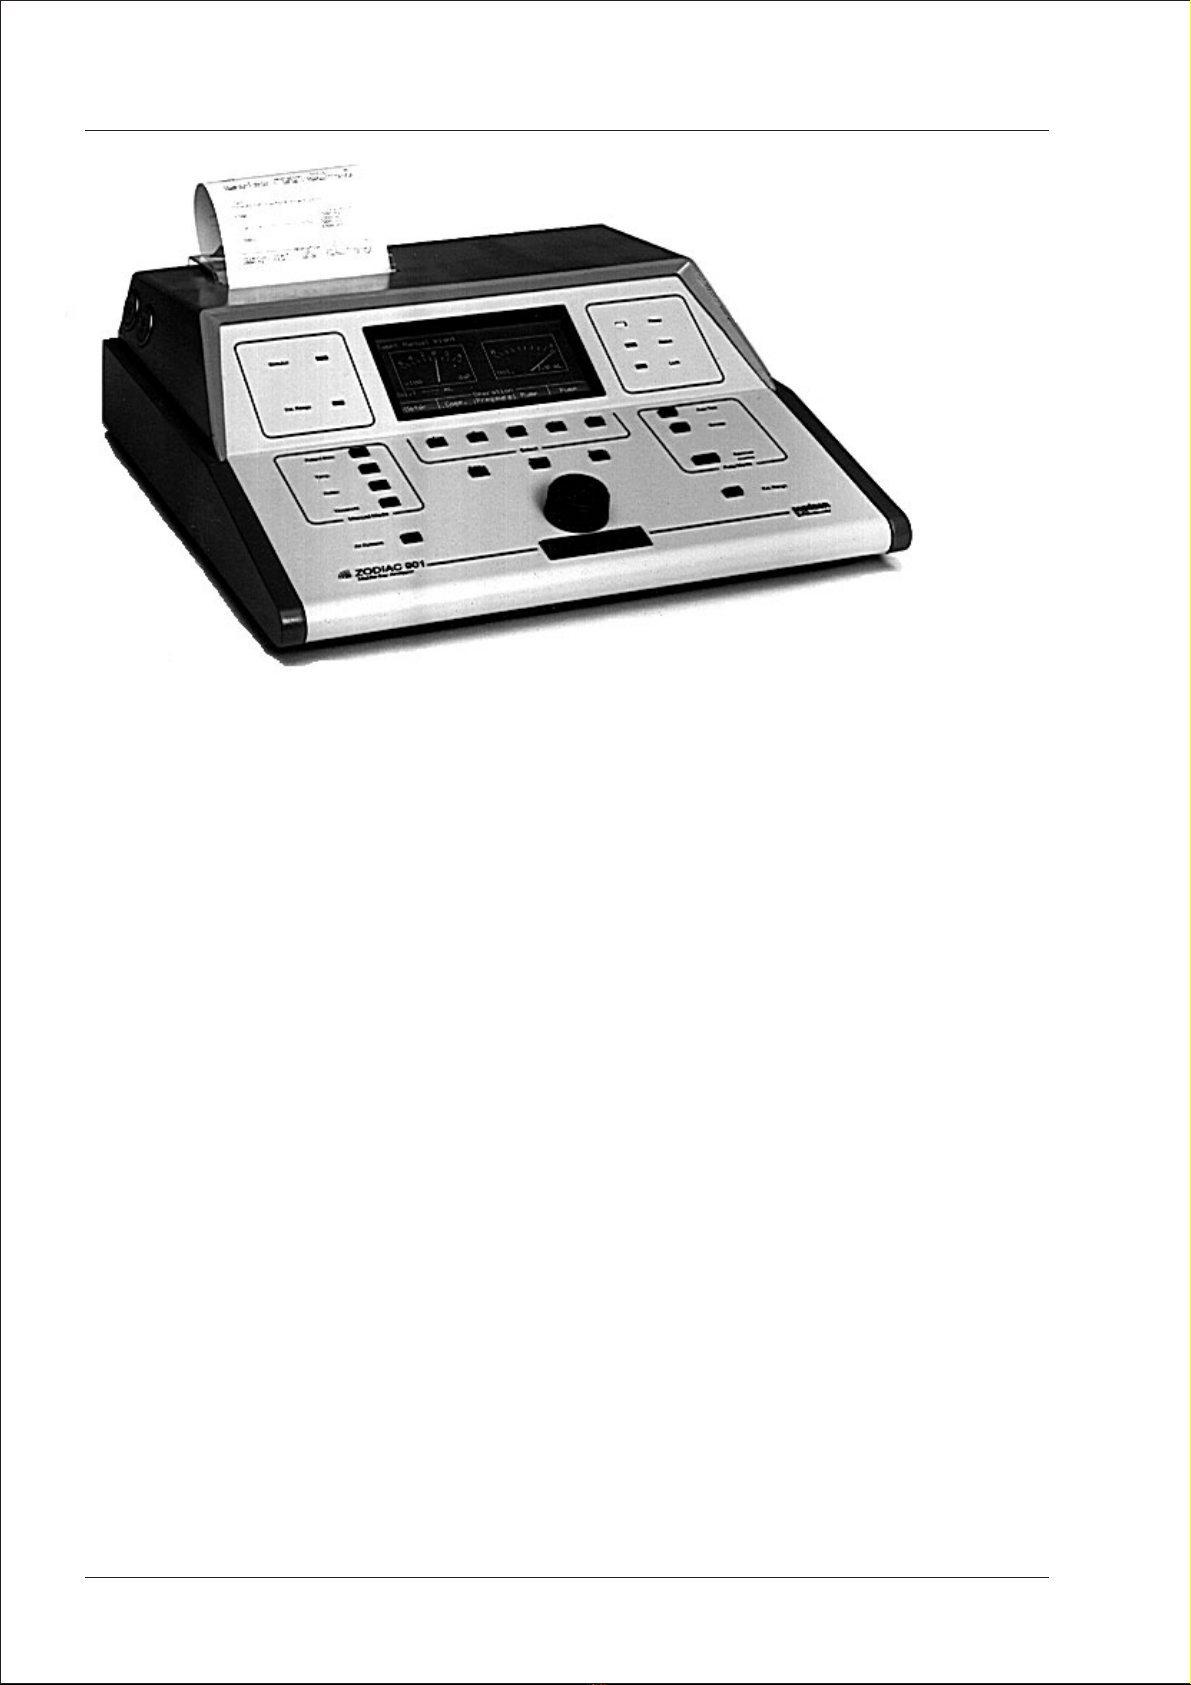
·Tympanometry and reflex testing may be performed with pressure
and compliance indicated in real time as a graphic Cartesian display or
on analog meters, if preferred (see the display in Fig.1.1).
User-Programmable
Tests
·The ZODIAC 901 is an intelligent instrument that can be taught which
tests to perform. Five Madsen Electronics Preset Tests plus the capabil-
ity for four user-programmable test routines are built in, for optimal
operating efficiency. The ZODIAC 901 may also be operated entirely
manually or programmed for the user’s own combination of manual
and automatic operation. User-programmable tests enable the user to
select the default parameters of a particular test. The user can also select
a combination of tests to form a battery of preset tests.
Intelligent Response
To Interference
·Intelligence in the ZODIAC 901 is not confined to its memory. If a
measurement is interrupted by an air leak or acoustic interference, the
instrument not only erases the data for the aborted measurement, but
also keeps on re-trying the measurement from the beginning until it
completes it without interruption or until the operator intervenes.
ZODICON™
Configuration
Program
·The ZODICON™ (Madsen Electronics Zodiac Configuration) pro-
gram enables your Madsen Electronics distributor to configure your
ZODIAC 901 to suit your own particular needs, thus customizing the
instrument into your “personal middle-ear analyzer”.
Non-Volatile Memory
·User-programmable test routines and custom configuration changes
made using ZODICON™ are stored in non-volatile memory, and are
Operation Manual 1
GN Otometrics INTRODUCTION Chap. 1
ZODIAC 901 Middle-Ear Analyzer FEATURES OF THE ZODIAC 901 1.1

preserved when the mains power is switched off. The built-in clock and
calendar also continue without interruption.
Volatile Memory ·The ZODIAC 901—Version 2.x—can perform up to 36 different meas-
urement curves on a patient (including both ears) and remember all the
results (in volatile memory) until a new patient is entered or the power
switched off. Version 3.xcan perform/store 62 curves, and Version 4x
can perform/store 72 curves.
MateBaseI™
Software
·Connected via its RS232C serial interface to a personal computer run-
ning the MateBaseI™ software supplied, the ZODIAC 901 can be used
to store patient records in the form of a computer database.
Hard Copy Output ·The ZODIAC 901 can print out the contents of the current screen dis-
play, the results of the current test, or all the test results performed on
the current patient, on the instrument’s own built-in thermal printer
and/or an external printer connected via the ZODIAC 901’s Centronics
parallel port. Printouts can include the Madsen logo, time and date, the
patient’s I.D. data as well as the clinic’s name and address. It is espe-
cially beneficial to have the results of fast automatic screening with
tympanogram, reflex and all other relevant data printed out together.
Unique Probe &
Headset
·For the ZODIAC 901 Middle-Ear Analyzer, Madsen Electronics have
developed a unique lightweight probe that may either be worn com-
2 Operation Manual
INTRODUCTION Chap. 1 GN Otometrics
FEATURES OF THE ZODIAC 901 1.1 ZODIAC 901 Middle-Ear Analyzer
Fig.1.1
ZODIAC 901 Middle-Ear Analyzer

fortably on the headset for clinical testing, or used as a hand-held probe
for fast screening purposes. A smaller headband is available for testing
children.
Remote indication
·Colored lights on the probe indicate when a measurement is in prog-
ress, and also give warning in the event of air leakage, instability in the
measured ear cavity volume, or measurement interruption owing to
air leakage.
Remote Control
·The start/stop button on the probe permits remote operation of the
ZODIAC 901.
Built-In Calibration
Data
·Each probe supplied by Madsen Electronics has its calibration parame-
ters and serial number stored electronically in the probe, permitting
exchange of probe and/or cable without recalibration.
Calibration For Both
Types Of Phone
·The probe can be calibrated to both TDH39 and insert phone, and will
automatically change from one set of phone calibration data to the
other when one changes phone.
Precision Cavity
·The built-in Madsen Electronics 2 cc (2 ml) Precision Cavity enables the
ZODIAC 901 to be calibrated on a daily basis to take account of baro-
metric pressure, altitude, etc. The cavity incorporates a built-in rubber
seal, enabling calibration to be performed without the use of a separate
eartip.
Ear Simulator
·Built-in Madsen Electronics’ Ear Simulator allows trouble-free training
and checking of the capabilities of the ZODIAC 901.
Headset
·The comfortable, lightweight headset features a single integral cable
with specially developed connectors, which carry both the electrical
signals and the air-line from the pump. The stainless steel spring band
and genuine leather headband enable the headset to be adjusted
quickly and easily for each patient. A smaller headset for children is
also available as an optional accessory. The standard TDH 39 earphone
supplied may easily be replaced by an optional insert phone or bone
conductor.
1.2 APPLICATIONS OF THE ZODIAC 901
The ZODIAC 901 is designed for acoustic impedance and static pressure
measurements on the ear canal. These measurements (by themselves, or
in combination with pure tone audiometry) enable a variety of middle
ear and other disorders to be diagnosed.
The measurement techniques embodied in the ZODIAC 901 have the ad-
vantage of being objective. Unlike pure tone audiometry, they depend
only on passive co-operation from the patient, not on the patient’s sub-
jective judgement. They can be performed more reliably than pure tone
audiometry measurements on children and other patients whose ability
to co-operate may be limited.
Operation Manual 3
GN Otometrics INTRODUCTION Chap. 1
ZODIAC 901 Middle-Ear Analyzer APPLICATIONS OF THE ZODIAC 901 1.2

Unlike pure tone audiometers, the ZODIAC 901 can be used successfully
in environments which are not perfectly quiet, since its measuring cir-
cuits are immunized against external interference.
The ZODIAC 901 is intended for:
·Clinical tests on patients
·Screening of populations
The clinical tests which the ZODIAC 901 is designed to perform are:
·Manual/Auto Tympanometry
·Eustachian Tube Function
·Ipsi and Contra Manual Acoustic Reflex
·Ipsi and Contra Reflex Decay
·Acoustic Reflex Latency
·Pure tone audiometry (Air Conduction Threshold)
·Gellé’s Test
The screening tests are:
·Automatic Tympanometry
·Ipsi and Contra Acoustic Reflex
·Ipsi and Contra Fast Acoustic Reflex Threshold
·Pure tone audiometry (Air Conduction Threshold)
The ZODIAC 901 complies with the international standards for acoustic
impedance measurement referred to in its Specifications (Appendix 1).
4 Operation Manual
INTRODUCTION Chap. 1 GN Otometrics
APPLICATIONS OF THE ZODIAC 901 1.2 ZODIAC 901 Middle-Ear Analyzer

1.3 ABOUT THIS MANUAL
Key Words In
Margins
Operation of the ZODIAC 901 Middle-Ear Analyzer is extremely easy
and, consequently, easy to learn. This manual has therefore been de-
signed for easy reference to specific questions or problems.
The margins contain corresponding “key words” to help you to quickly
find what you are looking for, and they are all listed under a subject in-
dex at the end of the manual.
Manual ConventionsAll screen instructions are reproduced as far as possible as they appear
on the screen, or are shown in “screen dumps” from ZODIAC 901. Push-
buttons on the instrument’s front panel are printed in the text in bold
script, and shown in the margin inside a box. For example:
Auto TestPress Auto Test to access the User Test Menu.
Default Settings
Modified By
ZODICON™
Note that default settings of various setup parameters, etc., specified in
this manual, refer to those set at the factory—if your Middle-Ear
Analyzer differs, this is because the default settings have been changed
by your local distributor using ZODICON™.
Setup ParametersAnother feature of ZODIAC 901 is that test parameters for all tests may
be changed at any time, except when a test is actually in progress. Since
only those parameters valid for any particular test are displayed in the
measurement setup sub-menu when Setup is pressed, the relevant pa-
rameters are listed in bold script at the end of the description of each test
mode.
If you have any questions or suggestions with regard to the ZODIAC
901 or this manual, please contact us at the following address:
GN Otometrics A/S,
9 Hoerskaetten
DK-2630 Taastrup, Denmark.
T: +45 45 75 55 55, F: +45 45 75 55 59
www.otometrics.com
1.4 STANDARDS
The ZODIAC 901 Middle-Ear Analyzer complies with the following
standards for audiometers:
EN 60645-1, -2
ANSI S3.6
The ZODIAC 901 and this manual are CE-marked according to the
Medical Devices Directive 93/42/EEC.
Operation Manual 5
GN Otometrics INTRODUCTION Chap. 1
ZODIAC 901 Middle-Ear Analyzer ABOUT THIS MANUAL 1.3
EN 55022:1998

INTRODUCTION Chap. 1 GN Otometrics
SAFETY 1.5 ZODIAC 901 Middle-Ear Analyzer
The ZODIAC 901 is marked with this symbol to indicate compliance with Type B
requirements of EN60601-1.
The device is marked with this symbol to indicate that it is electronic equipment covered
by the Directive 2002/96/EC on waste electrical and electronic equipment (WEEE).
In European countries the crossed-out wheeled-bin WEEE symbol reminds you that all
the electrical and electronic products, batteries, and accumulators must be taken to
separate collection at the end of their working life. This requirement applies in the
European Union. Do not dispose of these products as unsorted municipal waste.
You can return your device and accessories to Otometrics, or to any Otometrics supplier.
You can also contact your local authorities for advice on disposal.
1.5 SAFETY
This operation manual contains information and warnin
g
s which must be followed to
ensure the safe performance of the ZODIAC901. Local government rules and regulations,
if applicable, should also be followed at all times.
Special note should be made of the following:
ZODIAC 901 is marked with this symbol when it is important that the user refers to
associated warnings given in this manual.
Any PC connected to the ZODIAC 901 must comply with the requirements of IEC 950
“Safety of information technology equipment, including electrical business equipment”.
1.6 SERVICE AND REPAIR
Service and repair of electromedical equipment should onl
y
b
ecarriedout
by
the
equipment manufacturer or by authorized representatives. The manufacturer reserves the
right to disclaim all responsibility for the operating safety, reliability and performance of
equipment serviced or repaired by other parties.
6 Operation Manual

2. INSTALLING THE ZODIAC 901
2.1 UNPACKING AND INSPECTION
UnpackingThe ZODIAC 901 is shipped in its own custom-made carton together
with this Operation Manual, a Packing Specification and standard acces-
sories. Please do NOT dispose of this carton, in case the instrument
needs to be returned to your Madsen Electronics distributor for service
or repair.
InspectionIf the shipping carton is visibly damaged, ask the carrier’s agent to be
present when the instrument is unpacked. If the instrument is damaged
or fails to operate, please notify the carrier and your Madsen Electronics
distributor immediately. The Madsen Electronics distributor will ar-
range for the repair or replacement of the instrument without waiting
for the claim against the carrier to be settled.
Please check that all accessories are complete and intact (referring to the
enclosed Packing Specification).
Protective Cover
on LCD
Note that the LCD is protected by a plastic cover, which may be
removed after unpacking the instrument. This cover should not be
discarded!
2.2 STORAGE AND SHIPMENT
Storage & ShipmentTo protect the instrument and accessories during storage or shipment al-
ways use the best packing available. If it is necessary to return the in-
strument to the Madsen Electronics distributor or to the factory for
repair, use the original shipping cartons and replace the protective cover
on the LCD.
Always store the ZODIAC 901 in a clean, dry environment and never
leave the power on when the instrument is in an enclosed container!
When shipping the ZODIAC 901, please remember the following:
1. Seal shipping container securely.
2. Mark container FRAGILE to ensure careful handling.
3. In any correspondence, please refer to the instrument by
model,serial number and software version.
Operation Manual 7
GN Otometrics INSTALLING THE ZODIAC 901 Chap. 2
ZODIAC 901 Middle-Ear Analyzer UNPACKING AND INSPECTION 2.1

2.3 INSTALLATION
KEEP AWAY
FROM LIQUIDS!
Site the instrument in a well-ventilated location away from all liquids
and sources of heat.
Connections Connect the headset, and, if required, the optional external printer
and/or a personal computer (PC) to their respective connectors in the
Connection Panel located on the rear of the instrument (see Figs. 2.1 and
2.2).
PLEASE READ
BEFORE
SWITCHING ON!
Before connecting the power cord, please make sure that the voltage
from the electrical outlet matches the voltage shown on the identification
label stuck over the power inlet.
CAUTION!
Operating at the wrong voltage may blow the fuses!
Mains/Line
Connection
Plug one end of the power cord supplied into the power inlet on the
back of the ZODIAC 901 and plug the other end directly into a three-
wire, protective ground, AC power outlet. If an extension cord is re-
quired, only use a cord with a three-prong connector.
Fig.2.1
ZODIAC 901 Connection Panel.
8 Operation Manual
INSTALLING THE ZODIAC 901 Chap. 2 GN Otometrics
INSTALLATION 2.3 ZODIAC 901 Middle-Ear Analyzer
200 - 240 V
50/60Hz
Data Interface Printer Headset
On / Off Switch
Power Inlet

Fig.2.2
ZODIAC 901 Connections.
Operation Manual 9
GN Otometrics INSTALLING THE ZODIAC 901 Chap. 2
ZODIAC 901 Middle-Ear Analyzer INSTALLATION 2.3

2.4 CARE AND MAINTENANCE
Cleaning The ZODIAC 901 requires no preventive maintenance. However, it is
recommended that the following guidelines be observed.
The instrument should be kept clean and as free of dust as possible:
Display
Protective Cover
·Clean the LCD display periodically with an anti-static non-solvent solu-
tion using a soft lint-free cloth. Note that the display is laminated for
maximum readability and must therefore be treated with care.
The LCD can be protected against transport damage, i.e. scratching, by
means of the supplied protective plastic cover.
·Remove dust using a soft brush and take special care to dislodge any
accumulations of dirt on or around the pushbuttons on the front panel.
KEEP AWAY
FROM LIQUIDS!
·To clean the cabinet and the front panel, use a soft, slightly damp cloth
with a small amount of mild detergent on it. Do not allow any moisture
inside the instrument!
WARNING!
Chemical cleaning agents containing ammonia or alcohol will damage
the cabinet and display.
Dust Cover If your ZODIAC 901 has been supplied with the optional plastic dust
cover, you should keep the instrument covered at all times when it is not
in operational use.
CAUTION! However, the instrument should NOT be left switched on with the dust
cover in place, as this may cause severe overheating and damage to the
instrument. Avoid exposing the instrument to direct sunlight, and keep
it well-ventilated at all times to prevent overheating.
The headset is in constant contact with your patients so care should be
taken to ensure that it is kept clean, especially the earphone. Just wipe it
regularly with a moist cloth.
2.4.1 CLEANING THE PROBE
Please refer to §3.5.1 for further details.
Eartips ·The rubber eartips supplied with the instrument, and available as op-
tional accessories, are disposable. However, they may be washed an
unspecified number of times in a commercial dishwasher before losing
their elasticity.
10 Operation Manual
INSTALLING THE ZODIAC 901 Chap. 2 GN Otometrics
CARE AND MAINTENANCE 2.4 ZODIAC 901 Middle-Ear Analyzer

Disposal
·There are no special requirements for disposal of the rubber eartips.
Probe Tip
·The probe tip must be frequently checked for cerumen (ear wax)—even
a partial blockage will affect the accuracy of your measure- ments. Ce-
rumen may be removed by means of the supplied metal pin (cleaning
wire)—see below.
Do NOT attempt to clean any of the tubes in the probe tip without
first removing the attached plastic tubes as described below.
Procedure For
Cleaning Probe Tip
1. First detach the probe tip from the 3 plastic tubes.
2. Use the supplied metal pin (cleaning wire) to push out cerumen from
each metal tube in the probe tip.
3. Re-attach the 3 plastic tubes to the probe tip.
2.5 FUSE REPLACEMENT
Voltage Select/ Fuse
Replacement
TO REPLACE A FUSE OR TO CHANGE VOLTAGE:
WARNING!
Before replacing a fuse or changing voltage, first switch off
instrument and disconnect from mains power supply!
1. Switch off the instrument and disconnect from mains.
2. Remove the two Phillips screws at the back of the top panel.
3. Tilt the top panel forwards and remove.
Voltage Select4. The voltage selector is located next to the power switch (see Fig. 2.3 on
next page). 115 V or 230 V may be selected.
Fuse Replacement5. Two identical fuses are located beside the voltage selector (see Fig. 2.3). The
current of the fuses varies according to the voltage, see below:
Component Voltage Fuses Type Dimensions
F301/F302 115 V 400 mA Slow Blow 5 x 20 mm
F301/F302 230 V 200 mA Slow Blow 5 x 20 mm
Operation Manual 11
GN Otometrics INSTALLING THE ZODIAC 901 Chap. 2
ZODIAC 901 Middle-Ear Analyzer FUSE REPLACEMENT 2.5

Fig.2.3
Voltage Selector & Fuses Inside ZODIAC 901.
12 Operation Manual
INSTALLING THE ZODIAC 901 Chap. 2 GN Otometrics
FUSE REPLACEMENT 2.5 ZODIAC 901 Middle-Ear Analyzer
230V

3. GENERAL DESCRIPTION
3.1 GENERAL
Unlike most other impedance audiometers, ZODIAC 901 has no
switches for selecting fundamental parameters nor potentiometers for
calibration of inputs, probe, liquid crystal display (LCD), etc. Instead,
parameters are selected by using pushbuttons on the front panel in com-
bination with the display, while the conventional potentiometers have
been replaced by electronic level controls which are also operated by
means of pushbuttons and display.
Manual ModeZODIAC 901 may be operated manually or automatically: in Manual
Mode, either Tymp.,Reflex or Threshold is selected, and the instrument
is then set up by means of the pushbuttons under the display.
Auto ModeIn Auto Mode, the various test combinations and parameters are prepro-
grammed (both by Madsen Electronics and the user), and may be se-
lected by pressing Auto Test and then the corresponding softkey under
the display.
Auto TestNote that toggling the Auto Test button accesses the Madsen Preset
Test Menu and the User Test Menu, respectively.
Madsen Preset Tests may not be altered, but the User Tests may be pro-
grammed to suit individual requirements (see §7.1).
3.2 FRONT PANEL LAYOUT & CONTROLS
On the front panel there is a Rotary Knob for manual pump control,
stimulus level contol, and for setting up parameters, and a Tone Switch
(interrupter) for administering stimuli, starting reflex tests and for enter-
ing identification data.
There are a total of 17 pushbuttons with the following functions (please
refer to Fig.3.1 below).
·Five softkeys, whose functions are identified in the lower sector of each
menu displayed
·Four “hard” keys for selecting the Main Menu and the three Manual
Test Modes
·Three keys for Auto Mode
·Three keys for accessing the Alt. Select Menu, the context-sensitive
Setup Menu, and the Printer Menu
·Keys for Air Release and Extended Range
Operation Manual 13
GN Otometrics GENERAL DESCRIPTION Chap. 3
ZODIAC 901 Middle-Ear Analyzer GENERAL 3.1

There are five indicator lamps showing Stimulus, Extended Range,
Power, Status, and Leak.
In Advanced Mode, ZODIAC 901 has six principal menus which can be
accessed by pressing the following pushbuttons: Main Menu,Tymp.,
Reflex and Threshold in the Manual Mode and Auto Test. The printout
submenu can be accessed from the Printer pushbutton.
These menus may be accessed from any point in the instrument’s opera-
tion, enabling the operator to move quickly from one part of the program
to another (typically after pressing a maximum of two buttons).
14 Operation Manual
GENERAL DESCRIPTION Chap. 3 GN Otometrics
FRONT PANEL LAYOUT & CONTROLS 3.2 ZODIAC 901 Middle-Ear Analyzer
Fig.3.1
Table of contents
Other otometrics Measuring Instrument manuals

otometrics
otometrics Madsen AccuScreen PRO User manual

otometrics
otometrics Aurical Hit User manual

otometrics
otometrics AURICAL Aud User manual

otometrics
otometrics Bio-logic AuDX User manual

otometrics
otometrics MADSEN Capella User manual

otometrics
otometrics Madsen Midimate 602 User manual

otometrics
otometrics Madsen Xeta User manual

otometrics
otometrics Bio-logic NavPRO ONE User manual