Outdoor living today Garden Chalet User manual

Outdoor Living Today www.outdoorlivingtoday.com sales@outdoorlivingtoday.com
Parts Lists:
2 - Backwall Panels -68” l x 22” w
2 - Sidewall Panels - 68” l x 20” w
2 - pcs. Rear Sidewall Frame Plate - 1x2” x 67 1/2” l
2 - pcs. Front Sidewall Frame Plate - 1x2” x 65 1/2” l
1 - Backwall Frame Plate - 1x3” x 68” l
2 - Doors - 63 1/8” l x 21 1/4” w
1 - Door Flange 11/16”x 1 3/4”x 63 1/8”l
1 - Floor Panel - 45 1/4” l x 20 3/4” w
1 - Roof Panel - 47 1/2” l x 22” w
2 - Storage Shelves
2 - Vertical Door Trim - 1x3” x 61 1/2”
1 - Horizontal Door Trim - 1x4” x 45 1/2”
4 - Legs 2x4-4” l
4 - Horizontal Storage Shelf Frame 1x2
1 - Vertical Storage Shelf Frame 1x2
2 - Pull Handles
4 - Door Hinges
1 - Large Barrel Bolt (black for outside door)
1 - Small Barrel Bolt (inside door for locking)
1 - Package of Hardware
You Will Need:
Drill, Drill Bits: 1/8” , 3/8”
Phillips (star) Bit, Tape Measure, Level
Note: We recommend you drill a 1/8” pilot hole for each
screw, to avoid splitting wood.
The hole depth should be equal to 3/4 the length of screw.
Detail of Hardware Package
2” Screws
1 1/2” &
1 1/4”
Screws
Sq. Drive Bit
Thank you for purchasing a Garden Chalet. Please take
the time to identify all the parts prior to assembly.
Safety Points and Other Considerations
Our products are built for use based on proper installation and
normal residential use, on level ground. Please follow the
instruction manual when building your Garden Chalet and retain
the manual for future maintenance purposes.
Some of the safety and usage measures you may wish to consider
include:
-snow load ratings vary by geographical location. If heavy or wet
snowfall occurs, it is advisable to sweep the snow off the roof.
-if the product is elevated, any structural and building code
requirements are solely the customer's responsibility, and should
be abided by.
-in high or gusty wind conditions it is advisable to keep the
structure securely grounded.
-have a regular maintenance plan to ensure screws, doors, roof
and parts are tight.
Garden Chalet
Assembly Manual
1” Finishing
Nails
4 Hinges with
Hardware
Barrel Bolt with Hardware
(Door Bottom)
1” Screws
(Shelves) 2 Pull Handles
& Hardware
Barrel Bolt
&
Hardware
(Door)
Page 1
Revision #3
May 2007

Toll Free 1-888-658-1658 www.outdoorlivingtoday.com sales@outdoorlivingtoday.com
1. Identify Sidewall Panels.
These panels are higher at back
and lower in the front.
6. Lay both corner sections on level
ground as shown above.
5. Attach both panels together from the
back with 4 - 2” screws. Complete other
side and Backwall Panel in the same
manner.
3. Identify Backwall Panels. 1x2
framing that is flush to edge is
the middle of backwall.
4. Position both Sidewall and
Backwall Panel together while
standing up as shown above.
2. Attach Front and Rear Sidewall
Frame Plates (1x2”) to both Sidewall
Panels using 4-1 1/2” screws per piece.
Make sure Frame Plates are flush with
existing 1x2’s.
Middle
Page 2

Toll Free 1-888-658-1658 www.outdoorlivingtoday.com sales@outdoorlivingtoday.com
7. Position both corner sections together
and place the Backwall Frame Plate on
top of 1x2 framing. Attach the Backwall
Frame Plate with 8 - 1 1/2” screws.
8. Position Floor Panel flush with Back
and Sidewall Panels.
9. Secure the floor with 4 - 1 1/2” screws
attaching each corner into corner posts
and two more screws into the center
frame of Backwall Panel.
10. identify both 1x3 Vertical Door
Trims and position on front of Sidewall
Panels.
11. Vertical Door Trim should be flush
with outside wall panel and floor. 12. Attach Vertical Door Trim from
inside of sidewall frame using 5 - 2”
screws per side.
Vertical Door Trim
Page 3

15. Attach the four Legs
using 2 - 2” screws per
leg.
16. Complete attaching the Legs by plac-
ing an additional screw from the inside of
the Chalet into the Leg using a 2” screw.
13. Complete attaching 1x3 Vertical
Door Trim. A space for the 1x4
Horizontal Door Trim will remain.
14. Attach the 1x4 Horizontal Door
Trim with 2 - 2” screws per side.
Toll Free 1-888-658-1658 www.outdoorlivingtoday.com sales@outdoorlivingtoday.com
Page 4
Vertical
Door Flange
17. Attach Vertical Door Flange to 1 Door opposite to
where Door is marked for Hinges. Attach with 3 - 1 1/4”
screws from interior side.
Only1 Hole marked for
Hinge alignment
Note, On Hinges, screw holes
may or may not have the exact
hole pattern as shown in the
assembly manual.
18. Next, locate Hinges and Black Screws. Each Door is Pre-marked for 2 Hinges. Set Hinge in
place aligning to pre-marked hole. Attach screw. Complete remaining door hinge screws. Important-
be careful not to over-tighten screws. If using a screw gun, we suggest starting screws this way but
finishing with a screw driver.
Vertical Door Flange on
Edge of one door.

Toll Free 1-888-658-1658 www.outdoorlivingtoday.com sales@outdoorlivingtoday.com
20. With Doors in proper
position, attach hinges to
Vertical Door Trim.
21. Your Chalet should look like this
and is ready for the Shelving and
Hardware installation.
22. Tip your Chalet up to complete
the assembly.
24. With Vertical Shelf Frame Piece
in proper position, attach with 2 - 1”
screws.
19. Next, time to attach your Doors! Lay either Door in opening with
hinges to outside frame. Position the second Door in the same
manner. For proper Door position, place door 1/8” from side frame
and equal spacing at top and bottom.
23. From inside the Chalet, measure
19” on Horizontal Door Trim from Door
Frame Post for proper placement of 1x2
Vertical Shelf Frame Piece.
Door Frame Post
19” From Door Frame Post
1/8”
Page 5

Toll Free 1-888-658-1658 www.outdoorlivingtoday.com sales@outdoorlivingtoday.com
25. Attach Horizontal Shelf Frame
Joint. Drill pilot hole first to avoid
splitting of wood.
26. Install Upper Horizontal Shelf
Frame. You will determine the height of
the shelf to fit your needs. Once again,
drill pilot hole to prevent splitting.
27. Install the remaining Horizontal
Shelf Frames. Use a tape measure
and level to determine proper height.
28. Position Shelves inside Chalet.
29. Fasten Shelves down with 2 - 1 1/2”
screws at front of bottom shelf. 30. Next, lay Roof Panel in place with
edge strip at the front, flush with the
back, and equal overhang on each
side.
Page 6

Toll Free 1-888-658-1658 www.outdoorlivingtoday.com sales@outdoorlivingtoday.com
31. Fasten Roof down with 2” screws.
Screw from roof into wall framing.
32. Use 6 screws to completely attach
Roof. One in each corner and also on
center front and back. Screw from Roof
into wall framing.
33. To complete the Chalet, install the
Door Pull Handles. Pull Handle position
is arbitrary. Mount with 3/4” Screws
provided.
34. Install Large Barrel Bolt (black) to
doors. When in correct position, mark
first and then attach.
35. Complete the Chalet by installing
the smaller bottom door Barrel Bolt to
lock the doors. Bolt must be positioned
on door without Vertical overlap board.
36. Position door so it is in the proper
closed position and tap barrel on floor
to mark location. Drill with a 3/8” bit.
Page 7

Your Garden Chalet is now complete.
Congratulations and thanks for purchasing one of our Garden Chalets!
Note; The Garden Chalet is shipped as an unfinished product. If exposed to the elements,
the western red cedar lumber will weather to a silvery-gray color. If you prefer to keep the
cedar lumber looking closer to the original color, we suggest that you treat the wood with a
good oil base wood stain. You may also wish to paint your new Garden Chalet rather then
stain it. In both cases we recommend that you consult with your local paint and stain dealer
in your local area for their recommendations.
If you have any questions, comments or suggestions about your Garden Chalet, please
contact our customer support line @ 1-888-658-1658 or email us at
service@outdoorlivingtoday.com.
Thanks again!
Customers agree to hold Outdoor Living Today and any Authorized Dealers free of
any liability for improper installation, maintenance and repair of any Outdoor Living
Today products.
*Important
The Garden Chalet must
be level for doors to be
aligned properly.
If your doors are not
aligning correctly, it may
be necessary to shim the
Garden Chalet to fix the
problem.
Toll Free 1-888-658-1658 www.outdoorlivingtoday.com sales@outdoorlivingtoday.com
Page 8
Other Outdoor living today Lawn And Garden Equipment manuals
Outdoor living today
Outdoor living today 12x8 Cabana User manual

Outdoor living today
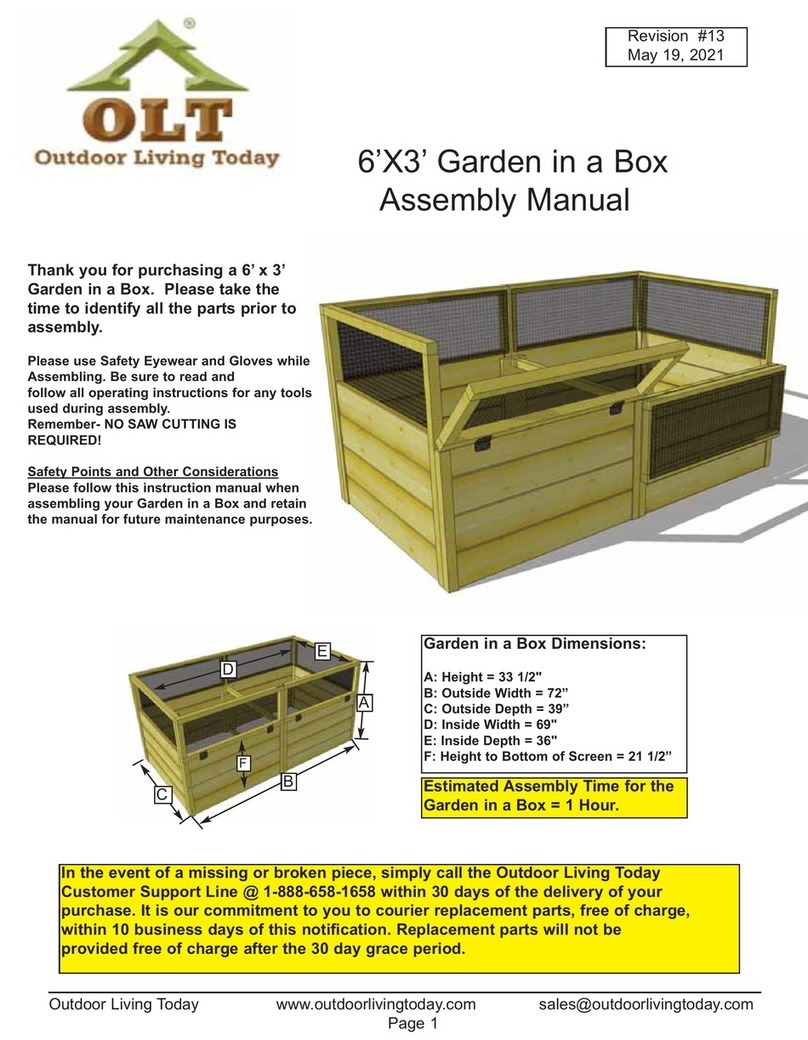
Outdoor living today Garden In A Box User manual
Outdoor living today
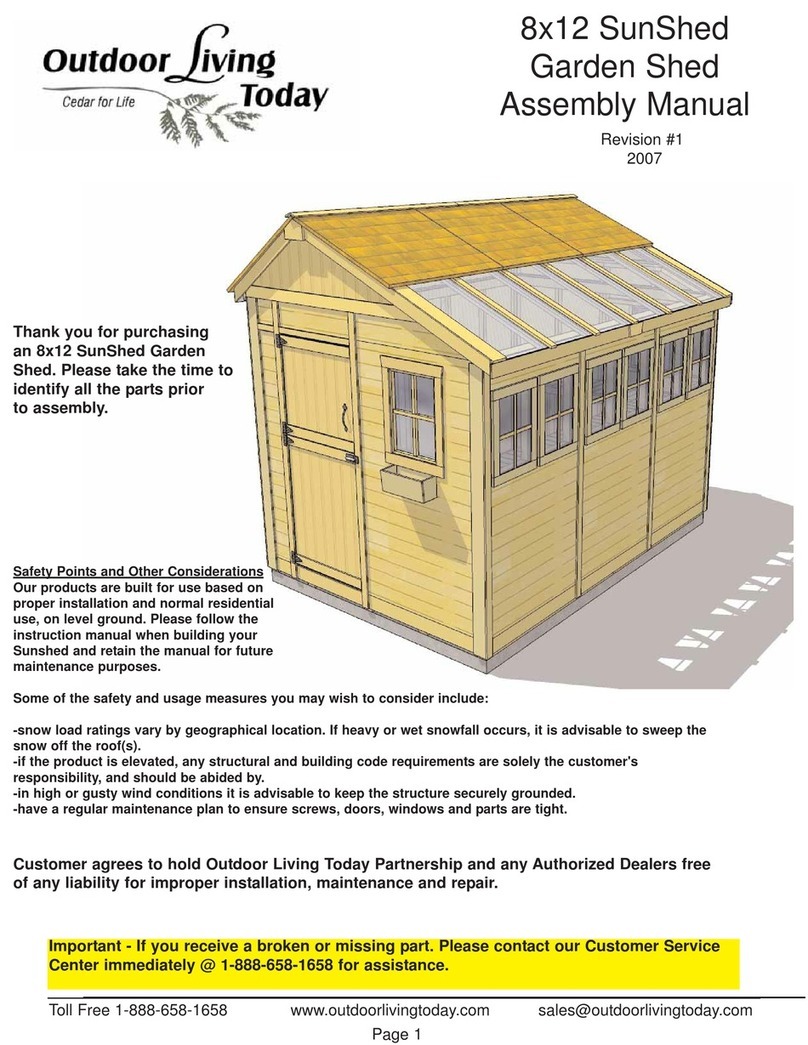
Outdoor living today 8x12 SunShed User manual

Outdoor living today
Outdoor living today 8611035 User manual
Outdoor living today
Outdoor living today Garden In A Box User manual

Outdoor living today
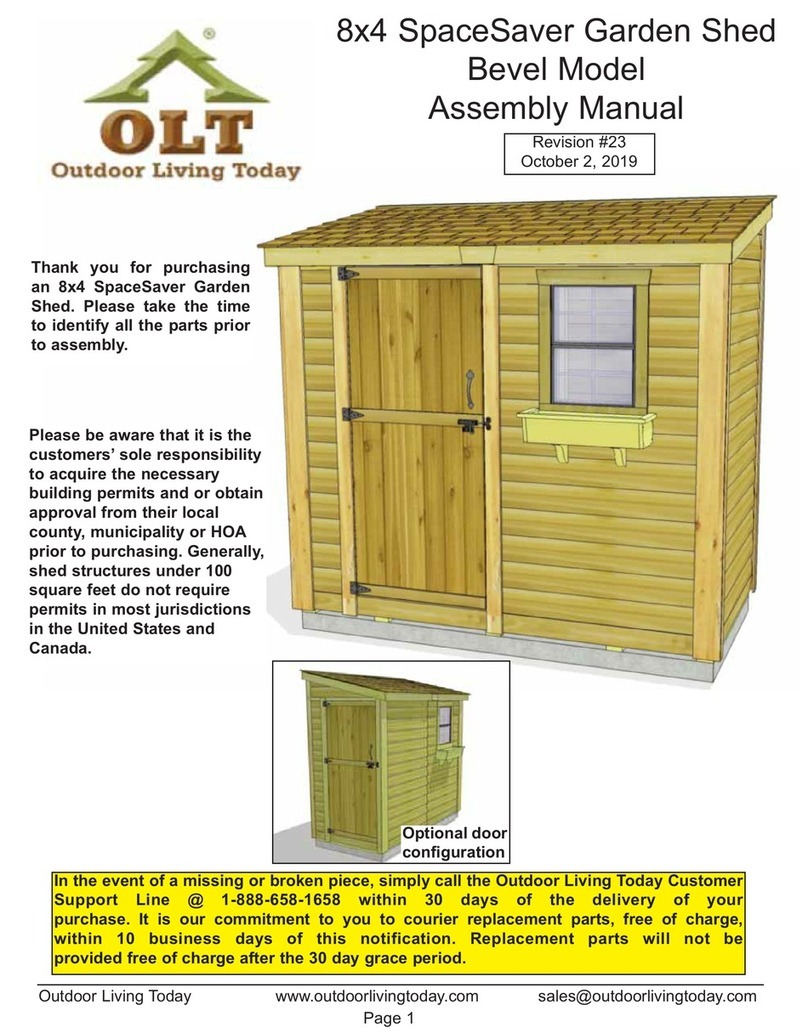
Outdoor living today 8x4 SpaceSaver Bevel User manual