manuals.online logo
Brands
  1. Home
  2. •
  3. Brands
  4. •
  5. OWC
  6. •
  7. Enclosure
  8. •
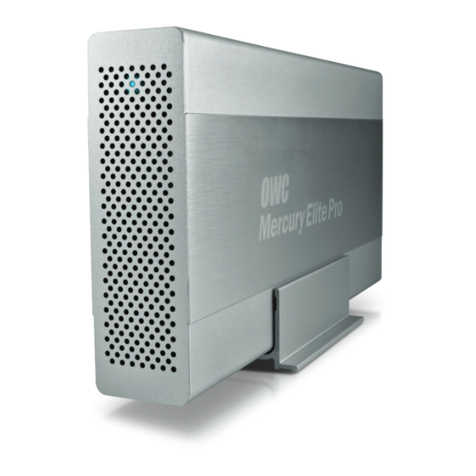
  9. OWC Mercury Elite-AL Pro User manual

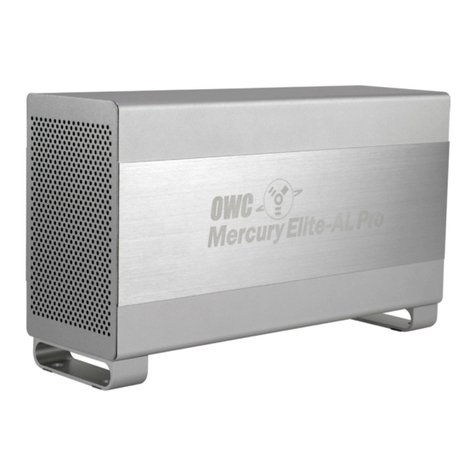
OWC Mercury Elite-AL Pro User manual

Other manuals for Mercury Elite-AL Pro

7

This manual suits for next models

6

Other OWC Enclosure manuals

OWC Mercury On-The-Go Pro User manual

OWC

OWC Mercury On-The-Go Pro User manual

OWC Mercury Elite-AL Pro User manual

OWC

OWC Mercury Elite-AL Pro User manual

OWC OWCMANVLS2ASY User manual

OWC

OWC OWCMANVLS2ASY User manual

OWC NASPerform User manual

OWC

OWC NASPerform User manual

OWC Mercury Rack Pro 4 Bay Storage Enclosure User manual

OWC

OWC Mercury Rack Pro 4 Bay Storage Enclosure User manual

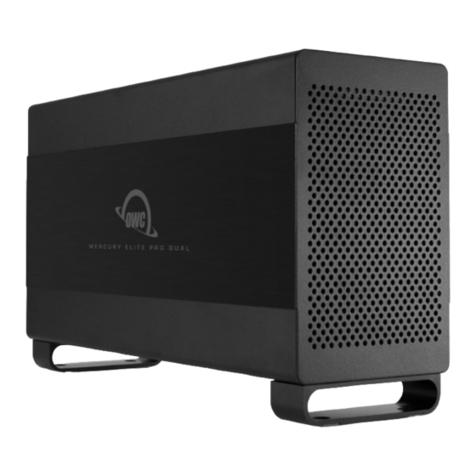
OWC Mercury Elite Pro Dual User manual

OWC

OWC Mercury Elite Pro Dual User manual

OWC OWC “Value Line” User manual

OWC

OWC OWC “Value Line” User manual

OWC U.2 NVMe Interchange System Guide

OWC

OWC U.2 NVMe Interchange System Guide

OWC Mercury On-The-Go Pro Series User manual

OWC

OWC Mercury On-The-Go Pro Series User manual

OWC Mercury On-The-Go User manual

OWC

OWC Mercury On-The-Go User manual

OWC Mercury Elite Pro Dual Guide

OWC

OWC Mercury Elite Pro Dual Guide

OWC Mercury Elite-AL Pro User manual

OWC

OWC Mercury Elite-AL Pro User manual

OWC Mercury Elite-AL 800 Pro User manual

OWC

OWC Mercury Elite-AL 800 Pro User manual

OWC Express User manual

OWC

OWC Express User manual
OWC Superslim Guide

OWC

OWC Superslim Guide

OWC Mercury Elite Pro Dual Guide

OWC

OWC Mercury Elite Pro Dual Guide

OWC data doubler User manual

OWC

OWC data doubler User manual

OWC ENVOY EXPRESS User manual

OWC

OWC ENVOY EXPRESS User manual
OWC Envoy Pro User manual

OWC

OWC Envoy Pro User manual

OWC Envoy Pro User manual

OWC

OWC Envoy Pro User manual

OWC Mercury Elite-AL Pro User manual

OWC

OWC Mercury Elite-AL Pro User manual

OWC Mercury Elite Pro Dual Guide

OWC

OWC Mercury Elite Pro Dual Guide
OWC Envoy Pro User manual

OWC

OWC Envoy Pro User manual
OWC Mercury Pro Guide

OWC

OWC Mercury Pro Guide

Popular Enclosure manuals by other brands

Antec Veris Fusion Remote Max Specification sheet

Antec

Antec Veris Fusion Remote Max Specification sheet

ENERMAX iVektor.Q ECA 3371 Series user manual

ENERMAX

ENERMAX iVektor.Q ECA 3371 Series user manual

Lindy 43095 user manual

Lindy

Lindy 43095 user manual

SICK C4000 Select operating instructions

SICK

SICK C4000 Select operating instructions

Geeek A60 PLUS installation guide

Geeek

Geeek A60 PLUS installation guide

OVE SYDNEY 48 installation manual

OVE

OVE SYDNEY 48 installation manual

SilentiumPC Armis AR5 Hardware installation

SilentiumPC

SilentiumPC Armis AR5 Hardware installation

Pulsar 17/TRP80/DSPR Assembly instructions

Pulsar

Pulsar 17/TRP80/DSPR Assembly instructions

MSI MPG SEKIRA 500X quick start guide

MSI

MSI MPG SEKIRA 500X quick start guide

Antec Dark fleet DF-10 user manual

Antec

Antec Dark fleet DF-10 user manual

Peavey DS 1502 Specifications

Peavey

Peavey DS 1502 Specifications

D-Link ShareCenter Pro DNS-1550-04 user manual

D-Link

D-Link ShareCenter Pro DNS-1550-04 user manual

Rosewill RX82-U(JBOD) user manual

Rosewill

Rosewill RX82-U(JBOD) user manual

QNAP SAS JBOD CLI 1.0 user guide

QNAP

QNAP SAS JBOD CLI 1.0 user guide

GAMDIAS Talos P1 Quick installation guide

GAMDIAS

GAMDIAS Talos P1 Quick installation guide

Auvs KR615 user manual

Auvs

Auvs KR615 user manual

Antec AR300 user manual

Antec

Antec AR300 user manual

CommScope FDH 3000 user manual

CommScope

CommScope FDH 3000 user manual

manuals.online logo
manuals.online logoBrands
  • About & Mission
  • Contact us
  • Privacy Policy
  • Terms and Conditions

Copyright 2025 Manuals.Online. All Rights Reserved.

OWC Mercury Elite-AL Pro Dual Bay
Assembly Instructions
This assembly guide covers the following 3 OWC Mercury Elite-AL
Pro Dual Bay Drive storage enclosures:
OWC Mercury Elite-AL Pro Dual Bay “Quad Interface” - Oxford 936
OWC Mercury Elite-AL Pro Dual Bay “Triple Interface” - Oxford 934
OWC Mercury Elite-AL Pro Dual Bay eSATA Page 1
Remove the 2 Phillips screws from the bottom of the enclosure
From the rear of the enclosure, push forwards on the interior to slide the
chassis out of the outer shell.
Page 2
Once the chassis is re-
moved from the outer
shell, you can begin install-
ing your hard drive mecha-
nisms.
(Versions with FireWire &
USB - Oxford 934 or 936)
Begin drive installation by
setting your hard drive into
the chassis, towards the front
of the chassis and slide the
drive onto the black connec-
tor on the green logic board.
(Versions with eSATA ONLY)
Connect one of the multi-
colored power cables to the
hard drive you are installing in the lower drive position, and connect
one of the red SATA cables to the hard drive you are installing in the
lower position, and place the hard drive into the chassis.
Page 3
(Versions with FireWire &
USB - Oxford 934 or 936)
Connect the combined power
and SATA cable to the back of
the hard drive you’re installing
in the top bay. It’s easiest to do
this with the drive positioned
towards the front of the chas-
sis, as shown, and then slide
the drive back to the mounting
position shown below.
(Versions with eSATA ONLY)
Connect one of the multicolored power cables to the hard drive you are
installing in the upper drive position, and connect one of the red SATA
cables to the hard drive you are installing in the upper position, and
place the hard drive into the chassis.
Page 4
Page 5
RAID settings - Oxford 934 (Triple Interface) model
MODE SW#1 SW#2 SW#3
INDEPENDENT OFF OFF not used
JBOD OFF ON OFF
RAID 0 ON OFF OFF
To change the RAID settings on your Oxford 934 (Triple Interface) enclo-
sure, there are jumpers located on the bridge board inside the enclo-
sure that need to be adjusted. To do so, you can access the switches
simply by removing the exhaust fan on the back of the enclosure.
INDEPENDENT - Each hard drive will appear as a separate volume
JBOD (SPAN) - 2 hard drives will be combined into one large contigu-
ous volume equal to the total of both drive capacities. Data is read and
written to one drive at a time, this is the safest (but slower) method to
use for large capacity.
RAID 0 (STRIPE) - 2 hard drives will be combined into one large contig-
uous volume equal to the total of both drive capacities. Data is read and
written to both drives , this is the faster (but less safe) method to use for
large capacity.
Page 6
Secure the 2 hard drives into the chassis by inserting the 8 Phillips
screws (4 each side) through the black rubber anti-vibration grommets,
and into the hard drives. You may have to lift up a bit on the drives to
get them into position. Firmly tighten the 8 screws to secure your hard
drives into the chassis.
Slide the assembled chassis back into the enclosure from the front to
the rear.
Page 7
Place the enclosure on it’s side and insert 4 Phillips screws into the holes
in the bottom of the enclosure to complete assembly of your new OWC
Mercury Elite-AL Pro Dual Bay.
Time to power up your new OWC Mercury Elite-AL Pro Dual Bay!
Turn the drive so you can see the rear ports. Connect the power cable to
the back of the drive, and whichever drive interface cable (FireWire, USB,
eSATA) you plan on using to connect to your computer. Plug the power
brick into the AC power cable (not shown), and power the unit on. You
should hear the drives spin up, and click a couple of times. After about
15 seconds, the drives will be ready to use.
You now need to initialize your drive. If you’re using a Macintosh, the
next pages walk you through that procedure.
If you are using Windows 98/ME/2000/XP/Vista:
You will need to initialize the hard drive before it will show up in “My
Computer”.
For instructions on how to initialize the hard drive please use the link
below. Click on the link that corresponds to the version of Windows you
are using:
http://eshop.macsales.com/tech_center/formatting.cfm
Page 8
15 or so seconds after powering on your new drive, the following dialog
box should appear on your screen. Then, Click on the “Initialize” button.
Select the device with no volumes attached to it; in this picture, that
would be the 465.8GB OWC Mercury drive, your drive may be of a dif-
ferent size depending on the mechanisms you use. Click once on the
picture of the drive icon next to the text.
Initializing your new OWC Mercury Elite-AL Pro Dual Bay
Once you’ve selected the OWC Mercury drive, you’ll notice the above
change in the Disk Utility program. Click on the “Erase” tab, next to the
highlighted blue “First Aid” tab in this picture.
Page 9
Once on the Erase tab, you need to name the volume you want to
format, and erase it. Name the volume as you want, choose the Volume
format type, (Mac OS Extended (Journaled) is default), and click the
Erase button.
Conrm that you want to erase the volume by pressing the Erase but-
ton.
After a few moments, the erase command will complete, and the vol-
ume will mount on your desktop. You can quit Disk Utility, and you’re all
set!