OxyNov FreeO2 User manual

FreeO2
Automated Oxygen Therapy Device
User Manual
Models:
FO2-110-00, adult and pediatric - STD

Copyright © 2021 OxyNov
User Manual, FO2-OMP-02 (English)
Version 3.4, 2021-05

Table of Contents
Page iii
TableofContents
1 Typographic Conventions, Alerts, and Symbols ..............................................................1
1.1 Typographic Conventions ..........................................................................................................................1
1.2 Alerts ...................................................................................................................................................................1
1.3 Symbols ..............................................................................................................................................................2
2 Indications for Use .......................................................................................................................3
2.1 Indications ........................................................................................................................................................3
2.2 Contraindications ..........................................................................................................................................3
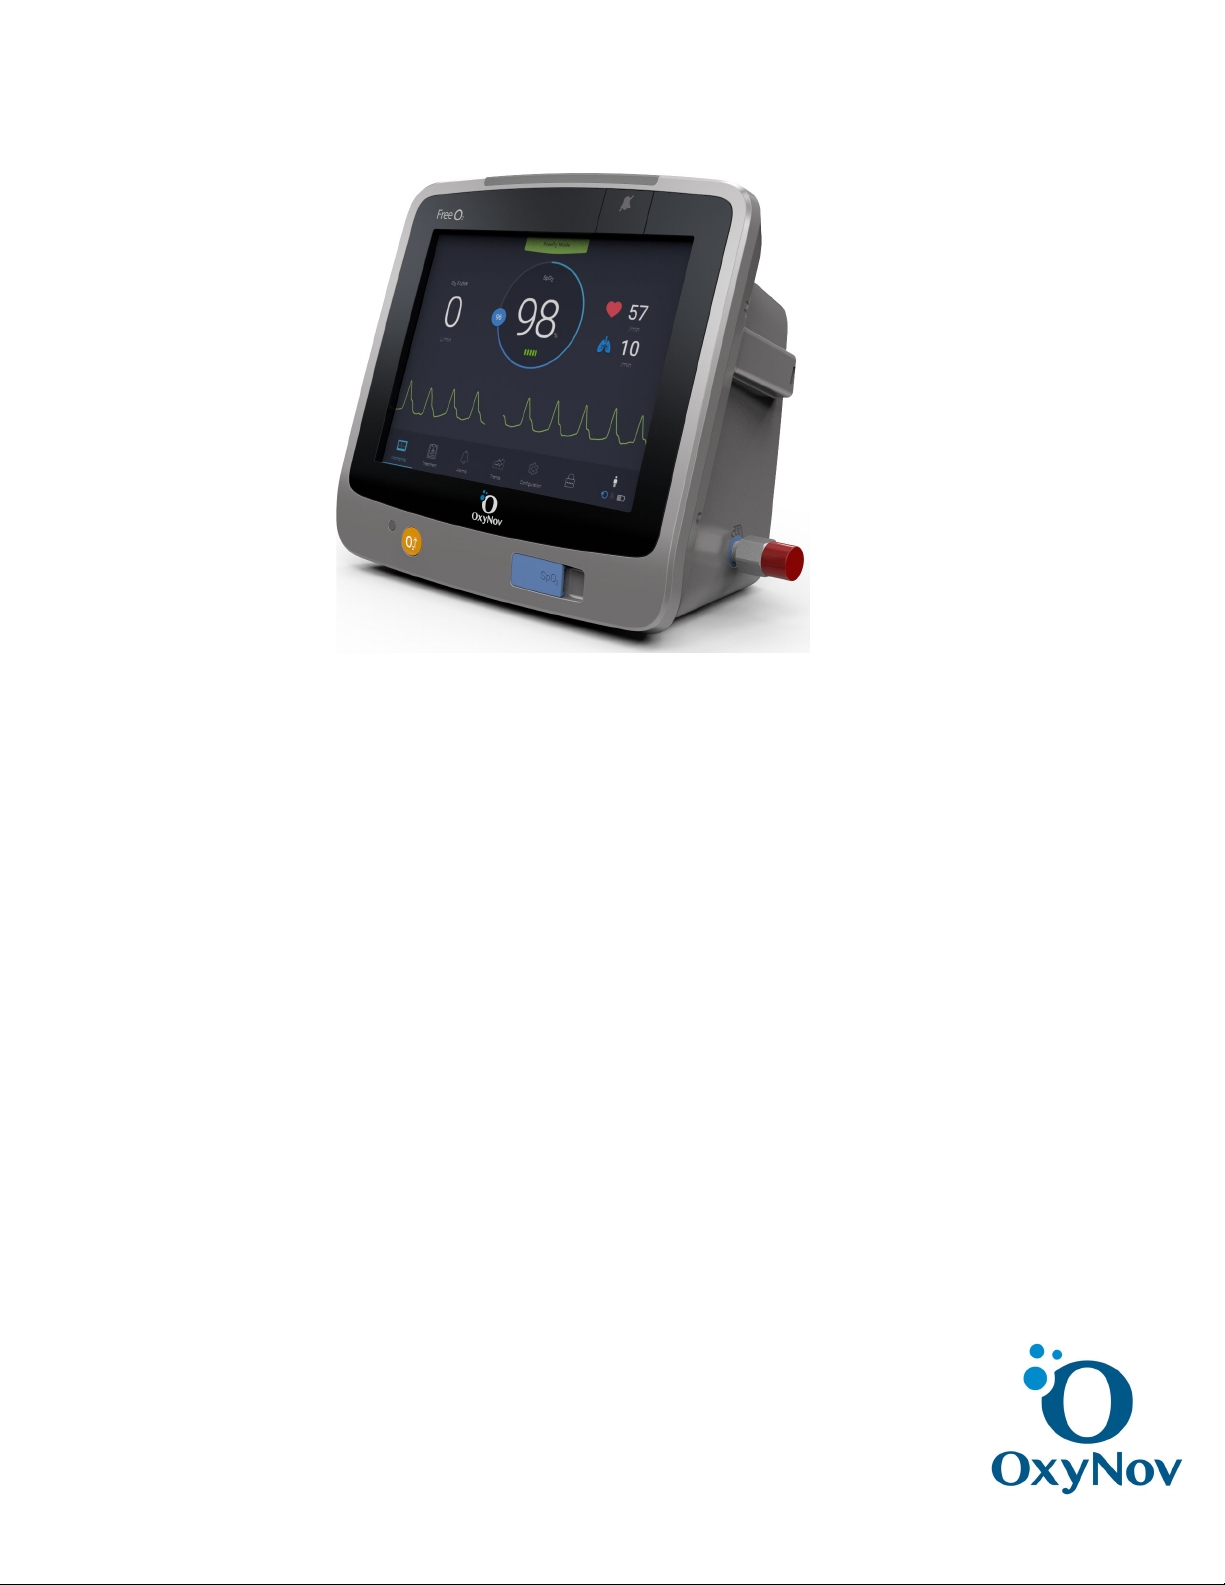
3 Description ......................................................................................................................................5
4 Installation ......................................................................................................................................9
4.1 Installing the FreeO2....................................................................................................................................9
4.2 Startup .............................................................................................................................................................12
4.3 Shutdown .......................................................................................................................................................14
4.4 Changing the Oxygen Source During Treatment ..........................................................................14
4.5 Description of icons ...................................................................................................................................14
5 Oximeter Warnings and Cautions ......................................................................................17
5.1 Oximeter Warnings ...................................................................................................................................17
5.2 Oximeter Cautions .....................................................................................................................................17
6 Operation ......................................................................................................................................19
6.1 Selecting a Patient ......................................................................................................................................19
6.2 Continuing the Treatment ......................................................................................................................20
6.3 Monitoring .....................................................................................................................................................21
6.4 Treatment ......................................................................................................................................................22
6.5 Alarms .............................................................................................................................................................25
6.6 Trend Measurement ..................................................................................................................................29
6.7 Configuration ...............................................................................................................................................30
6.8 Screen Locking .............................................................................................................................................34
7 Electromagnetic Emissions and Immunity ....................................................................35
7.1 Electromagnetic Emissions ....................................................................................................................35
7.2 Electromagnetic Immunity ....................................................................................................................37
7.3 Distances between RF Communication Equipment and the FreeO2....................................39
8 Maintenance ................................................................................................................................41
8.1 Cleaning ..........................................................................................................................................................41
8.2 Calibration .....................................................................................................................................................41
8.3 SpO2Testing .................................................................................................................................................42
8.4 Batteries .........................................................................................................................................................42
9 Warranty and Contact .............................................................................................................45
9.1 Warranty ........................................................................................................................................................45
9.2 Contact ............................................................................................................................................................46

Page iv
Table of Contents
9.3 Training ..........................................................................................................................................................46
Appendix A Specifications ..........................................................................................................47
Appendix A.1 FreeO2..........................................................................................................................................47
Appendix A.2 FreeO2Response Time .........................................................................................................49
Appendix A.3 Example of the SpO2Exponential Averaging..............................................................49
Appendix A.4 Default Values and Limits....................................................................................................50
Appendix A.5 SpO2Sensors.............................................................................................................................53
Appendix A.6 Power Supply............................................................................................................................53
Appendix B Testing Summary ..................................................................................................55
Appendix B.1 SpO2Accuracy Testing..........................................................................................................55
Appendix B.2 Heart Rate Motion Testing..................................................................................................55
Appendix B.3 Low Perfusion Testing..........................................................................................................55
Appendix B.4 Test Results ...............................................................................................................................55

Typographic Conventions, Alerts, and Symbols
Page 1
1TypographicConventions,Alerts,andSymbols
This chapter presents the conventions used to present information as well as the warning symbols.
1.1TypographicConventions
In a procedure, the steps that the user must follow are numbered 1, 2, 3 ... Lower case letters (a, b, c ...) are
used to indicate substeps for a complex procedure.
Small capitals are used to identify a term marked on the unit, such as connector names, buttons, indicator
lights, etc.
All terms used in the software interface, such as command names and text boxes are in bold.
1.2Alerts
This section presents the alert symbols and words that indicate critical information to be aware of before
using the FreeO2.
IMPORTANT: Indicates information that should be taken into consideration.
NOTE: Indicates additional information about using FreeO2.
Warning
Indicates that you must be extremely careful when executing these
instructions. Not complying with these warnings can cause serious injury or
even death.
Caution
Indicates that you must be careful when executing these instructions. Not
complying with these caution directives can cause minor injury or equipment
damage.

Page 2
Typographic Conventions, Alerts, and Symbols
1.3Symbols
This section presents the symbols used with regard to this medical device.
Symbol Label Symbol Label
Manufacturer
Manufacturing date
Oxygen
Authorized representative in
the European Community
CE mark (made in compliance with
93/42EEC Directive on class IIA or
IIB medical devices)
Serial number Refer to the instruction manual or
booklet
Catalogue number Non-ionizing electromagnetic
radiation
Quantity DC power
Medical Device Not for general waste
Unique Device Identifier Do not use if the package is
damaged
Type BF applied part Bell, temporarily canceled
Temperature limits USB connection

Indications for Use
Page 3
2IndicationsforUse
The FreeO2Automated Oxygen Therapy Device provides oxygen therapy on demand, based on continuous,
non-invasive monitoring of oxygen saturation.
The FreeO2Automated Oxygen Therapy Device is intended to deliver a titrated (self-adjusting) flow of oxygen
to maintain the patients within predetermined oxygen saturation levels, as set by the user and monitored by
the system via an oximeter.
The FreeO2Automated Oxygen Therapy Device is indicated for use under the direction of a physician in a
clinical or hospital environment, on spontaneously breathing pediatric, and adult patients who are prescribed
supplemental oxygen via a nasal cannula or oxygen mask.
This chapter presents the indications and contraindications for using the FreeO2.
2.1Indications
The FreeO2device is an automated oxygen regulator intended to be:
•Operated by trained personnel.
•Used under the direction of a physician in a clinical or hospital setting.
•Used to titrate the oxygen flow.
•Used to maintain a target SpO2level, set by clinicians, for spontaneously breathing patients older
than 1 month.
2.2Contraindications
•The FreeO2device is not intended to be used simultaneously on multiple patients.
•Do not use the FreeO2on a patient:
That is less than 1 month old.
For whom the SpO2is not stable.
With CO poisoning.
That is not spontaneously breathing.
Who is incapable to keep airways clear or free of secretions.
NOTE: For additional contraindication, warning, and caution indications, refer to the applicable sensor
instructions for use.

Page 4
Indications for Use

Description
Page 5
3Description
This chapter presents the components of the FreeO2.
The FreeO2is an automated oxygen regulator intended to be operated by trained personnel, under the
direction of a physician in a clinical or hospital environment, to titrate the oxygen flow, based on a pulse
oximetry signal, and to maintain a target SpO2level on spontaneously breathing patients.
It automatically delivers, through standard devices (nasal cannula, face mask), the necessary oxygen flow rate
according to the oxygenation level defined by the clinician and the dynamic response of each patient type.
It works in a closed loop and adapts, every seconds, the oxygen flow rate administered, between 0 and
20 l/min in increments of 0.1 l/min, according to the values read of the oxygen saturation (SpO2) in the blood,
provided by a pulse oximeter installed on the patient.
IMPORTANT: The FreeO2may only be used by trained personnel, according to directions of a physician,
and only for patients that are spontaneously breathing.
Figure 3-1 presents the components of the FreeO2front and back panels.
Figure 3-1 Front panel (left) and back panel (right)
Bolus mode (see Figure 3-1 left)
The bolus mode administers a fixed oxygen flow rate for 2 minutes then returns to the mode previously
selected either: FreeO2, CONSTANT FLOW, or ACQUISITION. Press the yellow button "Bolus mode" to activate
it. It is possible to deactivate the Bolus mode before the end of the 2 minutes, by pressing the button again.
Start/stop
button
Touch
screen
Network
connection
2.0 USB
port
Electric power
connector
Oximeter
connector
Bolus mode
Connection reserved
for the use of
OxyNov
Indicator light
of the oxygen
bolus mode
activation
Indicator light
of the power
and battery
levels
Alarm indicator light
Snooze
button
Oxygen output
(to patient)
Oxygen
input

Page 6
Description
This mode is used when a quick oxygen boost is needed without having to reconfigure the FreeO2.
Oxygen flow rate:
•Pediatric, 5 L/min
•Adult, 10 L/min
NOTE: If no patient type is selected, Bolus mode is 2 L/min.
Indicator light of the power and battery level (see Figure 3-1 right)
The indicator light of the power and battery levels is green when the unit is connected to a power source and
the batteries are fully charged. While charging, the indicator is yellow. When the unit is used with the
batteries, the indicator is off. In addition, when the unit is operating on batteries, the indication "BATTERY-
OPERATED" appears on the monitoring screen (Figure 3-3).
When the indicator light flashes yellow, it indicates a potential problem with the batteries. Check the battery
icon on the screen (Figure 4-8) and if the screen does not represent a full battery even though the equipment
has been plugged into the wall for at least 5 hours, this indicates that the batteries might need to be changed
and the FreeO2 device should be sent to an authorized service center for evaluation.
Snooze button (see Figure 3-1 left)
During an alarm, tapping this button stops the alarm for a period of 2 minutes after which the alarm restarts.
If you tap the button before the end of the 2-minute period, the alarm restarts.
Figure 3-2 presents the components of the FreeO2left and right panels.
Figure 3-2 Left side (left) and right side (right)
Oxygen outputOxygen input

Description
Page 7
Figure 3-3 Battery operated indication

Page 8
Description

Installation
Page 9
4Installation
The FreeO2should be used connected to an electrical outlet; however, there are lithium-ion batteries that
keep the power going in case of a power failure or should the unit get disconnected. The FreeO2has a battery-
life of about 3 hours. If the unit is reconnected after the batteries have been discharged and the unit is still on,
the FreeO2will restart and you can choose to pursue the treatment.
4.1InstallingtheFreeO2
In order to adapt to the different clinical contexts and meet the mobility needs of the unit, the FreeO2is
equipped with bosshead clamp to install the unit on a rolling stand or on a wall rail. It is also possible to place
it on a bedside table.
To install the FreeO2:
1 Connect the AC power adapter into the wall outlet then connect the power supply to the FreeO2.
NOTE: In order to adapt to different wall outlets, your distributor will provide you with the appropriate
power cable, please connect it to the power adapter.
Warning
Only use the AC power adapter provided by OxyNov. Any other cord may interfere with
the proper operation of the unit.
Caution
Inspect the power cord regularly and make sure it is free of cuts, tears, damage, etc. A
damaged cord should be replaced rather than repaired.
Always position the unit so that it is easy to disconnect the power supply.
Warning
Never touch the signal input, output, or other connectors, and the patient simultaneously.

Page 10
Installation
Figure 4-1 Electric power connector
2 Connect the oxygen tube to the oxygen input of the FreeO2then connect it to the medical grade
oxygen source.
The FreeO2supports all types of oxygen sources, high or low pressure, using the adapted connector
of the oxygen input. The high pressure output can be a wall outlet directly connected to the
distribution system of the health care establishment or to oxygen cylinders.
Figure 4-2 Oxygen input
Warning
The FreeO2has to be used with medical grade oxygen exclusively. It can never be used in an
explosive atmosphere or in the presence of flammable anesthetics or gases.

Installation
Page 11
3 Start the FreeO2by pressing the start/stop button.
The startup takes a certain time, refer to section 4.2.
Figure 4-3 Start/stop button
Make sure that the oxygen is properly connected: listen for leaks, if there are none, set the unit to the
fixed flow rate of 2 L/min. If there is no alarm and there is O2coming out of the oxygen output, the
connection is correct.
4 Install the pulse oximeter on the patient, as recommended by the manufacturer, then connect it to
the FreeO2.
IMPORTANT: Make sure to read and understand the warnings and cautions for the oximeter use in
chapter 5 “Oximeter Warnings and Cautions” on page 17.
5 Wait until the SpO2reading is displayed on the FreeO2screen before readjusting the oximeter.
The FreeO2supports wired connections only.
NOTE: The oximeter reading takes 1 to 2 minutes to appear. Wait a little before readjusting the oximeter
on the patient.
6 Place the oxygen administration device (nasal cannula, face mask), as recommended by the
manufacturer, on the patient then connect it to the oxygen output connector of the FreeO2.
NOTE: When choosing the oxygen administration device, take into account the maximum flow rate
allowed by this interface device. Adding extra tubing increases resistance and may impact the maximum
flowrate of the chosen interface. When the interface flow rate limit is reached, an alarm "Patient Interface
Obstructed" may occur.
Figure 4-4 Oxygen output
Caution
Make sure that the patient is not wearing nail polish or any other product that could produce
erroneous readings of the oximeter.
Olive Elbow

Page 12
Installation
NOTE: If you want to use the FreeO2in the ACQUISITION mode only (continuous oximetry), you do not
need to use the oxygen administration device (refer to section 6.4 "Treatment" on page 22).
4.1.1HumidificationSystem
To install a pharmaceutical grade sterile water bottle for inhalation to moisten the oxygen administered to the
patient, remove the olive present at the oxygen outlet of the device, turn the elbow 45˚downwards and
install the bottle directly on the elbow. Refer to Figure 4-5.
Figure 4-5 Humidification System
4.2Startup
After pressing the start/stop button, the startup sequence takes about 1 minute 15 seconds. Two startup
screens open one after the other then the screen to select the usage mode opens (startup screen). You can
select the same patient (CONTINUE) to use the already established parameters or start a treatment for a new
patient (NEW PATIENT).
Once startup is completed, on the touch screen, tap CONTINUE or NEW PATIENT.
NOTE: When you select NEW PATIENT, a new data file is created and the trends start over.
Warning
Never use petroleum-based products on the patient during the administration of oxygen. This can
cause severe burns.
In case of nasal dryness, use a lubricant recommended by the health care personnel. It is also
possible to use a humidification system (refer to section 4.1.1).
Warning
It is strictly forbidden to smoke during treatment. This can inflict serious injuries.

Installation
Page 13
Figure 4-6 Startup screen
The sleep mode allows the device to be placed in standby so that a new patient can start their treatment
more quickly. In this mode, the screen is turned off and electricity consumption is reduced. To deactivate
sleep mode, just touch the screen, or press the snooze or bolus buttons. In sleep mode, the Bolus function is
still available and the delivered flow rate is 2 L/min.
When using the unit for the first time, the CONTINUE option is available but the parameters are default
settings from the factory.
When selecting CONTINUE, the monitoring screen opens. In this screen you can see the usage mode and the
target to be reached.
Figure 4-7 Monitoring screen

Page 14
Installation
4.3Shutdown
You shutdown the FreeO2by pressing the start/stop button. No data will be lost since the unit records
everything in real time.
Before unplugging the device, turn off the oxygen source. Disconnect the oxygen tubing from the oxygen
source and then disconnect it from the device.
4.4ChangingtheOxygenSourceDuringTreatment
It is possible that you may have to change the oxygen source during a treatment. The following is the
procedure to change the oxygen source.
IMPORTANT: When changing the oxygen source, the treatment must suspended.
To change the oxygen source:
1 On the main screen tap Treatment and tap Suspend Treatment.
2 Turn off the oxygen source and disconnect the hose from that oxygen source.
3 Connect the hose to the new source of oxygen and turn on the latter.
4 On the main screen tap CONTINUE.
4.5Descriptionoficons
Refer to Figure 4-7 for the description of the icons located at the bottom right of the screen.
Figure 4-8 Description of icons
Patient type
(Adult or pediatric; section 6.1)
To lock / unlock the
screen (section 6.8)
Selected operating mode (the blue circle as shown in
this image corresponds to CONSTANTFLOW mode,
the blue circle with a dot as shown in Figure 4-7
corresponds to FreeO2 mode while an eye icon
corresponds to the ACQUISITION mode).
Patient name when information is
entered into the device (Section 6.4.4)
Alarm icon
(section 6.5)
Battery charge level
(Table 1)

Installation
Page 15
Table 1 Description of battery icons
Icon Description
The batteries are fully charged and the device is plugged into a wall
outlet.
The batteries are being recharged.
The batteries are fully charged and the device is currently in battery-
operated mode.
The battery charge level is approximately 3/4 and the device is currently
in battery-operated mode.
The battery charge level is approximately 1/2 and the device is currently
in battery-operated mode.
The battery charge level is approximately 1/4 and the device is currently
in battery-operated mode.
The batteries are practically empty, the device must be plugged as soon
as possible.

Page 16
Installation
Other manuals for FreeO2
1
This manual suits for next models
1
Table of contents
Other OxyNov Oxygen Equipment manuals
Popular Oxygen Equipment manuals by other brands

Ozotech
Ozotech AIM BTU 1000 Installation and service manual

SeQual
SeQual Eclipse 1000 user manual

Precision Medical
Precision Medical EasyMate PM2200 user manual

Invacare
Invacare Platinum Mobile POC1-100 Series Service manual

Oxygen
Oxygen Wheel Chair Ready Type Chamber user manual

Inogen
Inogen One G4 Technical manual