7
LT-2355
UNPACKING AND SETUP
INITIAL INSPECTION
1. Upon receiving, examine the unit for external damage. If the unit appears to
have external damage, please contact DeVilbiss for assistance.
2. Check to be sure the cabinet air lter and the intake lter are in place.
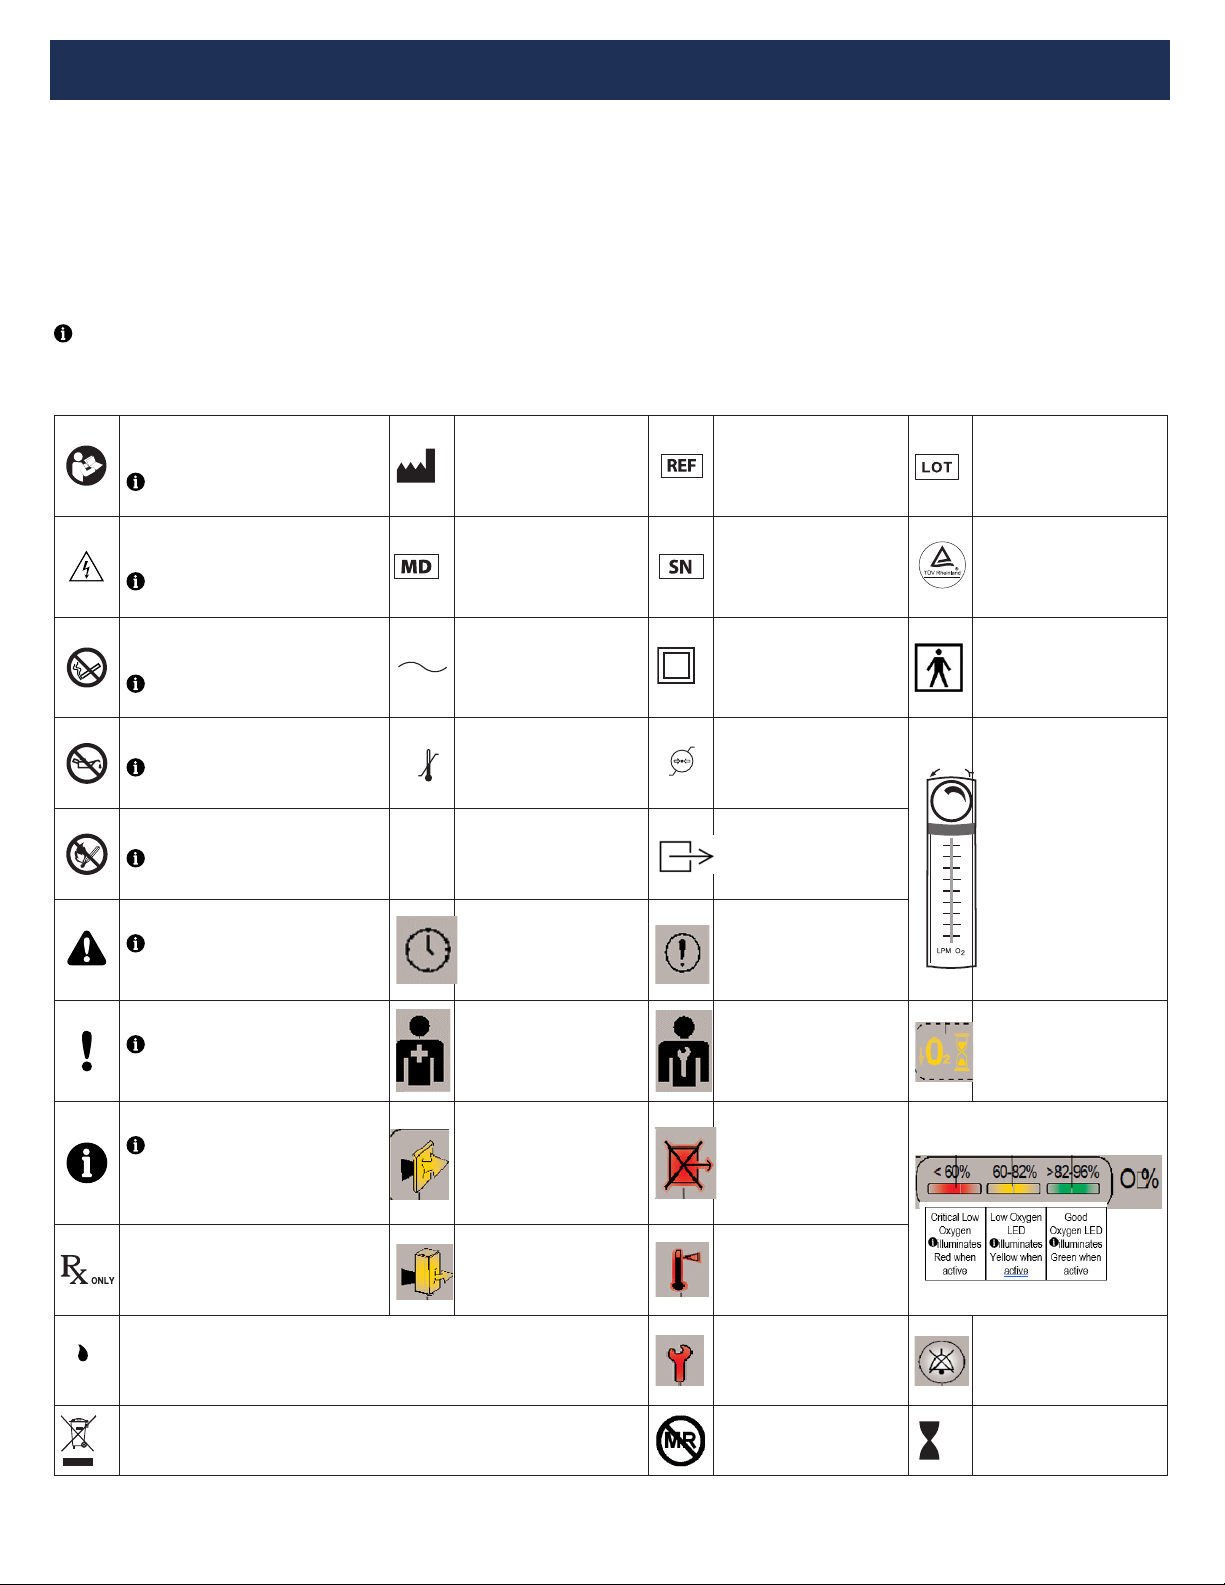
3. Plug the unit into an electrical outlet, turn the unit ON and check the audible/
visual alarms. When the unit is turned ON, as part of the normal start-up
process, all ten (10) LEDs on the front panel should illuminate and the
audible alarm should sound when the unit is rst turned ON. If ANY front
panel LEDs DO NOT illuminate or the audible alarm DOES NOT sound, the
alert system is not functioning properly. Refer to the Troubleshooting chart
and contact your biomed technician if necessary.
4. Set the ow meter at the maximum recommended ow rate and allow the
unit to run for 20 minutes. The internal oxygen sensor monitors the oxygen
purity. If the oxygen is within specication, the Green Good Oxygen LED will
be illuminated. If the Yellow Low Oxygen LED is illuminated, refer to
Troubleshooting in the IFU, the Service Manual, or contact DeVilbiss for
assistance.
5. With unit still running, unplug to test the power fail alarm. If the power fail
alarm does not provide an audible alert, refer to the Service Manual or
contact DeVilbiss for assistance.
When ready for operation
WARNING
The accessories (nasal cannula, masks, oxygen tubing, humidiers,
etc.) that supply oxygen to the patient must be equipped with a
means that, in case of re, stops the propagation of re through the
accessory for the safety of the patient and others. A re activated
ow-stop or thermal fuse device, if available, should be used with
the oxygen supply accessories. These types of ow-stop devices
stop the ow of oxygen to the patient in the event of re. This
means of re protection should be located as close to the patient as
practicable
1. Attach the nasal cannula to the oxygen tubing per the manufacturer’s
directions
2. Follow the Operating Instructions.
OPERATING INSTRUCTIONS
1. Remove the power cord completely from the strap. Make sure the power
switch is in the “Off” position.
2. Ensure cord is connected to the unit before inserting plug into an appropriate
electrical outlet.
WARNING
Improper use of the power cord and plugs can cause a burn, re, or
other electric shock hazards. Do not use the unit if the power cord is
damaged.
Oxygen causes rapid burning. Do not smoke while your oxygen
concentrator is operating, or when you are near a person utilizing
oxygen therapy. Keep the oxygen concentrator and cannula at least
6.5 feet (2 m) from hot, sparking objects or naked sources of ame.
WARNING
The Drive DeVilbiss 1060AW oxygen concentrator is equipped with a
re mitigating outlet tting that prevents propagation of re into the
unit.
The accessories (nasal cannula, masks, oxygen tubing, humidiers,
etc.) that supply oxygen to the patient must be equipped with a
means that, in case of re, stops the propagation of re through the
accessory for the safety of the patient and others. A re activated
ow-stop or thermal fuse device, if available, should be used with the
oxygen supply accessories. These types of ow-stop devices stop
the ow of oxygen to the patient in the event of re. This means of
re protection should be located as close to the patient as practicable
WARNING
As part of the normal start-up process, all ten (10) LEDs on the front
panel should illuminate and the audible alarm should sound when the
unit is rst turned ON. If ANY front panel LEDs DO NOT illuminate or
the audible alarm DOES NOT sound, the alert system is not
functioning properly. Refer to the Troubleshooting chart and contact
your biomed technician if necessary.
3. Press the power switch to the “ON” position. When the unit is turned ON, all
ten (10) LEDs on the front panel will illuminate briey and an audible signal
will briey alarm conrming that the LEDs and audible signal are functioning
properly. The unit will then operate in “start-up” mode with the Startup Low
O2 LED illuminated until a normal oxygen level is achieved, at which time the
Green Good O2 LED illuminates and will remain lit. The start-up mode may
take up to 15 minutes..
NOTE–Drive DeVilbiss recommends for optimal service life that the Drive
DeVilbiss Oxygen Concentrator to be operated for at least 30 minutes after it
is powered on. Shorter periods of operation, operating in extreme
temperature/humidity conditions or in the presence of contaminates, and/or
handling and storage conditions outside those specied, may affect the long
term reliable operation of the product.
4. Slowly turn the ow meter knob until the ow meter ball is centered on the
line next to the appropriate ow rate.
NOTE–When the ow meter knob is turned clockwise, the ow
decreases (and eventually will shut off the oxygen ow). When the knob is
turned counter-clockwise, the ow increases.
NOTE– For prescriptions of 10 LPM, be sure the ball is centered on the
10 liter line; the ball should not touch the red line. Setting the ow higher
than 10 may cause the oxygen purity level to drop.
NOTE– The low-ow alarm may activate if the ow meter ball is set
below 1 lpm. The unit will continue to run; however, the Service Required
light will come on accompanied by an audible alarm. Adjust the ow meter to
your prescribed ow.
NOTE–The unit may require up to 20 minutes for the oxygen
concentration and ow rate to stabilize. The ow rate should be monitored
and readjusted if necessary.
5. The ow meter has a locking device. If it is necessary to preset and lock in
the prescribed ow rate, tighten the set screw located on the hex nut just
below the control knob using a 1/16" Allen bit. No adjustment can be made
without loosening the set screw.
6. The Drive DeVilbiss oxygen concentrator is now ready for use.