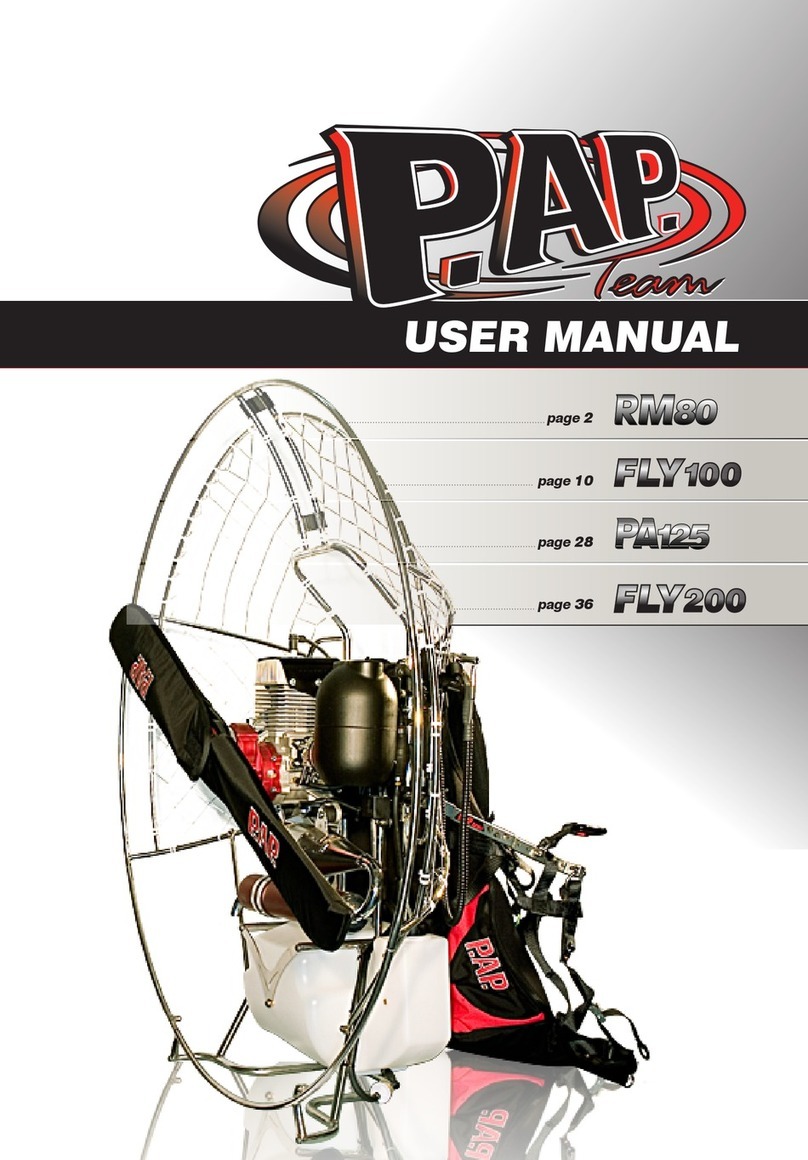
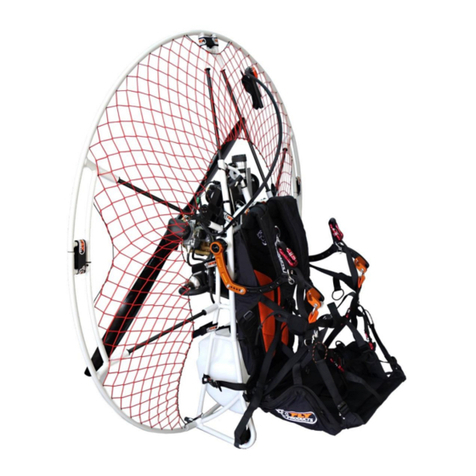
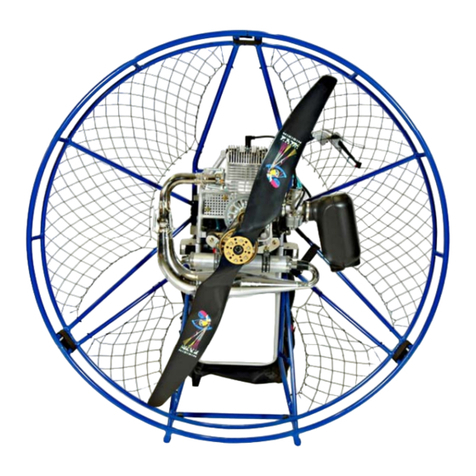
P.AP. Team RM80 User manual

COMPONENTS AND ELEMENTS OF THE PAP MACHINE
Thank you for purchasing a PAP machine and trusting in our
experience. is will let you achieve and experience ight in a very
simplistic form and let those childhood dreams of ight become a
reality. If you do not want this dream to become a nightmare then
please read and understand fully the following recommendations
about its operation and use. Enjoy your machine and always
respect the ight rules
USE AND MAINTENANCE MANUAL
RM80 & PA125 1200 LIGHT
STARTER WITH PRIMER SYSTEM
In this paraengine model we have introduced a ‘primer’ which is a system which facilitates the pump action
to make the staring of engine easier. Its use is simple and consists of pulling the primer extending it all the
way and after pushing it back introducing the rod completely. This Act provides enough gasoline flow to the
carburetor replacing the manual pump pear and the carburetor pump action.
It is positioned in the cage as seen on the picture and its access is easy during flight, making it simple to
start if the pilot wants to turn off the engine during flight and to restart it after a few minutes when the engine
has been able to cool down.
1
o
2
o
(fig. 1)(fig. 2)

ABCDEF
ACTIVE ARMS SYSTEM
Arms AS (Active System) Is the Union between the Chair and the
frame, it holds the carabineers where the paraglider is anchored
working as a ‘Roman scale’. Here you should find your static
balance for your equipped pilot weight. The best way is to
fasten everything to a portal or straps to find your ideal position
during flight. So go moving equivalently the points of anchorage,
backward or forward (from A, B, C, D, E, or F) in function of
weight, height and pilot’s flight preferences.
THE LIGHTER WEIGHT’S WILL DISPLACE THE CARABINERS
BACKWARDS AND THE HEAVIEST FORWARDS
A = +/- 40 Kg.
B = +/- 50 Kg.
C = +/- 60 Kg.
D = +/- 70 Kg.
E = +/- 80 Kg.
F = + 90 kg.
Important: these recommended weights may vary depending on the
height and complexion of pilot as well as your preferences in the flight
position, especially while landing, although recommended flight position
is 20 degrees (fig. 3) some find it easier with a more vertical position while
landing.
For the height, remember that this arms ‘activate system’ acts as a Roman
scale, so that the weight of the engine is in contrast with the pilot’s weight.
As an example to try to explain this, it can be the case of a pilot of 70 kg
and 1.80 m height who practices cycling and so his muscles of his legs
weigh enough and so, moves the balance forwards to obtain a perfect
flight position with the shackle in the “D” position.
However, another pilot who weighs also 70 kg but measuring 1.65 m tall
will not bet in balance with the weight of the engine in this hypothetical
Roman scale having shorter legs and more concentrated weight at the
trunk of the body. So perhaps he will obtain a better flight position by
placing the anchor in the letter ‘C’ so the center of the balance of the
engine is closer to him than in the previous case of bicycle rider.
The best way to find this out as said before is hanging yourself on a portic
or straps with the engine on the back.
THROTTLE
On the throttle handle check that the
cruise control screw is loose and
the throttle handle is returned to the
closed position (1).
The Engine STOP button is located
on top of the hand throttle (2). The
accelerator cable is passed over the
forearm for optimum control and
comfort.
1
2
20
0
200
(fig. 3)

DISMANTLED CHASSIS
1
o
3o
5o
2o
4o
1
o
2o
3o
4o
3o
2o
1
o
3o
2o
1
o

SECURITY ON THE GROUND
THE BIGGEST DANGER IS ON GROUND so it is very
important to get into a good habit of checking the surrounding
area is clear to avoid incidents/accidents:
Moving the engine: Always lift the machine using the strongest
and most stable part of the chassis. DO NOT LIFT OR MOVE
USING THE CAGE.
NEVER START WITHOUT THE PROPELLER OR GEAR BOX.
Follow the manufacturer’s instructions for running in using the
correct % of oil mix, and always filter the fuel when filling the tank.
Only close the breather line valve when transporting the machine
to prevent fuel spillage. Otherwise this valve must be in the open
position for flight.
Open – when the handle of the valve is inline with the pipe.
Closed- When handle of valve is 90° to pipe.
Make sure that there is nothing or no one around the area of the
propeller during starting and that you have placed the engine on
a level surface and a mat to avoid contact between the propeller
and loose items on the ground. i,e small stones or sand.
Never turn the engine towards people, animal’s, paragliders.
OPEN
CLOSE
CHAIR
PROPELLER
The Sup ‘Air is designed specifically for PAP with a particularly lightweight fabric that
provides a similar comfort as the standard Chair while at the same time contributes to
lowering the weight of the equipment.. It comes with:
Carabineers and automatic closing anti-forget clips
Extendable carbon fiber plate inside which is bendable
Pulley for throttle,
Pre-installation for RPM meter and for parachute.
Security tape that serves to maintain the position of the Chair in case of rupture of the
anchor.
The torque setting for the propeller bolts is 1kg/m (10Nm). If you do not have a torque wrench just tighten the bolts slightly more
than the maximum pressure.
NEVER START THE ENGINE WITHOUT PROPELLEER OR GEARBOX FITTED.
Its very important to check the propeller tracking. This is the difference between the tips of the propeller on its path during rotation.
If the tracking of the propeller is occurs it means that the propeller bolts may have been tightened asymmetrically. On engines
without clutch: Take away the spark plug so that the propeller can turn easily. Turn the propeller, and make sure the tips of the
propeller pass through the same axis during rotation.
IMPORTANT: Every time the propeller is fitted it is necessary too tighten the bolts before the next flight. Check that the
propeller is not damaged fixed properly and turns correctly and smoothly. Listen for any unusual noises that might come
from the engine or the gearbox.
Torque setting wood proppeller 1,1 Kgm (11 Nm) Torque setting carbon proppeller 0,8 Kgm (8 Nm)

BEFORE STARTING IT IS IMPORTANT TO DO A
PRE FLIGHT CHECK
Check the tightness of all bolts and screws on the engine.
Nothing should be loose in flight as it can come off and go through the propeller causing extensive damage.
Check the welding especially where the engine is fixed
Check that the safety net is fastened tightly, and that the paragliders speed trim system does not have spare lines hanging, as
these can get into the propeller.
Check the condition the anti-vibe rubber mounts
After flying, clean the engine and the propeller with a cloth (it’s the best way to find anomalies)
ENGINES
At PAP we are currently working with 4 different engine manufacturers, which permits us to have a complete range of engines
to suit all needs. Every manufacturer provides information for periodical checks of their own engine. For more info check on our
website or contact the closest dealer.
SECURITY TAPE TO LOCK THE PROPELLER IN THE COLD START.
A new security measure to avoid the possibility of the engine falling towards
us when starting in cold giving gas.
We start with the covers of the propellers on, as the tape has been stitched
on to the covers and its function is to block the propeller should we not give
enough gas when the engine of transmission with centrifugal clutch. Has
already started.
This security measure is intended above all to minimize risk and nerves of those
who are new to the paraengine and aren’t familiar with the manual startup.
It is a good option to get used to using this system which would also block the
propeller in case we do not notice that the roulette of the gas lever is blocked
photo(1) or that the gas lever does not return correctly (remember that it
is very high importance to methodically perform these checks before
starting)
We must fix the Ribbon on the principal outside ring of the frame so that the
propeller moves as little as possible See photo. Remind you that all engines
with centrifugal pivoted clutch turn to the right depending on the position of
flight.
There are other techniques that exist in the world of the paramotor for long
time for this purpose. We have incorporated it as simple and efficient without
using other elements.
Avoid the gasolina 95 E10.
Use only gasolina without lead 98
ENGINES Gasoline Synthetic oil
RM80 Unleaded 98 2 % (100 ml per five liters of petrol)
PA125 Unleaded 98 2.5% (125 ml every 5 liters of gasoline)
Torque setting carbon proppeller 0,8 Kgm (8 Nm)

BASIC RECOMMENDED CHECKS
First 10 Hrs (running-in) Every 50 Hrs Every 100 Hrs Every 150 Hrs Every 200 Hrs
1. Check torque of all
screws and nuts of the
engine, exhaust, frame,
and cylinder head; with
a cold engine too avoid
malformation.
2. Check the sparkplug,
the inner part should be
a brown light colour and
have a 0.5mm.
3. On engines with pul-
ley check the correct
belt tension.
4. Check the small fuel
filter.
5. Take off the carburet-
tor inner filter.
1. Replace sparkplug
and check contact
between spark plug
cable and cap.
2. Replace membrane
kit.
3. Check thickness of
clutch del ferodo.
4. Piston rings.
5. Clean carbon residue
from clutch and exhaust
manifold, piston head
cylinder manifold.
Check needle-bearing
set by vertically moving
the piston.
6. Replace cylinder
gasket and and cylinder
head gasket.
1. Replace reduction
gear oil and check the
state of all engine mem-
branes and replace if
necessary.
2. Replace piston rings
and membranes.
3. Exhaust and engine
antivibes.
1. Change piston 1. Check the state of
all engine bearings and
change if necessary.
2. Replace piston and
engine membranes.
3. Replace throttle cable
and sleeve if necessary.
4. Check general state
of electric elements
and engine dampers
and petrol circuit and
replace if necessary.
5 Replace main petrol
tube.
6. Check general state
of reed valve sheets and
replace those that are
worn or not elastic.
IMPORTANT: IS ESSENTIAL TO TIGHT THE HEAD CYLINDER AFTER THE FIRST FLIGHT HOUR
It is necessary to tight the head cylinder nuts after the first flight hour accorded with the table of pairs of tightens and
using for it a dynamometric key.
For the RM80 the head cylinder pair of tightens is of 0.9 KGM/9 NM and 1.6 KGM/16 NM for the PA125.
SPECIAL ATTENTION BEFORE THE FIRST USE:
It is necessary to have a special care when you pump the gasoline before the first use to prevent some gasoline does
not fall on the exhaust pipe. If there is some fuel on the exhaust you have to leave it dried before passing a rag.
WE RECOMMEND TO ALWAYS FILTER THE FUEL WHEN YOU FILL THE DEPOSIT.
TAKE OFF THE CARBURETTOR INNER FILTER. (fig. 4)
(fig. 4) (fig. 4) (fig. 4)
REDUCTOR GEAR AND TRANSMISSION
The reductor gear leaning in oil bath is quite efficient
and reliable, and has a very low noise production.
Its ratio is 3,65 / 1. Almost no maintenance and ad-
justments are necessary, except check
every 100 hours that oil level and state of the clutch
are correct.
The transmission from the crankshaft to the reductor
gear is connected by means of a dry centrifugal
clutch that allows the propeller to be not moving
when idle. No maintenance is required.
The amount of oil to apply is: 20 ml. 75W – 90.
IMPORTANT
This screw is used
to change the oil
but not to check
the level.

PAP WARRANTY COVERAGE
1. - The warranty is for a period of 2 years from the time of delivery.
2 . - It ensures product conformity according to the use for which it is intended.
3 . - Within the warranty period of the first 6 months, we will evaluate without charge, any malfunction of the unit due to
manufacture error, either by repairing, or the replacement of damaged parts. If this is not possible, we will then replace the
complete unit, provided that the chosen option is feasible, and not economically disproportionate to the replacement of the
faulty part, this decision will be decided at our discretion. To qualify for repair, the owner should contact an authorized service
dealer, alternatively please contact the factory directly.
4 - The guarantee, referred to in paragraph 1, is suspended during repair. The suspension period will start from when the
consumer delivers the unit to our dealer, and ends with the delivery of the unit to the customer. Consequently, the warranty is
extended for the repair period.
Excluding the responsibility of guarantee:
This warranty is void in cases of : misuse, improper use , tampering, deterioration of the unit due to external agents such
as harmful products , chemicals, corrosive obstructive, or due to improper maintenance, lack of cleaning or the use of
non-original spare parts for our brand.
Also not covered under this warranty, any failures from misuse, as understood due to the situations described below:
1.- The use of propellers which are not supplied by PAP or repaired by particulars or professionals who are not the
manufacturers who supply the propellers to PAP, will mean the cancellation of all guarantee rights. ( This norm is due to
the vibration produced by propellers which do not correspond to the engine model or unbalanced due to an incorrect
reparation, all this can produce imperfection on the engine or frame, which in no way are imperfections from the
manufacturer. )
2.- The guarantee does not contemplate the seize-up of the cylinder. ( Mechanically this is understood as the engine
goes through a quality control at the manufacturer and the tests done at the PAP workshop., it should never seize-up
unless there is not enough oil in the mixture or that the mix of air and gasoline is disproportioned, due to dirt in the
carburettor, a defective joint or a sparkplug not tightened properly. Resuming, due to the loss of stagnation on the
engine blocks, factors which can always be avoided following the recommendations and most important of all revising
periodically the engine ).
Shipping costs to the factory will be borne by the customer.
Other manuals for RM80
1
This manual suits for next models
1
Table of contents
Other P.AP. Team Paramotor manuals