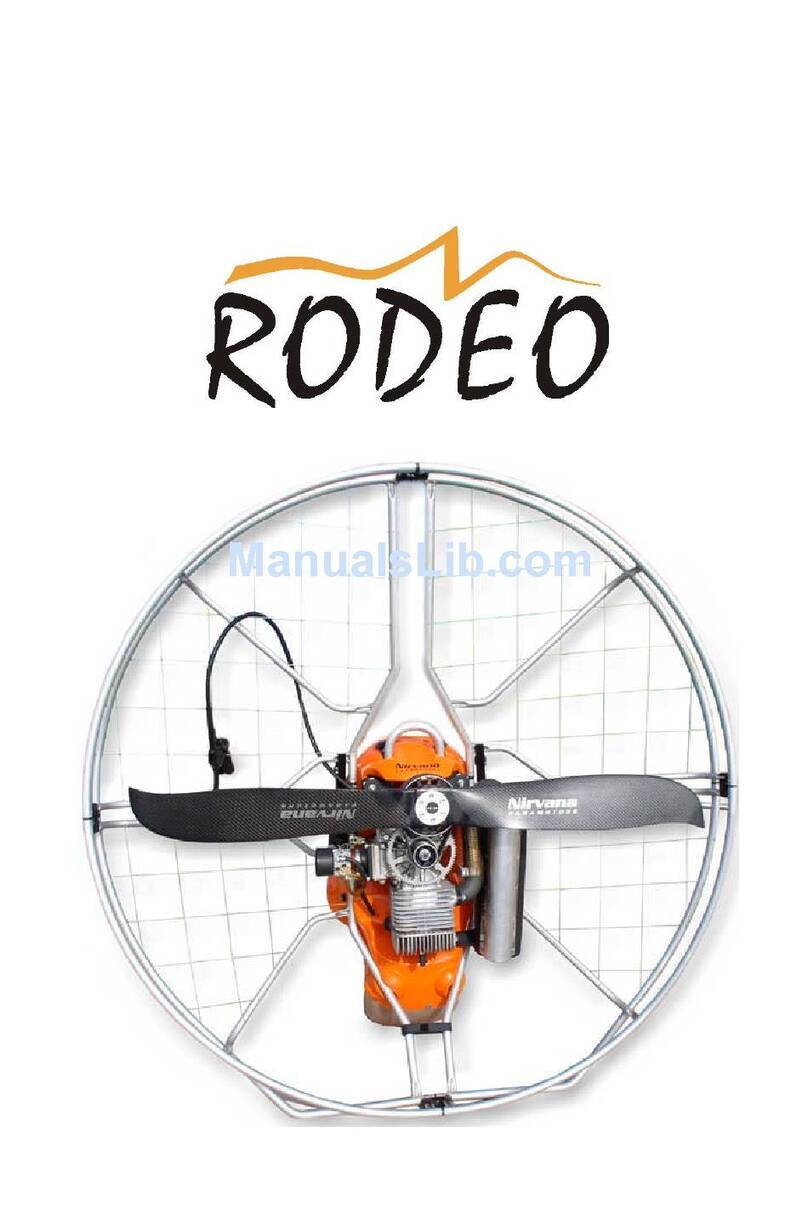
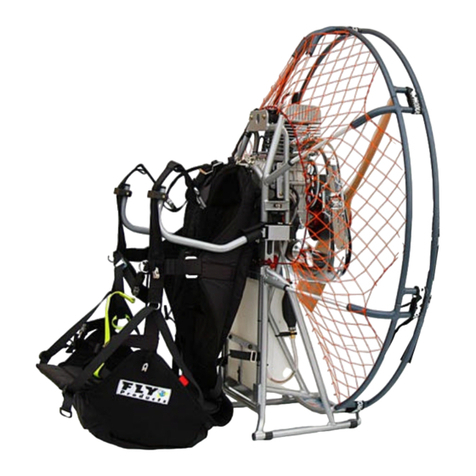
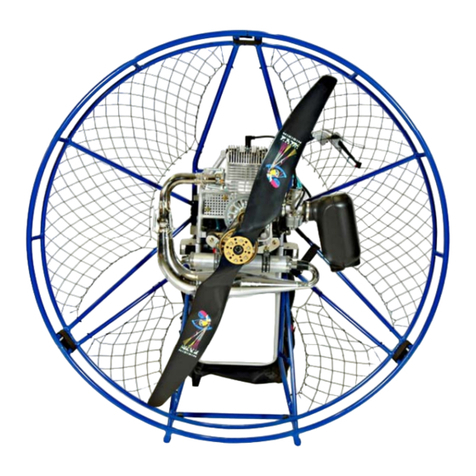
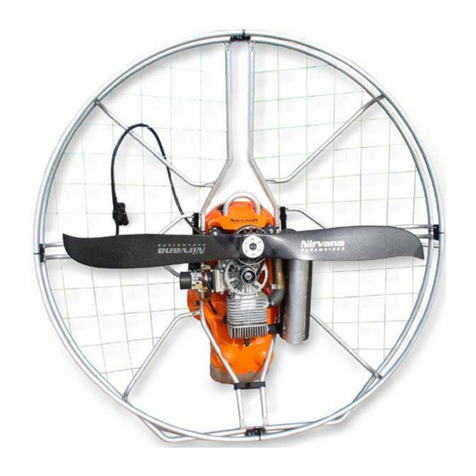
P.AP. Team THOR 200 User manual

ank you for purchasing a PAP machine and trusting in our experience.
is will let you achieve and experience ight in a very simplistic form
and let those childhood dreams of ight become a reality. If you do not
want this dream to become a nightmare then please read and understand
fully the following recommendations about its operation and use. Enjoy
your machine and always respect the ight rules.
PARAMOTOR
USER MANUAL
THOR200

STARTING THE ENGINE WITH CARBURETTOR PWK 28
If the fuel circuit is empty we will have to pump
(fig 14)
so that the gasoline rises reaching the carburetor inlet and therefore
filling up the circuit. Pump 3 times to enter the correct amount of fuel in the carburetor (see manual POLINI THOR 200,
CARBURETOR PWK).
1º) Check that the starter cable is not blocked and that the return spring works properly.
Check that the NUT which holds the gas is NOT TIGHT and not locking the throttle lever.
2º) Pull STARTER
(fig 15
).
3º) Lock the propeller with the security TAPE system that the propeller covers INCLUDE
(fig 12)
.
4º) Leave the accelerator supported as shown in the picture
(fig 20)
, WITH THIS ENGINE WE DO NOT NEED TO ACCELERATE
WHILE PULLING THE STARTER.
5º) Take the safety position as pictured
(fig 21
)
(fig 22
).
6º) Use a gentle progressive and firm tug (fig 23); a strong pull is unnecessary because the Polini Thor 200 starts easily.
7º) Once started take the throttle to have the engine under control at all times. Allow the engine to run slowly for a few seconds
at idle and turn it off.
8º) Press the STARTER (Fig. 15) to be left in its initial position.
9º) Remove the safety tape and propeller covers
(fig 12
).
10º) Repeat steps 4, 5 and 6 to restart the engine.
1º) Check that the starter cable is not blocked and that the return spring
works properly. Check that the NUT which holds the gas is NOT TIGHT and
not locking the throttle lever.
2º) Leave the accelerator supported as shown in the picture
(fig 20)
, WITH
THIS ENGINE WE DO NOT NEED TO ACCELERATE WHILE PULLING THE
STARTER.
3º) Take the safety position as pictured
(fig 21
)
(fig 22
).
4º) Use a gentle progressive and firm tug (fig 23); a strong pull is
unnecessary because the Polini Thor 200 starts easily.
5º) Once started take the throttle to have the engine under control at all
times. Allow the engine to run slowly for a few seconds at idle and turn it off.
TECHNIQUE TO START THE POLINI THOR 200 FLASH
START COLD WITH FULL GASOLINE CIRCUIT:
WARM START WITH FULL GASOLINE CIRCUIT:
FOR SAFETY WHEN HAVING REMOVED THE STARTER YOU CAN RESTART THE ENGINE WITH THE
PARAENGINE ON YOUR BACK. GRADUALLY PULLING WITH BOTH HANDS AND THE THROTTLE ON THE
RIGHT HAND.
WITH THE ENGINE
WARM YOU CAN
START IT DIRECTLY
ON YOUR BACK
(fig
14
)
(fig
16
)
(fig
15
)
IDLE SCREW
AIR SCREW REGULATOR - FUEL
IN IDLE (1 TURN FROM CLOSED IS
THE FACTORY SETTING. WHEN YOU
TIGHTEN THE IDLE SCREW YOU WILL
MAKE IT RICHER)
NEVER START IT
WITHOUT PROPELLER
OR GEARBOX.
ONLY IN THE CARBURETTORS PWK, THE PIPE
THAT GOES TO THE CARBURETTOR, HAS A
HOLE IN IT, (fig 16) THIS IS IMPORTANT FOR IT TO
FUNCTION CORRECTLY.
1
2

STARTING THE ENGINE WITH WALBRO 37CARBURETOR
If the circuit is empty you must press the button located on
the top of the carburetor (fig 17) and at the same time pump
gasoline with Primer (fig 14) until you feel that you have
reached the carburettor.
When you have reached you have to prime one more time so
that gasoline goes into the carburettor.
ENSURE THAT THE BUTTON RETURNS BACK TO ITS
ORIGINAL POSITION AND IS NOT PRESSED INWARD.
1º) Check that the starter cable is not blocked and that the return spring works properly.
Check that the NUT which holds the gas is NOT TIGHT and not locking the throttle lever.
2º) Lock the propeller with the security TAPE system that the propeller covers INCLUDE
(fig 12)
.
3º) Leave the accelerator supported as shown in the picture
(fig 20)
, WITH THIS ENGINE WE DO NOT NEED TO ACCELERATE
WHILE PULLING THE STARTER.
4º) Take the safety position as pictured
(fig 21
)
(fig 22
).
5º) Use a gentle progressive and firm tug (fig 23); a strong pull is unnecessary because the Polini Thor 200 starts easily.
6º) Once started take the throttle to have the engine under control at all times. Allow the engine to run slowly for a few seconds
at idle and turn it off.
7º) Remove the safety tape and propeller covers
(fig 12
).
8º) Repeat steps 3, 4 and 5 to restart the engine.
1º) Check that the starter cable is not blocked and that the return spring works properly.
Check that the NUT which holds the gas is NOT TIGHT and not locking the throttle lever.
2º) Leave the accelerator supported as shown in the picture
(fig 20)
, WITH THIS ENGINE WE DO NOT NEED TO
ACCELERATE WHILE PULLING THE STARTER.
3º) Take the safety position as pictured
(fig 21
)
(fig 22
).
4º) Use a gentle progressive and firm tug (fig 23); a strong pull is unnecessary because the Polini Thor 200 starts easily.
5º) Once started take the throttle to have the engine under
control at all times.
TECHNIQUE TO START THE POLINI THOR 200
FLASH START COLD WITH FULL GASOLINE CIRCUIT:
FOR YOUR SAFETY, YOU CAN RESTART IT WITH THE ENGINE IN THE BACK. PULLING PROGRESSIVELY WITH
BOTH HANDS AND THE THROTTLE ON THE RIGHT HAND SIDE.
WITH THE ENGINE WARM YOU CAN START IT DIRECTLY
ON YOUR BACK
(fig
17
)
WARM START WITH FULL GASOLINE CIRCUIT:
NEVER START IT WITHOUT PROPELLER.
Adjustment screw low; as if it were a clock is pressed without
straining and the equivalent opens up to 40 minutes on the clock
wheel. This is the basis of factory regulation. From this position
according to the atmospheric conditions can lock or unlock carefully
(in comparison with the clock, this setting should never be greater
than 5 minutes of the clock).
Regulation screw high; factory base adjustment is 2 turns.
Idle screw
Button to prime the carburetor (fig 17).
THIS IS THE FACTORY SETTING. UNDER NO
CIRCUMSTANCES SHOULD YOU MODIFY THIS SETTING,
TO OPEN IT OR TO CLOSE IT, AS THE RISK IS HIGH OF
DANGEROUSLY BORING A HOLE IN THE PISTON.
11
2
3
4
2
3
4

With the Flash Starter system which is mounted standard on the Polini engines , we have prepared our frames so
that you can place the starter handle behind the head(fig24) as on the left side (fig25)of the frame depending on
your preference, and the use or not of the HRS System(parachute bag behind the head).
It will be standard mounted at the workshop on the left side of the frame, as we find it safer when starting the engine
on the ground, unless the client ask’s otherwise.
The wrap is so that the tape is always in
a forward position which makes it easier
to grab when the engine is on your back.
OPTION FOR THE POSITION FOR THE “FLASH STARTER”
(fig
25
)
(fig
25
)
(fig
25
)
POSITION FOR THE STARTER
BEHIND THE HEAD
POSITION FOR THE STARTER
ON THE LEFT SIDE
(fig
24
)
(fig
24
)
(fig
24
)
1
1
1
2
2
See manual of the Polini Thor 200
For information about the running of the engine, fuel recommended, reductor oil, maintenance, warranty, etc.

ASSEMBLY PROPELLER POLINI THOR 200 & THOR 250
1
o
3
o
5
o
2
o
4
o
6
o
Like this we receive the engine.
We place the central bolt for the propeller support.
We leave the screws loose for the next step.
We place the central bolt for the propeller support.
We place the 6 propeller screws without tightening them.
We use a tubular bent key of 19mm. which is the only key that
will let you fasten with strength without damaging the central bolt.

8
o
*
7
o
9
o
ASSEMBLY PROPELLER POLINI THOR 200 & THOR 250
Fasten *anti clockwise while we hold the propeller with our other hand.
Fasten the 6 screws of the carbon propeller at 0.8 Kgm (8Nm).
Serial number of the Polini engines
Ready for flight. Its normal that there is small space no
bigger than a millimeter.
DO NOT USE ANY OTHER KEY TO FASTEN FOR NOT DAMAGING
THE CENTRAL BOLT AND BE ABLE TO TIGHTEN WITH STRENGHT.
THOR200
The tightening will be clockwise for the engines
with serial numbers from 783 to 1591.
The tightening will be anti clockwise for the
engines with serial nº 1592 onwards.
THOR250
The tightening will be clockwise for the
engines with serial nº until no1689.
The tightening will be anti clockwise for the
engines serial nº 1690 and onwards .
Table of contents
Other P.AP. Team Paramotor manuals