Palsonic TFTV812U User manual

PALSONIC CORPORATION PTY LTD
1 JOYNTON AVENUE
WATERLOO NSW 2017 AUSTRALIA
TEL: (02) 9313 7111
FAX: (02) 9313 7555
www.palsonic.com.au
PALSONIC CUSTOMER SERVICE
TELEPHONE
AUSTRALIA: 1300 657 888
81CM CORDLESS REMOTE LCD TV/MONITOR
MODEL: TFTV812U
OWNER'S MANUAL
N111

Table of Contents
Important Information ................................................................................................................................
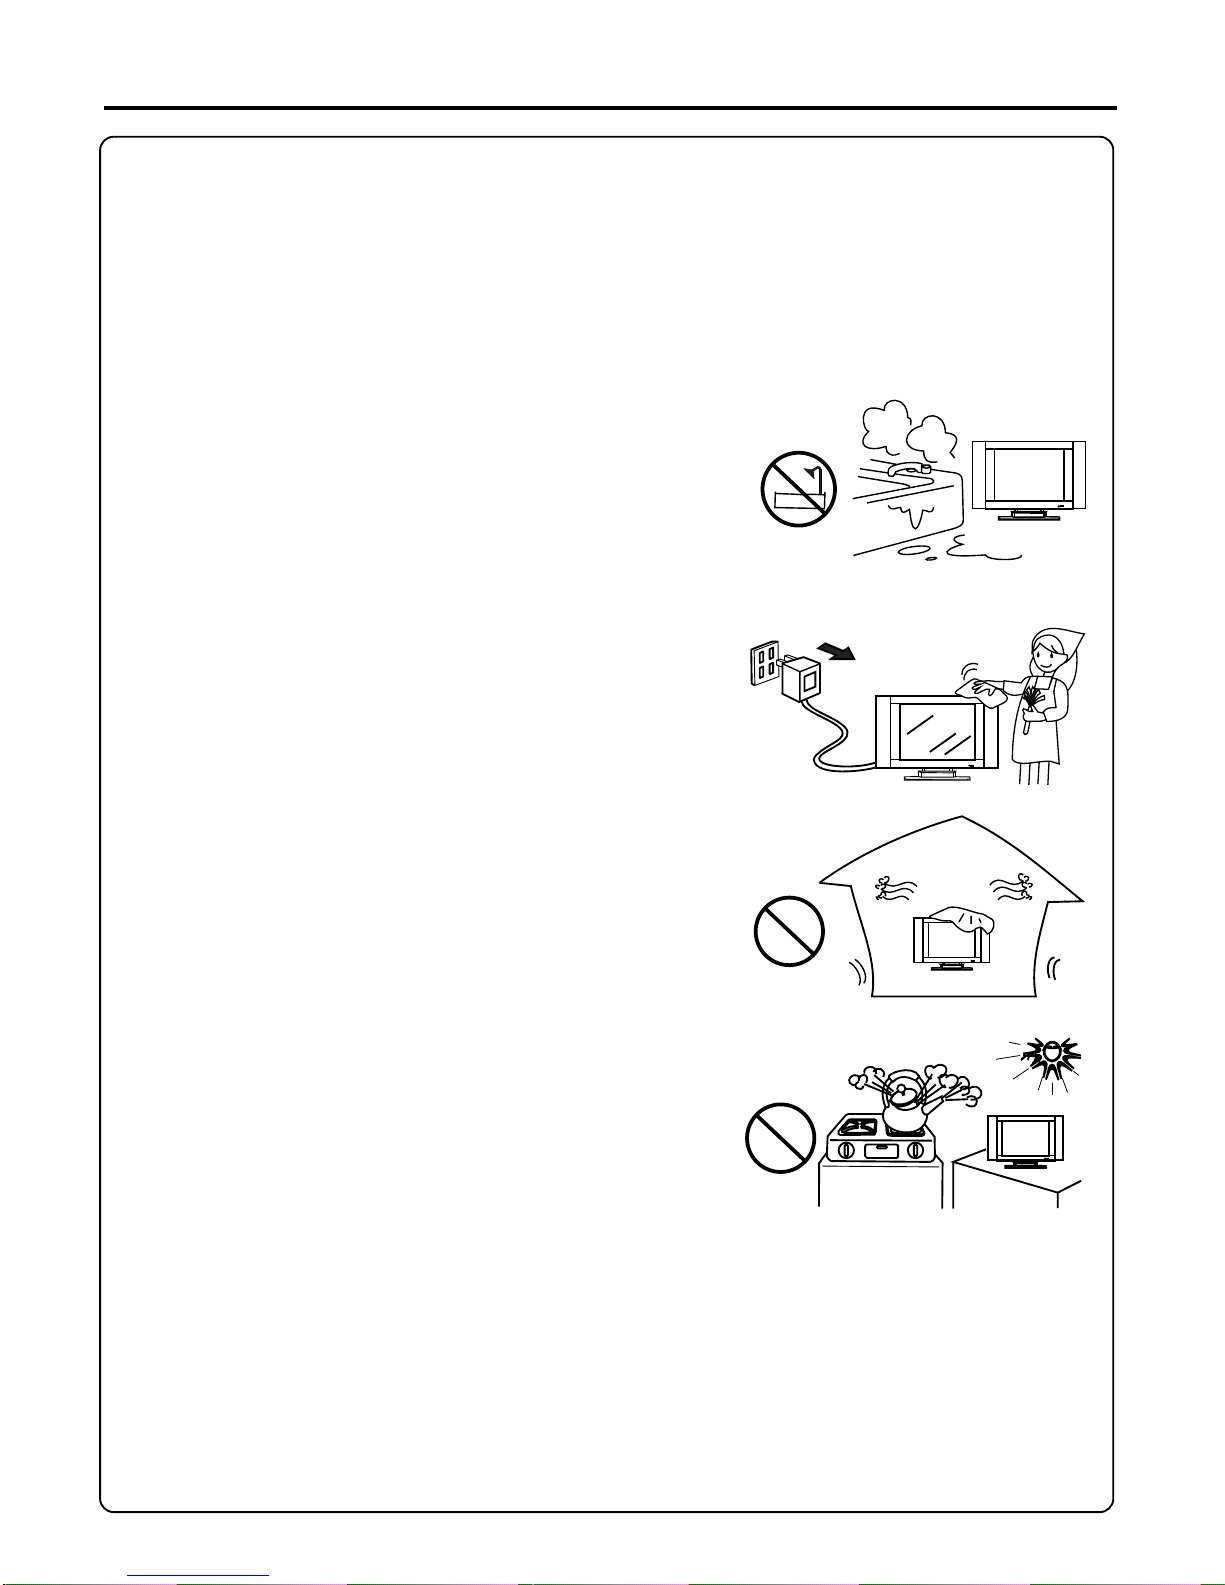
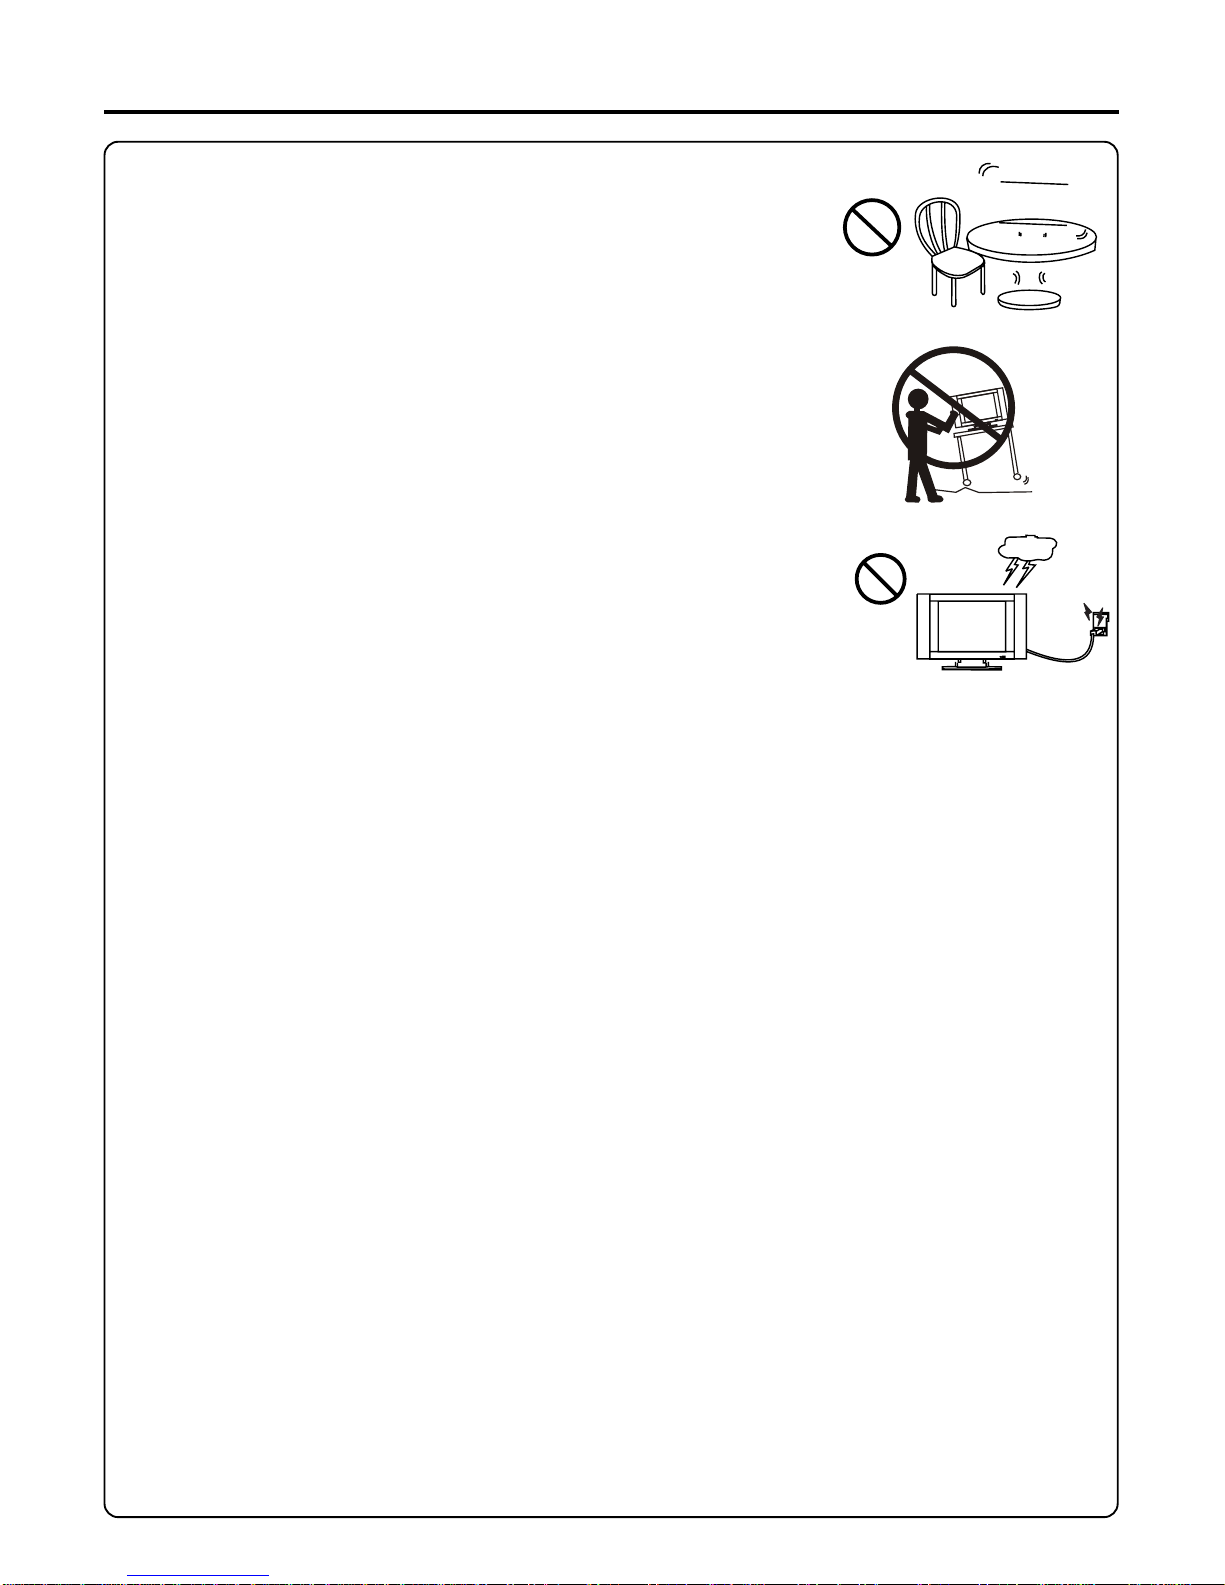
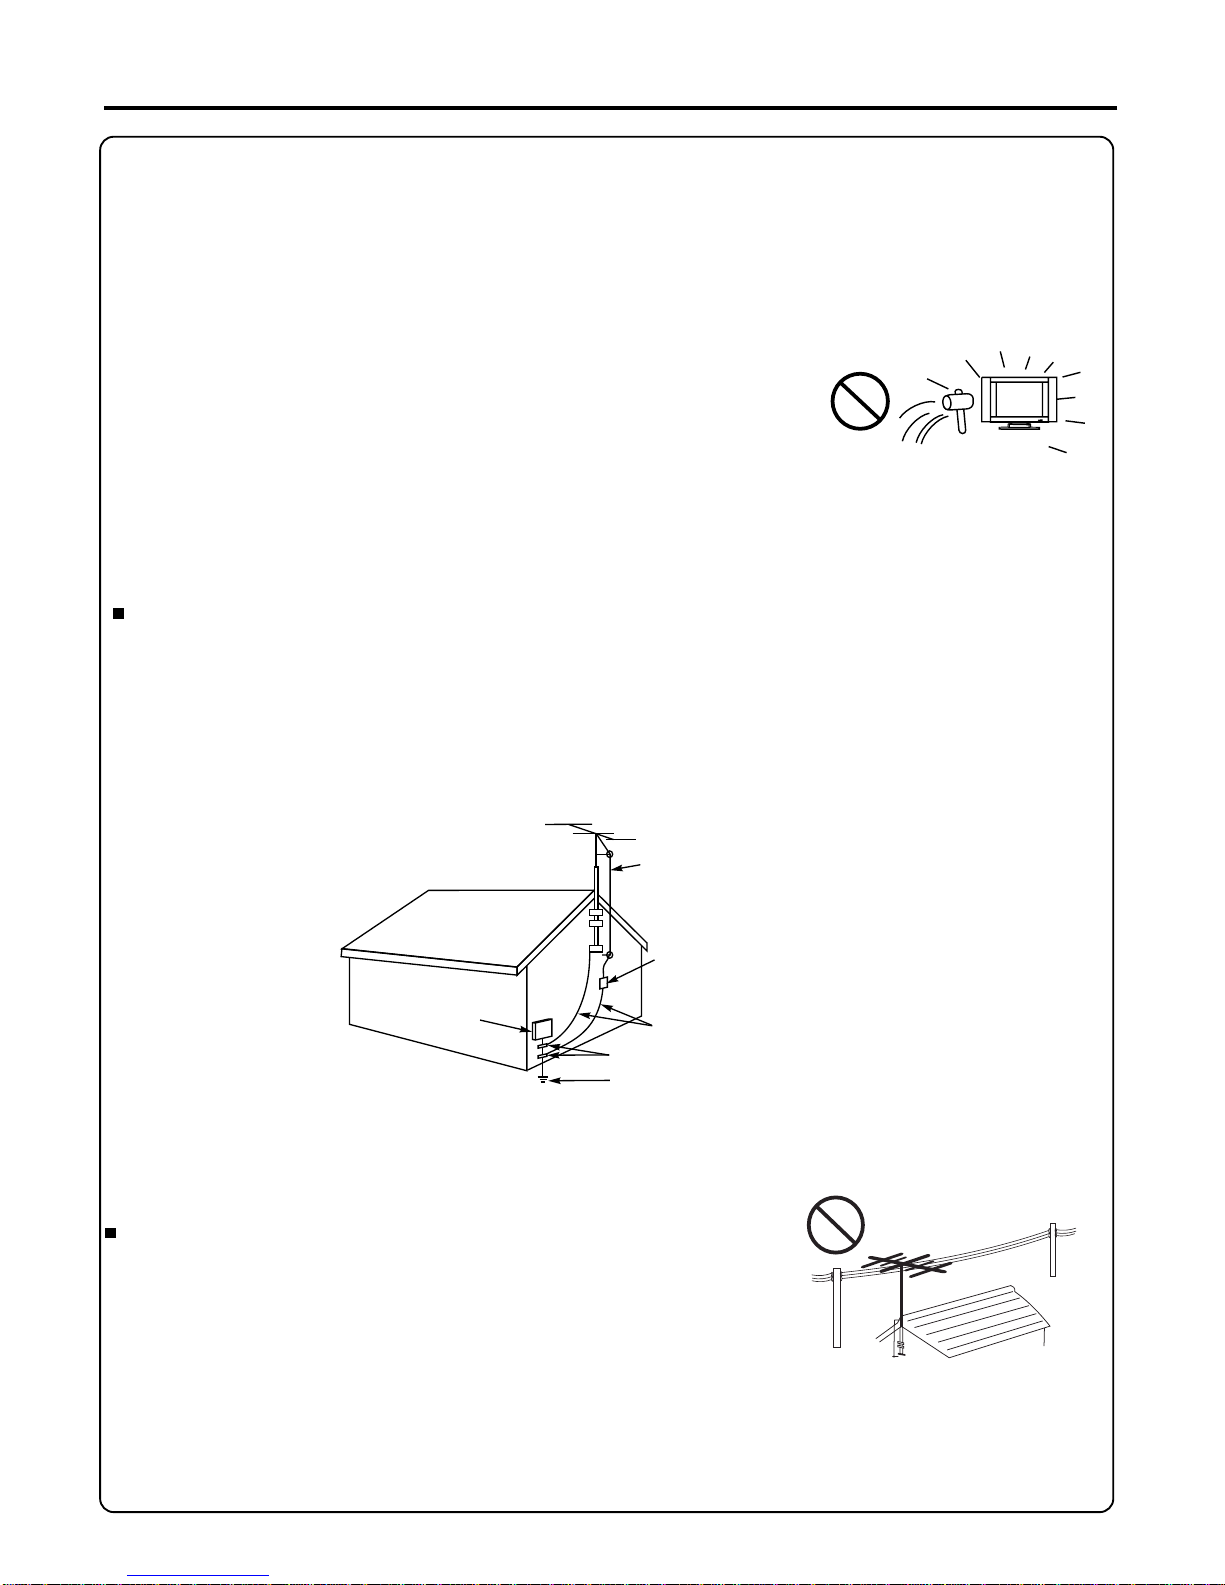
Important Safety Precautions ....................................................................................................................
Preparations ..............................................................................................................................................
Using the Remote Control ..................................................................................................................
Batteries for the Remote Control ........................................................................................................
Power Connection ..............................................................................................................................
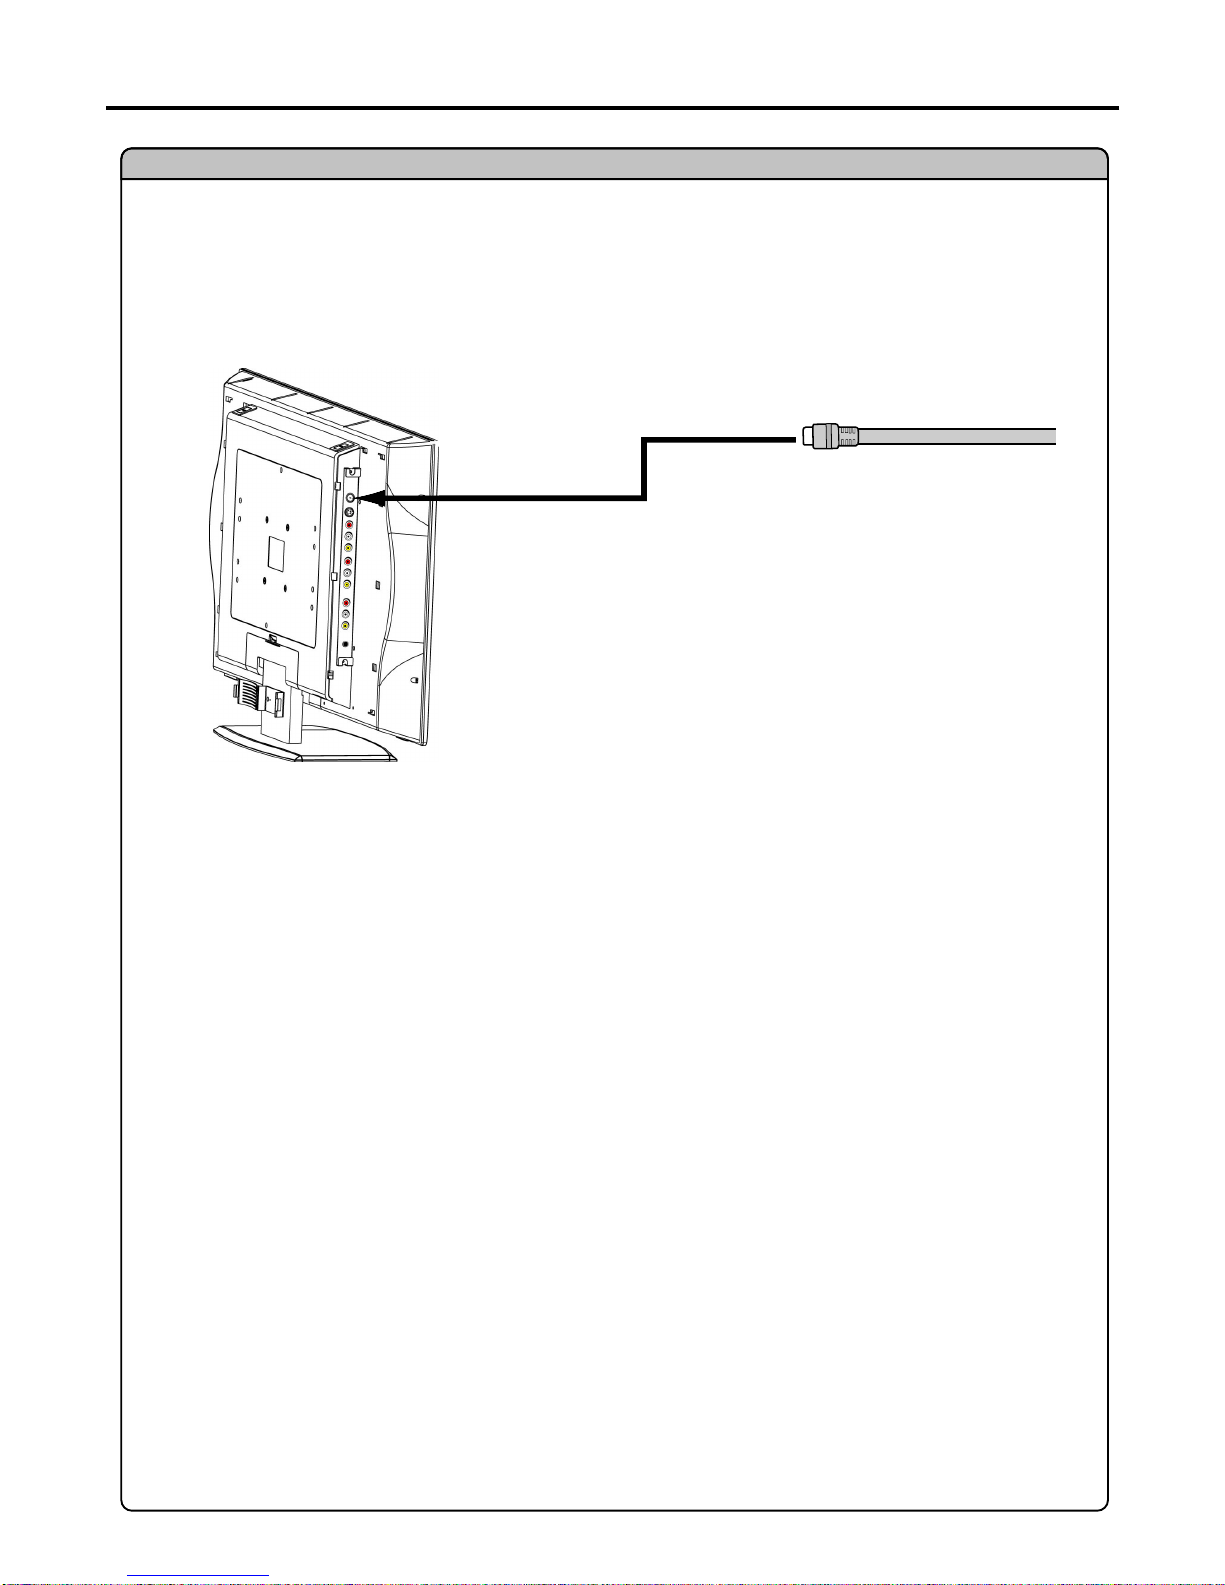
Antenna Connection ...........................................................................................................................
Identification of Controls ............................................................................................................................
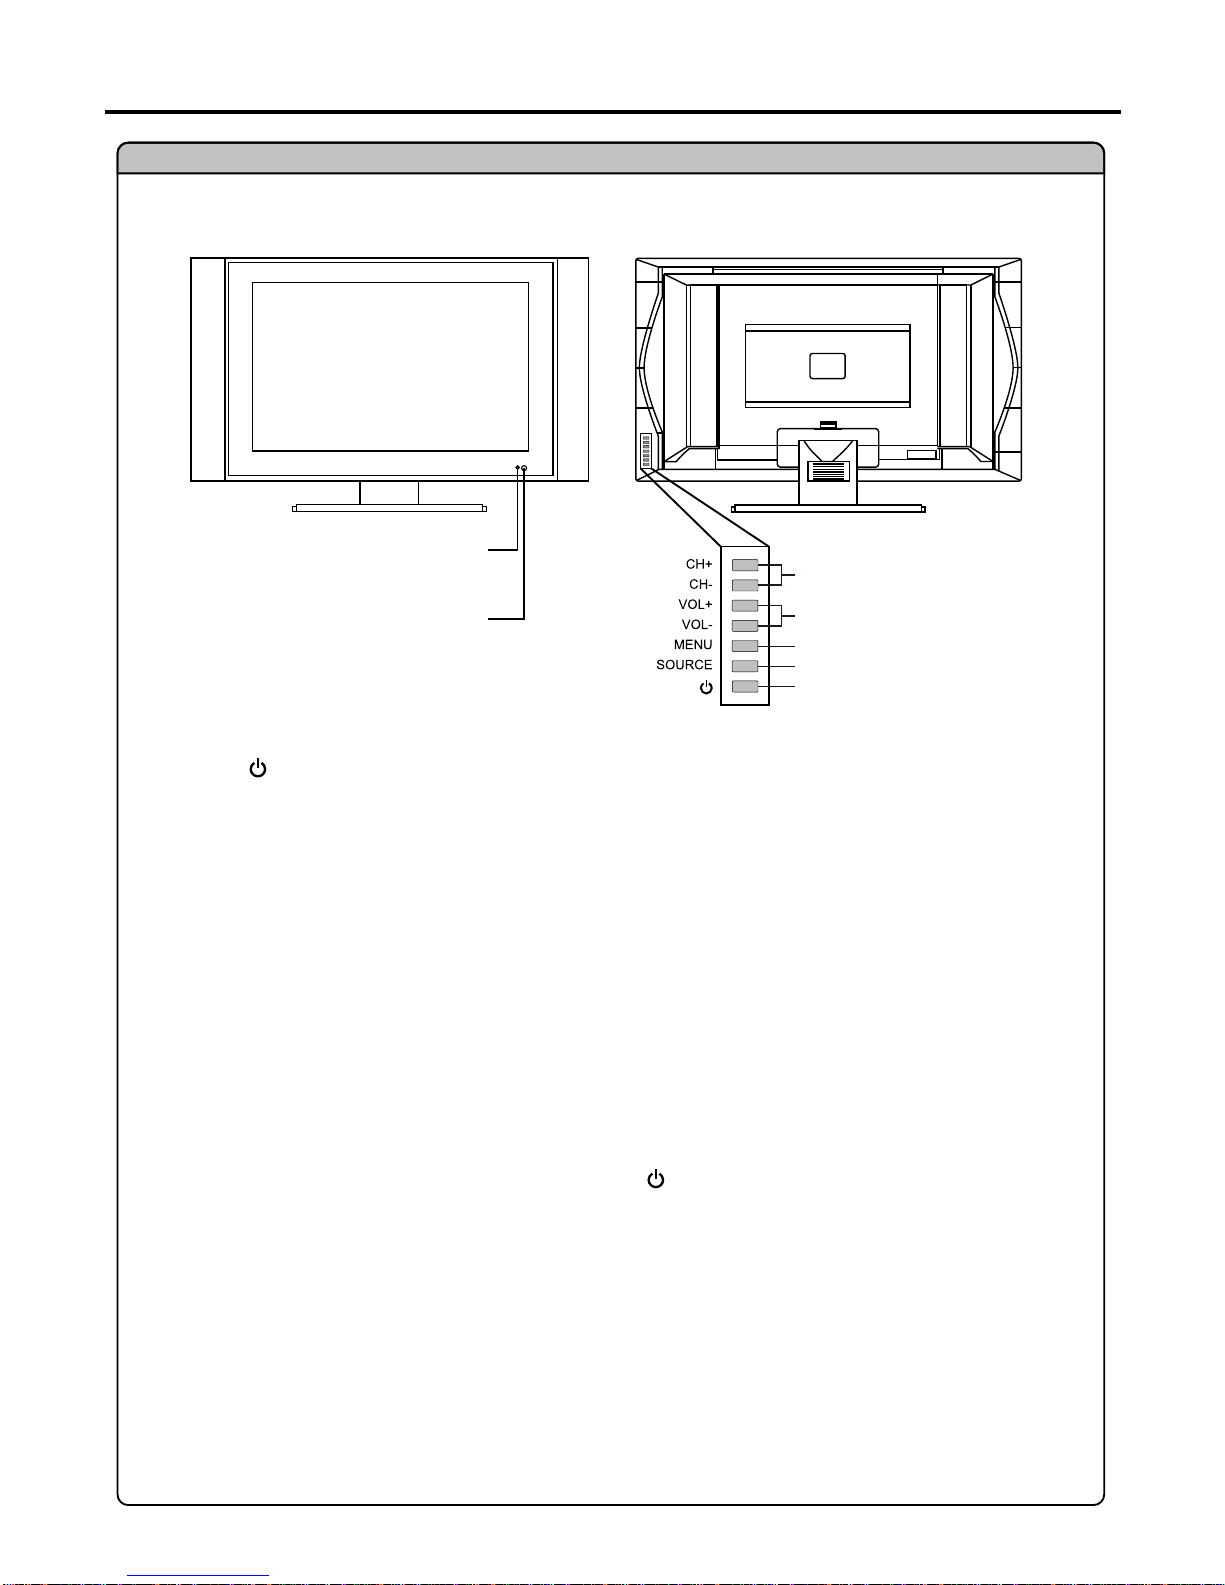
Main Unit .............................................................................................................................................
Remote Control ...................................................................................................................................
Connections ...............................................................................................................................................
Cautions Before Connecting ...............................................................................................................
Connect a VCR ...................................................................................................................................
Connect a Camcorder .........................................................................................................................
Connect a DVD Player ........................................................................................................................
Connect a product to HDMI .................................................................................................................
Connect a PC ......................................................................................................................................
Connect A VCR for Recording ............................................................................................................
Turning the Unit On and Off ......................................................................................................................
Turning the Unit On and Off.................................................................................................................
Viewing the Menus and Displays ........................................................................................................
Viewing TV Programs ................................................................................................................................
Auto Search ........................................................................................................................................
Manual Search ....................................................................................................................................
Skipping Channel ................................................................................................................................
Exchange Channel ..............................................................................................................................
Setting AFC Function ON or OFF .......................................................................................................
Manual Fine Tuning ............................................................................................................................
Basic Operations .......................................................................................................................................
Changing Channels ............................................................................................................................
Adjusting the Volume ..........................................................................................................................
Select Input Source Signal ..................................................................................................................
Setting Colour System ........................................................................................................................
Setting Sound System ........................................................................................................................
Setting Picture ...........................................................................................................................................
Customising the Picture ......................................................................................................................
Using the Preset Picture Mode ...........................................................................................................
Adjusting Screen Aspect .....................................................................................................................
Reducing Picture Noise ......................................................................................................................
Freezing Picture ..................................................................................................................................
Setting Timer .............................................................................................................................................
Setting Clock Time ..............................................................................................................................
Setting ON Timer ................................................................................................................................
Setting OFF Timer ..............................................................................................................................
Setting Sleep Timer ............................................................................................................................
1
2
5
5
5
5
6
7
7
9
10
10
10
11
12
13
14
15
16
16
16
17
17
17
18
18
19
19
20
20
20
21
21
21
22
22
22
23
23
23
24
24
24
24
25

Table of Contents (continued)
Setting Sound ............................................................................................................................................
Customising the Sound .......................................................................................................................
Using the Preset Sound Mode ............................................................................................................
Adjusting On-Screen Display ....................................................................................................................
Adjusting OSD Position ......................................................................................................................
Adjusting OSD Transparency .............................................................................................................
Setting OSD Timeout ..........................................................................................................................
PIP Operations ..........................................................................................................................................
Viewing and Changing The Position of the PIP Frame ......................................................................
Selecting the Signal Source for the PIP Frame ..................................................................................
Selecting Sound Source for PIP Frame ..............................................................................................
Adjustment in VGA Mode ..........................................................................................................................
Adjusting Picture .................................................................................................................................
Adjusting Image Size ..........................................................................................................................
Changing the Position of Image .........................................................................................................
Adjusting the CLOCK and PHASE .....................................................................................................
Adjusting the Picture Automatically ....................................................................................................
Troubleshooting .........................................................................................................................................
Specifications ............................................................................................................................................
26
26
26
27
27
27
27
28
28
28
28
29
29
29
30
30
30
31
31

Important Information
1
WARNING:
TO REDUCE THE RISK OF OR ELECTRIC SHOCK, DO NOT EXPOSE THIS
APPARATUS TO RAIN OR MOISTURE.
The lightning flash with arrowhead symbol, within
an equilateral triangle is intended to alert the user
to the presence of insinuated dangerous voltage
within the product's enclosure that may be of
sufficient magnitude to constitute a risk of electric
shock to persons.
The exclamation point within an equilateral
triangle is intended to alert the user to the
presence of ,important operating and
maintenance (servicing) instructions in the
literature accompanying the appliance.
Note to CATV system installer: This reminder is provided to call the CATV system installer's attention to Article 820-40
of the National Electrical Code that provides guidelines for proper grounding and, in particular, specifies that the cable
ground shall be connected to the grounding system of the building, as close to the point of cable entry as practical.
(America only)
This product utilises tin-lead solder, and fluorescent lamp containing a small amount of mercury. Disposal of these
materials may be regulated due to environmental considerations. For disposal or recycling information, please contact
your local authorities or the Electronic Industries Alliance: www.eia.org (America only)
FCC STATEMENT (America only)
FCC Notice
LCD TV: A CLASS B digital device
This equipment has been tested and found to comply with the limits for a Class digital device, pursuant to part
15 of the FCC Rules. These limits are designed to provide reasonable protection against harmful interference
when the equipment is operated in a commercial environment.
This equipment generates, uses, and can radiate radio frequency energy and, if not installed and used in
accordance with the instruction manual, may cause harmful interference to radio communications. Operation
of this equipment in a residential area is likely to cause harmful interference in which case the user will be
required to correct the interference at his own expense.
FCC CAUTION:
Pursuant to 47CFR, Part 15.21 of the FCC rules, any changes or modifications to this monitor not
expressly approved by the manufacturer could cause harmful interference and would void the user's
authority to operate this device.
WARNING: This is a CLASS B product. In a domestic environment this product may cause
radio interference in which case the user may be required to take adequate
measures to counter interference.

Important Safety Precautions
2
Electrical energy can perform many useful functions, but it can also cause personal injuries and property damage if improperly
handled. This product has been engineered and manufactured with the highest priority on safety. But IMPROPER USE CAN
RESULT IN POTENTIAL ELECTRICAL SHOCK OR FIRE HAZARD. In order to prevent potential danger, please observe
the following instructions when installing, operating and cleaning the product. To ensure your safety and prolong the service
life of your PDP TV product, please read the following precautions carefully before using the product.
1. Read these instructions---All operating instructions must be read and understood before the product is operated.
2. Keep these instructions---These safety and operating instructions must be kept in a safe place for future reference.
3. Heed all warnings---All warnings on the product and in the instructions must be observed closely.
4. Follow all instructions---All operating instructions must be followed.
5. Do not use this apparatus near water---for example, near a bathtub,
washbowl, kitchen sink, or laundry tub, in a wet basement, or near swimming
pool, and the like.
Do not use immediately after moving from a low temperature to high
temperature environment, as this causes condensation, which may result in
fire, electric shock, or other hazards.
6. Clean only with dry cloth
---Unplug this product from the wall outlet
before cleaning. Do not use liquid cleaners or aerosol cleaners. Use a
damp cloth for cleaning.
7. Ventilation---Do not block any ventilation openings. Install in accordance
with the manufacturer instructions. The vents and other openings in the cabinet
are designed for ventilation. Do not cover or block these vents and openings
since insufficient ventilation can cause overheating and/or shorten the life of
the product. Do not place the product on a bed, sofa, rug or other similar
surface, since they can block ventilation openings. This product is not designed
for built-in installation; do not place the product in an enclosed place such as a
bookcase or rack, unless proper ventilation is provided or the manufacturer's
instructions are followed.
8. Heat sources---Do not install near any heat sources such as radiators,
heat registers, stoves, or other apparatus (including amplifiers) that
produce heat.
9. Grounding or Polarisation---Do not defeat the safety purpose of the polarised or grounding-type plug. A polarised
plug has two blades with one wider than the other. A grounding type plug has two blades and a third grounding prong.
The wide blade or the third prong are provided for your safety. If the provided plug does not fit into your outlet, consult
an electrician for replacement of the obsolete outlet. (America only)
10. Power cord protection---Protect the power cord from being walked on or pinched particularly at plugs,
convenience receptacles, and the point where they exit from the apparatus.
11. Attachments---Only use attachments/ accessories specified by the manufacturer. Do not use attachments not
recommended by the manufacturer. Use of improper attachments can result in accidents.

Important Safety Precautions (continued)
3
13. Carefully move---When a cart is used, use caution when moving the cart/apparatus
combination to avoid injury from tip-over. Sudden stops, excessive force and uneven
floor surfaces can cause the product to fall from the trolley.
15. Servicing---Refer all servicing to qualified service personnel. Servicing is required when the apparatus has been
damaged in any way, such as power-supply cord or plug is damaged, liquid has been spilled or objects have fallen into
the apparatus, the apparatus has been exposed to rain or moisture, does not operate normally, or has been dropped.
18. Entering of objects and liquids---Never insert an object into the product through vents or openings. High voltage
flows and/or in the product, and inserting an object can cause electric shock short internal parts. For the same reason,
do not spill water or liquid on the product.
17. Overloading---Do not overload wall outlets, extension cords, or convenience receptacles on other
equipment as this can result in a risk of fire or electric shock.
19. Damage, requiring service---If any of the following conditions occurs unplug the power cord from the AC outlet, and
repairs. request a qualified service person to perform
a. When the power cord or plug is damaged.
b. When a liquid is spilled on the product or when objects have fallen into the product.
c. When the product has been exposed to rain or water.
d. When the product does not operate properly as described in the operating instructions.
Do not touch the controls other than those described in the operating instructions. Improper adjustment of controls not
described in the instructions can cause damage, which often requires extensive adjustment work by a qualified technician.
e. If the product has been dropped or the cabinet has been damaged in any way.
f. When the product displays an abnormal condition or exhibits a distinct change in performance. Any noticeable
abnormality in the product indicates that the product needs servicing.
20. Safety checks---Upon completion of service or repair work, request the service technician to perform safety
checks to ensure that the product is in proper operating condition.
12. Stand---Use only with the cart, stand, tripod, bracket, or table specified by the
manufacturer, or sold with the apparatus. Do not place the product on an unstable
trolley, stand, tripod or table. Placing the product on an unstable base can cause the
product to fall, resulting in serious personal injuries as well as damage to the product.
When mounting the product on a wall, be sure to follow the manufacturer's instructions.
Use only the mounting by the hardware recommended manufacturer.
14. Lightning---Unplug this apparatus during lightning storms or when unused for long
of periods time.
For added protection for this television equipment during a lightning storm, or when it is
left unattended and unused for long periods of time, unplug it from the wall outlet and
disconnect the antenna. This will prevent damage to the equipment due to lightning and
power-line surges.
16. Replacement parts---In case the product needs replacement parts, make sure that the service person uses
replacement parts specified by the manufacturer, or those with the same characteristics and performance as the
shock and/or original parts. Use of unauthorised parts can result in fire, electric other danger.
21. Wall or ceiling mounting---When mounting the product on a wall or ceiling, be sure to install the product according
to the method recommended by the manufacturer. This is a safety feature.

Important Safety Precautions (continued)
4
22. Power source---This product is intended to be supplied by a listed power supply indicated on the marking label. If you
are not sure of the type of power supply to your home, consult your product dealer or local power company. For added
protection for this product during a lightning storm, or when it is left unattended and unused for long periods of time, unplug it
from the wall outlet and disconnect the cable system. This will prevent damage to the product due to lightning and power line
surges. When the unit has to be used with another power supply voltage, the power cable must be changed. Consult your
product dealer. The socket outlet should be installed near the equipment and easily accessible. Use only the power cord
designated by our dealer to ensure safety and EMC. When connecting other products such as VCRs and personal computers,
you should turn off the power of the unit for protection against electric shock.
23. Panel protection---The LCD panel used in this product is made of glass.
Therefore, it can break when the product is dropped or impacted upon by other
objects. Be careful not to be injured by broken glass pieces in case the LCD panel breaks.
24. Pixel defect---The LCD panel is a very high technology product, giving you finely detailed pictures. Occasionally,
a few non-active pixels may appear on the screen as a fixed point of blue, green or red. Please note that this does not
affect the performance of your product.
If an outside antenna is connected to the television equipment, be sure the antenna system is grounded so as to
provide some protection against voltage surges and built-up static charges. Section 810 of the National Electrical
Code provides information with respect to proper grounding of the mast and supporting structure, grounding of the
lead-in wire to an antenna discharge unit, size of grounding conductors, location of antenna-discharge unit,
connection to grounding electrodes, and requirements for the grounding electrode. (America only)
EXAMPLE OF ANTENNA GROUNDING AS PER
NATIONAL ELECTRICAL CODE
NEC --- NATIONAL ELECTRICAL CODE
An outside antenna system should not be located in the vicinity of overhead
power lines or other electric light or power circuits, or where it can collide with
such power lines or circuits. When installing an outside antenna system, extreme
care should be taken to keep from touching such power lines or circuits, as
contact with them might be fatal.
ANTENNA
LEAD IN WIRE
ELECTRIC
SERVICE
EQUIPMENT
ANTENNA
DISCHARGE UNIT
(NEC SECTION 810-21)
GROUNDING CONDUCTORS
(NEC SECTION 810-21)
GROUND CLAMPS
POWER SERVICE GROUNDING
ELECTRODE SYSTEM
(NEC ART 250, PART H)

Preparations
5
Using the Remote Control
Use the remote control by pointing it towards the remote sensor window of the set.
Objects between the remote control and sensor window may prevent proper operation.
Note: the illustration is for your reference only, the remote sensor may locate differently
with different model.
Cautions regarding use of remote control
Do not expose the remote control to shock. In addition, do not expose the remote
control to liquids, and do not place in an area with high humidity.
Do not install or place the remote control under direct sunlight. The heat may cause deformation of the unit.
The remote control may not work properly if the remote sensor window of the main unit is under direct sunlight or
strong lighting. In such a case, change the angle of the lighting or LCD TV set, or operate the remote control closer
to the remote sensor window.
If the remote control fails to operate the LCD TV functions, replace the batteries in the remote control.
2Insert two size-AAA batteries.
(Place the batteries with their terminals
corresponding to the (+) and (-)
indications in the battery compartment.)
Precautions on battery use
Improper use of batteries can result in a leakage of chemicals and/or explosion. Be sure to follow the instructions below.
Place batteries with their terminals corresponding to the (+) and (-) indications.
Different types of batteries have different characteristics. Do not mix batteries of different types.
Do not mix old and new batteries. Mixing old and new batteries can shorten the life of new batteries and/or cause
old batteries to leak chemicals.
Remove batteries as soon as they are non-operable. Chemicals that leak from batteries can cause a rash.
If chemical leakage is found, wipe with a cloth.
The batteries supplied with the product may have a shorter life expectancy due to storage conditions.
If the remote control is not used for an extended period of time, remove the batteries from the remote control.
Batteries for the Remote Control
Open the battery cover.
1
Replace the cover.3
Insert the AC socket into a conveniently located AC outlet.
Note:
This product should be operated only from the type of power source indicated on the marking label.
Always unplug the AC cord from power outlet when not using for a long period of time.
Power Connection

Preparations (continued)
6
INSTALL the unit in a room where direct light will not fall upon the screen. Total darkness or a reflection on the
picture screen may cause eyestrain. Soft and indirect lighting is recommended for comfortable viewing.
Optimum reception of colour requires a good signal and will generally mean that an outdoor aerial must be used.
The exact type and position of the aerial will depend upon your particular area.
Note:
It is recommended that the 75-ohm coaxial cable be used to eliminate interference and noise which may occur
due to radio wave conditions.
The aerial cable should not be bundled with the power cord and the like.
The illustration is for your reference only.
75-ohm coaxial cable (round cable)
Antenna Connection

Identification of Controls
7
Main Unit
Power Indicator
Remote Sensor
1. POWER
Press this button to turn the unit ON from STANDBY mode. Press it again to turn the set back to STANDBY.
2. SOURCE
To access signal source select menu
In OSD Menu, press this button to confirm your setting or operation
3. MENU
Press this button to access the Menu main page
4. VOL+/-
Press the VOL+ or VOL- button to directly increase or decrease the sound volume level;
In OSD Menu, press these buttons to adjust the value or setting of each item
5. CH+/-
Press these two buttons to directly change the TV channel;
In OSD Menu, press these buttons to choose the OSD items
Note:
Functions of VOL+/-, CH+/-, MENU, SOURCE and POWER are also provided to the remote control.
This operation manual provides a description based on operating functions with the remote control.
Channel Up/Down
Menu
Select Input Signal
Power On/Standby
Volume Up/Down

Identification of Controls (continued)
8
Removing or installing the Back Cover
Press the PUSH button
Pull out the Cover carefully
Cover
Insertion
Pull out the Cover carefully
1. Antenna Input
Allows you to connect cable or outdoor antenna
2. AV2 Inputs (Video, Audio L/Mono, R) / S-Video input
Receive video/audio signals from external sources such as VCR or DVD player.
Receive a S-Video signal from external source such as VCR or DVD player.
3. AV1 Inputs (Video, Audio L/Mono, R)
Receive a S-Video signal from external source such as VCR or DVD player.
4. AV Outputs (Video, Audio L/Mono, R)
5. Headphone jack
6. HDMI input jack
7. VGA input / Audio in
Connect to the VGA/audio output jacks on your equipment.
8. COMPONENT Inputs (Y, Pb/Cb, Pr/Cr, Audio L, R)
Connect to the audio and component output jacks of a DVD player or Set-Top Box.
After all the connections are made, aim the insertion
tabs towards the locating grooves, then carefully push
the cover until it locks in place with a click
Cover
Insertion
Remove the Cover
AUDIO
VGA VGA IN
Y
Pr/Cr AUDIO-R
Pb/Cb AUDIO-L COMPONENT IN
HDMI
ANTENNA INPUT
HEADPHONE JACK
S-VIDEO
AUDIO R
AUDIO L/MONO
VIDEO
AV1 INPUT/
S-VIDEO IN
AV2 INPUTS
AV OUT
AUDIO R
AUDIO L/MONO
VIDEO
AUDIO R
AUDIO L/MONO
VIDEO
Main Unit

Identification of Controls (continued)
9
1.
2.
3.
4.
5.
6.
7.
8.
9.
10.
11.
12.
13.
14.
15.
16.
17.
POWER
Turn the unit on or off
S.S.
To select sound output from the main frame or the PIP frame
when in PIP mode
NR (Noise Reduce)
To enhance the picture quality by reducing the noise (snow)
SLEEP
To set Sleep timer
MUTE
Sound mute
MENU
To access the Menu main page or exit menu operation
: To move upward or downward in menu operation;
: To move left or right in menu operation;
To adjust selected menu item in menu operation;
To confirm your operation or setting or access a submenu
S.MODE
Sound mode select
0~9 number buttons
Direct channel select
Return
To quickly jump between current channel and last selected
channel
VOL+/-: Use to adjust volume;
SIZE
To quickly select SIZE MODE.
DISPLAY
To display channel status or signal information
STILL
To freeze current picture
P.MODE
Picture mode select
Source
To access source select menu and to select the source
CH+/-: Use to switch channels;
PIP
To activate PIP function and change the position of the PIP
frame
10
9
8
7
6
3
4
5
1
2
11
12
13
16
15
17
14
Remote Control

Connections
10
Video
cable
or
VCR
Rear of the VCR
S-video
cable
Audio
cable
Connect a VCR
How to connect:
Connect the Audio/Video cables between the Audio (L/R)/Video jacks on the unit and VCR.
Note:
For better video, you can use the S-Video terminal if your source supports it.
The unit chooses the S-Video signal prior to the Video signal.
The Video input terminal on the AV IN(2) and the S-Video input terminal share the
same Audio input terminals.
To play VCR
1. Turn on your LCD TV, press Source button on the remote control.
2. Press Source button repeatedly to select AV2/SV. Note that the period of
two-press should be within 2 seconds.
3. Turn on your VCR, insert a video tape and press the Play button.
Carefully check the terminals for position and type before making any connections.
The illustration of the external equipment may be different depending on your model.
Loose connectors can result in image or colour problems. Make sure that all connectors are securely inserted
into their terminals.
Refer to the operating manual of the external device as well.
When connecting an external device, turn the power off on the panel to avoid any issues.
Cautions before connecting
Yellow (VIDEO)
White (AUDIO L/MONO)
Red (AUDIO R)
ANTENNA INPUT
HEADPHONE
AV1 INPUT/
S-VIDEO IN
AV2 INPUTS
AV OUT

Connections (continued)
11
Connect a Camcorder
Audio
cable
Video
cable
How to connect:
Connect the Audio/Video cables between the Audio (L/R)/Video jacks on the unit and camcorder.
To playback Camcorder
1. Turn on your LCD, press Source button on the remote control.
2. Press Source button repeatedly to select AV1.
3. Turn on your camcorder and set it to output mode. (For details, refer to
your camcorder owner's manual.)
4. Insert the tape into the camcorder and press Play button.
Note:
The operations of the camcorder may be different and is dependent on your
model. Please read the owner's manual of your camcorder to confirm operation.
Yellow (VIDEO)
White (AUDIO L/MONO)
Red (AUDIO R)
ANTENNA INPUT
HEADPHONE
AV1 INPUT/
S-VIDEO IN
AV2 INPUTS
AV OUT

Connections (continued)
12
Connect a DVD player
DVD player
Rear of the DVD player
Audio
cable
Video
cable
How to connect a DVD Player using Component Video Connections:
Connect the Video cable between the Y, Pb/Cb, Pr/Cr input jacks on the unit and Y, Pb, Pr ( or Cb, Cr) output
jacks on the DVD player.
Connect the Audio cable between the AUDIO input jacks on the unit and AUDIO output jacks on the DVD player.
To play DVD
1. Turn on your LCD TV, press Source button on the remote control.
2. Press Source button repeatedly to select YPBPR.
3. Turn on your DVD player, insert a DVD disc and press the Play button.
AUDIO
VGA VGA IN
Y
Pr/Cr AUDIO-R
Pb/Cb AUDIO-L COMPONENT IN
HDMI

Connections (continued)
13
AUDIO
VGA VGA IN
Y
Pr/Cr AUDIO-R
Pb/Cb AUDIO-L COMPONENT IN
Connect a product to HDMI
Product with HDMI jack
HDMI cable
How to connect:
Connect the HDMI cable between the HDMI input jacks on the unit and HDMI output jacks on the product.
Note:
The HDMI Sources are compatible with DVI displays through the use of a passive cable converter. So you
may connect product with DVI output jack to the unit.
Connect a passive cable converter between the HDMI input jack on the unit and DVI output jack on the product.
Connect an Audio cable between the AUDIO output on your product and AUDIO input jack of VGA IN on the unit.
To Watch your Product
1. Turn on your LCD TV, press Source button on the remote control.
2. Press Source button repeatedly to select HDMI.
3. Turn on your Product.
HDMI

Connections (continued)
14
AUDIO
VGA VGA IN
Y
Pr/Cr AUDIO-R
Pb/Cb AUDIO-L COMPONENT IN
Connect a PC
Audio
cable
D-Sub
cable
How to connect:
Connect a D-Sub cable between the VGA interface on the PC and the VGA input on the unit.
Connect an Audio cable between the AUDIO output on the PC and AUDIO input jack on the unit.
To Watch the PC screen
1. Turn on your LCD TV, press Source button on the remote control.
2. Press Source button repeatedly to select VGA.
3. Turn on your PC and check for PC system requirements.
4. Adjust the screen resolution and settings on your computer to the
preferred settings.
HDMI

Connections (continued)
15
ANTENNA INPUT
HEADPHONE
AV1 INPUT/
S-VIDEO IN
AV2 INPUTS
AV OUT
Connect a VCR for Recording
VCR for recording
Rear of the VCR
Audio
cable
Video
cable
How to connect:
Connect the Audio/Video cables between the Audio (L/R)/Video jacks on the unit and VCR.
To record program
1. Turn on your LCD TV, select a program you wish to record.
2. Turn on your VCR, insert a videotape for recording.
3. Press the Record button to begin recording.
Note:
The AV output terminals output the audio/video signal from the Antenna input or AV inputs.
Yellow (VIDEO)
White (AUDIO L)
Red (AUDIO R)

Turning the Unit On and Off
16
Turning the Unit On and Off
Turning On
Turning Off
With the power on, Press the Power button on the remote control to turn off.
Note:
You can also use the Power button on the Control panel on the main unit.
Viewing the Menus and Displays
Viewing the Menus
Your LCD TV has a simple, easy-to-use menu system that appears on the screen. This system makes it convenient and fast
To use features on the unit. The unit also lets you display the status of many of your LCDTV features.
With the power on, press the MENU button on the remote control.
The main menu appears on the screen.
Use the to select menu item. Use to adjust value of
item.
You can press the MENU button repeatedly to exit the menu
operations.
1
3
Note:
To clearly introduce the menu operations, this operation manual provides a
description based on operation with the remote control.
Displaying Status Information
Press the DISPLAY button on the remote control,the unit will display current status information such as
channel number, or signal source, etc.
Insert the power cord into the wall outlet.
Press the Power button on the remote control.
The unit will be turned on and you will be ready to use its features.
Use the to select menu page. Use to access the submenu.
2

Viewing TV Programs
17
Your LCD TV can memorise and store all the available channels. After the available channels are memorised,
use CH+/- to scan the channels.
Auto Search
Manual Search
Press MENU to display the menu main page.
Press repeatedly to select SOURCE menu.
Press to access the submenu.
Press repeatedly to select AUTO SEARCH item.
Press to store channels in memory automatically.
The unit will begin memorising all the available channels. During the
process of the Auto Search, you can press MENU to exit.
Note: Before AUTO SEARCH, please set the TV's colour system to
AUTO and sound system to your local area's sound system.
1
2
3
4
5
Press MENU to display the menu main page.
Press repeatedly to select SOURCE menu.
Press to access the submenu.
Press repeatedly to select MANUAL SEARCH item.
Press to access the submenu.
Press repeatedly to select SEARCH NEXT item.
Press to search program from current frequency.
Press , then the unit searches towards the lower frequency.
Press , then the unit searches towards the higher frequency.
Press MENU to exit.
1
2
3
4
5
6
7
8
Table of contents
Other Palsonic Flat Panel TV manuals
Popular Flat Panel TV manuals by other brands

Philips
Philips Flavors 32FDF1013 Specifications

Loewe
Loewe Xelos A 22 operating instructions

LG
LG 37LD330H Commercial mode setup guide

Sony
Sony KDL-26M4000/R - Bravia M Series Lcd... Important safety instructions

Philips
Philips 26HF5443 Brochure & specs

Changhong Electric
Changhong Electric W260F8U, W320F8U, W370F8U Operation manual