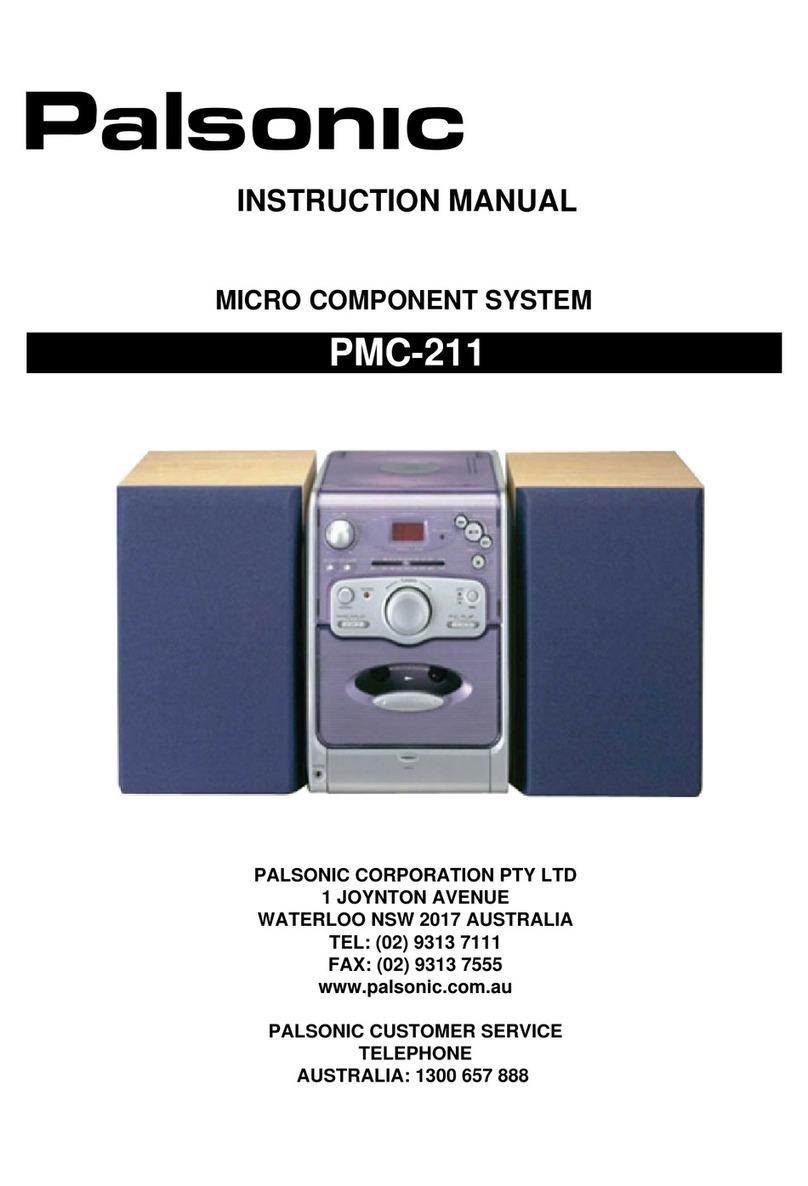
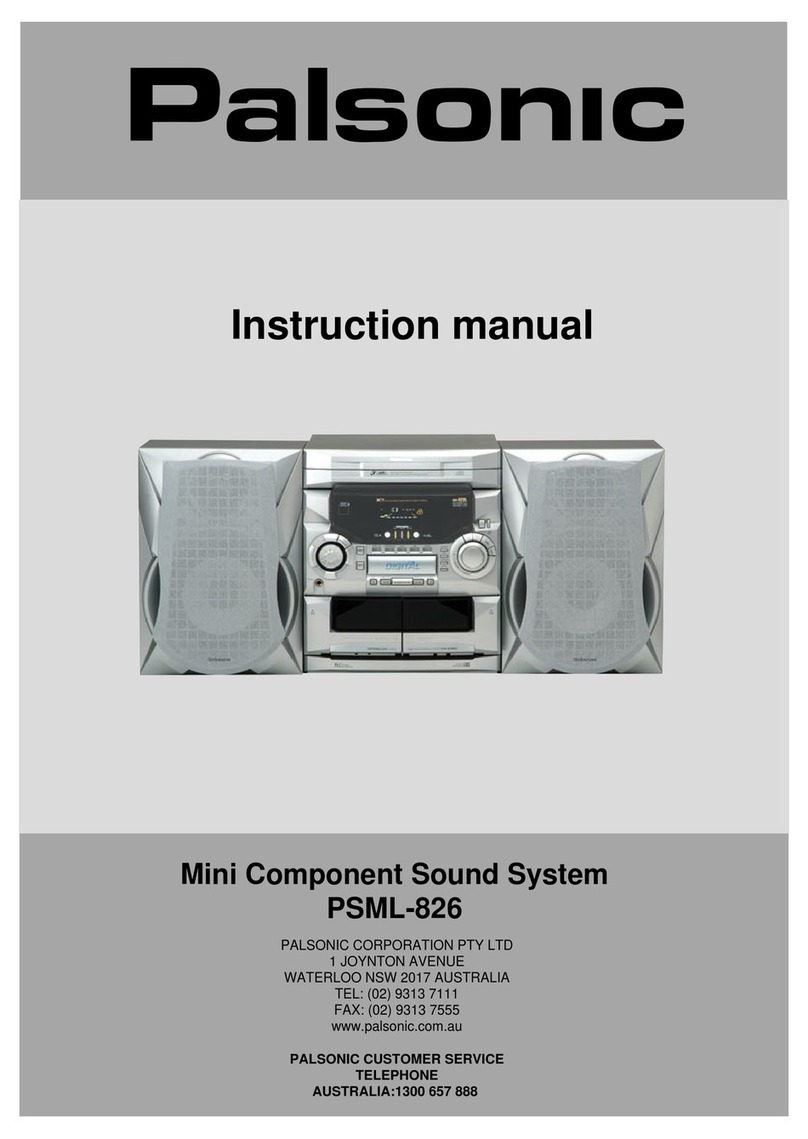
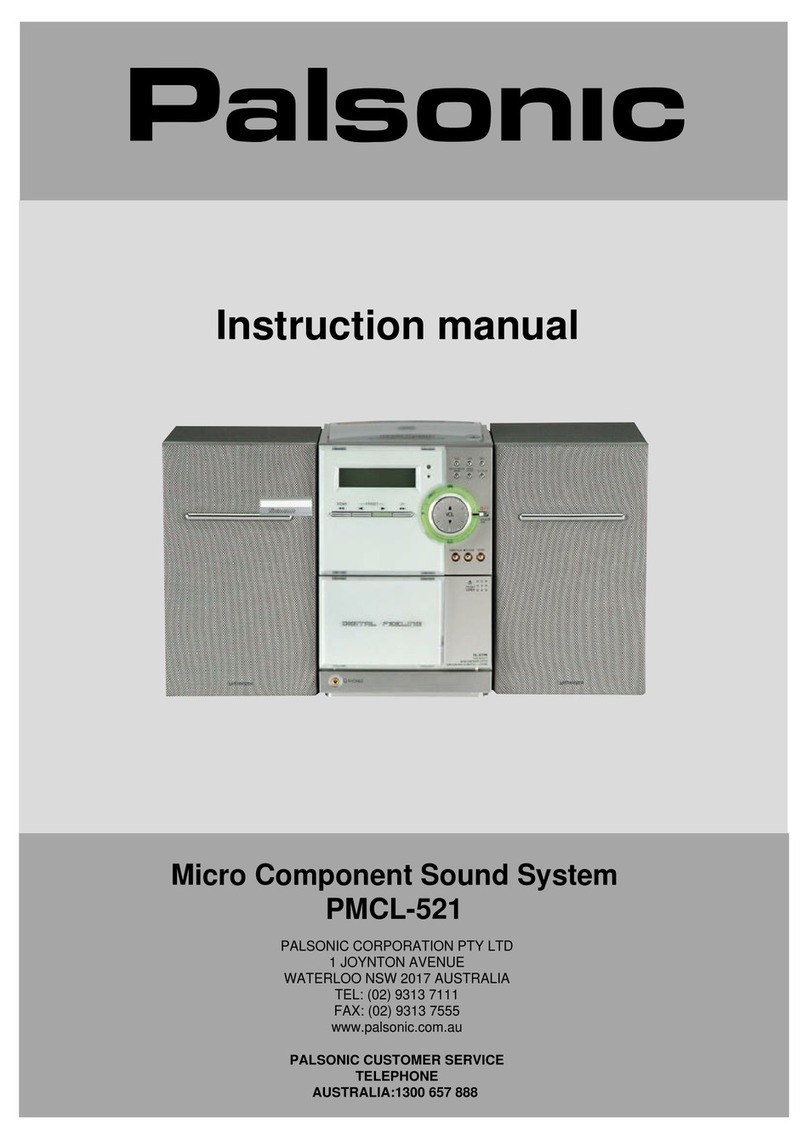
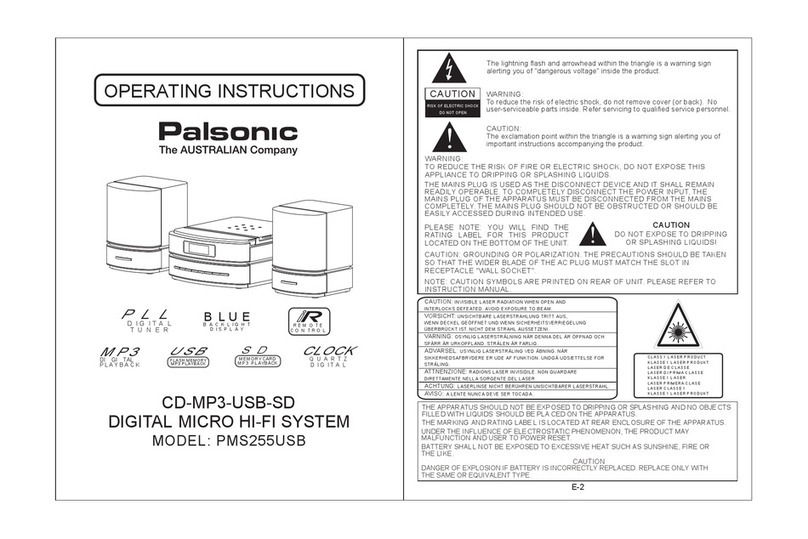
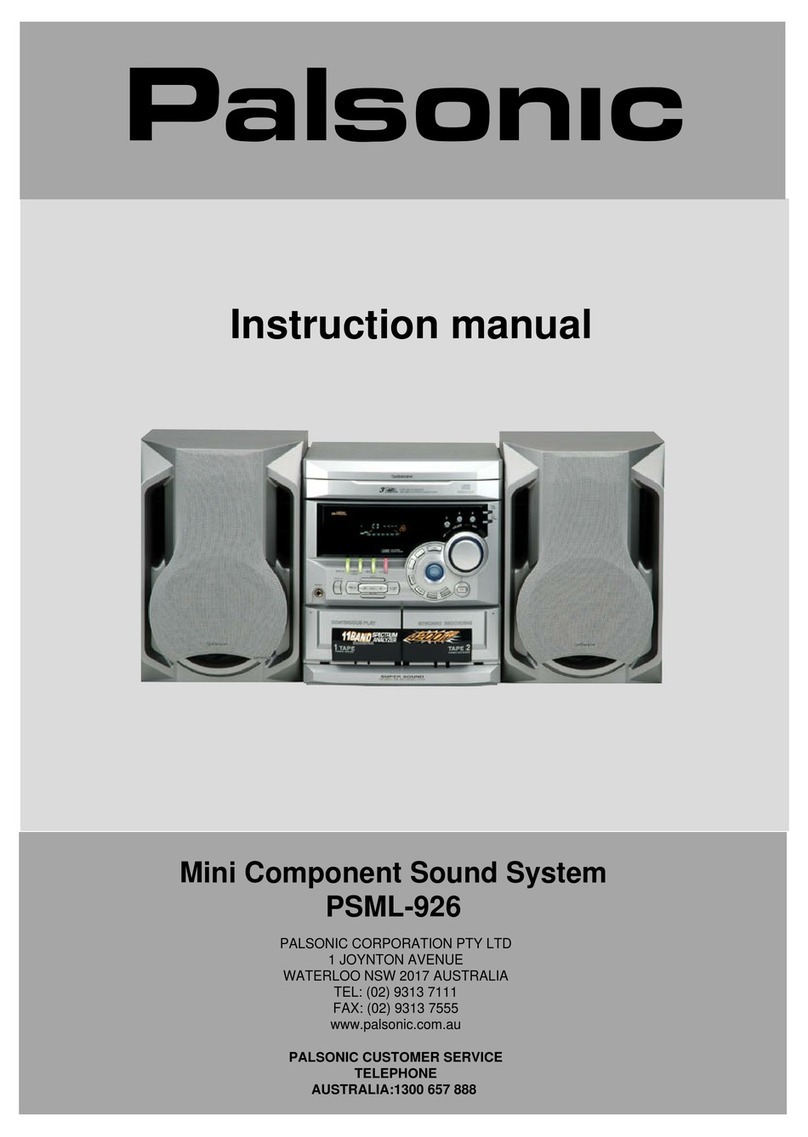
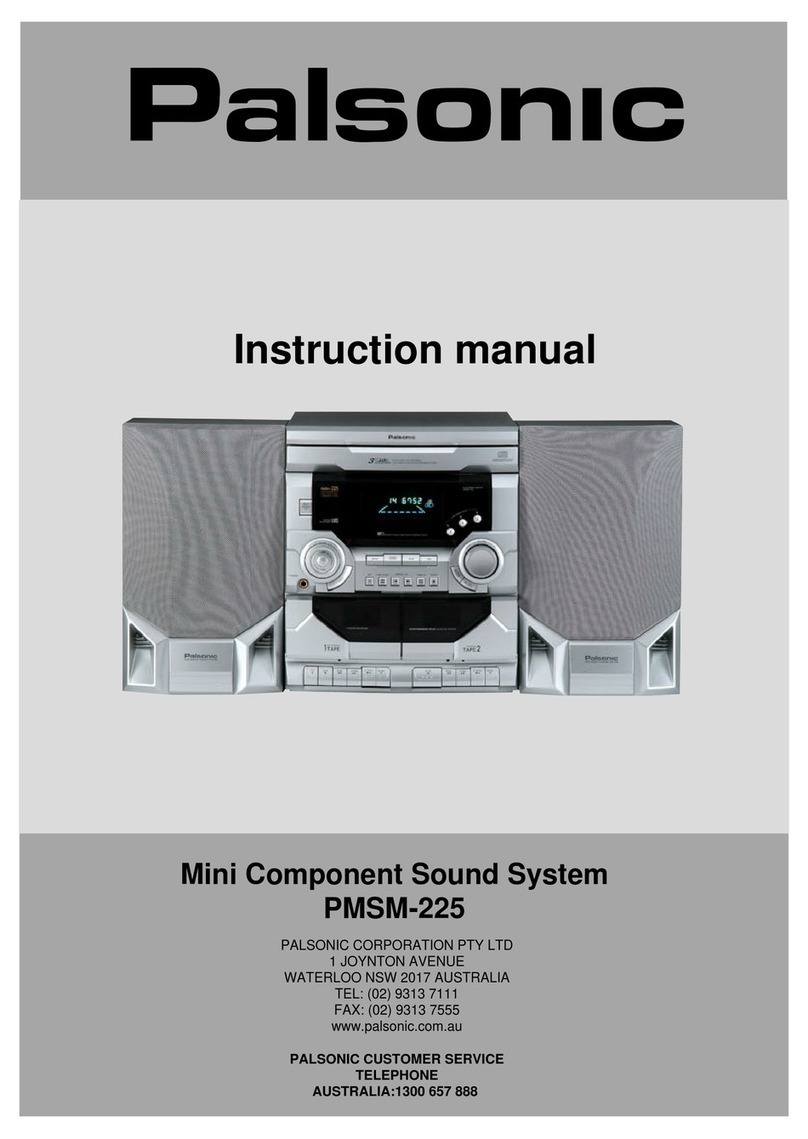
Palsonic PMSL-329 User manual

Instruction manual
Mini Component Sound System
PSML-729/PMSL-329
PALSONIC CORPORATION PTY LTD
1 JOYNTON AVENUE
WATERLOO NSW 2017 AUSTRALIA
TEL: (02) 9313 7111
FAX: (02) 9313 7555
www.palsonic.com.au
PALSONIC CUSTOMER SERVICE
TELEPHONE
AUSTRALIA:1300 657 888
PSML-729
PSML-329

Precautions
WORTH
knowing
2
Please keep the sound system's guarantee card and receipt safe for
warranty purposes, if guarantee card is supplied to you.
Read carefully through this manual to familiarise yourself with this
high - quality sound system.
Make sure the rating of your household electricity supply matches that
shown on the back of the sound system.
Refer to this chapter and the "Installation/connections" chapter (page
18/19) to help you install and adjust your sound system.
Do not ...
... expose the sound system to high levels of humidity and heat, to avoid
the risk of fire and electric shock.
... connect the sound system to the power supply if you have just moved
it from a cold to a warm environment. This can result in condensation
inside the system and cause serious damage to the machine and
cassettes. Wait around two hours to allow it to reach room
temperature.
Make sure ...
...
...
...
...
...
the system is placed on a stable, flat surface.
you place the system where there is good ventilation all around.
you clean the system only with a soft, line-free cloth, do not use
aggressive or alcohol-based cleaning agents.
you disconnect the power supply if the system appears to be working
incorrectly, is making an unusual sound, has a strange smell, has
smoke emitting from it or liquids have got inside it.
Have a qualified technician check the system.
you disconnect the power supply and aerial if you will not be using the
system for a long period or during a thunderstorm.
For your own safety!
There are no components in this sound system you can
service or repair yourself.
Do not open the case of the sound system. Only allow
qualified personnel to repair or service your set.
"Class 1 Laser Product" : Do not override the safety locks
around the laser unit of the CD player : Laser beams can
damage your eyes!
This sound system is designed for continuous operation.
Switching it off does not disconnect it from the mains
(stand-by). To disconnect it from the mains, you have to
unplug it.
Recording any copyright protected material may infringe
a copyright.
"CAUTION : Replace fusible resistor with the same type and rating."

Contents
WORTH
knowing
3
Before doing anything with this machine, please
read the chapter "Installation / connections".
Controls
The remote control unit ...................................................................................................
The sound .......................................................................................................................
The machine ...................................................................................................................
4
5
6/7
Radio listening
Tuning station, Programming station presets, Selecting station presets ........................ 8
Tape playing
Playing tapes, Winding, Skipping a piece, Continuous playback ...................................
CD Playing
Playing CDs, Searching, Skipping ..................................................................................
Skipping, Programmed CD tracks playback, Repeat playback, Random playback ........
Recording
Recording Recording stations, from a connected device ...............................................
Recording CDs with synchro start, Recording from another tape (dubbing) ..................
Timer and clock
Installation / connections
Appendix
Setting the clock, Displaying the time, Setting the sleep timer .......................................
Setting the timer, Timer (record) stand-by on/off, Checking the timer ............................
Placing your sound system components, Remote control and batteries ........................
Installation ......................................................................................................................
Before you ask a specialist, Cleaning the audio heads of the tape deck ........................
Compact discs, Technical data .......................................................................................
On the following pages, the pictures show the buttons you press on the remote control or on the set to
perform the function. Some pictures show what you should see in the displays of the machine (if present).
9
10
11
12
13
14
15
16
17
18
19

The Remote Control Unit
CONTROLS
4
The remote control is the principal means of control, but the main functions are also
available on the front of the machine.
Press the buttons POWER or FUNCTION (TAPE, TUNER, AUX, CD) to turn on the
power.
Power on / off (stand-by).
Power save mode (Only Europe): This model is implemented to reduce power
consumption at stand-by operation. At this time, all displays are turned off except
stand-by mode (power save) LED.
To select tape, tuner, a connected device (video ...) or CD player.
To set the volume level.
To tune in stations, to set values in programming, to fast reverse or advance
tape and CD.
To show the current time in system's display.
To set the minutes after which the system is to switch off
automatically. Press repeatedly for time between 90 and 10 minutes
To select music style setting, see page 5.
Direct Access to one of three discs that you load onto your sound system.
To select timer setting and to activate / deactivate timer stand-by.
For a short pause during recording of a tape or CD play or to
advance in a programming (e.g. clock set).
To select FM or AM radio.
CLOCK
FUNCTION
TIMER
MAX.
4M
MAX.
4M
SLEEP
BAND
MUTE
TAPE 1/2
To mute (on/off) the volume for a while, e.g. during a
telephone call.
To select FM mono for a weak stereo reception, or tape 1/2.
Bass enhancement (on/off), see page 5.

With your sound sound system you have unique possibilities
to modify the sound of your music
The sound
CONTROLS
5
On the
machine
Volume level
Handy buttons serve for comfortable volume control both
on the machine as well as on the remote control.
(MAX. VOL 28 ~ VOL 1, MIN.)
Music styles
This adjustment section lets you adjust your system's
sound to the music style you are listening to such as
Merengue, Classic, Reggae, Salsa, Samba, Jazz, Rock
and Pops (Flat means no style).
Press the buttons repeatedly for the desired mode and
watch the display.
Ultra Bass Sound system
Use this button on the machine or on the remote control
to give music more volume and power by boosting its bass
section (on/off).
On the
remote control
Mute
If you want to turn the volume down very quickly, because
the phone rings or someone is knocking at the door, press
this button.
Press again or the volume button to get the previous
volume level.
MUTE

horizontally on a flat, steady base so that air can circulate around it for ventilation.
away from humidity and heat, magnetic fields, such as those from loudspeakers etc.,
and with no heavy objects placed on top.
Place your sound system
The machine
CONTROLS
6
To system power ON (stand-by)
Power save mode (Only Europe) : This mode
implemented to reduce power consumption at stand-by
operation. At this time, all display are turn off except
stand-by mode (power save) L.E.D. This mode is
activated by power button after clock setting. Clock,
Power, Function, Disc direct, OPEN/CLOSE,
Disc change buttons are available at this mode.
To select tape 1/2 tuner and band, a
connected device (video ...), CD player or to
show the current time in the system's
display
For a short pause during recording on a tape or to advance in a
programming (e.g. clock set).
To stop play and record or to cancel values
and functions.
To tune in stations, to set values in
programming, to fast reverse or advance
tape, CD.
To start play or to select station presets and reverse play for tape.
PHONE
Headphone socket. Plugging in a
headphone switches the speakers off.
To set the minutes after which the system
is to switch off automatically. Press
repeatedly for a time between 90 and 10
minutes.
If you want to turn the volume down very
quickly, because the phone rings or
someone is knocking at the door, press this
button.
CD1 CD2 CD3
To open or close the disc compartment. To
load / unload CDs.
To play the next disc and to turn disc tray
for loading up to 3 discs. Also to load a disc
while another is playing.
Direct access to one of the three discs that
you can load into your sound system.
Remote Control buttons see page 4.
OPEN/
CLOSE
DISC
CHANGE
SET CLEAR
TUNE DOWN TUNE UP

The machine
CONTROLS
7
To select repeat play for a track, a CD, or all CDs.
To enter programme play.
To select random play for all CDs or tracks of the selected disc.
Press repeatedly.
To select FM mono for weak stereo reception.
REPEAT
To start tape recording.
To dub a tape at high or normal speed
with synchronised start of both, playing
and recording tapes.
To dub a CD with synchronised start of
disc and tape.
Tape compartment 1
for playing tapes. Tape compartment 2 for playing tapes
and recording tapes.
This adjustment section lets you adjust your system's sound to the music style you are listening to such
as Merengue, Classic, Reggae, Salsa, Samba, Jazz, Rock and Pop (FLAT means no style).
You can see demonstration of this system by press DEMO/DISPLAY
button shortly.
Or to modify graphic equalising display, press DEMO/DISPLAY button
more 1 sec - during music played. And you can select your favourite
display sequentially.
Bass enhancement (on / off), see page 5.
To select timer setting and to activate / deactivate timer stand-by.
To set the volume level.
PGM
RANDOM
MODE
TAPE
SYNC DUB
REC

TUNE TUNE
Tuning stations
RADIO
listening
8
Programming station presets
Selecting station presets
On the machine select the tuner function and the band by pressing
BAND / TUNER button. The other buttons are on the machine too.
If you try to store a 31st FM / 16th AM (MW) station, the display will
show "FULL".
To clear a preset station, select it, press , then for 3 seconds.
You can use the button of the remote control to switch back to stereo.
FUNCTION
BAND
Select the tuner function.
Select the band.
To find weak stations too, press
repeatedly while tuning.
To find powerful stations quickly tune
automatically keeping either button
pressed until tuning starts.
A station is being received.
FM stereo broadcasts with too
much noise can be switched to
mono for less noise.
Find a station as under "Tuning
stations".
Store.
The system assigns a station to
a number beginning with 1 one
after another.
You can store up to 30 FM /
15 AM stations.
Select lower or higher preset
numbers.
TUNE TUNE
TAPE 1/2
PRESET
CLEAR
TAPE 1/2

Continuous playback
Winding
Playing tapes
9
TAPE 1: To playback prerecorded tapes.
TAPE 2: Only to playback prerecorded tapes
and to record tapes.
For tape recording see page 12-13.
button on the machine
Select the TAPE 1 or TAPE 2 function.
Open either tape compartment to load the tape.
Be sure to have the open part of the cassette downwards and the left
hand spool fully wound.
Close the compartment door again, pushing it softly.
Start playback.
Stop playback.
Stop playback.
Fast rewind or advance the tape.
Select the TAPE 1 function.
Load tapes into both compartments.
Set TAPE 1 to play.
After playing TAPE 1, the machine will commence with
TAPE 2 (one side).
On the machine select the tape function by pressing the TAPE 1/2 button. The others are on the
machine too.
The tape counter resets to "0000" when a tape compartment is opened ("0000" need not be the beginning
of the tape).
To find the next piece of music at least 5 sec. free space has to left between the pieces.
TAPE
playing
Skipping a piece
During playback.
Fast rewind to the beginning of the current
piece of music or advance to the next piece.
PRESET
FUNCTION
PRESET
PRESET
TUNE TUNE
TUNE TUNE
FUNCTION
CLEAR
CLEAR
PUSH
OPEN

FUNCTION
PRESET
CLEAR
Searching
Skipping
Playing CDs
CD
playing
10
To search for a particular point
on the disc reverse or forwards.
To Skip tracks down / up
(if you want, press the button
repeatedly).
On the machine select the CD function, by pressing the CD button.
The other buttons are on the machine too.
When the disc stops the machine shows its total time.
During playback the machine shows the current disc number, the current
track number, and the tracks play time.
CD label up
on the machine
on the machine
Select the CD function.
Open the disc compartment to
load a disc.
Be sure to have the disc label facing
upwards.
To play 3 discs, place 2 discs and turn
the trays for the third tray, using DISC
CHANGE button. (Also to load a disc
while another is playing.)
To start a first track for specific disc.
To select specific start track.
Start playback.
The currently played disc is the one on
the left, when you open the
compartment.
If you want to interrupt playback
briefly - and to continue.
Stop playback.
TUNE TUNE
TUNE TUNE
TUNE TUNE
OPEN /
CLOSE
DISC
CHANGE
This manual suits for next models
2
Table of contents
Other Palsonic Stereo System manuals
