Before Use
-38 -
LCD Brightness [LCD BRIGHTNESS]
It adjusts the brightness of the image on the
LCD screen.
LCD Colour Level [LCD COLOUR]
It adjusts the colour saturation of the image on
the LCD screen.
Brightness of the Viewfinder
[EVF BRIGHTNESS]
It adjusts the brightness of the image in the
Viewfinder.
To Adjust
Press the [SET] Button and select the item to be
adjusted, and then turn the [34] Dial to raise or
lower the number of vertical bars in the Bar
Indication.
≥A larger number of vertical bars indicates
stronger brightness or colour saturation.
≥For other notes concerning this item, see -55-.
Using the Menu Screen
To facilitate the selection of a desired function or
setup, this Movie Camera displays various
function setups on Menus.
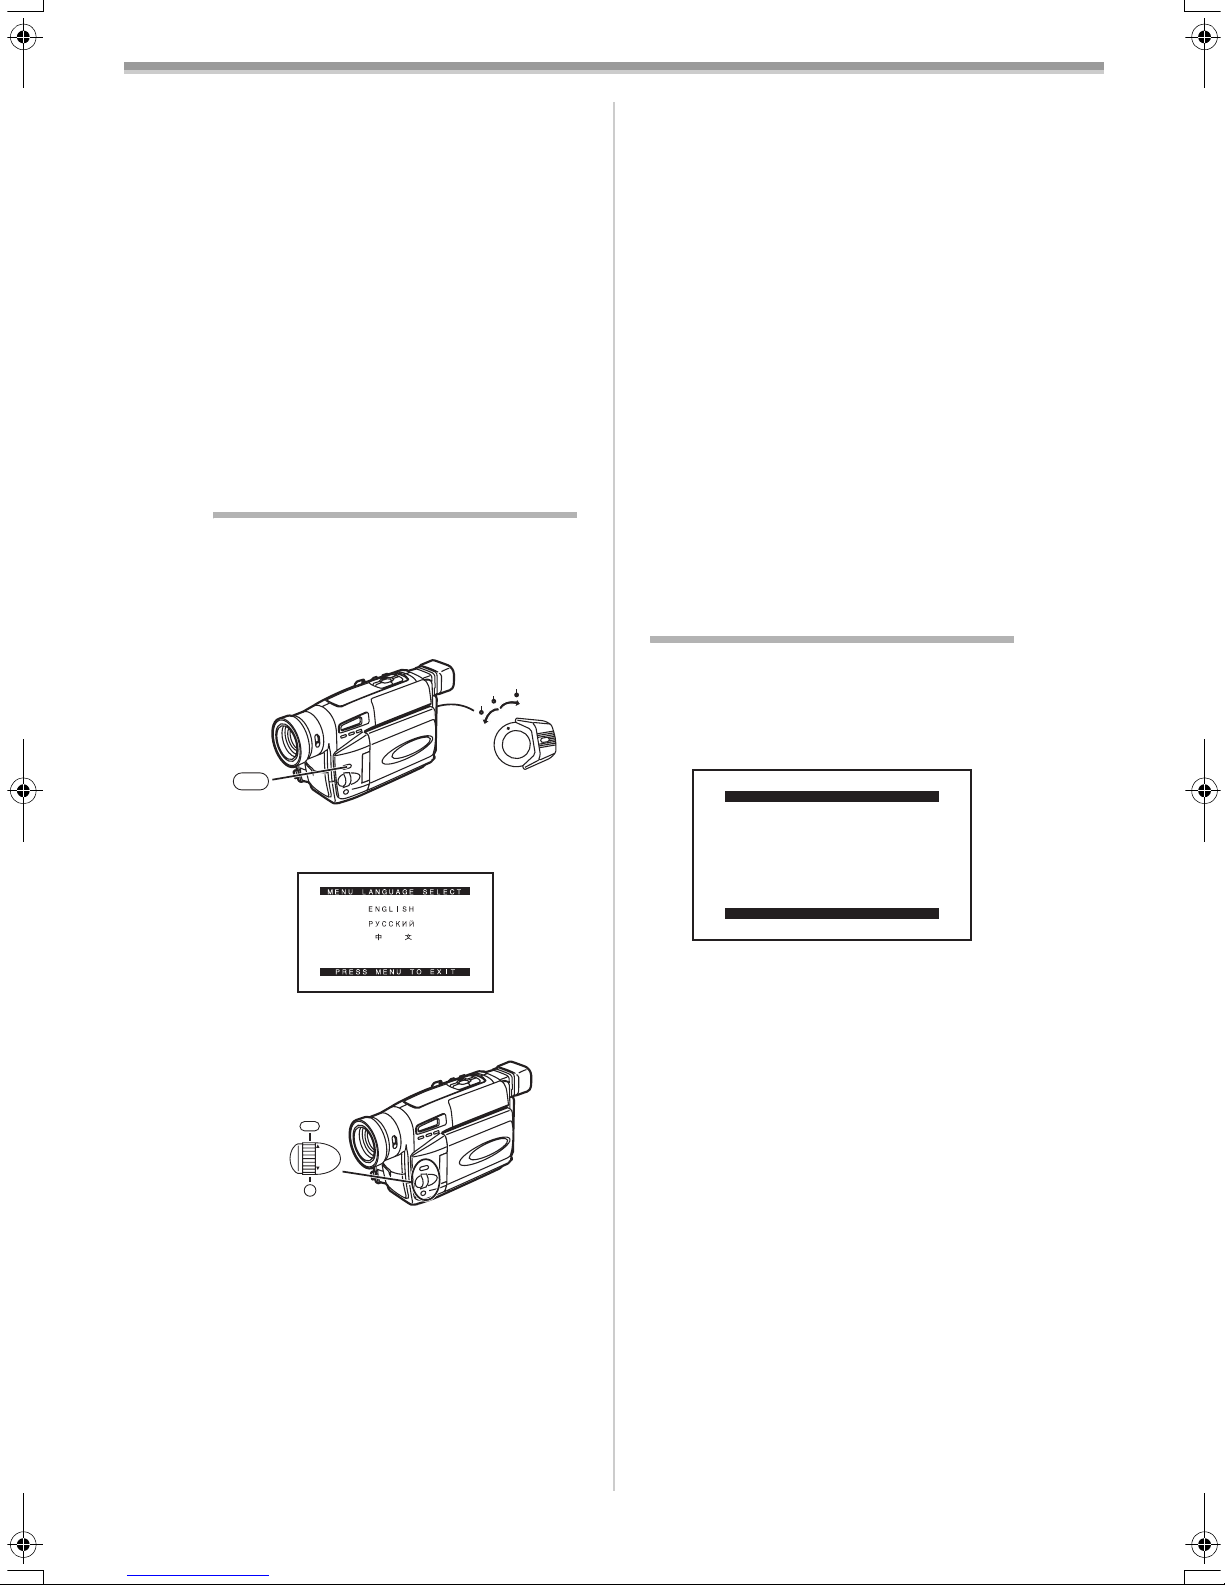
1Set the [CAMERA/OFF/VCR] Switch (34)
either to [CAMERA] or [VCR] while
pressing the [MENU] Button (11).
≥The [MENU LANGUAGE SELECT] Menu
appears.
2Press the [SET] Button (9) to select the
desired language.
3Press the [MENU] Button (11).
≥When you press this button while the
[CAMERA] Lamp is lit in red, the Camera
Mode Main-Menu appears. When you press
this button while the [VCR] Lamp is lit in
green, the VCR Mode Main-Menu appears.
4Turn the [34] Dial (10) to select a desired
Sub-Menu.
≥Turn the [34] Dial (10) to display the
highlightened item.
5Press the [SET] Button (9) to display the
selected Sub-Menu.
CAMERA
OFF
VCR
MENU
(11)
(34)
왙욹왖왳욑
MENU
FOCUS / SET
MF/
TRACKING/
EXPOSURE
(11)
(10)
(9)
6Turn the [34] Dial (10) to select the item
to be set.
7Press the [SET] Button (9) to set the
selected item to a desired mode.
≥With each press of the [SET] Button, the
cursor [1] moves to the next mode.
≥You can display the menu during playback, but
not during recording. Also, it is possible to start
playback while the menu is displayed, but if
you start recording, the displayed menu
disappears.
To Exit the Menu Screen
Press the [MENU] Button (11) again.
About the Menu Mode Setting
The setting selected on the Menu will be
retained even when the Movie Camera is turned
off. However, if the Battery or AC Adaptor is
disconnected before turning off the Movie
Camera, the selected setup may not be
retained.
≥Menu operation flow is shown in this text by
>>.
≥For other notes concerning this item, see -55-.
List of Menus
The figures of the Menus are for explanation
purposes only, and they are different from the
actual Menus.
ª[CAMERA FUNCTIONS]
Camera Mode Main-Menu
1) [CAMERA SETUP]
Camera Setup Sub-Menu
[MOTION SENSOR]
Motion Sensor Function -47-
[DIGITAL ZOOM]
Digital Zoom -46-
[MANUAL EXPOSURE]
Manual Iris Adjustment -45-
[RETURN]
Returning to the Main-Menu
≥If you set [RETURN] to [YES], the menu
changes back to the Main-Menu.
2) [DIGITAL EFFECT]
Digital Effect Functions Sub-Menu
[DIGITAL EFFECT]
Digital Effects -45-
3) [FADE SETUP]
Fade Setup Sub-Menu
[DIGITAL FADE]
Digital Fade Off/On -46-
[FADE IN]
Fade in -46-
[FADE OUT]
Fade out -46-
[FADE COLOUR]
Colour of the Digital Fade -46-
CAMERA FUNCTIONS
PRESS MENU TO EXIT
1.
CAMERA SETUP
2.
DIGITAL EFFECT
4.
TITLE SETUP
3.
FADE SETUP
5.
DATE/TIME SETUP
6.
DISPLAY SETUP
8.
OTHER FUNCTIONS
7.
LCD/EVF SETUP
ENG.book 38 ページ 2003年11月12日 水曜日 午後9時45分