manuals.online logo
Brands
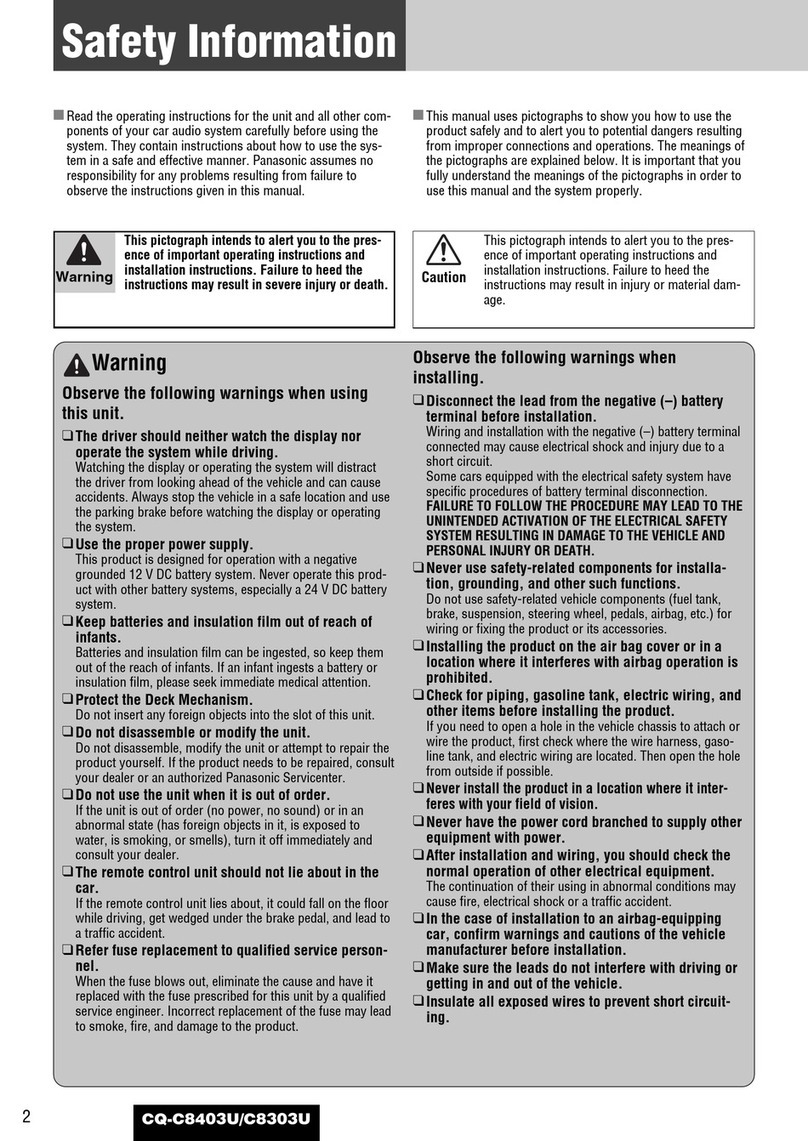
  1. Home
  2. •
  3. Brands
  4. •
  5. Panasonic
  6. •
  7. Car Receiver
  8. •
  9. Panasonic CQCM130U - MP3 CD RECEIVER User manual

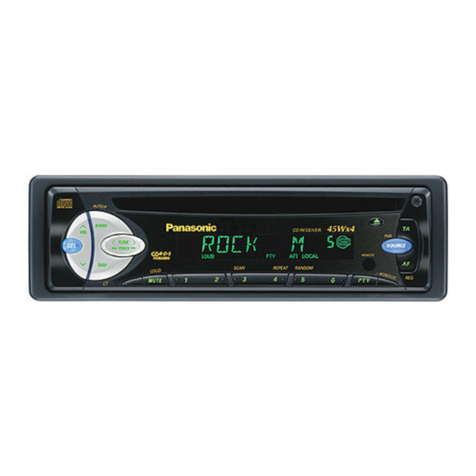
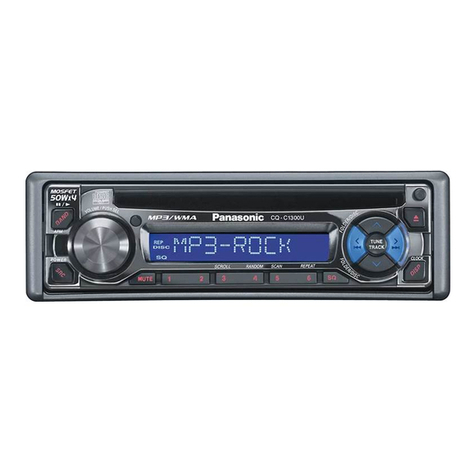
Panasonic CQCM130U - MP3 CD RECEIVER User manual

CQ-CM130U Installation Instructions (1) YFM294C119CA
MP3 CD Player/Receiver
Model: CQ-CM130U
Supplied Hardware
1
1
1
2
1
1
No. Diagram
Q'ty
Item No. Diagram
Q'ty
Item
Mounting Collar
Mounting Bolt (5 mm ø) Power Connector
Tr im PlateRubber Bushing
FX0214C384ZB **
YFC054C081YA
●Please read these instructions carefully before using this product and keep this manual for future reference.
YFM294C119CA PTW1007-0 Printed in China
Installation Instructions
Lock Cancel Plate
YGAJ021012
Panasonic Consumer
Electronics Company,
Division of Panasonic
Corporation of North America
One Panasonic Way, Secaucus,
New Jersey 07094
http://www.panasonic.com
Panasonic Sales Company,
Division of Panasonic Puerto
Rico, Inc. (“PSC”)
Ave. 65 de Infanteria, Km. 9.5
San Gabriel Industrial Park,
Carolina, Puerto Rico 00985
http://www.panasonic.com
*➁, ➂and ➃consist of a set. (ZZBISC1101U-J)
©2007 Matsushita Electric Industrial Co., Ltd. All Rights Reserved.
e
q
How to install the unit
Installation
Tr im plate ymounting
Locking point
Battery Cable reconnection
How to remove the unit
Remove the cable from the battery negative terminal.
Mounting collar qinsertion. Bend mounting tabs.
Connection of power connector t.
Bend appropriate tabs to secure the unit
without backlash.
qScrew the mounting bolt w into the main unit.
wSecure to the fire wall.
e
Slide the unit into the mounting collar until a click is
heard. Securing the unit.
Main unit securing
w
Securing to fire wall
Using the rear support strap (Option)
Using the rubber bushing e
3 mm
Tapping screw (Option)
To the unit
Rear support strap (Option)
Hexagonal nut (
Option
)
Rear support bracket
(supplied with car)
Rubber Bushing e
To the unit
Mounting Bolt w
English
Caution
When this unit is installed in dashboard,
ensure that there is sufficient air flow
around the unit to prevent damage from
overheating, do not block any ventilation
holes on the unit.
Consult a professional for installation.
●Verify the radio using the antenna and speakers before
installation.
0 – 30°
●Mounting angle right to left : horizontal
front to rear : 0 – 30°
Before Installation
Dashboard
THICKNESS
MIN. 4.75 mm {3/16”}
MAX. 5.56 mm {7/32”}
Before Wiring
❐ This installation information is designed for professional installers with knowledge of automobile electrical safety systems and is not
intended for non-technical, do-it-yourself individuals. It does not contain instructions on the electrical installation and avoidance of
potential harm to air bag, anti-theft and ABS braking or other systems necessary to install this product. Any attempt to install this
product in a motor vehicle by anyone other than a professional installer could cause damage to the electrical safety system and could
result in serious personal injury or death.
❐ If your car is equipped with air bag and/or anti-theft systems, specific procedures may be required for connection and disconnection
of the battery to install this product. Before attempting installation of this electronic component against the manufacturer’s
recommendation, you must contact your car dealer or manufacturer to determine the required procedure and strictly follow their
instructions.
FAILURE TO FOLLOW THE PROCEDURE MAY RESULT IN THE UNINTENDED DEPLOYMENT OF AIR BAGS OR ACTIVATION OF THE ANTI-THEFT
SYSTEM RESULTING IN DAMAGE TO THE VEHICLE AND PERSONAL INJURY OR DEATH.
WARNING
Mounting Bolt w
1
2
3
4
4
4
5
6
4
Clank!
Caution
● Wear gloves for safety.
● Make sure that wiring is completed before
installation.
Please refer to the “WARNING” statement above.
Exclusively operated with 12 V battery with negative (–)
ground.
Connect the power lead (red) last.
Connect the battery lead (yellow) to the positive (+) terminal of
the battery or fuse block terminal (BAT).
Strip about 5 mm {1/4”} of the lead ends for connection.
Apply insulating tape to bare leads.
182 mm {7 5/32”}
53 mm {2 3/32”}
q
w
q
w
1
2
3
Lock release
qInsert the lock cancel plate
runtil you hear a click.
wPull the main unit.
Pull out the unit with
both hands.
Remove the trim plate y.
V
O
L
SRC
/
PWR
123456
CQ-CM130U
T
U
N
E
/
T
R
A
C
K
F
O
L
D
E
R
S
C
R
O
L
L
R
A
N
D
O
M
S
C
A
N
R
E
P
E
A
T
P
U
S
H
S
E
L
SQ
L
R
Lead Connections
Connect all wires, making sure that each connection is insulated and
secure. Bundle all loose wires and fasten them with tape so they will not
fall down later. Now insert the unit into the mounting collar.
Congratulations! After making a few final checks, you’re ready to enjoy
your new auto stereo system.
Final Installation Final Check
1. Make sure that all wires are properly connected and insulated.
2. Make sure that the main unit is securely held in the mounting collar.
3. Turn on the ignition to check the unit for proper operation.
If you have difficulties, consult your nearest authorized professional
installer for assistance.
ACC
BATTERY 15A
FRONT SP
REAR SP
Wiring
Connect as follows.
Speaker Connection
Caution
To prevent damage to the unit, do not connect the power connector
until the whole wiring is completed.
Power Lead (ACC or IGN) To ACC power, +12 V DC.
Ground Lead To a clean, bare metallic part of the car chassis.
Battery Lead To the car battery, continuous +12 V DC.
External Amplifier Control Lead To Panasonic power amplifier. (Max 100 mA) (synchronized with the power on/off of amplifier)
Antenna Control Lead To Motor Antenna. (Max 100 mA) (This lead is not intended for use with a switch actuated power antenna)
Fuse (15 A) Refer fuse replacement to your nearest authorized Panasonic
Servicenter. Do not try fuse replacement by yourself.
Microphone Control Lead
To a microphone unit.
Note: The microphone input is only for specially designated microphone to this unit.
Please ask your professional installer to install the microphone unit.
●Do not use a 3-wire type speaker system
having a common earth lead.
Caution
●Do not connect more than one speaker to
one set of speaker leads. (except for connecting to
a tweeter)
(Red)
(Black)
(Yellow)
(Blue w/white stripe)
Front Left + (White)
Front Left – (White w/black stripe)
-
+
Rear Right + (Violet)
Rear Right – (Violet w/black stripe)
+
-
Front Right + (Gray)
Front Right – (Gray w/black stripe)
+
-
Rear Left + (Green)
Rear Left – (Green w/black stripe)
+
-
Antenna
●Use ungrounded speakers only.
Allowable input: 50 W or more
Impedance: 4 – 8 Ω
●Use of speakers which do not match the specifications can cause
burning, smoking or damage of the speakers.
●Distance between speaker and amplifier: 30 cm {12 } or more
MIC IN Connector
Connect the audio terminals
of microphone.
(L)
(White)
(R)
(Red)
CQ-CM130U Installation Instructions (2) YFM294C119CA

Other manuals for CQCM130U - MP3 CD RECEIVER

1

Other Panasonic Car Receiver manuals

Panasonic CQC1333U - AUTO RADIO/CD DECK User manual

Panasonic

Panasonic CQC1333U - AUTO RADIO/CD DECK User manual

Panasonic CQDP383U - AUTO RADIO/CD DECK User manual

Panasonic

Panasonic CQDP383U - AUTO RADIO/CD DECK User manual

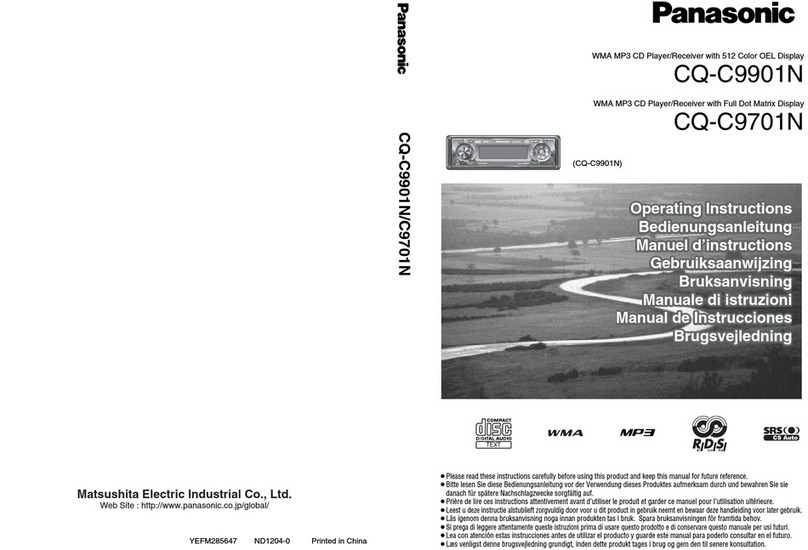
Panasonic CQ-C8403N User manual

Panasonic

Panasonic CQ-C8403N User manual

Panasonic CQ-C1301NW User manual

Panasonic

Panasonic CQ-C1301NW User manual

Panasonic CQ-C1325N User manual

Panasonic

Panasonic CQ-C1325N User manual

Panasonic CX-DP880U - CD Changer User manual

Panasonic

Panasonic CX-DP880U - CD Changer User manual

Panasonic CQ-D5501W User manual

Panasonic

Panasonic CQ-D5501W User manual

Panasonic CX-BM4290F User manual

Panasonic

Panasonic CX-BM4290F User manual

Panasonic CY-VM7203W User manual

Panasonic

Panasonic CY-VM7203W User manual

Panasonic CQ-DP975EW User manual

Panasonic

Panasonic CQ-DP975EW User manual

Panasonic CQ-DFX572N User manual

Panasonic

Panasonic CQ-DFX572N User manual

Panasonic CQ-C3401 User manual

Panasonic

Panasonic CQ-C3401 User manual

Panasonic CQVD7500U - CAR A/V DVD NAV User manual

Panasonic

Panasonic CQVD7500U - CAR A/V DVD NAV User manual

Panasonic CQRX400U - AUTO RADIO/CD/MP3 DECK User manual

Panasonic

Panasonic CQRX400U - AUTO RADIO/CD/MP3 DECK User manual

Panasonic CQ-C5355N

Panasonic

Panasonic CQ-C5355N

Panasonic CQC1301U - AUTO RADIO/CD DECK User manual

Panasonic

Panasonic CQC1301U - AUTO RADIO/CD DECK User manual

Panasonic National RQ-355 User manual

Panasonic

Panasonic National RQ-355 User manual

Panasonic Road Choice 83176265 User manual

Panasonic

Panasonic Road Choice 83176265 User manual

Panasonic CQ-R575EW User manual

Panasonic

Panasonic CQ-R575EW User manual

Panasonic CQDFX403U - AUTO RADIO/CD DECK User manual

Panasonic

Panasonic CQDFX403U - AUTO RADIO/CD DECK User manual

Panasonic CW-C141NU User manual

Panasonic

Panasonic CW-C141NU User manual

Panasonic CQ-5251JU User manual

Panasonic

Panasonic CQ-5251JU User manual

Panasonic CQ-DFX701 User manual

Panasonic

Panasonic CQ-DFX701 User manual

Panasonic CQ-VX1300W User manual

Panasonic

Panasonic CQ-VX1300W User manual

Popular Car Receiver manuals by other brands

Kenwood KDC-X896 quick start guide

Kenwood

Kenwood KDC-X896 quick start guide

JVC KW-R710 instruction manual

JVC

JVC KW-R710 instruction manual

JVC KD-A645 instruction manual

JVC

JVC KD-A645 instruction manual

Sony CDX-GT45IP operating instructions

Sony

Sony CDX-GT45IP operating instructions

Clarion DB156 owner's manual

Clarion

Clarion DB156 owner's manual

Kenwood KDC-5070R instruction manual

Kenwood

Kenwood KDC-5070R instruction manual

Sony CDX-GT260S operating instructions

Sony

Sony CDX-GT260S operating instructions

Pioneer FH-P4000R Operation manual

Pioneer

Pioneer FH-P4000R Operation manual

JVC GET0643-001A instruction manual

JVC

JVC GET0643-001A instruction manual

Pioneer DEH-4300UB/XNUC Service manual

Pioneer

Pioneer DEH-4300UB/XNUC Service manual

JVC KD-G402 manual

JVC

JVC KD-G402 manual

VDO CD 4402 - user manual

VDO

VDO CD 4402 - user manual

Sony CDX-GT21W - 200w Cd Receiver Service manual

Sony

Sony CDX-GT21W - 200w Cd Receiver Service manual

Pioneer X-HX700 Service manual

Pioneer

Pioneer X-HX700 Service manual

Sony XR-C543SP Service manual

Sony

Sony XR-C543SP Service manual

Onkyo CR-715 instruction manual

Onkyo

Onkyo CR-715 instruction manual

Volvo XC70 2013 D5 AWD Installation instruction

Volvo

Volvo XC70 2013 D5 AWD Installation instruction

Sony CDX-GT930UI - Fm/am Compact Disc Player operating instructions

Sony

Sony CDX-GT930UI - Fm/am Compact Disc Player operating instructions

manuals.online logo
manuals.online logoBrands
  • About & Mission
  • Contact us
  • Privacy Policy
  • Terms and Conditions

Copyright 2025 Manuals.Online. All Rights Reserved.