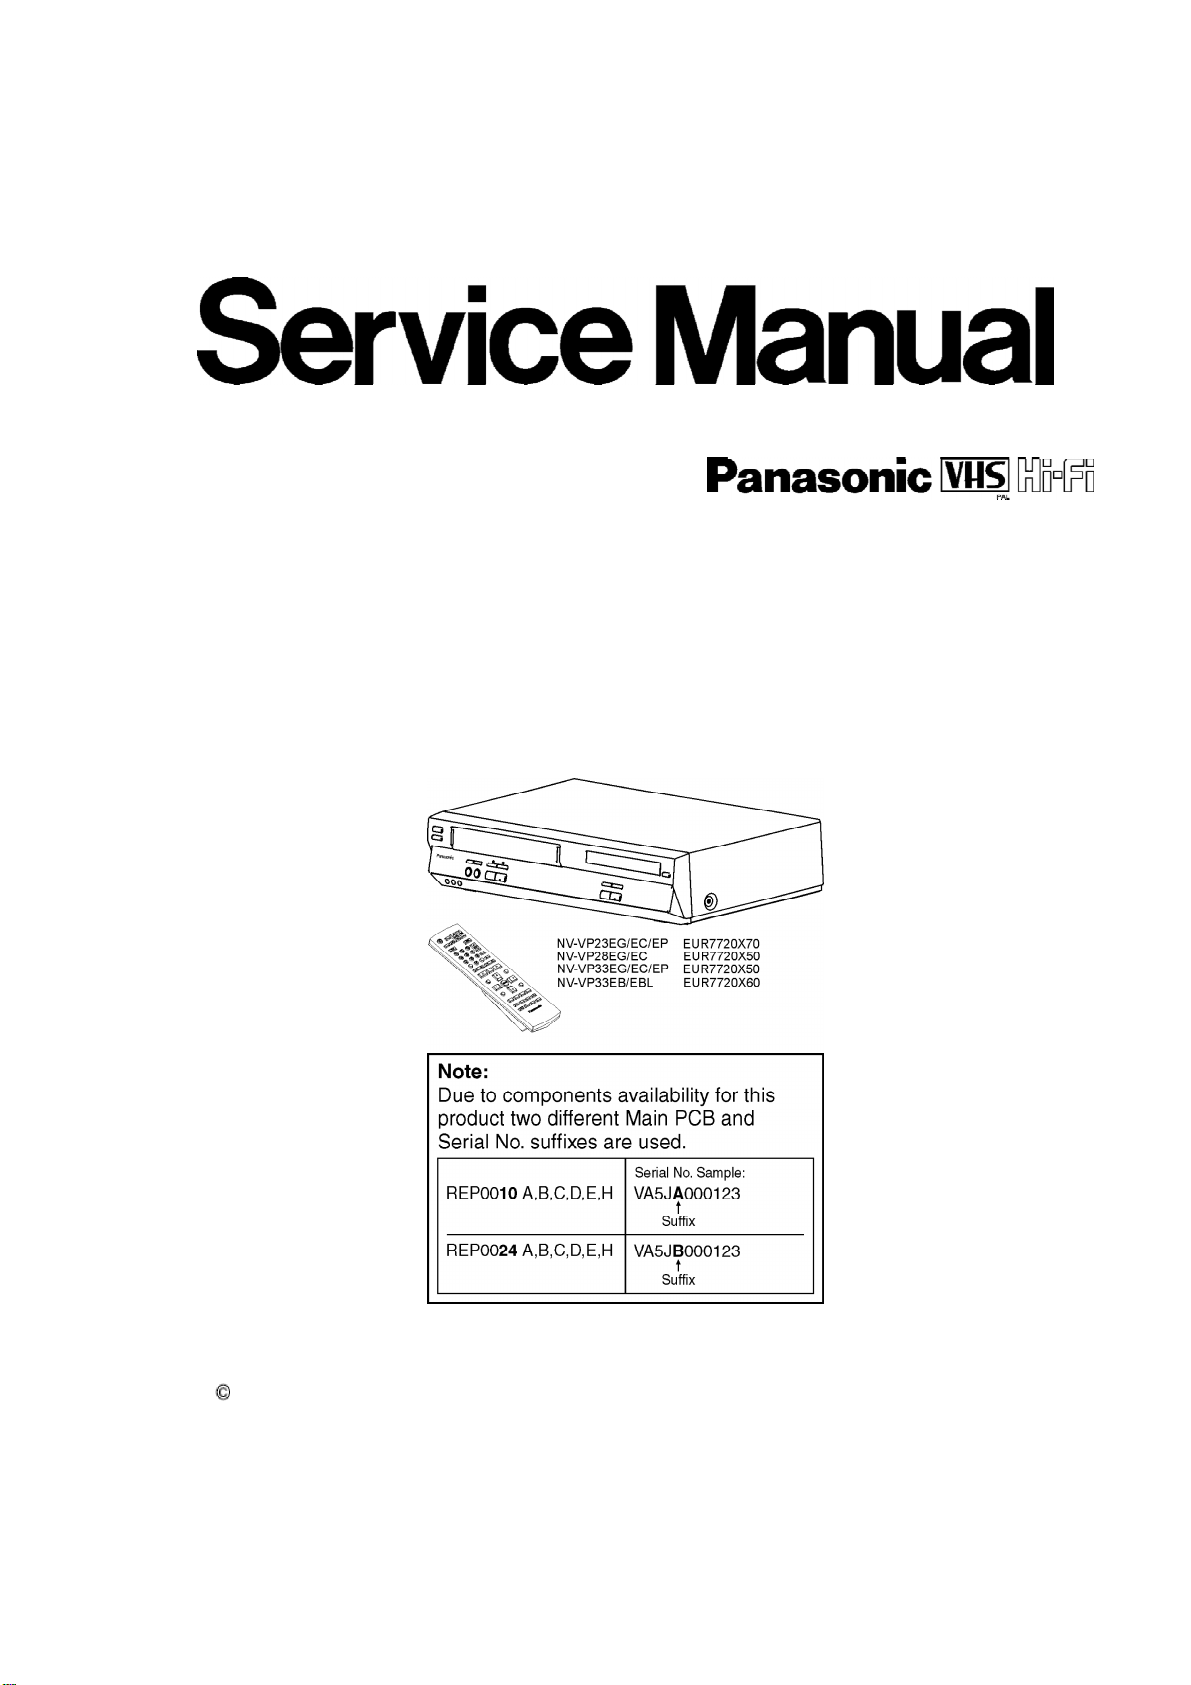
Panasonic NV-VP23EC User manual
Other Panasonic DVD VCR Combo manuals

Panasonic
Panasonic VP-31GN User manual

Panasonic
Panasonic PV-D4743-U Operating User manual

Panasonic
Panasonic PVD4753S - DVD/VCR DECK User manual

Panasonic
Panasonic PVD4753S - DVD/VCR DECK User manual

Panasonic
Panasonic PVD4752 - DVD/VCR DECK User manual

Panasonic
Panasonic PV-D744S-A User manual

Panasonic
Panasonic PV-D4744K User manual

Panasonic
Panasonic NV-VP32 Series User manual

Panasonic
Panasonic AGVP310 - DVD/VCR DECK User manual

Panasonic
Panasonic PVD4732 - DVD/VCR DECK User manual

Panasonic
Panasonic NV-VP33EB User manual

Panasonic
Panasonic OmniVision PV-D4745 User manual

Panasonic
Panasonic PVD4762 - DVD/VCR DECK User manual

Panasonic
Panasonic NV-VP31 User manual

Panasonic
Panasonic PV-D4762K User manual

Panasonic
Panasonic PVD4752 - DVD/VCR DECK User manual

Panasonic
Panasonic PV-D4753SK User manual

Panasonic
Panasonic PVD4742 - DVD/VCR DECK User manual

Panasonic
Panasonic DoubleFeature PV-D4754S User manual

Panasonic
Panasonic PV-D4734S-K User manual