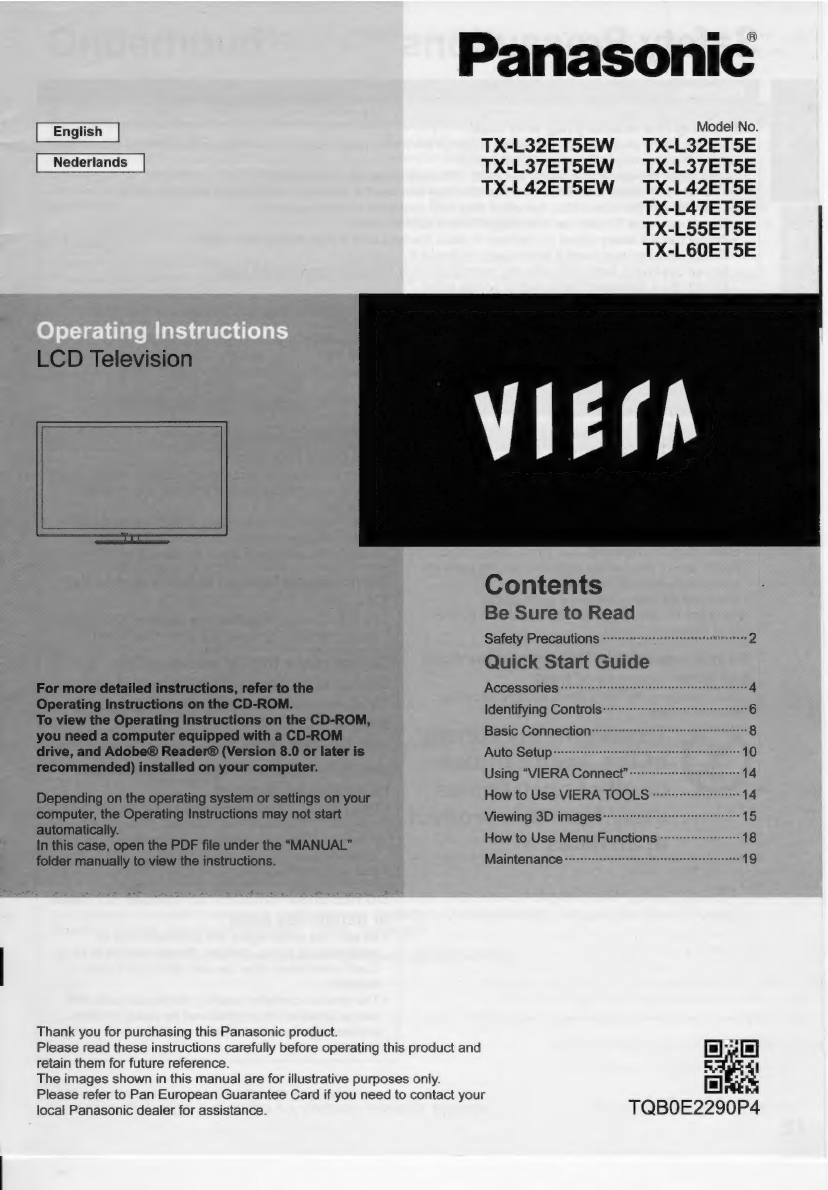
Panasonic Viera TX-L32ET5EW User manual
Other Panasonic LCD TV manuals

Panasonic
Panasonic TX-LR32E6 User manual

Panasonic
Panasonic TX50AS520Y User manual

Panasonic
Panasonic TX-24DS500B Assembly instructions

Panasonic
Panasonic TX-L42DT60E User manual

Panasonic
Panasonic TC-L32DT30 User manual

Panasonic
Panasonic Viera TX-55AX900E User manual

Panasonic
Panasonic Viera TX-32LZ85L User manual

Panasonic
Panasonic TCL42U22 - 42" LCD TV User manual

Panasonic
Panasonic Viera TX-26LXD7 User manual

Panasonic
Panasonic TX-P42ST60B User manual

Panasonic
Panasonic TX-26LX60A User manual

Panasonic
Panasonic TX-26LX1F User manual

Panasonic
Panasonic Viera TC-L32X2 User manual

Panasonic
Panasonic TX-32LX500M User manual

Panasonic
Panasonic Viera TX-26LE8A User manual

Panasonic
Panasonic Viera TX-L32B6E Instruction sheet

Panasonic
Panasonic Viera TX-26LM70P User manual

Panasonic
Panasonic TC-L32S1 - 31.5" LCD TV User manual

Panasonic
Panasonic TH-L32C10R2 User manual

Panasonic
Panasonic TX-L32E6E User manual