© 2015 Ferguson Enterprises, Inc. 00000 MO/YR
PARKHARBORLIGHTING.COM
nstallation
1.Shut off the power at the circuit breaker and remove
old fixture, including the crossbar.
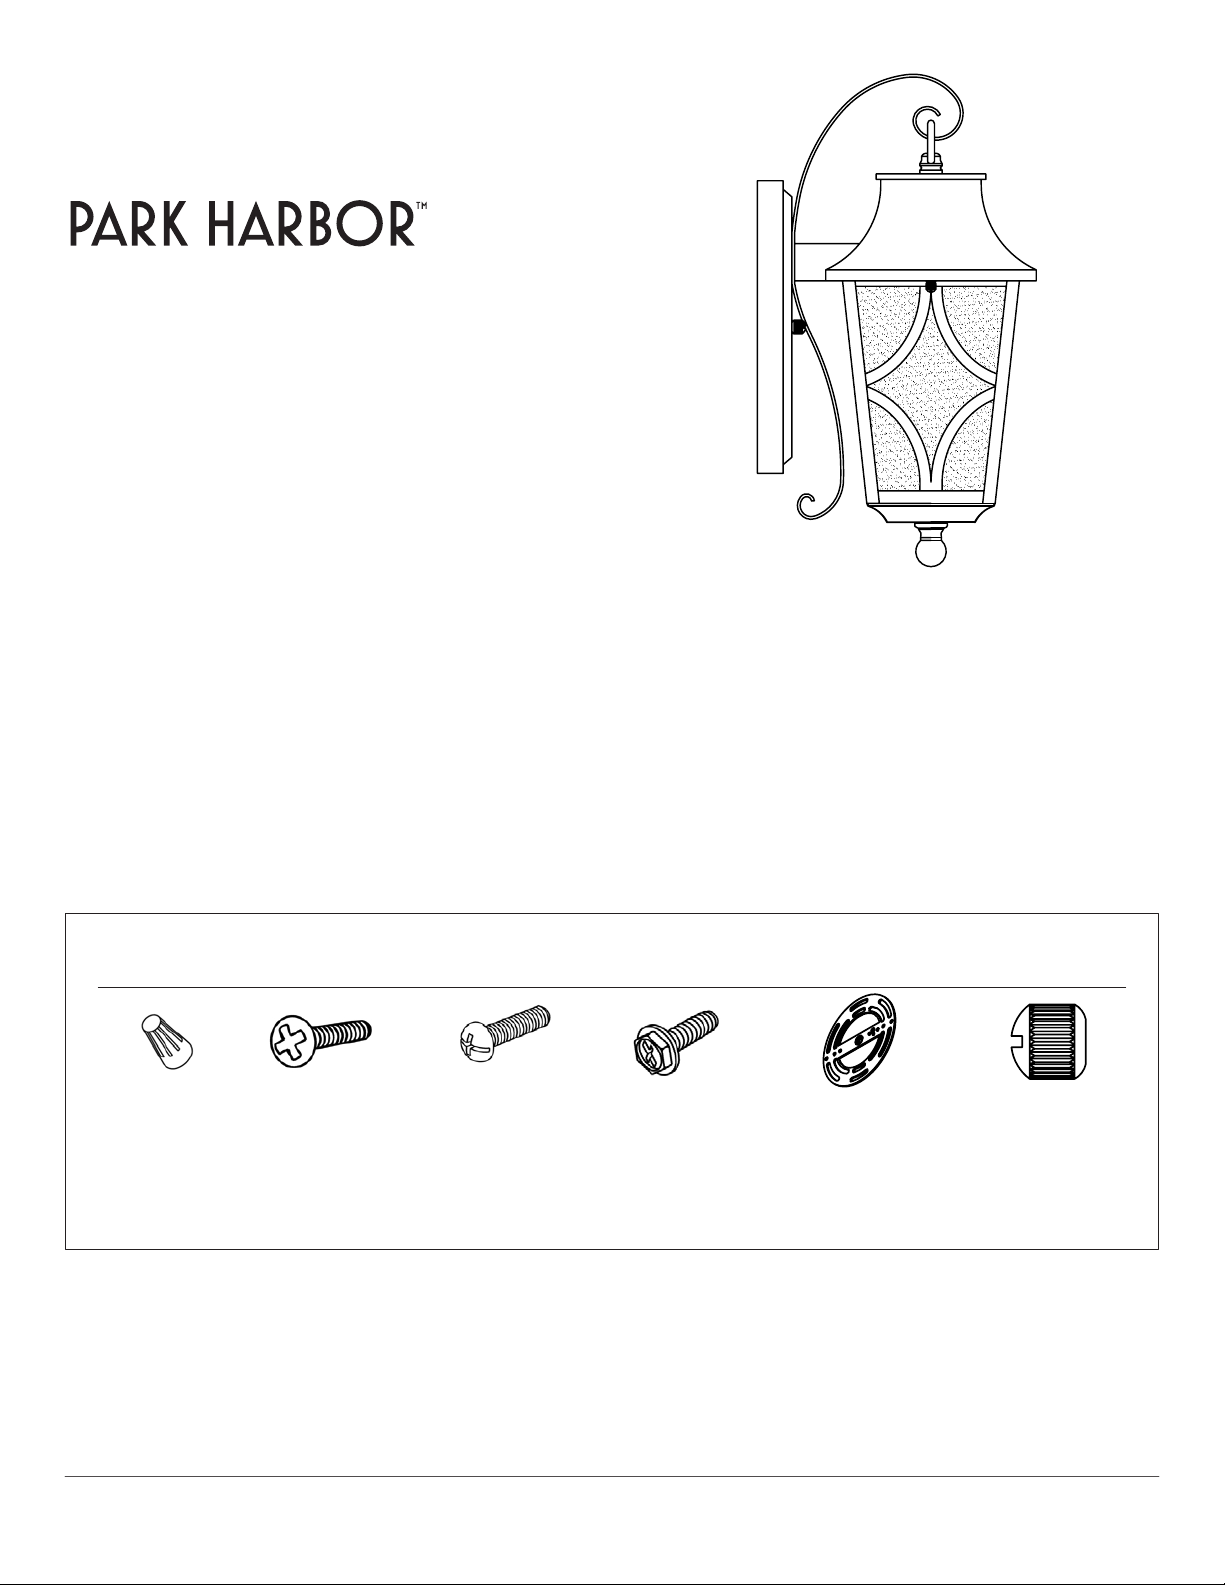
2.Carefully unpack your new fixture and lay out all
the parts on a clear area. Take care not to lose any
small parts necessary for installation.
3.Thread the 2 Mounting Screws (C) to the
Mounting plate (E).
(You can adjust the length of the screws if necessary.)
4.Attach the Mounting plate(E)to the Outlet Box (G)
(not supplied) by using 2 Outlet Box Screws (B).
7.To prevent moisture from entering the outlet box and
causing a short, use clear caulking
(ie. Indoor/Outdoor Silicone Sealant) to outline the
outside of fixture backplate where it meets the wall
leaving a space at bottom to allow moisture a means to
escape.
6.Attach the Fixture (H) to the Mounting Plate by inserting
the 2 Mounting Screws (C),and then secure with the
2 Cap Nuts (F).
5.Now connect the electrical wires as follows:
Connect the black wire from the fixture to the black
house (hot) wire. Connect the white wire from the fixture
to the white (neutral) house wire. Make sure all wire
nuts are secured. You may wrap the connections with
electrical tape. If your outlet has a ground wire
(green or bare copper), connect fixture’s ground
wire to it. Otherwise, connect fixture’s ground
wire directly to the mounting plate using the green screw
provided. Tuck the wire connections neatly into the
junction box.
nstallation
1.Coupezlecourantauniveaududisjoncteuret
retirezl'anciennelampe,ycomprislabarre
transversale.
2.Déballezsoigneusementvotrenouvellelampe
muraleetétaleztouteslespiècessurunesurface
dégagée.Faitesattentionànepasperdreles
petitespiècesnécessairespourl'installation.
3.Vissezlesvisdefixation(C)surlaplaquede
montage(E).(Vouspouvezajusterlalongueurdes
vissinécessaire)
4.Fixezlaplaquedemontage(E)àlaboîteàprises
(G)(nonfournie)àl'aidede2vispourlaboîteà
prises(B).
5.Connectezensuitelesfilsélectriquescomme
suit:Raccordezlefilnoirduluminaireaufilnoir
(phase)delamaison.Raccordezlefilblancdu
luminaireaufilblanc(neutre)delamaison.Veillez
àcequetouslescapuchonsdeconnexionsoient
bienserrés.Vouspouvezenvelopperles
raccordementsavecdurubanisolant.Sivotreprise
possèdeunfildemiseàlaterre(vertoucuivrenu),
raccordezlefildemasseduluminaireàcefil.Sinon,
raccordezlefildemasseduluminairedirectement
surlaplaquedemontageenutilisantlavisverte
fournie.Rentrezsoigneusementlesfilsraccordés
dansleboîtierélectrique.
6.Fixezleluminaire(H)àlaplaquedemontageen
insérantlesvisdefixation(C),puisinstallezet
serrezles2écrousborgnes(F).
7.Pourempêcherl'humiditéd'entrerdanslaboîte
àprisesetcauseruncourt‐circuit,utilisezun
matériaud'étanchéitéincolore(commeunproduit
d'étanchéitéensiliconepourintérieur/extérieur)
toutautourdelapartieextérieuredelaplaquede
supportarrière,làoùelleentreencontactavecle
mur,enlaissantunespaceenbaspourpermettreà
l'humiditédes'échapper.
Instalación
1.Cortelaenergíadesdeeldisyuntory
quiteelaccesorioviejocontodoylabarra
transversal.
2.Desempaquecuidadosamentesunuevo
accesorioyextiendalaspartesenunárea
libre.Pongacuidadoennoperderninguna
delaspartespequeñasnecesariasparala
instalación.
3.Enrosquelostornillosdemontaje(C)ala
placademontaje(E).(Puedeajustarla
longituddelostornillossiesnecesario).
4.Adjuntelaplacademontaje(E)alacaja
tomacorrientes(G)(noincluida)usando2
tornillosdecajatomacorrientes(B).
5.Conecteahoraloscableseléctricoscomo
sigue:Conecteelcablenegrodesdeel
accesorioalcable(corriente)enlacaja
negra.Conecteelcableblancodesdeel
accesorioalcableblanco(neutral)dela
cajablanca.Asegúresedequetodaslas
tuercasdelcablequedenbienapretadas.
Ustedpuedeenvolverlasconexionescon
cintadeaislar.Sieltomacorrienteslleva
uncableatierra(verdeodecobresin
revestimiento),conecteelcableatierradel
accesorio.Encasocontrarioconecteel
cableatierradelaccesoriodirectamentea
laplacademontajeusandoeltornillo
verdequeseproporciona.Acomodelas
conexionesdelcablecuidadosamente
dentrodelacajadeconexión.
6.Adjunteelaccesorio(H)alaplacade
montajeinsertandolostornillosde
montaje(C),yluegoasegúrelosconlasdos
tuercasdesombrerete(F).
7.Paraevitarquelahumedadse
introduzcaenlacajatomacorriente
provocandouncorto,usecalafateo
transparente(esdecirselladorpara
interioresyexterioresdesilicona)para
delinearlaparteexternadelaplacabase
delaccesorio,dondechocaconelmuro
dejandounespacioenlaparteinferior,
parapermitirquelahumedadtengaun
medio de escape.