Parker PGBC-5200 User manual

PARKER
PGBC-5200
OWNERS MANUAL
52CC PETROL Brush Cutter

1
CONTENTS
Contents 1
Guarantee 2
General Safety Instructions 3
Symbols used on the machine 4
Description of parts 6-7
Assembly 8-9
Installing the three tooth blade 10-11
Installing the spool 12
Wearing the harness 13
Starting the engine 14-17
Stopping the engine 18
Open and replace spool wire 20-21
Specication 22
EC Declaration of Conformity 22-23
This manual has been produced by Parker Products Ltd. and should be
kept with the product and referenced for operation, maintenance and
troubleshooting.
This manual contains an overall description of the product, together with
all the necessary information for using the product correctly and safely. It
is highly recommended that this manual is read prior to any operation or
maintenance of this product. The safety precautions and warnings are to
ensure your safety and protect you from harm or damage to the product.
All photographs and drawings in this manual are supplied by Parker Products
Ltd. to help you with the operation and maintenance of the product. The
information contained in this manual was accurate at the time of production,
however Parker Products Ltd. may make modications to the product
withoutnotication.

23
This product is guaranteed for a period of twelve (12) months from the original date of purchase,
against defective materials and workmanship.
If any fault is caused by defective materials or workmanship, repair will be carried out free of
charge. However, this guarantee does not apply in the case of normal wear and tear, use within
a commercial environment nor any damage caused by misuse, accident or any repair from an
unauthorised agent.
In the event of repair under the guarantee, you should return the product with proof of purchase
(the original invoice or sales receipt) to Parker Products Ltd. or to an authorised repair agent.
If repairs are outside the guarantee period a quote for repair will be provided.
Parker Products Limited
GUARANTEE
■WARNING! Never allow children or anyone to fully understand the directions given in the manual to use the machine.
■ALWAYS USE safety equipment; appropriate footwear, eye protection, ear protection, head protection, trousers and gloves.
■DO NOT wear loose clothing, jewelry, short trousers, sandals, or go barefoot.
■NEVER start the engine inside a closed room or building.
■NEVER use the product when ground is slippery, at night, during rain storms, lightning storms, or at times of strong wind.
■DO NOT start the engine within 3m of the fuelling point.
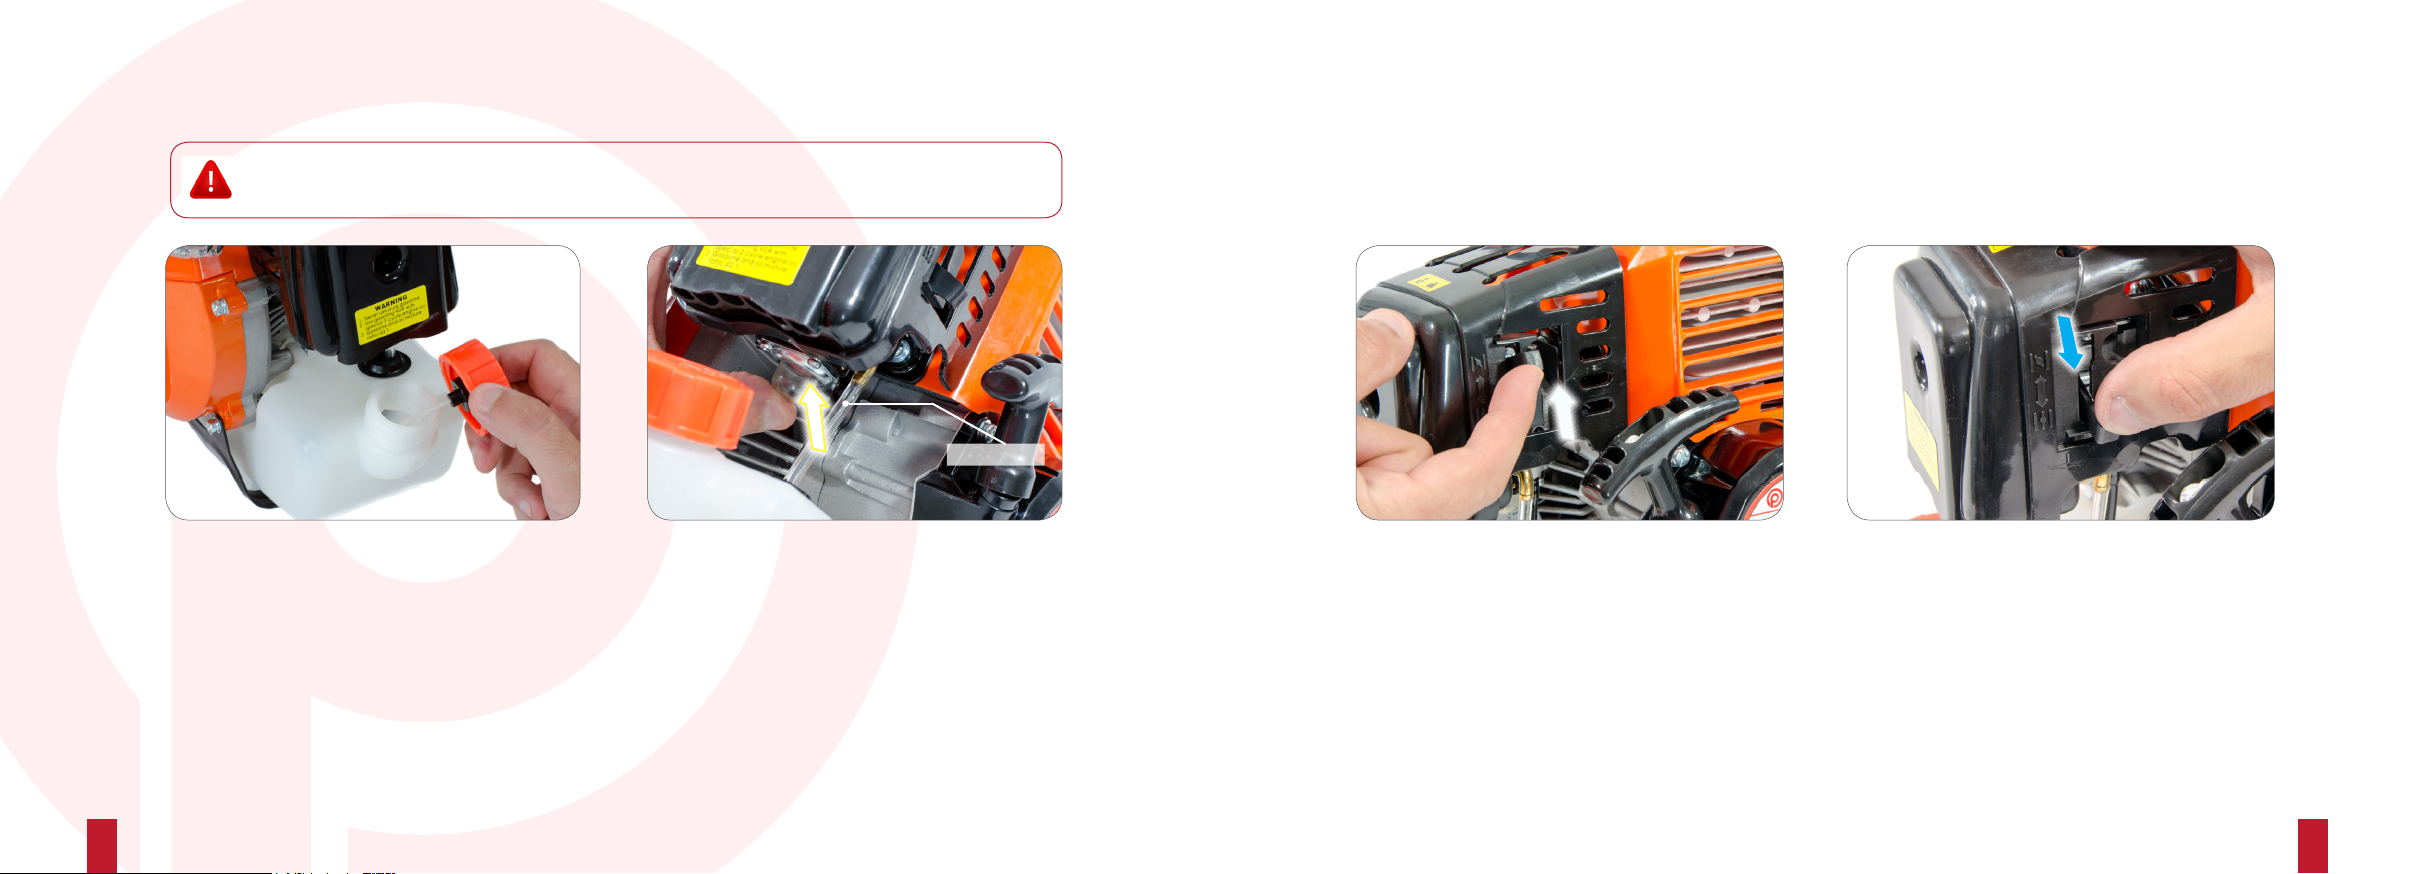
■REMOVE all sources of sparks and ames before mixing and pouring fuel.
■DO NOT let anyone with in 15 m of the product while in operation.
■INSPECT the entire unit for loose fasteners and fuel leakages, Make sure that the cutting attachment is properly installed.
■DO NOT start cutting until you have a clear cutting area and a secure footing.
■ALWAY use the harness supplied.
■NEVER smoke while operating the unit or relling its fuel tank.
■ALWAYS keep the handles dry, clean and free of oil and fuel mixture.
■ALWAYS shut off the engine before putting the product down.
■MAKE SURE all fuel is removed before transportation.
■ALL MAINTENANCE, other than that listed in this manual, should be carried out by professionally trained and certied personnel.
GENERAL SAFETY INSTRUCTIONS

5
4
for safe operation and maintenance, symbols are moulded in relief on the
machine or shown on alabel.
fuel filler
The direcTion To close The choke
The direcTion To open The choke
SYMBOLS ON THE MACHINE

67
7
installation washers:
•
shaft locking washer
(a)
•
three tooth blade hub / washer
(b)
•
three tooth blade nut
•
split pin for three tooth blade
lower guard
spool housing
three tooth blade
safety harness
6
DESCRIPTION OF PARTS
tool bag including:
•
spark plug wrench
•
allen key wrench
main engine including:
•
upper shaft
•
bull horn handle bars
•
throttle & on/off control switch
lower shaft including
•
bracket for lower guard
•
spool & blade hub
A B

89
STEP 3: JOIN THE SHAFTS
1. Unwind the nut to loosen the joint.
2. Pull and hold the locating pin while
securing the lower shaft into the joint
3. Release the pin and turn lower shaft until
the joint is locked into position.
4. Secure the joint by tightening the nut.
STEP 4: INSTALL THE COLLAR
Install the lower collar to the bottom of the spool
housing using the tools and screws provided.
Ensure the hole on the collar and spool housing
are aligned as illustrated above.
ASSEMBLY
STEP 1: ATTACH THE LOWER GUARD
Attach the guard to the lower shaft using the
screws and tools provided.
STEP 2: ATTACH THE HANDLE
Loosen the four screws on the upper cap and
place the bull horn handle inside.
Retighten the four screws to secure the handle in
position.
caution: d
onot overtighten the bolts

10 11
STEP 3: SECURE UPPER WASHER
Install washer “B” as illustrated above to secure
the blade to the shaft.
STEP 4: TIGHTEN LOCKING NUT
Lock the axle by placing the allen key inside the
locating hole of the collar and tighten the locking
nut using the wrench provided.
STEP 5: SECURE THE NUT
Place the split pin (where applicable) inside the
thread to prevent the nut coming loose.
IMPORTANT:
INSTALLING THE THREE TOOTH BLADE
STEP 1: INSTALL LOWER WASHER
Install washer “A” as illustrated above. Align the
washer with the hole on the spool collar.
STEP 2: ATTACH THE BLADE
Place the three tooth blade so the centre hole
sits within washer “A”.

12 13
WEARING THE HARNESS
ADJUST THE HARNESS
Your harness is designed to be worn with the
brush cutter hung on the right hand side.
INSTALLING THE SPOOL
STEP 1: INSTALL LOWER WASHER
Install washer “A” as illustrated above. Align the
washer with the hole on the spool collar.
It is important that the washer is installed
exactly as shown in the illustration.
Failure to install this washer correctly will result
in damage to the spool casing.
STEP 2: ATTACH SPOOL HOUSING
Lock the axle by placing the allen key inside the
locating hole of the collar and wind the spool
onto the thread by turning anti-clockwise.
Please ensure that the spool is secure and
closed correctly prior to use.

14 15
STARTING THE ENGINE
STEP 1: FILL THE TANK
Removethefuelcapandllthetanktonomorethan
80% capacity.
Fuel should be a mixture of unleaded petrol and 2
stroke oil mixed at a ratio of 40:1 (Unless otherwise
instructed).
STEP 2: PRIME THE CARBURETTOR
Prime the carburettor by repeatedly pressing the
bulblocatedunderneaththeairlterhousing.
The fuel cap must be secure and tight for the
carburettor to prime.
the product is equipped with acentrifugal clutch mechanism, so the cutting
attachment begins to rotate as soon as the speed of the engine is increased.
Carburettor
STEP 3A: CLOSE CHOKE (COLD START)
For cold engine starts, close the choke by sliding the
lever upwards.
STEP 3B: OPEN CHOKE (WARM START)
For warm engine starts, open the choke by sliding the
lever downwards.

16 17
STEP 6A: START THE ENGINE (COLD)
Make sure that the choke is ON
1. Pull the recoil starter twice in quick succession.
2. Proceed to Step 6B.
STEP 6B: START THE ENGINE (WARM)
1. Make sure that the choke is OFF
2. Pull the recoil starter in quick succession until
the engine starts.
do not pull the starter cord to the end and avoid releasing the handle
while fully extended. both of the above can cause premature damage to the
mechamism.
STARTING THE ENGINE
STEP 5: TENSION THE RECOIL
Place the unit on the ground and using your left foot
to secure the shaft to the ground while using your
right hand to pull the recoil starter handle outwards
until tension is felt.
STEP 4: SWITCH ON
Enable power to the spark plug by placing the on/off
switch to position “I”
overchoking can make the engine hard to start due to excess fuel. when the
engine failed to start after several attempts, open the choke and repeat
pulling the rope, or remove the spart plug and dry it.

18 19
STOPPING THE ENGINE
STEP 2: SWITCH OFF
Turn the engine off by placing the on/off switch to
position “O” as illustrated above.
When restarting the engine after immidately
stopping it, leaving the choke open.
STEP 1: PREPARE TO STOP
Release the throttle trigger and let the engine idle
for 30 seconds.

20 21
STEP 3:
Secure the winding inside one of the two lugs to grip
the cord and prevent it unwinding.
STEP 4:
Repeat steps 2 & 3 for the second winding and
thread back through the eyelets. Securing the cover
by repeating ‘Step 1’ in reverse.
OPEN & REPLACE SPOOL WIRE
STEP 2:
The cartridge consists of two windings which need to
be wound in the direction shown on the body. Secure
the replacement wire to the cartidge as shown.
STEP 1:
Open the spool by pressing one of the two clips
toloosenthecover.Onceloosermlypressthe
second clip and remove the spool cartirdge from
inside the housing.

23
Machine Directive (MD)
Electromagnetic Compatibility Directive (EMC)
Directive of Emission
Notified Body number: 0197
Certificate Number:AM 50361540 0001(MD)
Notified Body number: 0123
Certificate Number: EBA 16 03 60636 230 (EMC)
2014/30/EU
Having been type examined to the requirements of the directives by:
TUV Rheinland LOA Products GmbH
90431 Nuremburg,
Germany.
TUV SUD Product Service GmbH
Zertifizierstelle,Ridlerstrabe 65,80339 Munchen,Germany
Conformity assessment procedure:
Measured level of the acoustic output LWA 110 dB (A) Guaranteed
level of the acoustic output LWA 117 dB (A)
EC type-approved No:
e11*97/68SA*2010/26*2712*00(EUIIEmission)
Signed Date
1st January 2016
We Parker Products ltd., of
Richmond Park, Richmond Road, Fairfield Ind. Estate, Louth, Lincolnshire, LN11 OFU
herewith declare, under our sole responsibility, that the Petrol Brush Cutter Models PGBC-5200 produced under the trademark
of Parker, meets all the relevant requirements of the beow mentioned directives.
These machines also comply with the conditions of the following community directives:
2006/42/EC
2004/108/EC
97/68/EC amended by 2010/26/EC
2000/14 EC & 2005 /88 EC
Using the following draft and transported standards
EN ISO 11681 - 1:2011
EN ISO 14982 - 2009
EN ISO 3744 - 1995
EN ISO 9207 - 1995
22
SPECIFICATION
POWER UNIT
Model Name PGBC-5200
Engine
Model 1E44F-5
Displacement 52,0 cm3
Fuel: Mixture (Gasoline 40: Oil 1)
Carburetor Diaphragm type
IgnionSystem Transistorcontrolledywheelmagneto
Sparkplug LDBM6A
Fueltankcapacity(cm): 1.2Liters
Starter: RecoilStarter
Clutch: Centrifugal type
CungHeadRotangDirecon: Counter-clockwise(operatorview)
Overallsize(LxWxH): 1860x610x520mm
Dryweight: 8.5Kg
Specicaonsaresubjecttochangewithoutnoce
EC Declaration of Conformity

22
www.parkerbrand.co.uk
PARKER
Other manuals for PGBC-5200
2
Table of contents
Other Parker Brush Cutter manuals
Popular Brush Cutter manuals by other brands

Echo
Echo SRM-2100 - PARTS CATALOG SERIAL NUMBER 001001 THRU... parts catalog

LawnMaster
LawnMaster BC451 Safety and operating manual

Westfalia
Westfalia GartenMeister 87 47 85 quick start guide

Jonsered
Jonsered CC2235 Operator's manual

Ryobi
Ryobi RBC430SBS Operator's manual

RedMax
RedMax BCZ3050S Owner's/operator's manual

Scheppach
Scheppach BCH5200PB Translation of original instruction manual

Chikusui Canycom
Chikusui Canycom CM 221 Operator's manual

Zenoah
Zenoah BC340WE parts catalog

Anova
Anova HIGH EXTRA PRO D546HXP User instructions

Maruyama
Maruyama BC421H-RS Owner's/operator's manual

Husqvarna
Husqvarna 325iLK Operator's manual