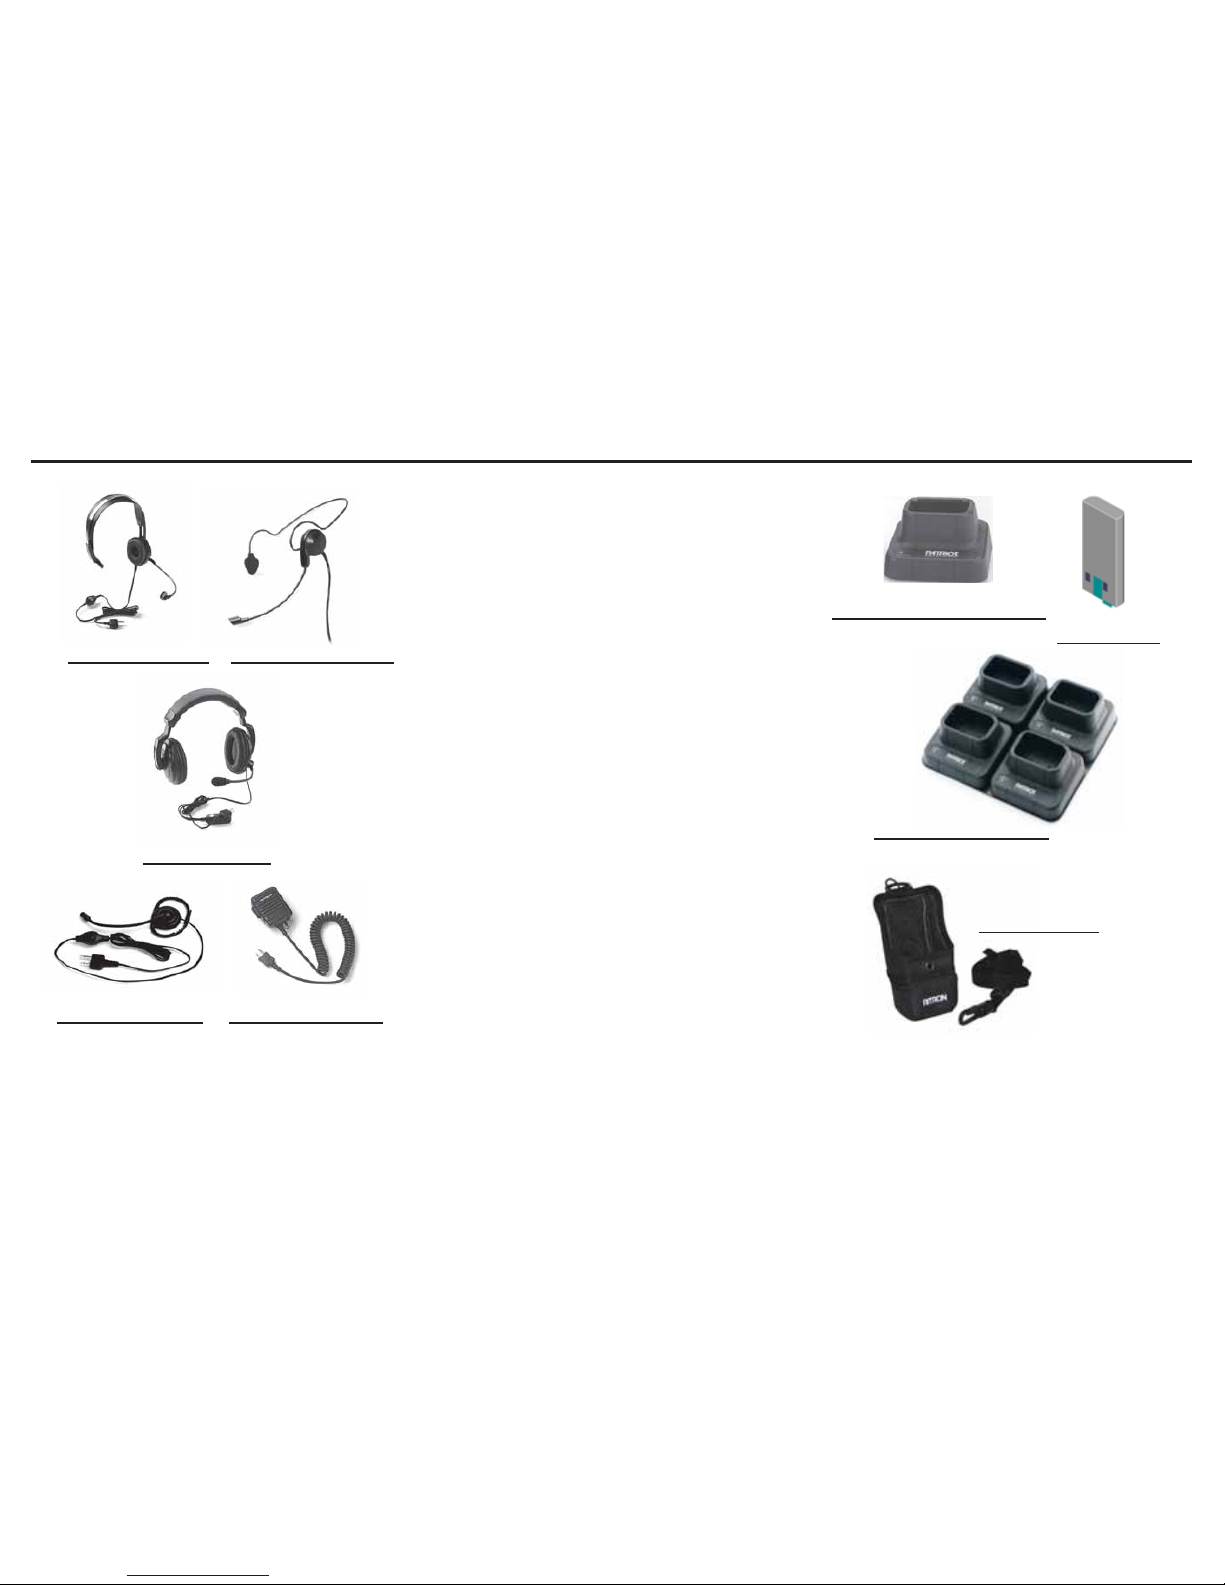
page 3 RITRON, INC. 1-800-USA-1-USA
(1-800-872-1872)
Have questions? Call
800-USA-1-USA
(800-872-1872) or visit our website at www.ritron.com
OPERATION
page 3
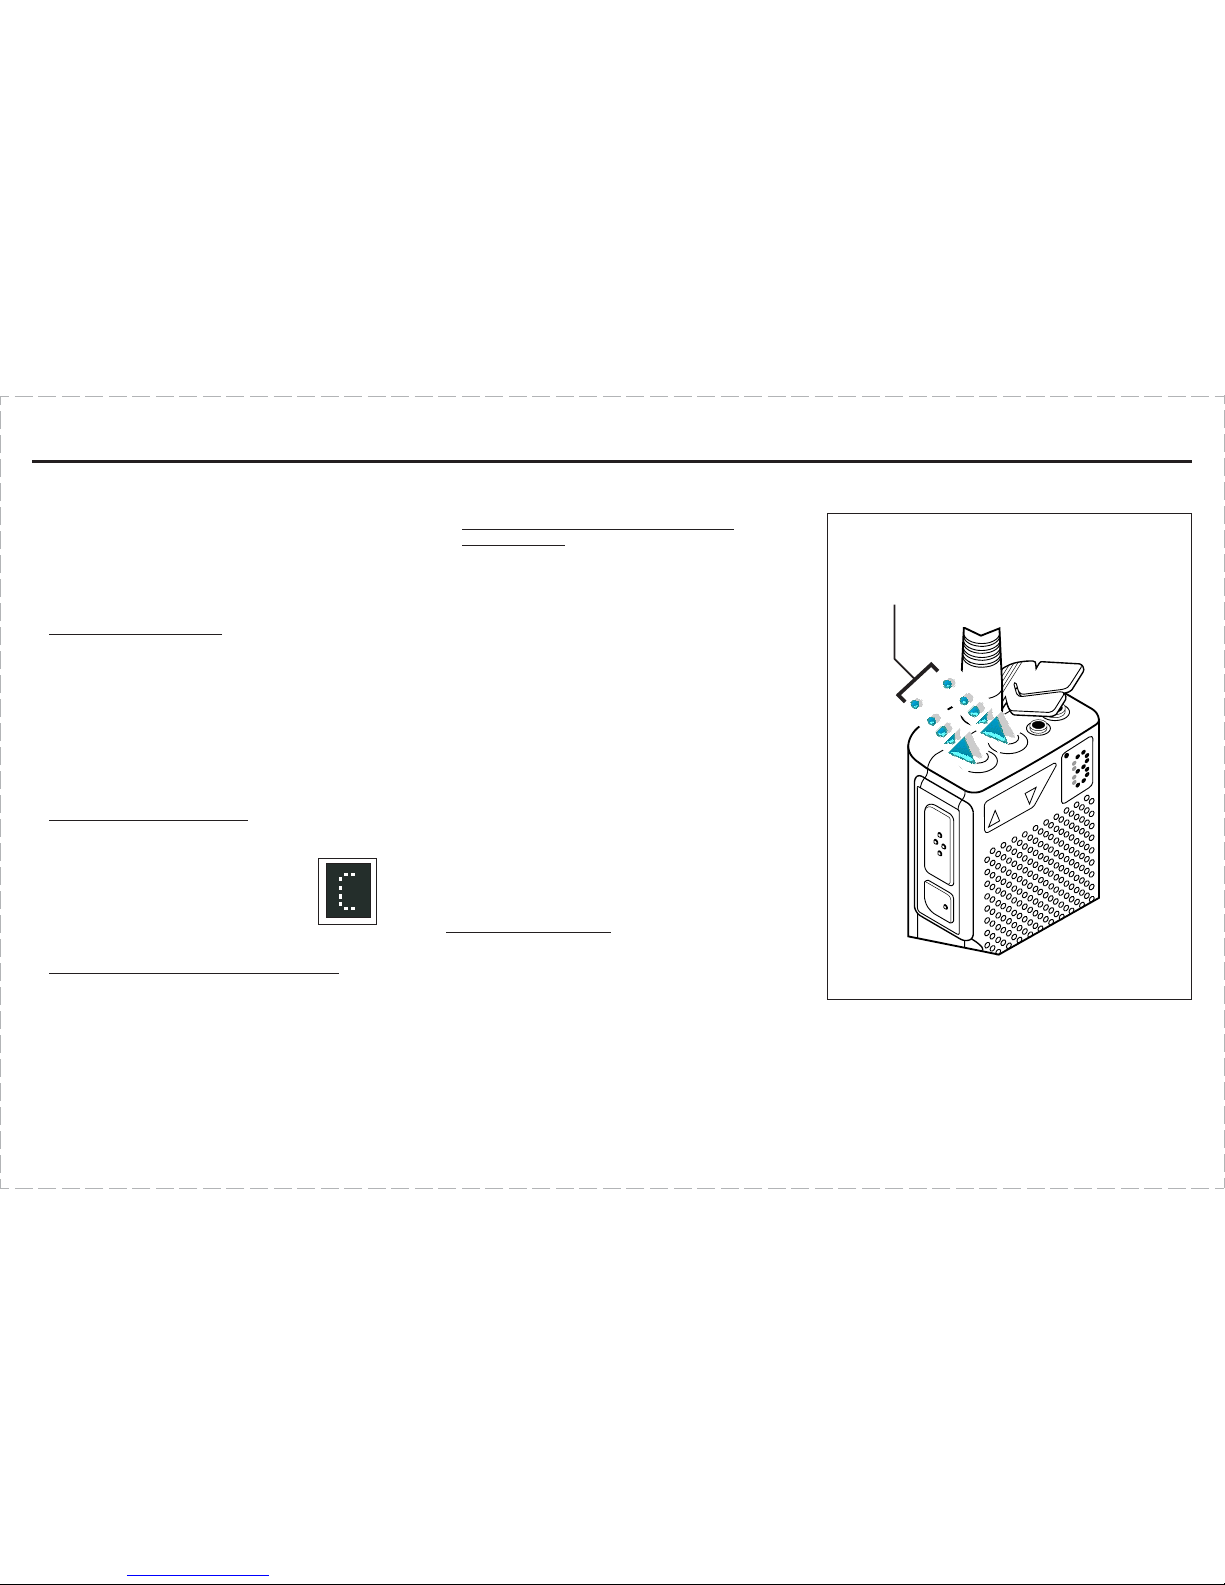
ON-OFF / VOLUME ADJUST
To turn on the radio - press the On/Volume Up button.
The radio will emit the Channel beep. If the radio turns on
to the Scan Channel it will emit the Scan Beep. The radio
will turn on to the channel that was selected when it
was last turned off, or can be pro rammed to always
turn on to channel 1.
To adjust the volume - press the volume up or the volume
down button until you reach the desired level. You
should hear noise or any broadcasts on the channel.
To turn off the radio - press and hold the Off/Volume
Down button until a two tone "turn-off" beep is heard.
For instant turn-off, press the PTT button while holdin
the Off/Volume Down button.
SELECTING CHANNELS
To chan e channels - press and release the Channel
Selector button. The radio will emit a short Channel beep,
increment the channel, and the Channel Display will
show the new operatin channel. If the hi hest channel
number is selected and you press the Channel Selector
button, the radio resets to channel 1 and the Channel
beep is heard on the speaker.
If the Scan Channel is selected - the radio will emit the
Scan Beep and the Channel Display will rapidly flash the
channel numbers as they are scanned. If a si nal is
received the channel display will indicate the channel
number, and when the received si nal is removed the
radio will wait briefly, sound the Scan Beep, then
scannin will resume as normal.
If the Weather Channel is selected - on a VHF radio the
Channel beep will be heard and the display will li ht a
sin le se ment that indicates which of the seven NOAA
frequencies is monitored. See the "NOAA Weather
Radio" section on pa e 8 for details.
RECEIVING CALLS
To hear calls from other users - adjust the volume as
desired. The radio can receive broadcasts while the
Push-To-Talk button is not bein pressed. Whether or
not you hear these broadcasts depends upon the
squelch settin s.
There are four squelch modes that can be used in the
SST "D-Series" portable.
Carrier squelch lets you hear all broadcasts on
your channel stron enou h for the radio to detect,
and silences noise.
Tone squelch uses one of the QC or DQC tone
squelch formats available on the SST. This allows
you to screen out on-channel broadcasts that do
not carry the correct code pro rammed for the
radio.
No squelch disables all squelch operation and
allows you to hear even the weakest broadcasts
on your channel.
2-tone paging can be used in conjunction with
either carrier or tone squelch to block out all calls
except those sent specifically to your radio. When
the unique 2-tone sequence pro rammed into the
radio is decoded, the radio will emit a series of rin
tones similar to a telephone.
If Carrier or Tone Squelch has been selected by the
user, all channels will operate in that mode. The SST
"D-Series" radio will operate in tone squelch mode
when it is 1st turned on.
To monitor the channel - press one of the volume
control buttons. When you press the volume up or the
volume down button, squelch turns off and all radio
traffic on the channel (or noise) sounds in the
speaker.
To activate carrier squelch - simultaneously press
both of the volume buttons and hold briefly before
releasin . When carrier squelch is on, the radio emits
a double beep. The radio will now let you hear all
broadcasts on your channel.
To activate tone squelch - simultaneously press both
of the volume buttons and hold briefly before
releasin . When tone squelch is turned on, the
handheld sounds one beep. You will only hear
broadcasts that carry the same QC or DQC code
pro rammed into your radio.
To activate no squelch - simultaneously press both of
the volume buttons and continue to hold them down.
About 3 seconds after the beep (or double beep), the
radio will start beepin repeatedly. This means that
squelch is turned off. Release the buttons. To restore
squelch, press and hold both of the volume buttons
until the radio sounds a beep or double beep.
If you are unable to activate carrier or no squelch the
radio has been optionally pro rammin for Monitor
Lockout. See your Ritron dealer or contact Ritron
directly to disable this option.
QC AND DQC TONE CODES
(Interference Eliminator Co es)
Tone co es filter out static, noise an re uce
unwante "chatter" on ra io channels. When
you operate on a frequency with a tone co e,
you screen out most interference. This allows
you to communicate with less interference an
to hear only those users in your ra io group.
IMPORTANT! All ra ios in the talk group
must operate on the same
frequency an tone co e.