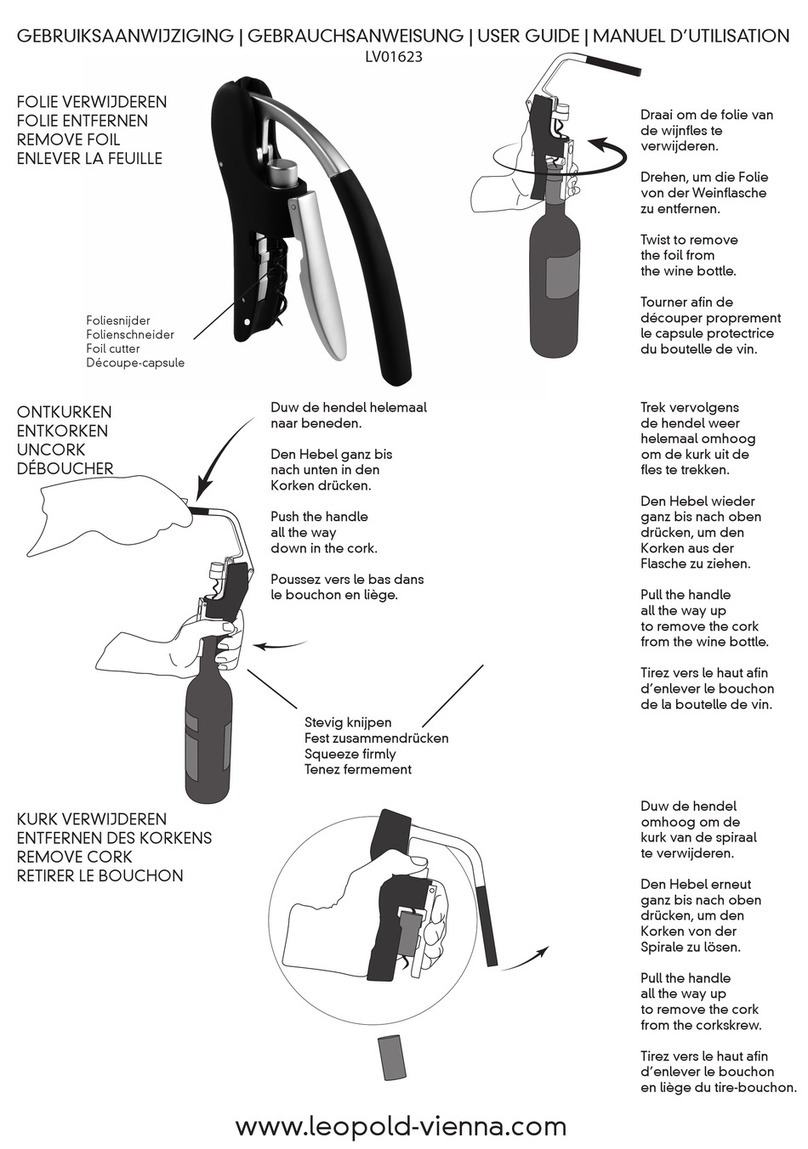
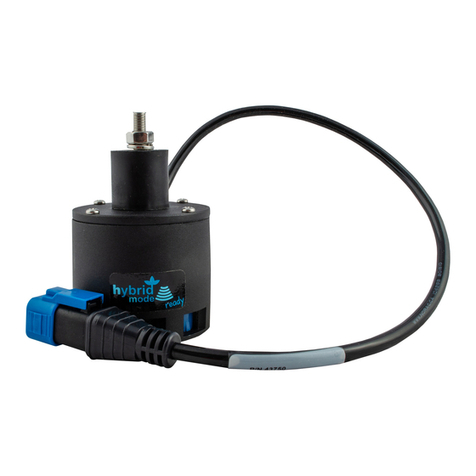
Paul B. Zimmerman CropCare ATX60-3PT-P User manual
Other Paul B. Zimmerman Paint Sprayer manuals
Popular Paint Sprayer manuals by other brands

AG SPRAY
AG SPRAY PROUTV65-12V-M owner's manual
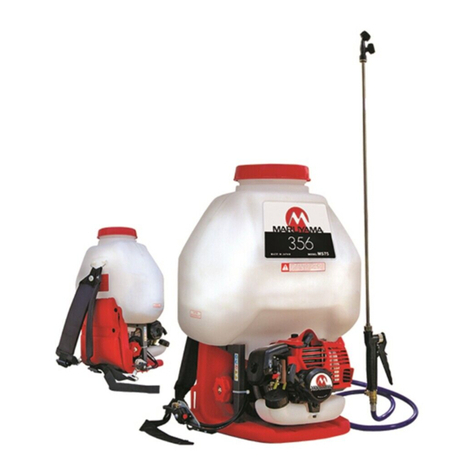
Maruyama
Maruyama MS75 Owner's/operator's manual
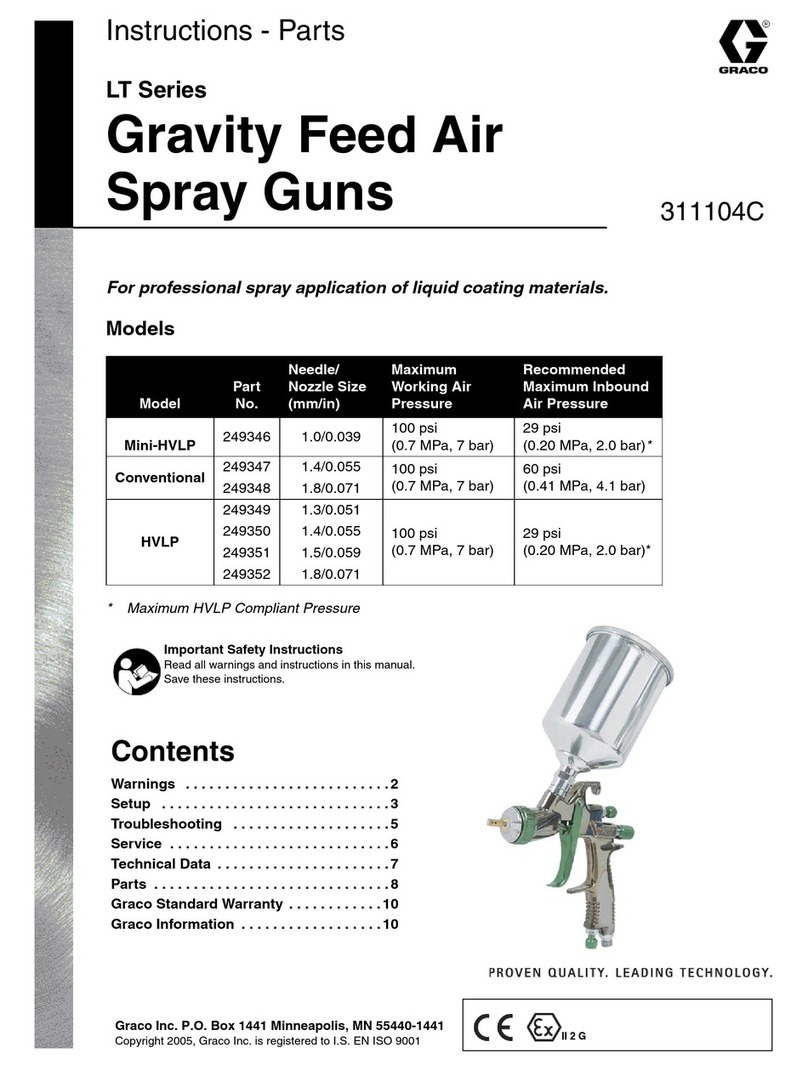
Graco
Graco LT Series Instructions - parts

Holland
Holland greenhouse PRO S010402 instruction manual

DeVilbiss
DeVilbiss FLG-G5-14 Operation manual
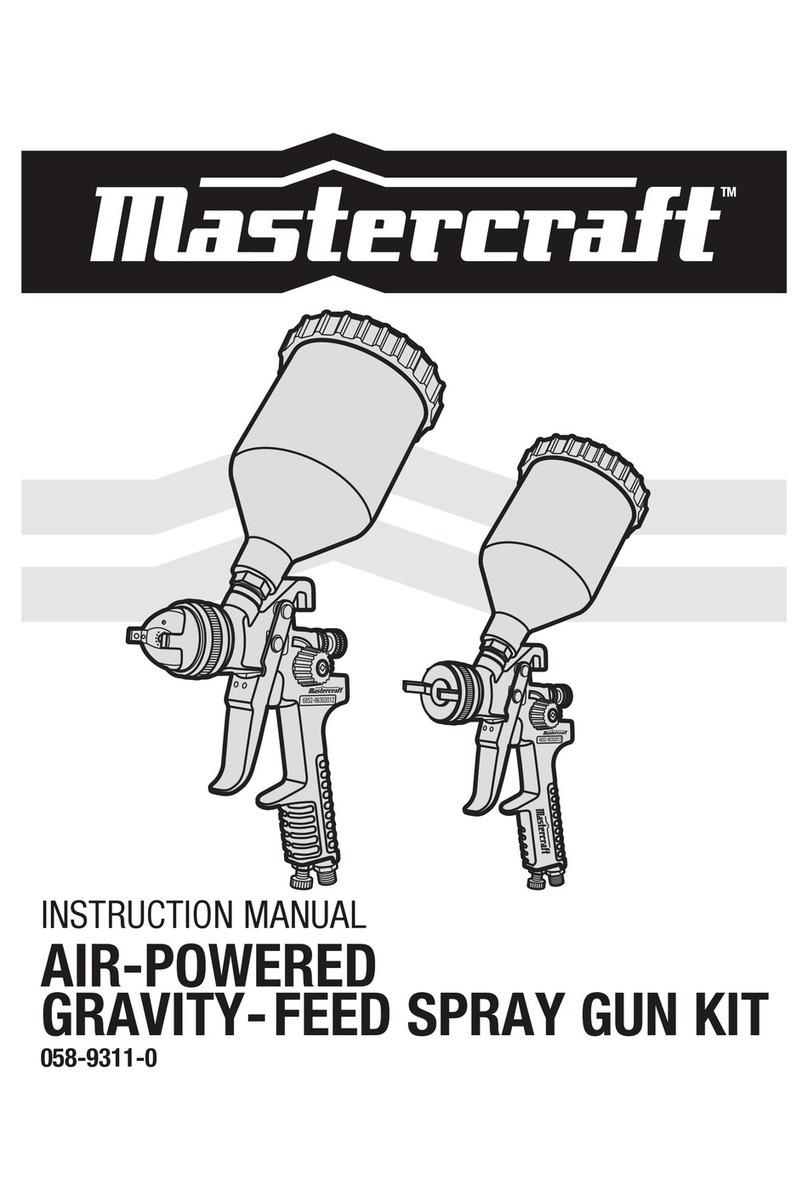
MasterCraft
MasterCraft Air-Powered Gravity-Feed instruction manual
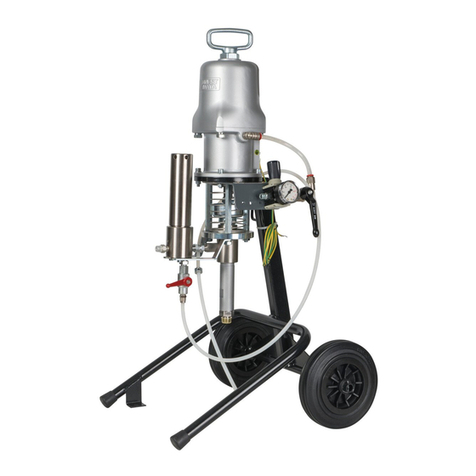
Anest Iwata
Anest Iwata ALS 423 TX Instruction and maintenance manual

Graco
Graco 695 Premium Hi Operation, parts
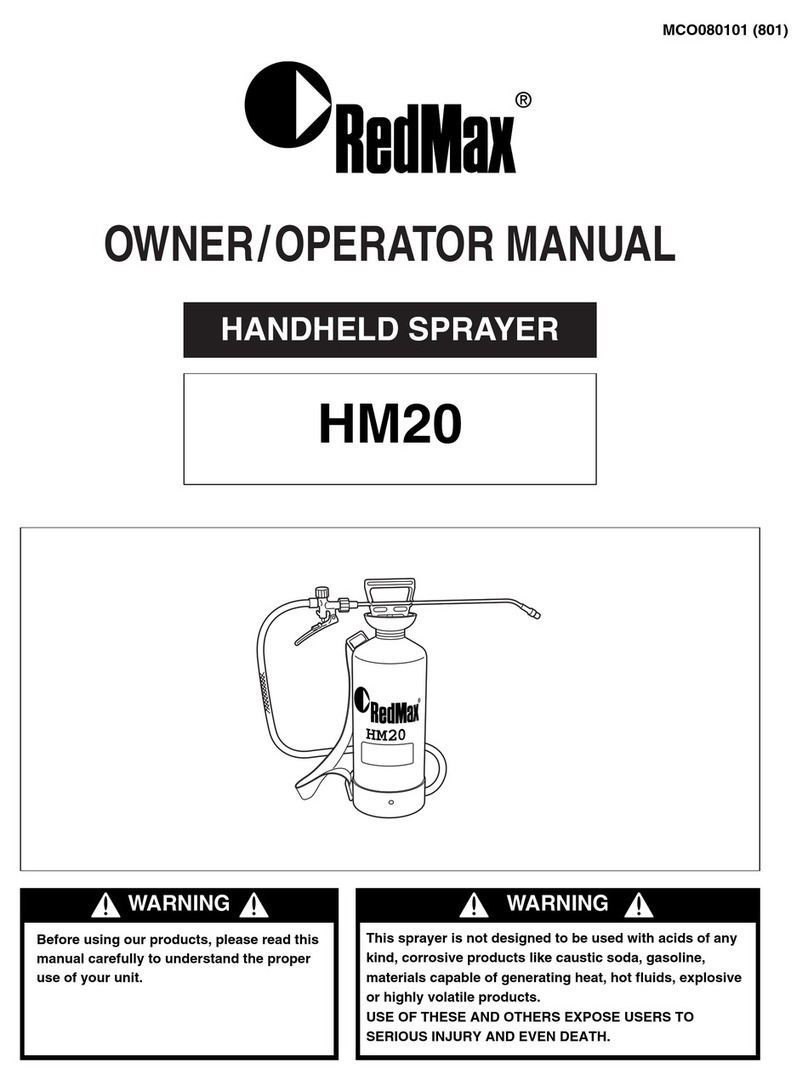
RedMax
RedMax HM20_letter_801 Owner's/operator's manual
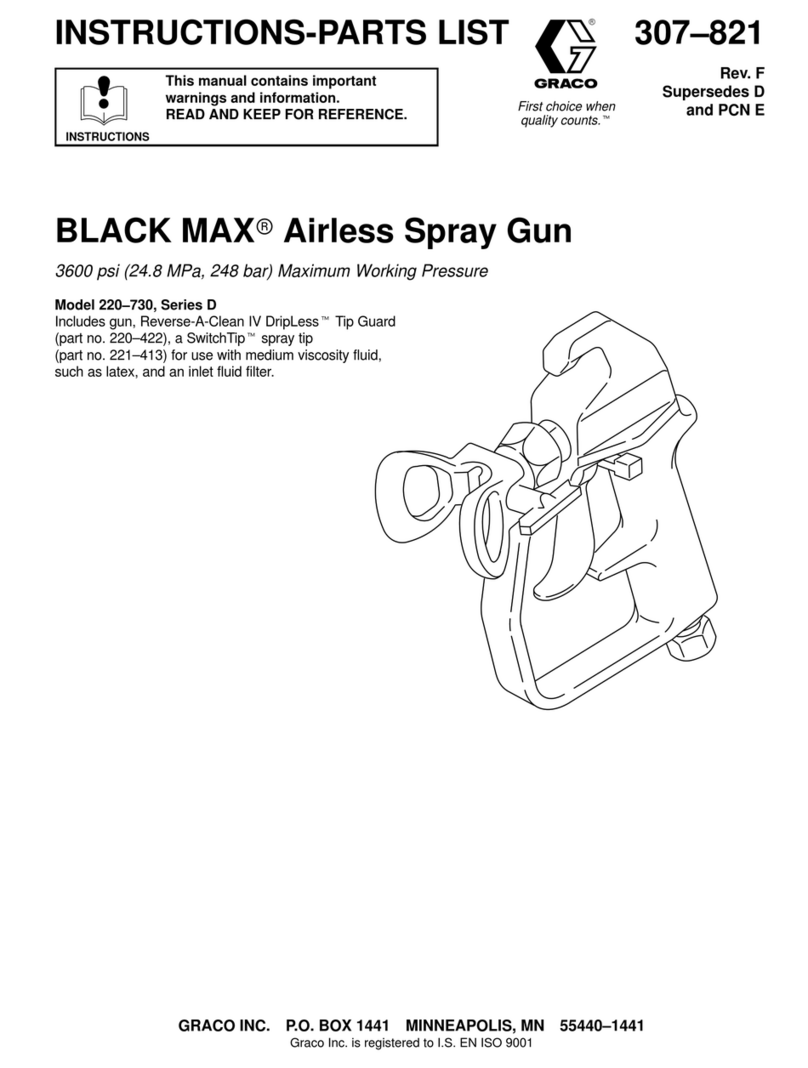
Graco
Graco BLACK MAX Instructions-parts list

Oypla GARDEN
Oypla GARDEN 3553 user manual
DeVilbiss
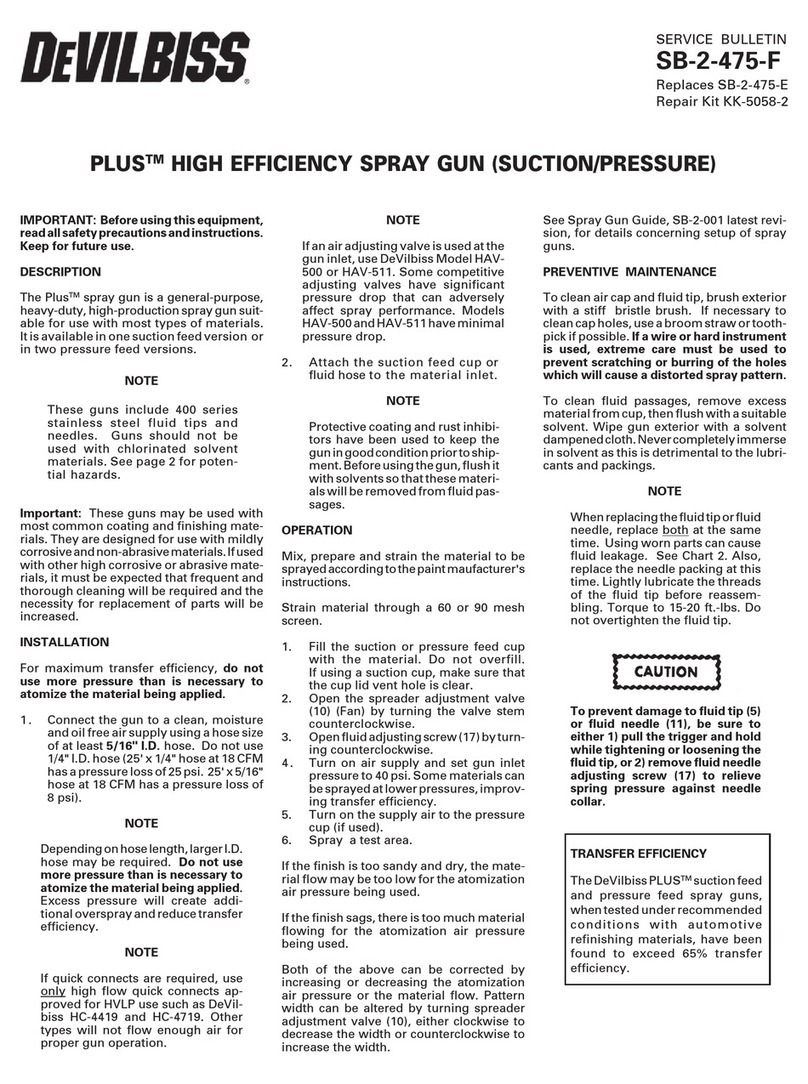
DeVilbiss PLUS SB-2-475-F Service bulletin


