PB iMPB User manual

iMPB
Installation Manual

www.powerbarsystems.com
Page 01
Introduction
Powerbar Ltd supply all busbar sections
tested in accordance with type test
requirements as detailed in IEC61439-6
or UL857 and are subject to a full Quality
Check before packaging.
In order to ensure that the Busbar remains
in this condition during transport,
unpacking and installation on site, it is
important to study this document.
If the guidelines outlined within this
document are not adhered to, this could
give rise to the damage of the product,
electrical failure of the Busbar, personal
injury, or even death.
Manual Lifting
In accordance with Manual Lifting
Regulations the guidelines below are
provided to reduce risk of injury to
personnel and damage to equipment
during transport and installation of
busbar section.
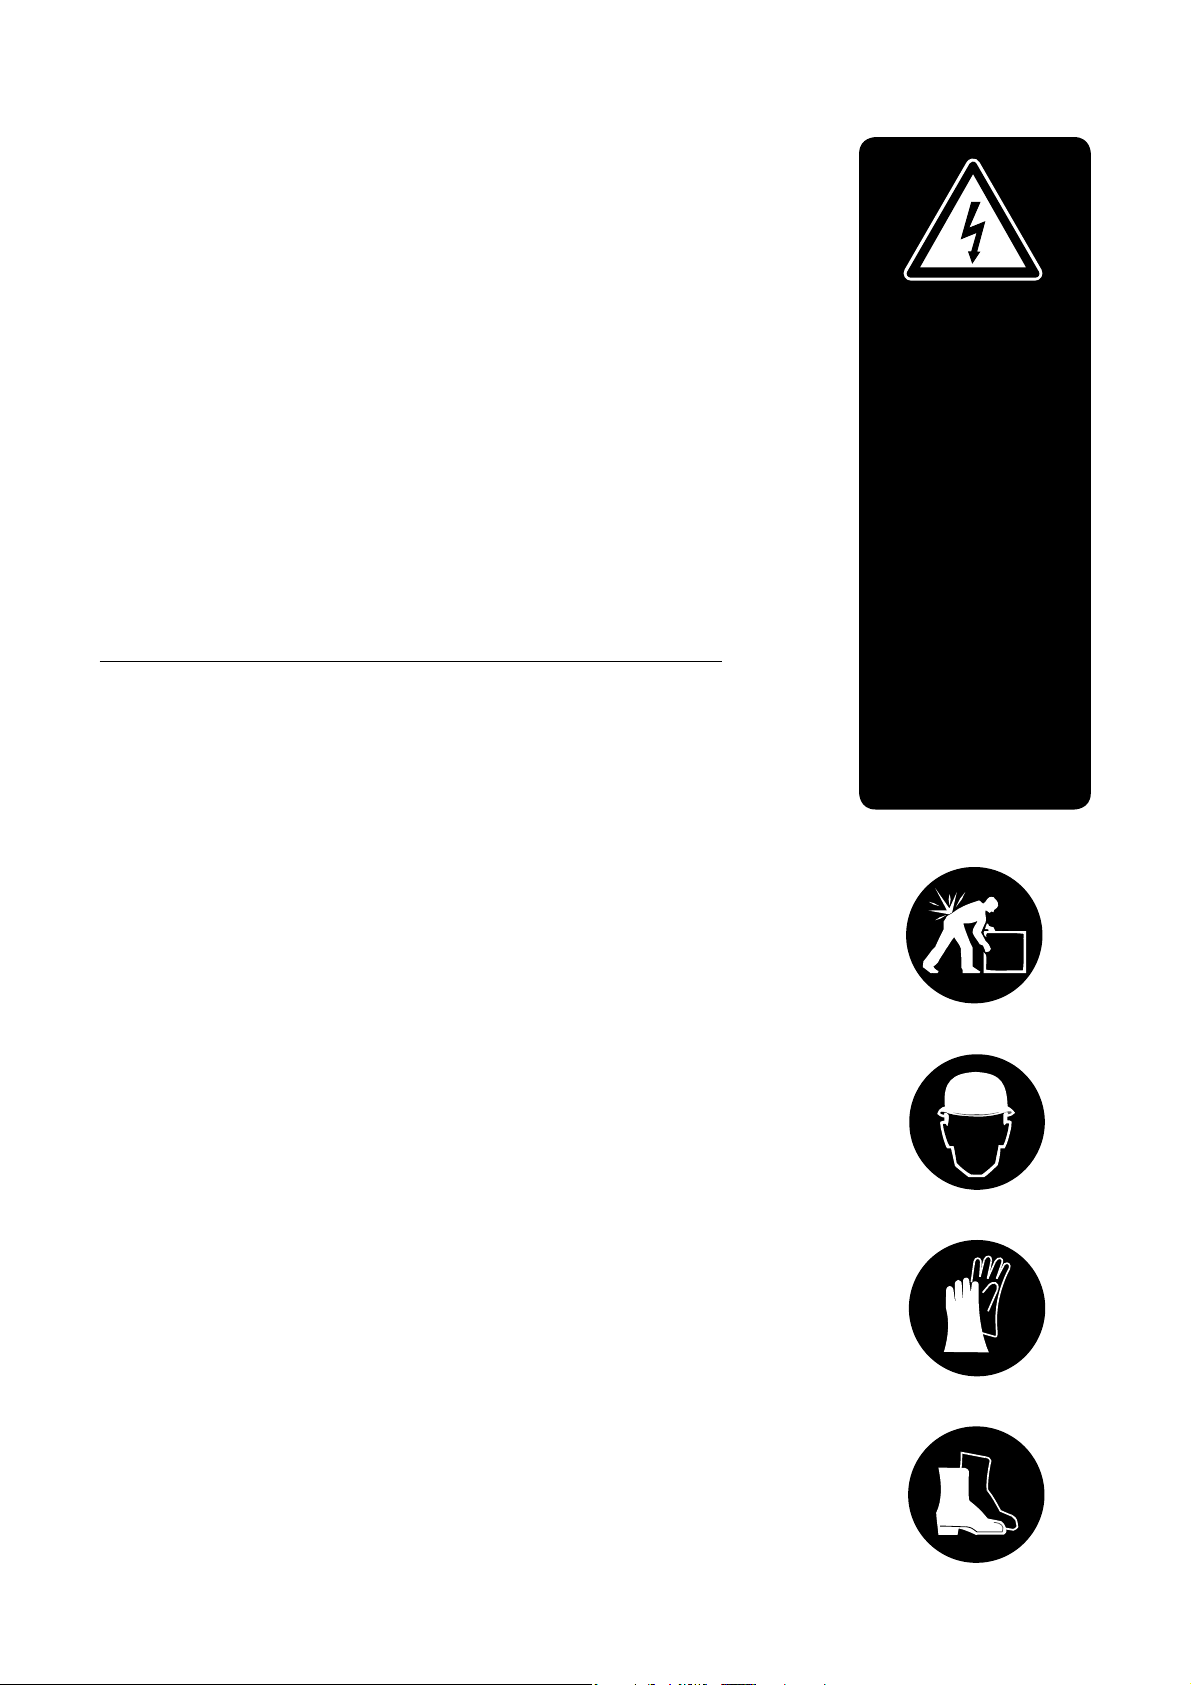
PPE (Personal Protection Equipment)
should be worn at all times in accordance
with Health and Safety Regulations and
specic site requirements. When lifting
Busbar sections, care must be taken to lift
each section along its center and not by
the end sections or conductors.
Mechanical Lifting
Some sections of Busbar may require
mechanical lifting due to their weight.
Options for mechanical lifting includes
Genie® Lift™, forklift, scissor lift, platform
lift and block and tackle. A full assessment
of the risks should be carried out by the
installer before commencing work.
The Busbar must be safely secured to the
lifting apparatus before lifting.
Always check that the load does not
exceed the safe working load of the lifting
apparatus. Ensure that equipment is used
as per manufacturer’s guidelines.
Storage
The Busbar will be delivered to the
customer neatly stacked on a wooden
pallet for ease of removal. The maximum
weight of the pallet will not exceed
2500kg / 5500lbs.
The Busbar is protected from minor water
ingress by means of an overall outer
polythene wrap which should be left in
position until the bar is mounted.
If the Busbar is not to be installed
immediately upon delivery it should be
stored in a heated, clean, dry area. Busbar
should never be stored outdoors.
This Installation Manual is designed to assist in the Safe Handling and Installation of
the iMPB system. These instructions are in addition to normal safe working practices
as required by the local health and safety regulations. These instructions do not in
any way advocate a departure from these requirements. THIS EQUIPMENT
OPERATES AT
MAX 600V PHASE
Ensure COMPLETE electrical
isolation, verication and lock o
of supply device in accordance
with isolation procedures for
the particular installation prior
to carrying out installation
of the busbar , inspection, or
maintenance.
Only Powerbar approved
installation personnel may carry
out installation of this product.
If training is required contact
Powerbar using the details at
the back of the brochure and
specify the nature of the training
requirements. Training can
be provided on site or at our
manufacturing facility.
Handling

Powerbar iMPB
Page 02
Installation
Busbar
The Busbar Sections are secured to a framing system,
such as Unistrut®, using the Hanging Brackets as shown
below. The bar can be secured both on its at or on its
edge.
Before lifting a Busbar Section, ensure that a detailed
risk assessment is carried out for the lifting procedure
being performed in that specic area.
Powerbar recommend that the hanging brackets must be
mounted no more than 750mm / 30”from the center of the
joints. Care is to be taken not to damage ends of the busbar
during installation.
Powerbar recommends the hanging brackets be mounted
no more than 1.5 metres / 5’apart.
Ensure that each section
of busbar has at least one set of xing brackets tted and that
the Busbar is level and plumb before nal tightening of all
joints. Either drop rod or unistrut style hanging brackets are
supplied depending on the client’s request.
* Please note: Powerbar hanging bracket’s must be used.
186mm
Max 750mm to rst hanger
It is the responsibility of the support system supplier to ensure their
system can safely support the weight of our product.
MAX DISTANCE 1.5 MTRS

Page 03
Joint Pack
Step 2.
Line up the joint pack with the rst length and push on until the
seperator plate ns are touching the end piece of the busbar.
Insert the rst joint pack locking bracket by rotating into place
and loosly tighteng the nuts.
Never force the joint or strike it with any object, as this may
damage the joint or the busbar section. The joint should be
inserted by means of constant force i.e. pushing by hand.
Ensure the joint pack assembly is:
free from contaminates
unblemished
not damaged
correctly aligned
The steps below outline best practice, the Busbar orientation and site conditions may restrict installers from adhering to this
methodology. In these cases installers must be cautious and ensure the joint pack is installed correctly. Ensure all parts are meggered
and visually inspected prior to installation.
www.powerbarsystems.com
Step 1.
The joint pack bottom cover and hanging brackets should be
removed. The top cover comes xed to the internal joint pack
parts. Busbar’s have to be at least 142mm / 5.6”apart for the joint
to be inserted.
Min 50mm / 1.96”
50mm / 1.96”
100mm / 3.94”
Step 3.
Line up and insert the second length until the seperator plate ns
are touching the end piece of both busbars. Insert the second
joint pack xing bracket into place. Tighten both joint pack xing
brackets to 10Nm.
Joint Pack
Locking Bracket

Powerbar iMPB
Step 5.
Tighten the joint pack center bolt to 25Nm using a calibrated torque
wrench. If installed correctly the joint will appear level.
*The joint pack center bolt should be torqued to 25Nm (221 in/lbs)
Step 4.
Attach the Bottom Joint pack cover using the M6 socket cap screws
provided. Tighten to 10Nm.
Bottom Joint pack cover
Page 04
Cable End Box
This is generally the rst component to be mounted on a run.
The entire route should initially be inspected for any obstructions before installation.
The box should be installed at the correct height in accordance with the approved drawings.
A plumb line should be applied at this point from the start of the run to the end of the run, as a guide for the installation of the Busbar Run.
Joint Pack
Gland/Conduit plate
*A Joint Pack is pre-tted to each cable
end box which determines the neutral
side of the busbar run. The approved
drawings will show this detail.
Joint pack Center Bolt

Page 05
Step 1.
Carry out all works in line with HSE requirements using MS/RA for each installation.
Step 2.
Remove tap-o from packaging and ensure no damage is visible to the device.
Step 3.
Oer the tap o box up to the housing and visually line up the earth/ground strip and
the interlock channel on the iMPB casing. Insert the ground strip as shown. Pull back the
mechanical interlock and rotate the box into position, then release the mechanical interlock
when parallel with the busbar. Ensure the box is fully supported during this procedure.Verify
that the ground strip has rotated within the interlcok channel and the machanical interlock
Tap o Enclosure
Busbar
Ensure earth/ground strip and
interlock channel are correctly aligned
has released. Verify the Tap O box is in place. Note the box cannot be inserted in the
wrong polarity as the design of the ground strip, interlock and housing prevent this.
Step 4.
The cutout for the contacts on the claw and the contact guard line up when the tap
o is tted to the busbar. To engage the contacts the engager handle is rotated 90
degrees.
Step 5. (optional)
If the Tap o boxes have meteringethrenet ports on the front of the boxes need
populated with RJ45 connections and cables which run up the side of the busbar
and daisy chain from box to box. For more detailed assistance please contact the
Powerbar engineering team.
Rotary handle
www.powerbarsystems.com
Spring loaded interlock
Tap O Modules
The Powerbar iMPB range of tap-offmodules comprise an arrangement of enclosure, circuit breaker, monitoring device, on load isolator and safety interlocks which provide a unique
set of safety features for installation and allow the tap-off modules to be installed or removed while the busbar is energized.
The proprietary spring loaded mechanical interlock ensures that the tap-o box can only be inserted on to the iMPB busbar system with the on-load isolator in the o position.
The proprietary spring loaded mechanical interlock is a denitive locating mechanism that ensures the tap-o module is correctly located and xed to the busbar frame.
The proprietary spring loaded mechanical interlock ensures that the tap-o is fully grounded/earthed to the iMPB case prior to any phase contact operation.
The proprietary spring loaded mechanical interlock ensures that the tap-o conductors can be inserted onto the iMPB bar whilst ensuring no conductors are exposed to the installer.
The busbar housing, earth strip and mechanical housing ensure that the tap-o cannot be inserted the wrong way with reverse polarity.
The rotary handle of the on-load isolator has a further positive engagement tab which must be operated to allow the rotary handle to be operated.
The tap-o box is fully grounded/earthed before any phase connections are made and the earth/ground remains intact after any phase connections are broken in the event of Tap-
o box isolation/withdrawal. This safety features ensures electrical safety throughout the operation.
Engagement Tab
Earth/Ground Strip
Interlock Channel
Note: The Sprung Engagment Tab on the
rotary handle is fully pushed in before
rotating the handle 90 degrees to engage or
disengage the tap o box.

Powerbar iMPB
Page 06
Maintenance of Busbar
Powerbar I MPB is constructed using simple, robust mechanisms
with connection busway joint principles established and veried in
the Electrical Industry for over 50 years.
The design lends itself to simple reliable installation that
enables future modications to be carried out easily. It has therefore
no dened routine maintenance requirements.
The joint and busway design means that any maintenance that
may be required is easily identied by thermal imaging of the run.
All the system components are designed and tested according
to the requirements of UL857 and IEC61439.
Maintenance should be carried out in line with NEMA BU 1.1-
2010 “General Instructions for Handling, Installation, Operation
and Maintenance of Busway Rated 600 V or Less.” and any other
local code requirements.
Maintenance ofTap O Module
As with the main Busbar system the joints require checking on
the Tap O connections.
Thermal Imaging can identify localised
heat spots.
As previously described, upon identifying a local problem
preventative maintenance should be investigated with the
busbar isolated.
Visually check the installation of the Tap O Module, Check
outgoing cable connections.
Check the operation of the switching device positive‘ON’, ‘OFF’
operation. Examine protective device for sign of short circuit
operation. If a short circuit has occurred on the equipment
connected to the tap o module check operation of device and
the integrity of the device.
Energizing
Only authorized, competent personnel should energize
electrical circuits in line with ‘switching procedures’and‘permit
to work’ forms provided by the Site Electrical Supervisor.
All connected load to the Busbar Trunking via tap os for
example should be isolated prior to energizing the bar.
The Main Supply switch to the Busbar is to be energized rst.
The Protection Settings should be at the circuit breakers
minimum protection level.
Only when the Busbar is being put into service are the
Protection Settings set to the specied gures.
Following the successful closing o the supply breaker, close the
circuit breaker(s) supplying the connected loads (via Tap-Os)
one by one.
Visually inspect the energized Busbar route to look for any
anomalies. Listen for noises from the system as this could
indicate untightened cover plates.
Prior to Energizing
A test must be completed prior to energizing
Step 1. A continuity test to verify the run is complete.
Step 2. A ductor test to check the resistance of the joints through
the entire length.
Step 3. A megger test, 600VDC between each conductor and
ground. Readings will vary widely between site to site due to
length of run, humidity, temperature and site conditions. If
readings less than 5MΩ are obtained, measures must be taken
to identify the location of the low resistance level and take
appropriate measures to increase the resistance level. This test
should only be carried out by competent personnel.
Step 4. Ensure all tap o boxes have been correctly installed as
instructed and are in the ‘ON’ position for insulation resistance
testing.
Step 5. Ensure all connections to the Busbar / tap os have been
disconnected.
Step 6. Verify that all joints have been torqued according to
the recommended setting and have not been subsequently
loosened. Ensure all joint covers are rmly secured.
Step 7. When reconnecting the system prior to energization,
ensure correct Phase Rotation is achieved by testing prior to
energizing the supply.
Step 8. Ensure all tap os are turned o again prior to Energizing.
.

Powerbar iMPB
website: www.powerbarsystems.com / www.e-i-eng.com
PowerBar Limited has a policy of continuous development and therefore has the right to supply a product which may dier in detail from those shown in this publication.
OHSAS 18001:2007
OHS 533652 ISO 9001:2008
FM 12680 ISO 14001:2004
No: EMS 566536
E&I Engineering Corporation
USA Manufacturing Location
400 Supreme Industrial Drive
Anderson
South Carolina
29621
Tel:
+1 864-375-1757
E&I Engineering LTD
European Manufacturing Location
Ballyderowen
Burnfoot
Liord
Co.Donegal
Ireland
Tel:
(UK) +44(0)2871353030
(ROI) +353(0)749368106
Powerbar LLC
Middle East Manufacturing Location
N16/N17
Al Ghail Industrial Park
Ras Al Khaimah
PO Box 13229
Tel:
+971(0)72216100
E&I Engineering LTD
UK Central Oce
2/8 Victoria Avenue
London
EC2M4NS
Tel:
+44(0)2032061650
Table of contents
Other PB Indoor Furnishing manuals
Popular Indoor Furnishing manuals by other brands

Home Styles
Home Styles Flexsteel 20 05503 0102 Assembly instructions

Lec+
Lec+ Cloud 9 user manual

Furniture of America
Furniture of America CM-BK524 Assembly instructions

Better Homes and Gardens
Better Homes and Gardens Autumn Lane BH19-D1-1011-08 manual

Birlea
Birlea Highgate HIGCTVCRO Assembly instructions

dellonda
dellonda DH16 manual