PDS CW-509 Operation manual

Owners Operating Manual
Counterweight Garage Door Automatic
Operator
Model CW-509
PDS Garage Doors & Gates
38 Yale Drive
Epping (Vic) 3076
Phone: (03) 9408 3418
Web: www.pdsgaragedoors.com.au

Control Panel Basic Function Settings
1. Matching the receiver and transmitter
Coding Transmitters:
Press and hold on “Code” button for 1 second until the LED
dot is on (Fig A). Press button on transmitter once, the dot
will go off, press the same transmitter button again and the
dot will flash fast for 8 times and then return to standby
mode. The transmitter is now coded into the receiver.
Repeat the above steps to code more transmitters.
The receiver has the capacity to store 20 transmitters.
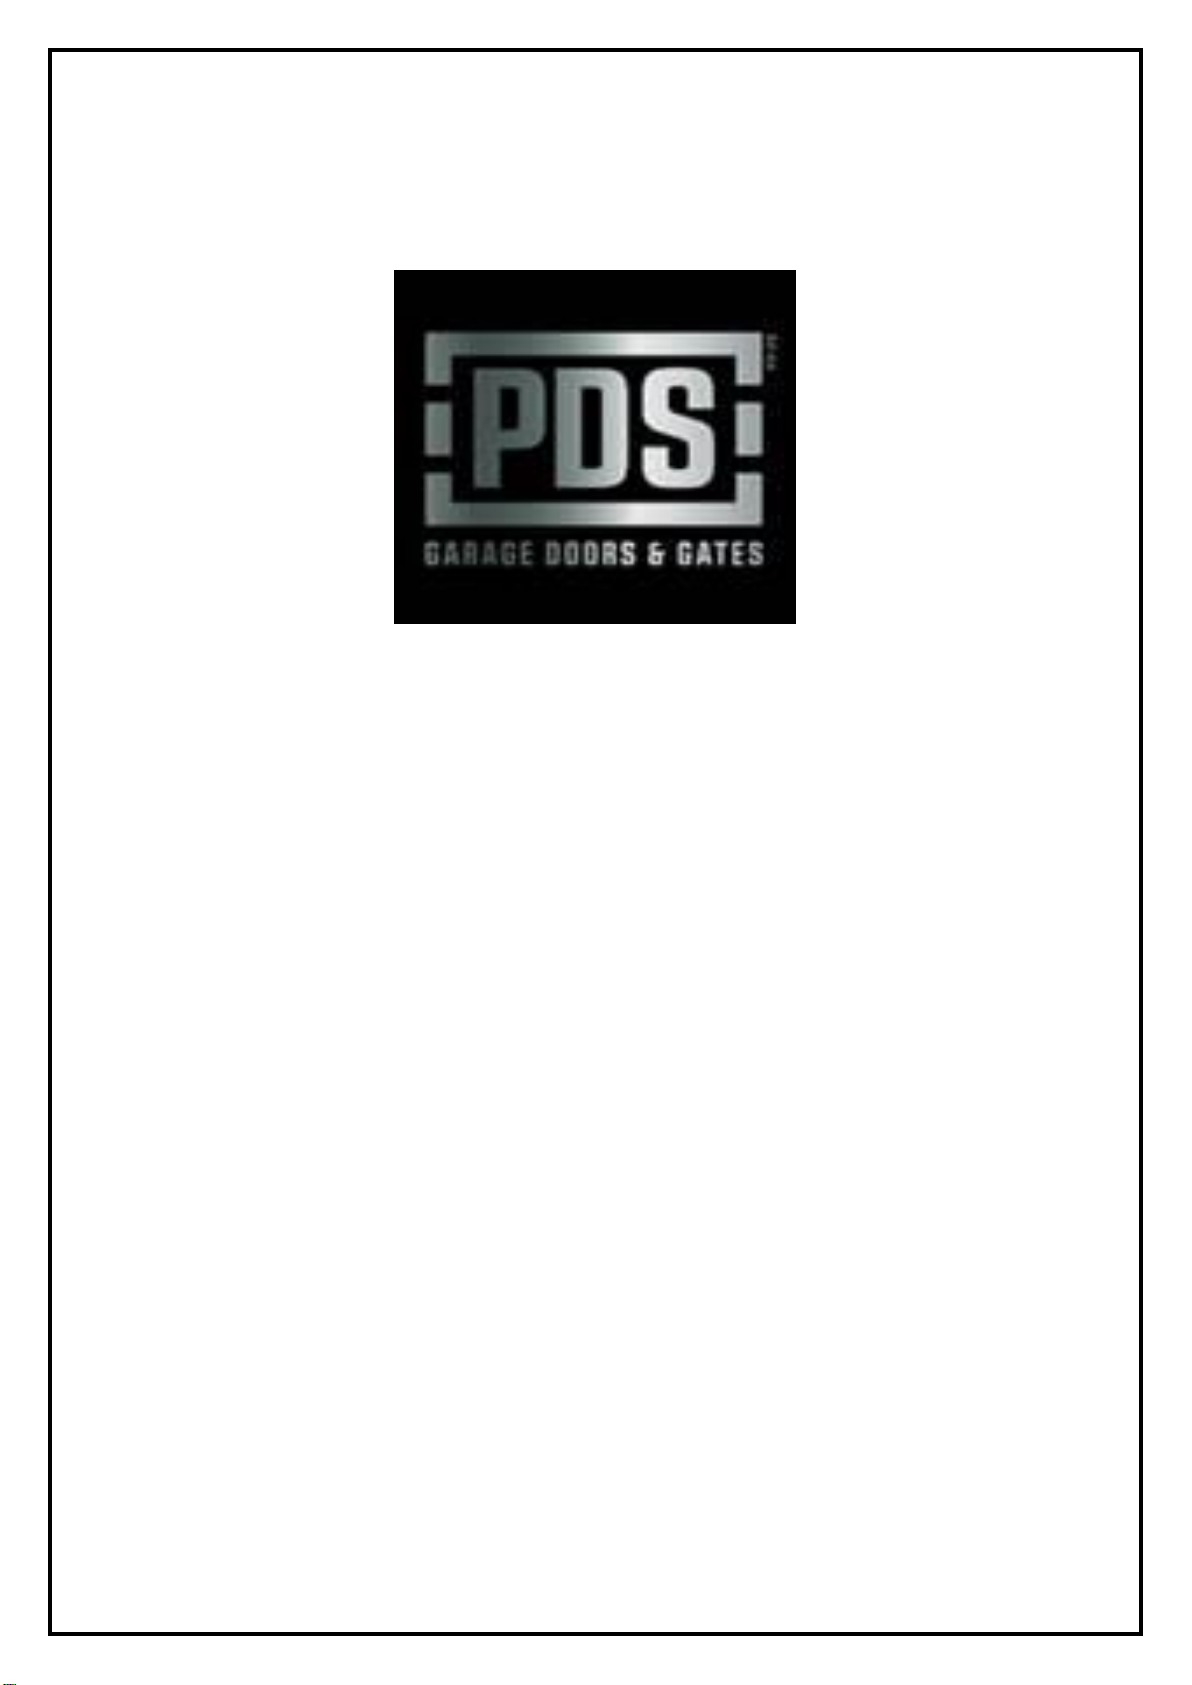
If the LED display flashes “F” and returns to standby mode
(after you have pressed the “CODE” button), this indicates
that the memory storage is full (20 transmitters).
Fig A. Follow the steps below to delete all transmitters that are
(The opener is supplied with stored in the receiver memory.
pre-coded transmitters.) Press and hold on “CODE”button for more than 8 seconds
until the LED flashes “C”, all the stored codes are deleted.
Only the matched switch on the transmitter is available.
If failed to match the transmitter within 20 seconds, then
it will return to standby mode automatically.
2. Travel limit setting opening & closing force self-learning
Press and hold on “SET” button for 3 seconds until the LED
flashes “1”. Press “SET” button again for 1 second “1”
should now display as steady (not flashing)
Then adjust the up limit by pressing “UP” button.
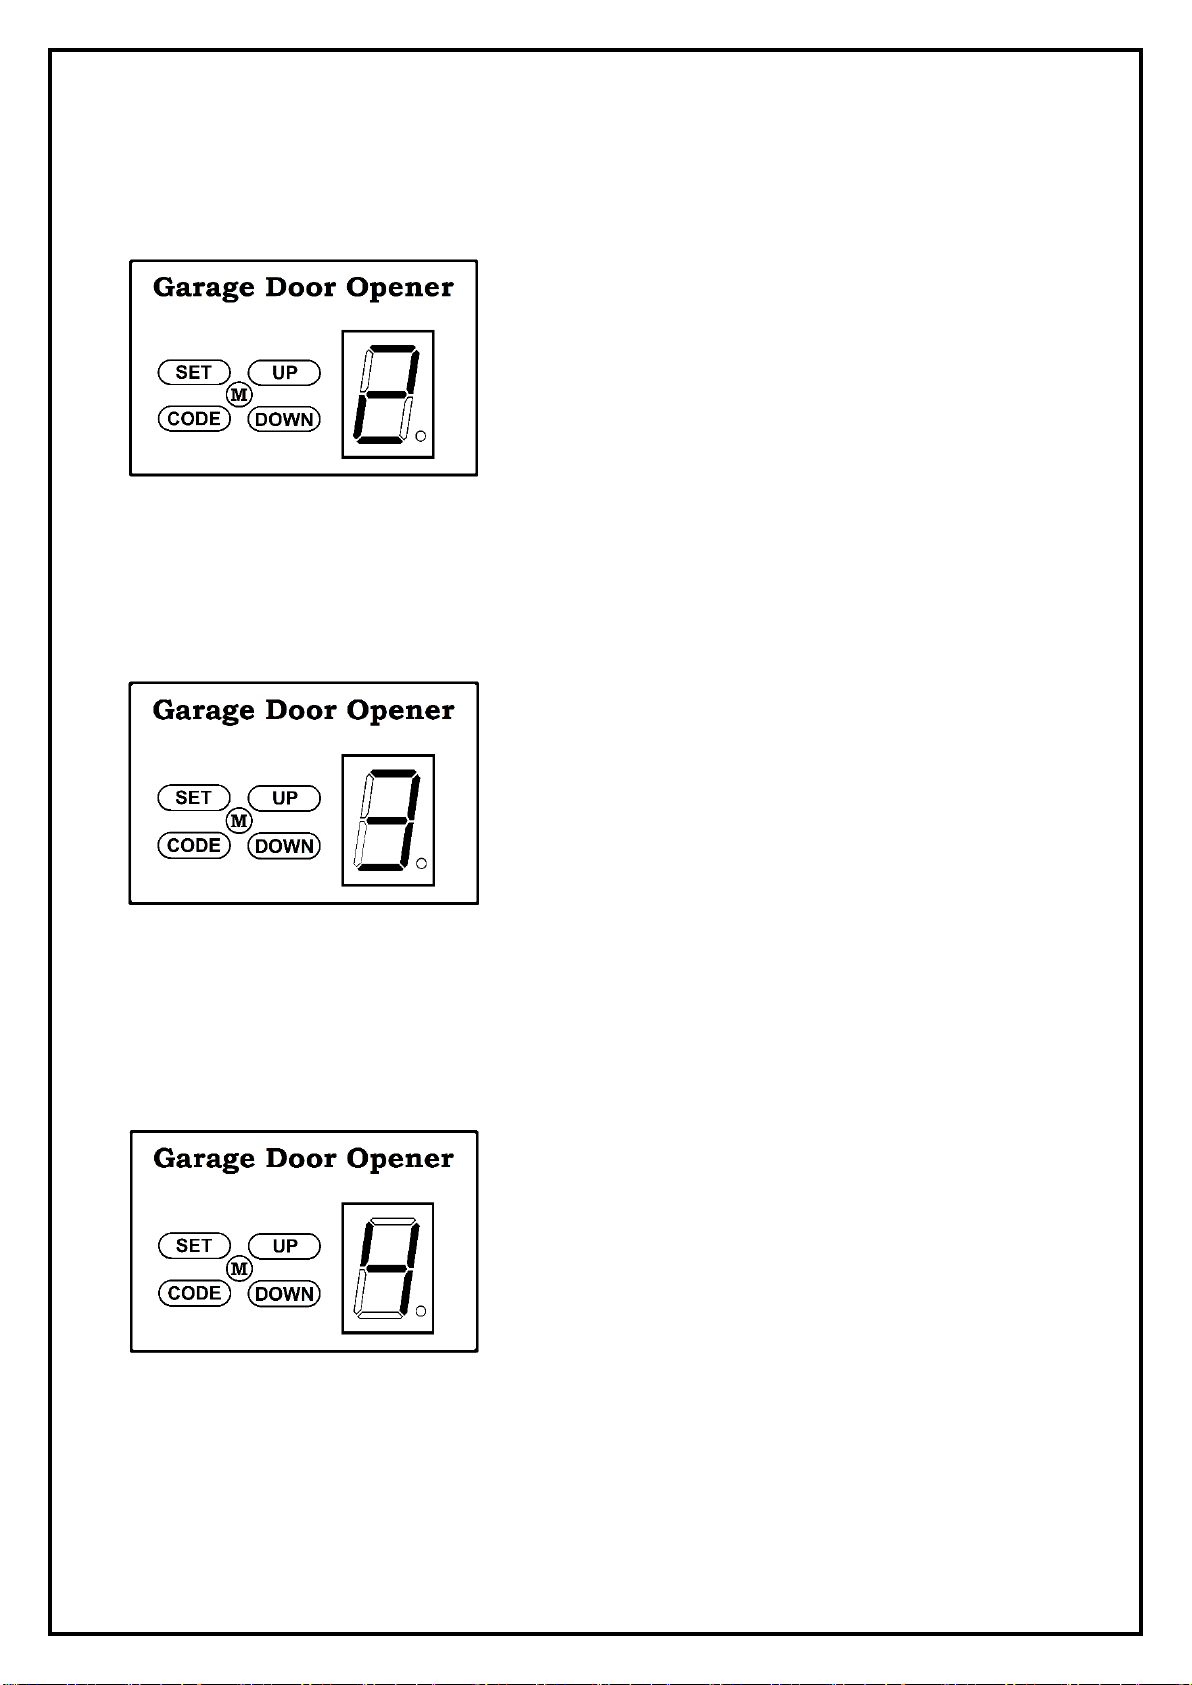
Fine tuning “UP” or “DOWN” button to determine the final up
limit position (the LED flashes “n” or “u” during opening or
closing), then press “SET” button the display turn into “2”
automatically.
Adjust the down limit by pressing “DOWN” button.
Fine tuning “UP” or “DOWN” button to determine the final
down limit position (the LED flashes “n” or “u” during
opening or closing), then press “SET” button.
When press button to operate the opener, if the opener
stops after operate a little and LED flashes “H” or “C” this
indicates there’s no hall signal or the opener is overload.
The opener will operate a cycle automatically to remember
the limit positions and the original opening & closing force
then return to standby mode.
During learning, if the door stops unusually and flashes “H”,
“C”, “O”, “L” for 5 seconds this indicates there’s no hall
signal overload, overtime, wrong limit setting.

3. Safety reverse force adjustment.
Press and hold “SET” button for 3 seconds until the LED
flashes “1” Press “UP” or “DOWN” button until LED flashes
“2” then press “SET” button.
It’s now under force adjustment mode. The LED
displays the current set force.
Press “UP” button to increase the force and “DOWN” button
to decrease the force. The maximum force is 9 and the
minimum is 1
Press “SET” button to confirm, the opener returns to standby
mode.
The default setting of safety force is 5.
4. Photo beam setting
Press and hold on “SET” button for 3 seconds until the
LED flashes “1” Press “UP” or “DOWN” button until the
LED flashes “3”, press “SET” button, it’s now under
photo beam setting mode. The LED displays the current
setting.
Press “UP” button, the LED displays “1”, the photo
beam function is available. Press “DOWN” button the
LED displays “O” to cancel this function. Press “SET”
button to confirm. The opener returns to standby mode.
The default setting of photo beam is “O”.
NOTICE: Close the photo beam function when you don’t
use photo beam sensor.
5. Auto-close setting.
Press and hold on “SET” button for 3 seconds until the LED
flashes “1”.
Press “UP” or “DOWN” to increase or decrease, adjust the
LED to flash “4”, then press “SET” button to enter into
auto-close setting. The LED displays the current setting.
Press “UP” or “DOWN” button to adjust the auto-close time
press “UP” button once, the auto-close time will increase
1 minute, the maximum time is 9 minutes.
Press “DOWN” button once, the auto-close time
decrease 1 minute. The auto-close function will be turned
off when the LED display “O”. Press “SET” to confirm, the
opener returns to standby mode.
The auto-close function can only be available when the
door is fully open and the photo cell beam function is on.
The default setting is “O”

Power Failure –Manual Release Procedure
Step 1. Locate the manual release rod.
Locate the yellow ring handle manual release turn rod
which is positioned between the two steel ramp rails.
Ramp rails are located on the same side of the motor
and are attached to the back of the door panel.
Step 2. Remove manual release rod.
Using the yellow ring provided, turn the manual release rod
anti-clockwise, this will unwind the manual release rod from
the automatic operator drive carriage.
Continue to turn the manual release rod until it come free
from the automatic operator drive carriage.

Step 3. Operate garage door by hand.
Once the manual release rod is removed completely, you will
be able to lift or close the garage door manually by hand.
When operating the garage door manually at anytime or in
any location through the fully open to fully closed locations,
check the surrounding areas each side, behind and in front
of the garage door to ensure no obstructions may foul the
door operation.
All counterweight garage doors are inherently heavy, it is
advised that when using any garage door by hand the
operator should remain diligent when operating the door to
ensure it does not open or close unexpected.
Step 4. Reconnection of the automatic operator.
To reconnect the automatic operator to the garage door, manually
operate the garage door by hand until the automatic operator
carriage lines-up with the steel ramp rails.
Once in-line, re-insert the manual release rod into the automatic
operator point by turning the release rod clockwise.
Continue to turn the release rod clockwise until the steel bearing
on the release rod is located between the steel ramp plates.
PDS Garage Doors & Gates
38 Yale Drive
Epping (Vic) 3076
Phone: (03) 9408 3418
Web: www.pdsgaragedoors.com.au
Table of contents
Other PDS Garage Door Opener manuals
Popular Garage Door Opener manuals by other brands

SOMFY
SOMFY Dexxo Optimo RTS user manual

Comunello Automation
Comunello Automation RAMPART 600 Installation and user manual

SAMT
SAMT RGD350 Installation instructions and user guide

Chamberlain
Chamberlain RJO70 installation guide

Chamberlain
Chamberlain LiftMaster Security+ 2500C owner's manual

Craftsman
Craftsman 139.53535SRT1 owner's manual