Peff DIRECTRE User manual

Operation Manual
v1.0.1 operation manual
1
Introduction
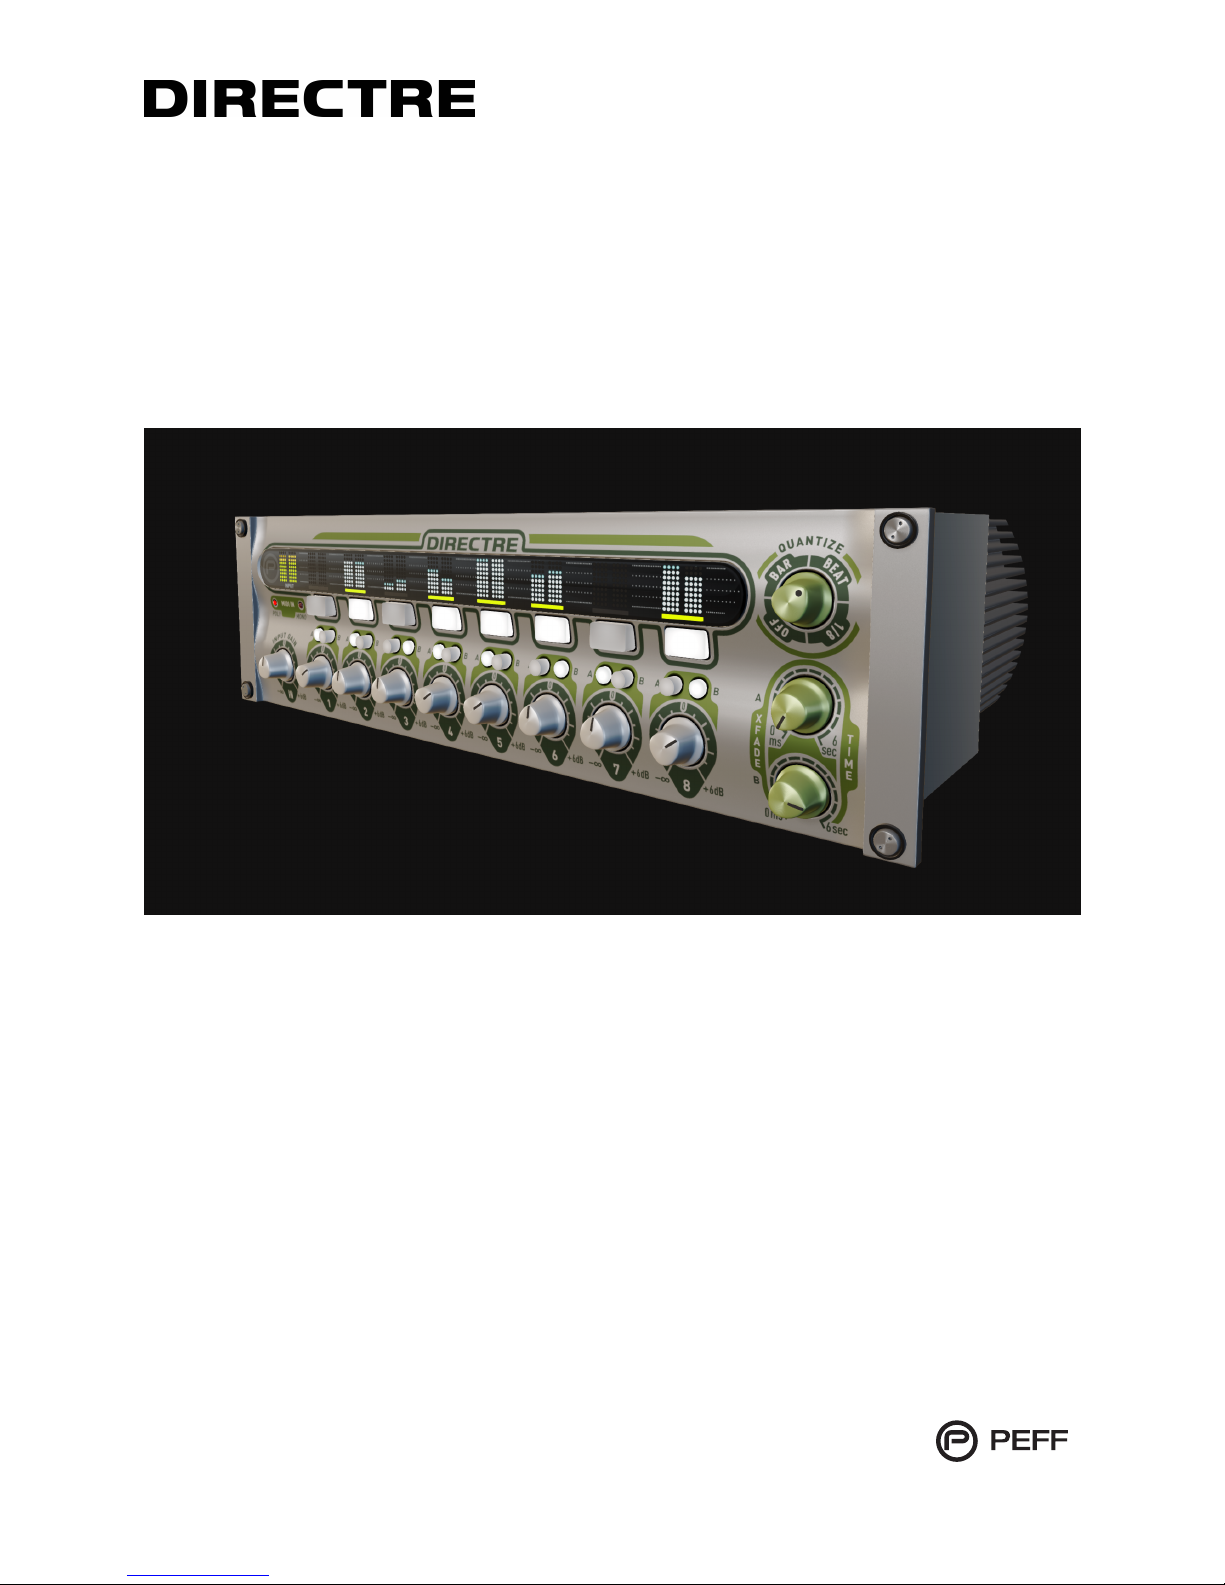
DIRECTRE is an audio routing utility device for Reason that allows switching of eight
audio channels. Enabling and disabling of the eight audio channels can be locked to
tempo, which makes Directre suited for timing critical situations of a live performance.
Additionally there are two global fade in/fade out controls selectable per channel.
Directre can serve as a 1x8 splitter device or as an 8x1 summing bus. Additionally, you
can patch directly into a channel and use the quantized switch control as an insert on an
audio signal.
v1.0.1 operation manual
2

Control Overview
v1.0.1 operation manual
3
1
3
4
5
6
7
8
10
#
Control
Function
1
Main Display
Input and Output VU Meters
2
Channel VU Meters
Output Level VU Meters (Ch 1-8)
3
Channel Status Lamps
Channel Routing Indicator Lamp (Ch 1-8)
4
Quantize
Switch Synchronization Mode
5
MIDI Activity
Indicators for Poly and Mono mode activity
6
Channel Switches
Manual Activator Switches (Ch 1-8)
7
Channel Xfade Selectors
Selects Xfade A or B Time (Ch 1-8)
8
Xfade Time
Xfade A and B duration adjustment 0ms to 6 sec
9
Input Gain
Stereo Input Gain Control
10
Channel Level Knobs
Output Level Control (Ch 1-8)
2
9

Rear Panel Connections
v1.0.1 operation manual
4
#
Connection
Function
1
Main Input
Stereo Audio Input that distributes to all Channels
2
Direct Inputs (ch 1-8)
Channel Direct Input Sockets
3
Direct Outputs (ch 1-8)
Channel Direct Output Sockets
4
Mix Output
Summed Output of Channels 1-8
5
Switch State CV Outs
CV Out - Channel 1-8 Switch On/Off States
1
3
4 5
2

MIDI Functionality
The Channel Switches respond to incoming MIDI Note information. Directre channel
triggers are duplicated along two ranges: When triggered in the range of C1 to C2,
multiple channels are activated. When triggered in the range of D2 to D3, only one
channel is activated while others are muted - essentially a solo channel mode. MIDI
key control is subject to the Quantize Mode parameter, so channel switching can be
locked to the tempo of the track.
v1.0.1 operation manual
5
Key
Action
Action
D3
Channel 8 Only
C#3
C3
Channel 7 Only
B2
Channel 6 Only
A#2
A2
Channel 5 Only
G#2
MONO MODE
G2
Channel 4 Only
F#2
F2
Channel 3 Only
E2
Channel 2 Only
D#2
D2
Channel 1 Only
C#2
C2
Channel 8 On
B1
Channel 7 On
A#1
A1
Channel 6 On
G#1
G1
Channel 5 On
POLY MODE
F#1
POLY MODE
F1
Channel 4 On
E1
Channel 3 On
D#1
D1
Channel 2 On
C1
Channel 1 On
When MIDI note information is
received, the indicator LEDs on
the front panel will illuminate.
The POLY LED will indicate when
notes are in the range of C1 to
C2 .
The MONO LED indicates when
notes are in the range of D2 to
D3.

Channel Switch Behavior
MIDI Keyboard control is designed as additional mechanism to trigger Directre Channel
Switches momentarily, in real-time. When MIDI notes are received from a keyboard or
sequencer lane, the Channel Switches may or may not change depending on the
current switch state. The following section describes these scenarios and the
mechanics of Directre switch behaviors.
Channel Control
Each Channel Switch can be closed (enabled) in one of three ways: via the Channel
Enable Button on the front panel, a single MIDI note in the POLY range, or a single MIDI
note in the MONO range. For example Channel 1 can be activated by clicking on the
Channel 1 Enable Button, by sending MIDI note C1, or by sending MIDI note D2. If the
Channel 1 Enable button is ON, and Directre receives a MIDI Note ON C1 message,
the channel switch simply stays on. Provided that two single control events cause a
similar action, there is no apparent change to the switch states.
Multi Channel ON Overlaps
Because the POLY Keys and Channel Enable Buttons both serve to close multiple
channel switches, the two event types work in tandem to enable routings. For example
if POLY Keys C1 through F1 are pressed, channel switches 1 through 4 are closed.
Then by clicking on Channel Enable Buttons 5 through 8, channel switches 5 to 8 are
closed without affecting channels 1 through 4. Provided there are no overlapping event
conflicts between the POLY keys and Channel Enable Buttons, the two can work
together. However when there are overlaps in controls that conflict, certain rules will
determine the result.
Last Event Priority
Directre responds to the last event received from a MIDI source or the Channel Enable
Buttons, and in most situations this is how the outcome is determined for events which
may cause conflicting switch states. For example if Directre is receiving a MIDI NOTE
ON C1 message which causes Channel Switch 1 to close, and then the Channel 1
Enable button is disabled, the channel switch will open. The Enable Button OFF
change comes after the MIDI ON event, so the last control event has priority over
channel switch control.
Channel Enable Buttons, POLY Keys, and MONO Keys function in groups of controls,
and the ‘Last Event Priority’ rule can function slightly differently based on event
arrangement. Channel Enable Buttons and POLY Keys work to close (turn on) multiple
switches simultaneously, while a MONO Key opens (turn off) multiple switches
simultaneously. If a group of POLY Keys are held, and then a MONO Key is pressed,
the MONO channel will close while all other channels are opened. When the MONO
Key is released, the POLY Keys and the Channel Enable Buttons states will become
active. If a MONO key is held first before a range of POLY Keys, the Last Event Priority
v1.0.1 operation manual
6

rule will take effect, and the POLY Key as well as Channel Enable Button states will
become active.
Channel Enable Button vs. MONO/POLY Keys
Pressing a Channel Enable Button can disable an active MONO Key event. If a MONO
Key is held and any Channel Enable button is clicked either ON or OFF, the MONO
mode is interrupted. The only way to restore MONO mode is to release the key and
press it again. This behavior functions similarly if you are holding a POLY Key to close
a channel switch. If the Channel Enable Button is changed to an OFF state, the Last
Event Priority rule will take precedence and the channel switch opens while a POLY Key
is held.
POLY Keys Legato OFF Mode
As described above, POLY Keys and Channel Enable Buttons normally work together to
close the channel switches, however there is one situation where POLY Keys can
override Channel Enable Button States and open channel switches. If multiple POLY
Keys are held and released one-by-one, the channel switches associated with the key
will open until all keys are released. This is an extension of the Last Event Priority rule
that takes precedence over the multi-channel on behavior. For example, Channel
Enable 1 through 6 are on, and all POLY Keys are held down, all channel switches will
be active. When keys D1 and E1 are released, the corresponding channel switches
open even though the Channel Enable buttons are active.
v1.0.1 operation manual
7

Main Input and Input Gain
MAIN IN SOCKETS
The Directre Main In is a stereo or normalled mono audio
input.
Typically you will be connecting stereo sources to this
input, however A mono audio source, such as Subtractor,
should be cabled to the Left input only. Cabling to only the
Right socket will not function.
INPUT GAIN KNOB
The Main In signal level is controlled by the Input Gain on
the front panel. The Level scaling ranges from –∞dB to
+6dB with a center detent at 0dB unity gain.
INPUT VU METER
The Main In VU meter will show the signal level after the
Input Gain knob. This is the signal level that is distributed
to the eight channels in Directre.
v1.0.1 operation manual
8

Channel Controls
VU METER
Each Channel on Directre has a VU Meter that displays the
signal level, post-switch, and post-gain.
INDICATOR LAMP
The Yellow Lamp under the VU indicates the status of the
switch.
ENABLE BUTTON
The large button on each channel triggers the switch on or
off.
XFADE SELECT
You can select one of two fade in - fade out times for each
channel.
GAIN KNOB
The Level scaling ranges from –∞dB to +6dB with a center
detent at 0dB unity gain.
v1.0.1 operation manual
9
Tip: Put Directre in a combinator, and map a rotary control to two Channel Gain
knobs. Set the modulation on one to a minimum value of +6dB and a maximum
value of -inf dB. This creates an even crossfader between the two channels.

Global Controls
QUANTIZE
This knob will set the synchronization resolution of the
channel switches. The BAR resolution is synchronized to
a measure. BEAT setting synchronizes the switches to
the time signature division. In most cases this is a 1/4
note. 1/8 setting synchronizes to an eighth note. The
OFF setting disables synchronization, and the channel
switches activate instantaneously.
XFADE TIME A & B
These controls set the global crossfade times. Both
controls have a range of zero milliseconds (0ms) to six
seconds (6000ms). By default, each channel is set to
XFADE TIME A.
The fade in starts when a channel switch is activated, and
the fade out starts when a channel switch is deactivated.
This means the audio signal will fade out after the channel
switch lamp goes off, and you will see the VU meter show
the signal levels taper down.
v1.0.1 operation manual
10
Table of contents


