Pendulum CNT-90 User manual

1 / 50

1. GENERAL INFORMATION User Manual
CNT-90/91/91R/91RAF/90XL
About this Manual
This manual contains directions for use that apply to the Timer/Counter/Analyzers CNT-90 and CNT-91 as well as the
Frequency Calibrator/Analyzer CNT-91R and CNT-91R/AF and the Microwave Counter/Analyzer CNT-90XL.
In order to simplify the references, these instruments are further referred to throughout this manual as the ‘9X’,
whenever the information applies to all types. Differences are clearly marked.
Examples:
CNT-90 means CNT-90 and CNT-90/XL
CNT-90/91 means CNT-90 and CNT-91
CNT-91(R) means CNT-91, CNT-91R and CNT-91R/AF
Chapter 8, Specifications is divided into four separate sections to increase legibility. Much of the contents is common,
so redundant data is the price in this case.
Warranty
The Warranty Statement is part of the folder Important Information that is included with the shipment.
Declaration of Conformity
The complete text with formal statements concerning product identification, manufacturer and standards used for type
testing is available on request.
2. Chapter 1: Preparation for Use
2.1. Preface
2.1.1. Introduction
Congratulations on your choice of instrument. It will serve you well and stay ahead of most competition for many years
to come, whether in bench-top or rack system use. It gives significantly increased performance compared to traditional
Timer/Counters. The ‘9X’ offers the following advantages:
12 digits of frequency resolution per second and 50 or 100 ps resolution, as a result of high-resolution
interpolating reciprocal counting.
A high measurement rate of up to 250k readings/s to internal memory.
Optional oven-controlled timebase oscillators, except the CNT-91R & CNT-91R/AF, which have an ultra-
stable rubidium oscillator.
CNT-90, CNT-91(R): A variety of RF prescaler options with upper frequency limits ranging from 3 GHz to 20
GHz.
CNT-91R/AF: Special version of CNT-91R with selected Rubidium oscillator, plus 5 Reference frequency
outputs covering 100 kHz, 1 MHz, 5 MHz, and 10 MHz. Model CNT-91R/AF has a 3 GHz input C and
CNT-91R/AF/20G has a 20 GHz input C as standard
CNT-90XL: A number of microwave inputs with upper frequency limits ranging from 27 to 60 GHz.
CNT-90(XL): Optional Pulsed RF for RF pulse characterization up to 60 GHz carrier frequency and down to
2 / 50

30 ns pulse width.
Optional built-in Li-Ion battery supply realizes instant high-precision measurements in the field and true UPS
operation.
Integrated high performance GPIB interface using SCPI commands.
A fast USB interface that replaces the traditional but slower RS-232 serial interface
Optional external GPIB-to Ethernet controller that allows connection to LAN .
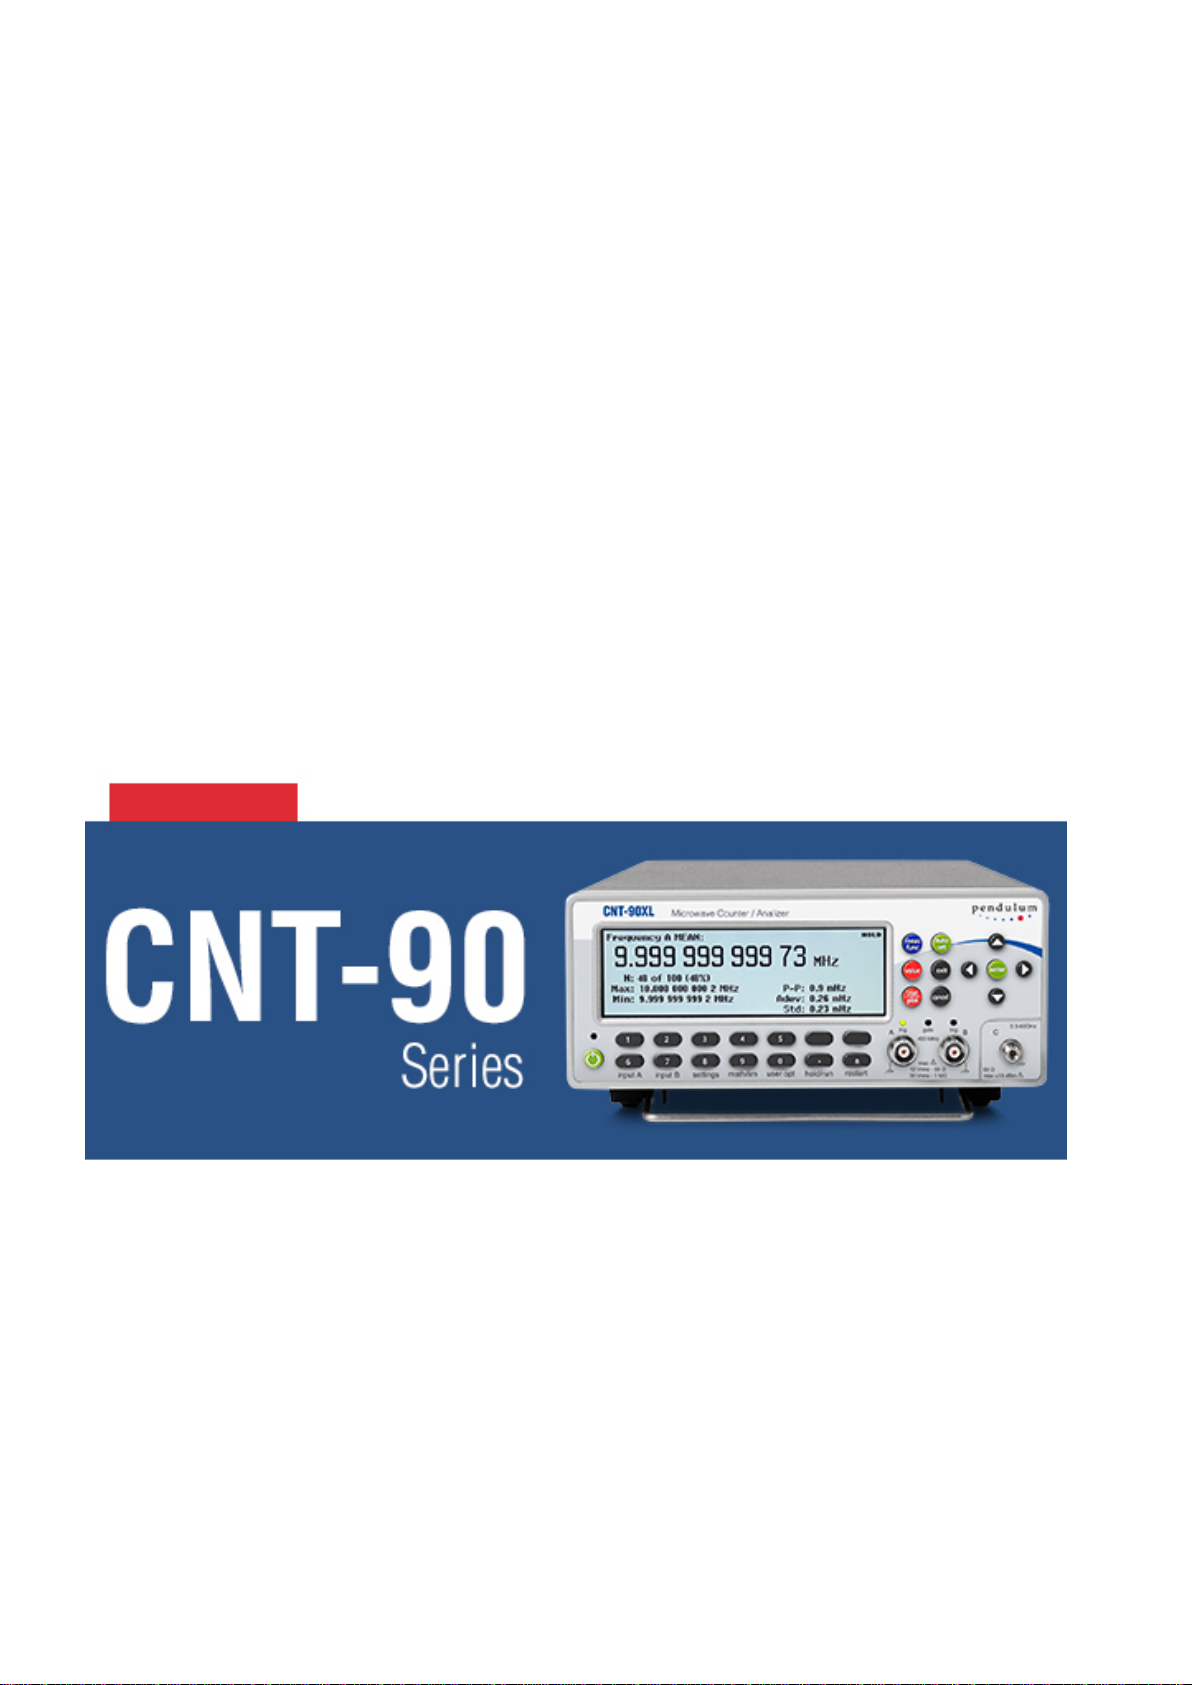
2.1.1.1. Powerful and Versatile Functions
A unique performance feature in your new instrument is the comprehensive arming possibilities, which allow you to
characterize virtually any type of complex signal concerning frequency and time.
For instance, you can insert a delay between the external arming condition and the actual arming of the counter. Read
more about Arming in Chapter 5, “Measurement Control”.
In addition to the traditional measurement functions of a timer/counter, these instruments have a multitude of other
functions such as phase, duty factor, rise/fall-time and peak voltage. The counter can perform all measurement
functions on both main inputs (A & B). Most measurement functions can be armed, either via one of the main inputs or
via a separate arming channel (E).
By using the built-in mathematics and statistics functions, the instrument can process the measurement results on your
benchtop, without the need for a controller. Math functions include inversion, scaling and offset. Statistics functions
include Max, Min and Mean as well as Standard and Allan Deviation on sample sizes up to 2*109.
2.1.1.2. No Mistakes
You will soon find that your instrument is more or less self-explanatory with an intuitive user interface. A menu tree with
few levels makes the timer/counter easy to operate. The large backlit graphic LCD is the center of information and can
show you several signal parameters at the same time as well as setting status and operator messages.
Statistics based on measurement samples can easily be presented as histograms or trend plots in addition to standard
numerical measurement results like max, min, mean and standard deviation.
The AUTO function triggers automatically on any input waveform. A bus-learn mode simplifies GPIB programming. With
bus-learn mode, manual counter settings can be transferred to the controller for later reprogramming. There is no need
to learn code and syntax for each individual counter setting if you are an occasional GPIB bus user.
2.1.2. Design Innovations
2.1.2.1. State of the Art Technology Gives Durable Use
These counters are designed for quality and durability. The design is highly integrated. The digital counting circuitry
consists of just one custom-developed FPGA and a 32-bit microcontroller. The high integration and low component
count reduces power consumption and results in an MTBF of 30,000 hours. Modern surface-mount technology ensures
high production quality. A rugged mechanical construction, including a metal cabinet that withstands mechanical shocks
and protects against EMI, is also a valuable feature.
2.1.2.2. High Resolution
The use of reciprocal interpolating counting in this new counter results in excellent relative resolution: 12 digits/s for all
frequencies.
The measurement is synchronized with the input cycles instead of the timebase. Simultaneously with the normal “digital”
counting, the counter makes analog measurements of the time between the start/stop trigger events and the next
following clock pulse. This is done in four identical circuits by charging an integrating capacitor with a constant current,
3 / 50

starting at the trigger event. Charging is stopped at the leading edge of the first following clock pulse. The stored charge
in the integrating capacitor represents the time difference between the start trigger event and the leading edge of the
first following clock pulse. A similar charge integration is made for the stop trigger event.
When the “digital” part of the measurement is ready, the stored charges in the capacitors are measured by means of
Analog/Digital Converters.
The counter’s microprocessor calculates the result after completing all measurements, i.e. the digital time measurement
and the analog interpolation measurements.
The result is that the basic “digital resolution” of + 1 clock pulse (10 ns) is reduced to 100 ps for the CNT-90 and 50 ps
for the CNT-91(R).
Since the measurement is synchronized with the input signal, the resolution for frequency measurements is very high
and independent of frequency.
CNT-91/91R features gap-free back-to-back frequency measurements, ensuring no missing periods The counters have
14 display digits to ensure that the display itself does not restrict the resolution.
2.1.3. Remote Control
This instrument is programmable via two interfaces, GPIB and USB.
The GPIB interface offers full general functionality and compliance with the latest standards in use, the IEEE 488.2 1987
for HW and the SCPI 1999 for SW.
In addition to this ‘native’ mode of operation there is also a second mode that emulates the Agilent 53131/132 command
set for easy exchange of instruments in operational ATE systems. The USB interface is mainly intended for the lab
environment in conjunction with the optional TimeView™ analysis software. The communication protocol is a proprietary
version of SCPI.
2.1.3.1. Fast GPIB Bus
These counters are not only extremely powerful and versatile bench-top instruments, they also feature extraordinary bus
properties.
The bus transfer rate is up to 4000 triggered measurements/s in CNT-91(R). Array measurements to the internal
memory can reach 250 k measurements/s.
This very high measurement rate makes new measurements possible. For example, you can perform jitter analysis on
several tens of thousands of pulse width measurements and capture them in less than a second.
An extensive Programmer’s Handbook helps you understand SCPI and counter programming.
The counter is easy to use in GPIB environments. A built-in bus-learn mode enables you to make all counter settings
manually and transfer them to the controller. The response can later be used to reprogram the counter to the same
settings. This eliminates the need for the occasional user to learn all individual programming codes.
Complete (manually set) counter settings can also be stored in 20 internal memory locations and can easily be recalled
on a later occasion. Ten of them can be user protected.
2.2. Safety
2.2.1. Introduction
4 / 50

Even though we know that you are eager to get going, we urge you to take a few minutes to read through this part of the
introductory chapter carefully before plugging the line connector into the wall outlet.
This instrument has been designed and tested for Measurement Category I, Pollution Degree 2, in accordance with
EN/IEC 61010-1:2001 and CAN/CSA-C22.2 No. 61010-1-04 (including approval). It has been supplied in a safe
condition. Study this manual thoroughly to acquire adequate knowledge of the instrument, especially the section on
Safety Precautions hereafter and the section on Installation on page 1-7.
2.2.2. Safety Precautions
All equipment that can be connected to line power is a potential danger to life. Handling restrictions imposed on such
equipment should be observed.
To ensure the correct and safe operation of the instrument, it is essential that you follow generally accepted safety
procedures in addition to the safety precautions specified in this manual.
These units are designed for indoor use only.
The instrument is designed to be used by trained personnel only. Removing the cover for repair, maintenance, and
adjustment of the instrument must be done by qualified personnel who are aware of the hazards involved.
The warranty commitments are rendered void if unauthorized access to the
interior of the instrument has taken place during the given warranty period.
2.2.2.1. Caution and Warning Statements
CAUTION: Shows where incorrect procedures can cause damage to, or
destruction of equipment or other property.
WARNING: Shows a potential danger that requires correct procedures or
practices to prevent personal injury.
2.2.2.2. Symbols
Shows where the protective ground terminal is connected inside the instrument. Never remove or loosen this
screw
This symbol is used for identifying the functional ground of an I/O signal. It is always connected to the
instrument chassis.
Indicates that the operator should consult the manual.
One such symbol is printed on the instrument, below the A and B inputs. It points out that the damage level for the input
5 / 50

voltage decreases from 350 Vp to 12Vrms when you switch the input impedance from 1 MΩ to 50 Ω.
2.2.2.3. If in Doubt about Safety
Whenever you suspect that it is unsafe to use the instrument, you must make it inoperative by doing the following:
Disconnect the line cord
Clearly mark the instrument to prevent its further operation
Fig. 1‑1 Do not overlook the safety instructions!
Inform your Pendulum Instruments representative.
For example, the instrument is likely to be unsafe if it is visibly damaged.
2.2.2.4. Disposal of Hazardous Materials
CNT-90 & CNT-90XL only
If your instrument was ordered with a built-in battery supply (Option 23/90), it contains 12 Li-Ion cells arranged as a fixed
battery pack with internal protection circuitry.
Even though this type of cell does not cause environmental damage in the same way as NiCd, for instance, you should
dispose of a worn-out battery pack at an authorized recycling station or return it to Spectracom.
Individual cells cannot be replaced.
2.3. Unpacking
Check that the shipment is complete and that no damage has occurred during transportation. If the contents are
incomplete or damaged, file a claim with the carrier immediately. Also notify your local Spectracom sales or service
organization in case repair or replacement may be required.
6 / 50

2.3.1. Check List
The shipment should contain the following:
Counter/Timer/Analyzer CNT-90/91 or Frequency Calibrator/Analyzer CNT-91R or CNT-91R/AF or
Microwave Counter/Analyzer CNT-90XL
Line cord
Brochure with Important Information
Certificate of Calibration
Options you ordered should be installed. See Identification below.
CD including the following documentation in PDF:
Getting Started Manual
User’s Manual
Programmer’s Handbook
2.3.2. Identification
The type plate on the rear panel shows type number and serial number. See illustrations on page 2-5 and 2-6. Installed
options are listed under the menu User Options – About, where you can also find information on firmware version and
calibration date. See page 2-15. The CNT-91R/AF version is identified by a unique identification marking, or UID. This
permanent tag contains a barcode and allows customers to track easily their inventory and property.
2.3.3. Installation
2.3.3.1. Supply Voltage
Setting
The Counter may be connected to any AC supply with a voltage rating of 90 to 265 Vrms, 45 to 440 Hz. The counter
automatically adjusts itself to the input line voltage.
Fuse
The secondary supply voltages are electronically protected against overload or short circuit. The primary line voltage
side is protected by a fuse located on the power supply unit. The fuse rating covers the full voltage range.
Consequently, there is no need for the user to replace the fuse under any operating conditions, nor is it accessible from
the outside.
CAUTION: If this fuse is blown, it is likely that the power supply is badly
damaged. Do not replace the fuse. Send the counter to the local Service
Center.
Removing the cover for repair, maintenance and adjustment must be done by qualified and trained personnel only, who
are fully aware of the hazards involved.
The warranty commitments are rendered void if unauthorized access to the
interior of the instrument has taken place during the given warranty period.
2.3.3.2. Battery Supply
CNT-90 & CNT-90XL only
7 / 50

It is possible to run the counter from an optional battery supply, Option 23/90. You must charge the battery before use or
storage. The counter charges the battery automatically when connected to line power or an external DC source,
whether the instrument is in standby or turned on. See the specifications for charging time in different modes of
operation.
2.3.3.3. Grounding
Grounding faults in the line voltage supply will make any instrument connected to it dangerous. Before connecting any
unit to the power line, you must make sure that the protective ground functions correctly. Only then can a unit be
connected to the power line and only by using a three-wire line cord. No other method of grounding is permitted.
Extension cords must always have a protective ground conductor.
CAUTION: If a unit is moved from a cold to a warm environment, con-
densation may cause a shock hazard. Ensure, therefore, that the
grounding requirements are strictly met.
WARNING: Never interrupt the grounding cord. Any interruption of the
protective ground connection inside or outside the instrument or
disconnection of the protective ground terminal is likely to make the
instrument dangerous.
2.3.3.4. Orientation and Cooling
The counter can be operated in any position desired. Make sure that the air flow through the ventilation slots at the top,
and side panels is not obstructed. Leave 5 centimeters (2 inches) of space around the counter.
2.3.3.5. Fold-Down Support
For bench-top use, a fold-down support is available for use underneath the counter. This support can also be used as a
handle to carry the instrument.
8 / 50

Fig. 1-2 Fold-down support for comfortable bench-top use.
2.3.3.6. Rackmount Adapter
Fig. 1-3 Dimensions for rackmounting hardware.
If you have ordered a 19-inch rack-mount kit for your instrument, it has to be assembled after delivery of the instrument.
The rackmount kit consists of the following:
9 / 50

2 brackets, (short, left; long, right)
4 screws, M5 x 8
4 screws, M6 x 8
WARNING: Do not perform any internal service or adjustment of this
instrument unless you are qualified to do so. Before you remove the cover,
disconnect mains cord and wait for one minute. Capacitors inside the
instrument can hold their charge even if the instrument has been separated
from all voltage sources.
Fig. 1-4 Fitting the rack mount brackets on the counter.
2.3.3.7. Assembling the Rackmount Kit (Option 22/05)
10 / 50

1-7
Turn the devices upside down
Remove the rubber feet in the plastic stand
Loosen the screws underneath the rubber feet
Remove the plastic stands
Remove the four decorative plugs that cover the screw holes on the right and left side of the front panel.
Use the following steps to complete the side by side rack mount installation for your products. If necessary, refer to the
item numbers in the following diagram for additional detail.
Determine where you would like each unit positioned (i.e., on the right or left side)
If plugs exist on the mounting holes on the front left and right side of product cover, remove and discard them
Using screwdriver, screw the rack ear (Item #2) into place using the supplied 10mm screws (Item #5)
Pinch the hinge pins together to separate the right and left hinge halves (Items #3 and 4)
Attach hinge halves to the unit with hinge facing towards the front (as displayed in diagram)
Using a screwdriver, remove the existing rear brackets on the back of each unit
Using existing machine screws removed in previous steps, attach the rear brackets supplied with the
mounting kit (Item #1)
Pinch the hinge pins together into the stored position. Align the hinge halves together between the two units,
and swing together side by side. The hinge pins should snap into place securing the front of the two units
together
Take the supplied Hex Spacer (Item #7) and place between middle rear brackets, and secure using the
supplied 8mm screws (Item #6)
Assembly is now ready for installation into standard 19” rack
11 / 50

1-8
3. Chapter 2: Using the Controls
3.1. Basic Controls
A more elaborate description of the front and rear panels including the user interface with its menu system follows after
this introductory survey, the purpose of which is to make you familiar with the layout of the instrument. See also the
appendix.
12 / 50

13 / 50

3.2. Secondary Controls
3.2.1. Connectors & Indicators
14 / 50

3.2.2. Rear Panel
15 / 50

Pulse Output [CNT-91(R) only]: User definable to serve as output for built-in pulse generator, gate indicator or alarm.
Optional Main Input Connectors (not with Option 23/90): The front panel inputs can be moved to the rear panel by
means of an optional cable kit. Note that the input capacitance will be higher.
Type Plate: Indicates instrument type and serial number.
Fan: A temp. sensor controls the speed of the fan. Normal bench-top use means low speed, whereas rack-mounting
and/or options may result in higher speed.
Protective Ground Terminal: This is where the protective ground wire is connected inside the instrument. Never
tamper with this screw!
Line Power Inlet: AC 90-265 Vrms, 45-440 Hz, no range switching needed.
Reference Output: 10 MHz derived from the internal or, if present, the external reference.
External Reference Input: Can be automatically selected if a signal is present and approved as timebase source, see
Chapter 9.
External Arming Input: See page 5-7.
GPIB Connector: Address set via User Options Menu.
Ext. DC Connector: Part of Option 23/90 for CNT-90(XL). Range: 12-18 V Note the polarity.
USB Connector: Universal Serial Bus (USB) for data communication with PC.
16 / 50

3.2.3. Rear Panel (CNT-91R/AF)
Pulse Output [CNT-91(R) only]: User definable to serve as output for built-in pulse generator, gate indicator or alarm.
Additional output frequencies Connectors: These connectors provide additional output frequencies which are, from
left to right, 100kHz, 1MHz, 5MHz and 10MHz.
Type Plate: Indicates instrument type and serial number.
Fan: A temp. sensor controls the speed of the fan. Normal bench-top use means low speed, whereas rack-mounting
and/or options may result in higher speed.
Protective Ground Terminal: This is where the protective ground wire is connected inside the instrument. Never
tamper with this screw!
Line Power Inlet: AC 90-265 Vrms, 45-440 Hz, no range switching needed.
Reference Output: 10 MHz derived from the internal or, if present, the external reference.
External Reference Input: Can be automatically selected if a signal is present and approved as timebase source, see
Chapter 9.
External Arming Input: See page 5-7.
GPIB Connector: Address set via User Options Menu.
USB Connector: Universal Serial Bus (USB) for data communication with PC.
17 / 50

3.3. Description of Keys
3.3.1. Power
The ON/OFF key is a toggling secondary power switch. Part of the instrument is always ON as long as power is applied,
and this standby condition is indicated by a red LED above the key. This indicator is consequently not lit while the
instrument is in operation.
CNT-91R and CNT-91R/AF only
While the rubidium oscillator is warming up, an open padlock symbol labeled RB is flashing at the top right corner of the
display, indicating that the control loop is not locked. Normal time to lock is about 5 min. Do not start measuring until the
unlock symbol disappears.
New Message Box
Information exchange between the rubidium oscillator and the CPU takes place over a serial bus. Any malfunction in the
UART-con-trolled communication link will be reported in a pop-up message box on the display.
CNT-90(XL) w. Option 23/90
The User Interface Screens have two indicators near the upper right corner of the display. One is a power supply status
indicator, and the other is a battery charging level indicator.
The status indicator shows:
a fixed battery symbol when the internal battery is the active power source
a charging battery symbol when the internal battery is being charged
a power plug symbol when the mains is the active power source
a power plug symbol on top of a battery symbol when the instrument has been prepared for UPS operation
and charging is not going on
The charging level indicator shows:
the relative charging level in percent
3.3.2. Select Function
This hard key is marked MEAS FUNC.
When you depress it, one of the menus below will open.
Fig. 2‑1 CNT-90: Select measurement function.
18 / 50

Fig. 2-2 CNT-90XL: Select measurement function.
Fig. 2-3 CNT-91(R): Select measurement function.
The current selection is indicated by text inversion that is also indicating the cursor position. Select the measurement
function you want by depressing the corresponding softkey right below the display.
Alternatively, you can move the cursor to the wanted position with the RIGHT/LEFT arrow keys. Confirm by pressing
ENTER.
A new menu will appear where the contents depend on the function. If you for instance have selected Frequency, you
can then select between Frequency, Frequency Ratio and Frequency Burst. Finally you have to decide which input
channel(s) to use.
3.3.3. Autoset/Preset
By depressing this key once after selecting the wanted measurement function and input channel, you will most probably
get a measurement result. The AUTOSET system ensures that the trigger levels are set optimally for each combination
of measurement function and input signal amplitude, provided relatively normal signal waveforms are applied. If Manual
Trigger has been selected before pressing the AUTOSET key, the system will make the necessary adjustments once
(Auto Once) and then return to its inactive condition.
AUTOSET performs the following functions:
Set automatic trigger levels
Switch attenuators to 1x
Turn on the display
Set Auto Trig Low Freq to
100 Hz, if fin >100 Hz, or to
fin, if 10<fin<100 Hz, or to
10 Hz, if fin <10 Hz
19 / 50

A higher value means faster settling time.
By depressing this key twice within two seconds, you will enter the Preset mode, and a more extensive automatic
setting will take place. In addition to the functions above, the following functions will be performed:
Set Meas Time to 200 ms
Switch off Hold-Off
Set HOLD/RUN to RUN
Switch off MATH/LIM
Switch off Analog and Digital Filters
Set Timebase Ref to Auto
Switch off Arming
Default Settings
An even more comprehensive preset function can be performed by recalling the factory default settings. See page 2-16.
3.3.4. Move Cursor
There are four arrow keys for moving the cursor, normally marked by text inversion, around the menu trees in two
dimensions.
3.3.5. Display Contrast
When no cursor is visible (no active menu selected), the UP/DOWN arrows are used for adjusting the LCD display
contrast ratio.
3.3.6. Enter
The key marked ENTER enables you to confirm a choice without leaving your menu position.
3.3.7. Save & Exit
This hard key is marked EXIT/OK. You will confirm your selection by depressing it, and at the same time you will leave
the current menu level for the next higher level.
3.3.8. Don't Save & Exit
This hard key is marked CANCEL. By depressing it you will enter the preceding menu level without confirming any
selections made at the current level. If the instrument is in REMOTE mode, this key is used for returning to LOCAL
mode, unless LOCAL LOCKOUT has been programmed.
3.3.9. Presentation Modes
VALUE
20 / 50
Other manuals for CNT-90
4
This manual suits for next models
5
Table of contents
Other Pendulum Measuring Instrument manuals
Popular Measuring Instrument manuals by other brands

PCE Group
PCE Group PCE-WMH3 manual

Dakota Digital
Dakota Digital BIM-22-3 quick start guide

LaserLiner
LaserLiner LaserRange-Master Gi5 manual

Pasco Scientific
Pasco Scientific OS-8537 Instruction manual and experiment guide

Topcon
Topcon DS-101AC instruction manual

SATA
SATA adam 2 mini operating instructions